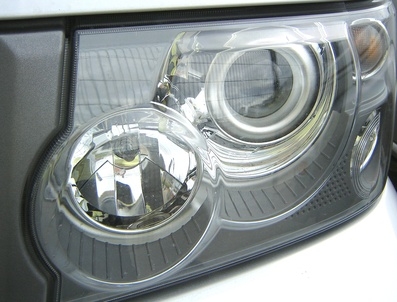
Driving at night with improperly adjusted headlights is dangerous. The ability to see the road in the dark requires that the headlights be properly adjusted. If they are shinning too high, too low, or too far off to one side, your night visibility will be reduced. Fortunately, headlight adjustment is something you can do yourself, without the expense of taking your car to a service center.
Park your minivan 3- to 5-feet from a wall or garage door. Open the hood and stand on the driver's side of the vehicle. Shine the flashlight on the back side of the driver's side headlight housing and locate the two adjustment screws above the bulb holder. The vertical adjustment screw is on the outside of the housing, and the horizontal adjustment is on the inside of the housing.
Turn on the low beams of your headlights and mark the wall with tape. Place one horizontal piece of tape at the vertical center of a headlight. Place one vertical piece of tape at the horizontal center of the same headlight. Repeat for the alternate side headlight. The tape markings will be your reference points for adjusting the lights.
Move your minivan 25-feet back from the wall or garage door. Adjust the vertical adjustment of the lights by turning the vertical adjustment screws with a screwdriver. Direct the beam on each side of the van 2- to 4-inches below its corresponding horizontal piece of tape on the wall.
Adjust the horizontal aim of each headlight by turning the horizontal adjustment screws with a screwdriver. Direct the beam on each side of the van 2- to 4-inches to the right of its corresponding vertical piece of tape on the wall.
Remove the tape from the wall, close the hood and turn off the headlights. Start the engine and let your minivan run for a few minutes to recharge the battery.