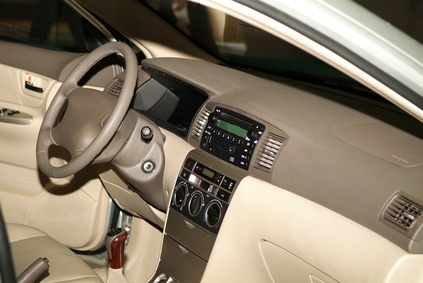
Replacing the air conditioner filter, or air cabin filter, is something that is often neglected. Toyota recommends changing the filter, sometimes referred to as the particle filter, every 15,000 miles. Air cabin filters differ in location and style based on the manufacturer and model of the vehicle. In Toyotas, these filters often sit on the backside of the glove box. Replacing the filter requires little time and will enhance the air quality in the interior of your vehicle.
Open the glove box and locate the holding screw. The screw location will depend on the model of the Toyota, but often the screw sits on the right side of the box. Once you find the screw, remove it by turning it with a screwdriver counterclockwise. Let the box hang down to access the filter.
Pop off the wire harness that sits on the left side of the filter frame.
Press the tabs on each side of the filter frame inward towards the filter. Pull the frame towards you as you press the pieces and remove the frame from the dash of the car.
Pinch the filter in the center with your fingers and pull it out of the frame.
Slide the new filter in place. Locate the securing tabs on each side of the frame. Slide the new filter under these tabs.
Reinstall the frame by pressing it into place until the tabs snap.
Add the wire harness back to the left side of the frame. Position the harness and press to snap it into place.
Push the glove box back in and hold it in place with one hand. Reconnect the screw and tighten it with a screwdriver. Turn the screw clockwise to secure it.