The 2001 Nissan Altima's headlight bulbs are tough to replace compared with most other cars. On most vehicles, you can access the bulb directly behind the case. On the 2001 Altima, the headlight case--the plastic enclosure that holds your headlight beams--must be removed to access the bulbs. A hidden headlight-case bolt calls for removal of the inner-fender liner. Make sure you have at least 20 to 30 minutes to devote to the replacement procedure before beginning.
Center your steering wheel to straighten the front wheels. Turn the engine off. Pull the hood release and open the hood.
Unhook the negative cable from the battery with the pliers. Examine the area behind the headlight you want to replace. Remove the two nuts with a pair of pliers or a socket wrench. Inspect the top of the headlight case to find a bolt. Remove it with a socket wrench.
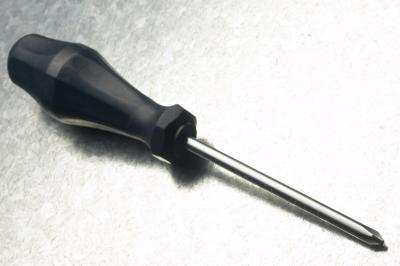
Remove the three Phillips-head screws from the bottom edge of the fender liner, and then remove the Phillips-head screw directly in front of the wheel. Pull the fender liner back to access the last headlight-case bolt. Remove it with a socket wrench.
Grasp the headlight case. Pull it forward to lift it from the Altima. On the rear, you'll find the electrical adapter attached to the headlight bulb. Press the tab on top and pull the adapter back to disconnect it.
Turn the bulb retainer counterclockwise to unscrew it. Behind the bulb retainer, you'll find the bulb. Pull the bulb straight out without turning.
Place the new bulb into the case, with the glass envelope facing forward. Only hold the bulb by its base. Don't touch the glass. Reconnect the bulb retainer. Turn it clockwise. Re-attach the electrical adapter.
Re-insert the headlight case. Tighten the two nuts behind it, and then tighten the top bolt. Access the fender well area again. Replace and tighten the final headlight bolt.
Move the fender liner back into position. Tighten the three Phillips-head screws along the bottom edge, and then tighten the inner Phillips-head screw.