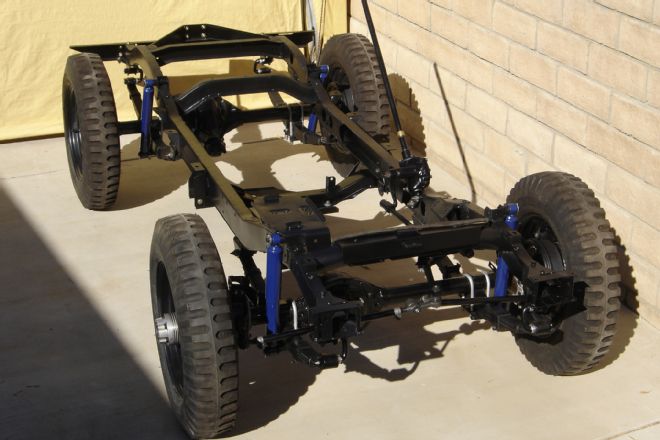
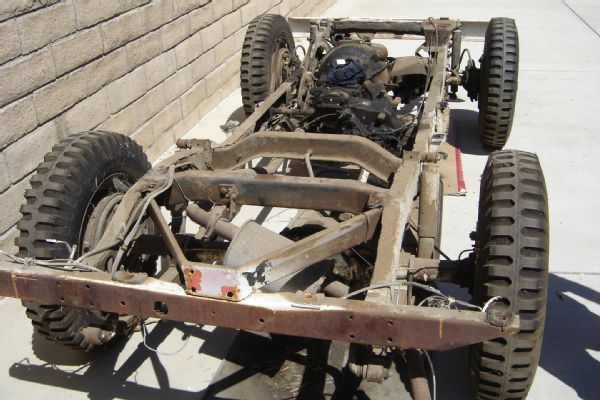
If you’re a regular reader of Jp, you might recall a CJ-2A frame resto where we took an ugly white and crusted 70-year old frame and made it new again ("Restoring a 1946 Willys Jeep CJ-2A Frame"). We didn’t go through all that trouble just to have the frame just sit and look pretty. So here we are again with many of the same Eastwood products for the suspension and axles, in addition to using its compact Vibratory Tumbler to restore the small parts and bolts.
We also needed a few new parts to get this Jeep to be a safe roller, so we called Kaiser Willys Auto Supply in Aiken, South Carolina. The company specializes in early model Jeeps and helped get our 2A chassis back to factory form. By restoring the suspension parts and axles on our own, we saved some serious green. That allowed us to spend more on new parts that simply should never be “restored,” such as high-mileage tie-rod ends, shocks, worn shackles, damaged bearings, gaskets, felts, and a few other items. Luckily, both the front Dana 25 and rear Dana 41 axles were in decent shape internally, as were all four leaf springs, aside from the chipped and cracked paint and the typical surface rust.
Another critical area regarding safety during any restoration is the brake system. Our 2A had a mismatched set of front and rear 11-inch brakes likely put on in the ’70s before there was a multitude of decent upgrade conversion kits. Because we were looking for more of an OE restoration, we reverted back to factory 9-inch brakes that will work fine with our stock L134 engine on the lightweight Jeep. Since we no longer had the existing stock brake backing plates, we had to buy those from a salvage yard, along with a few other parts not included in an overhaul kit.
As expected, the backing plates showed up with quite a bit of surface rust and dirt crust, but none of them were bent or dented. Without a blasting cabinet at our disposal, we figured that job was best left in the hands of professionals, so we took them to our friends at Anacapa Industries in Oxnard, California, where owner Manny Vega media-blasted them to perfection.
No matter what year CJ you have, much of this suspension and axle restoration article can be relevant to your Jeep, and this is a look at some of the details that make for a thorough restoration. Although many of these procedures do take a lot time and effort, most enthusiasts can tackle it with basic tools, including a bench wire wheel, sander, scrapers, and a few specialty tools including a two-prong puller, Jeep hub puller, and a large axle-nut socket. Join us to see what a little time and persistence can do.
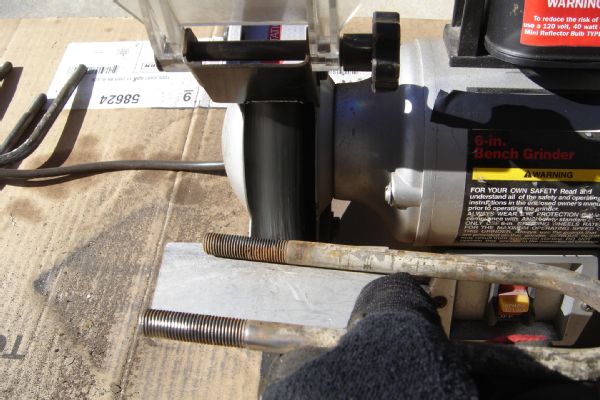
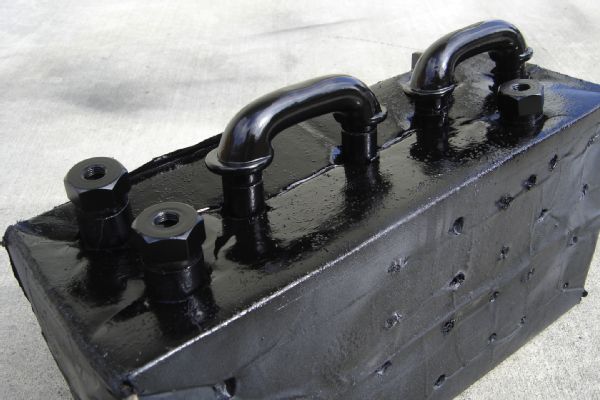
Once the disassembly was completed, we picked the U-bolts as a starting point and got to work using a wire wheel. This is best done outside and on cardboard that you can easily dump into the trash as a lot of grit will be flying off and left behind.
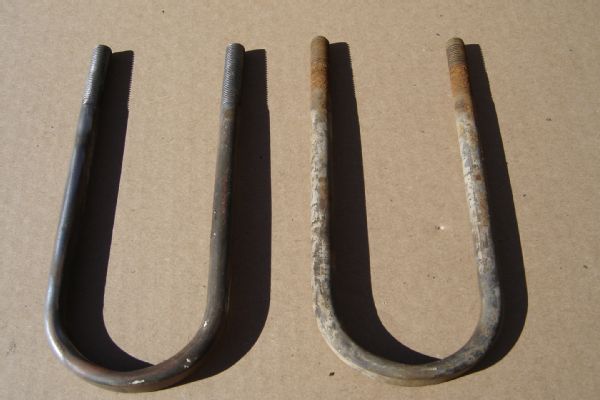
This before and after cleaning shot of the U-bolts before painting is a great example of why most parts can be restored with a little effort.
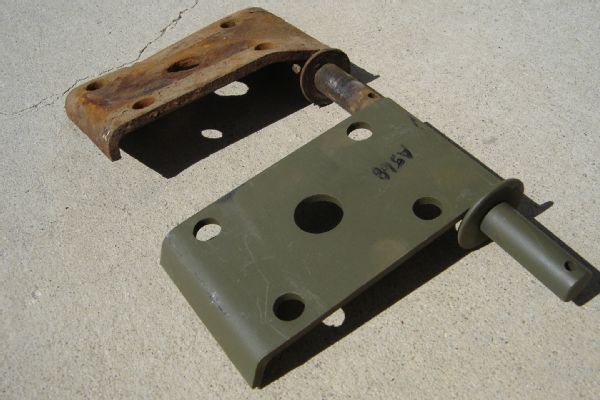
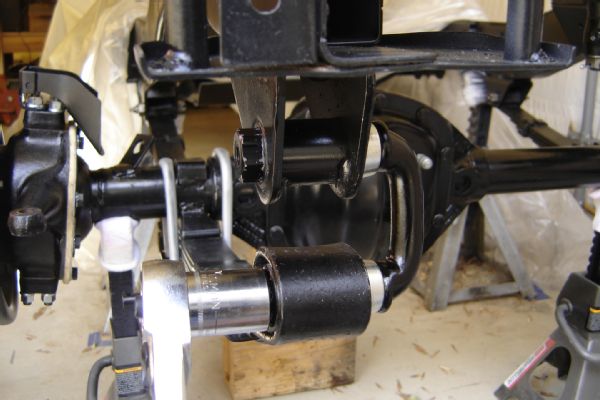
Although some might try to beat this old lower spring and shock mount plate to reuse it, we opted to simply replace it with a new part from Kaiser Willys Auto Supply because most of these parts are affordable compared to the time it takes to restore them properly.
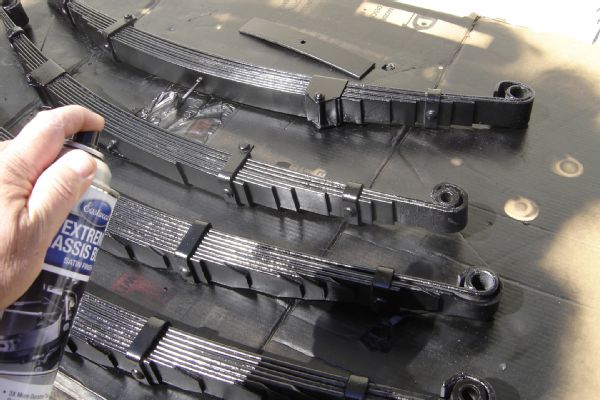
After the leaf springs had been prepped and cleaned, it was time for a good coat of Eastwood Rust Encapsulator. Then Extreme Chassis Black Satin gave them an OE look.
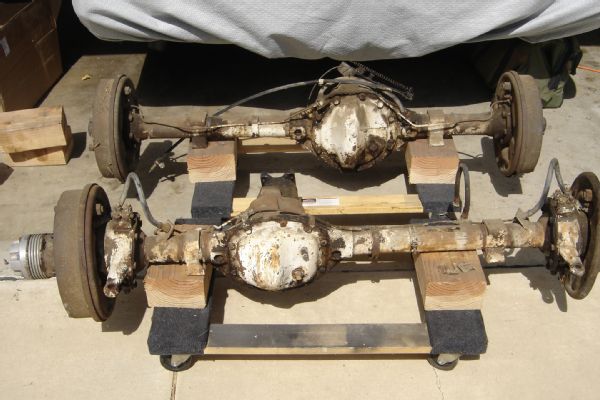
One of the toughest parts of the entire restoration was about to begin. After this stage, we began disassembly but were able to leave the gears intact.
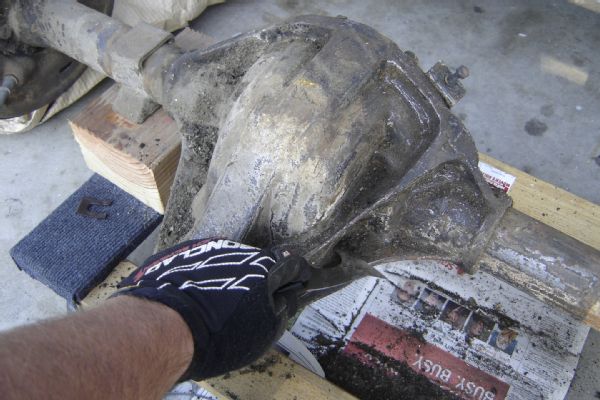
We started by cleaning off any caked-on gear oil and then scraping the axles as shown. This was a tedious process as the white paint was not easily removed, but then we moved to a dual-action sander where accessible to complete this step for the best paint adhesion and a uniform look.
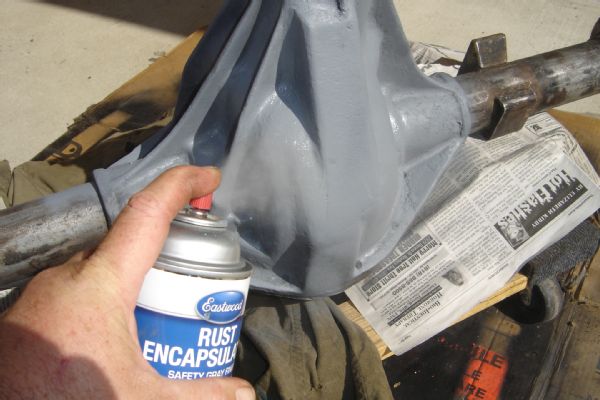
Using the safety-gray color version of Eastwood’s Rust Encapsulator as a primer worked great and allowed us to see where we will need to complete the darker topcoat.
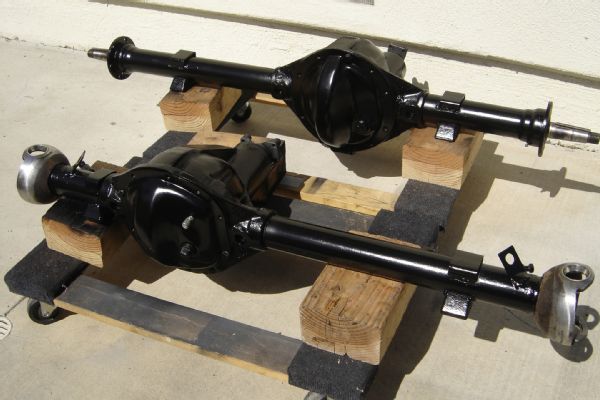
Once again, our “go to” topcoat paint on the Willys chassis was Eastwood’s Extreme Chassis Black with a satin finish. Be sure to keep any paint off of the knuckle/ball ends and rear axles if left installed.
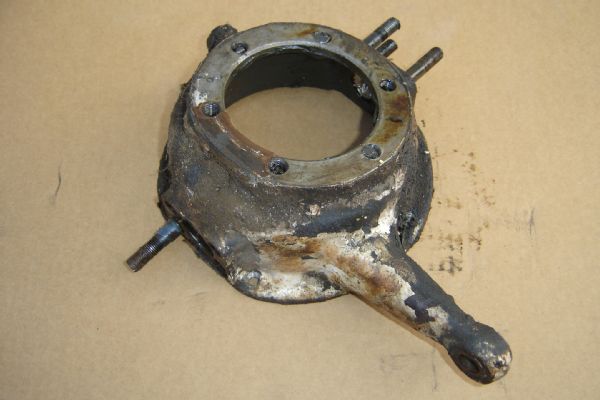
The steering knuckles were ugly but seemed easy to tackle after going through the motions on the large axles. They were restored the same way, taking care to mask the machined surfaces for the caps, seals, and backing plates.
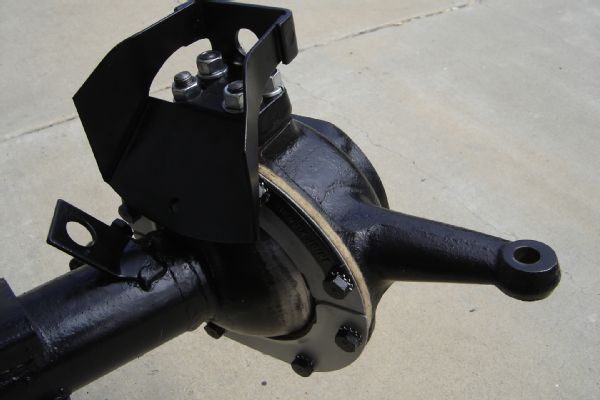
After removing the old studs, prep, and paint, we were able to reassemble the knuckles to the finished axles as shown. The brake line protectors seen here atop the knuckles were another part we had to source because we reverted back to 9-inch brakes.
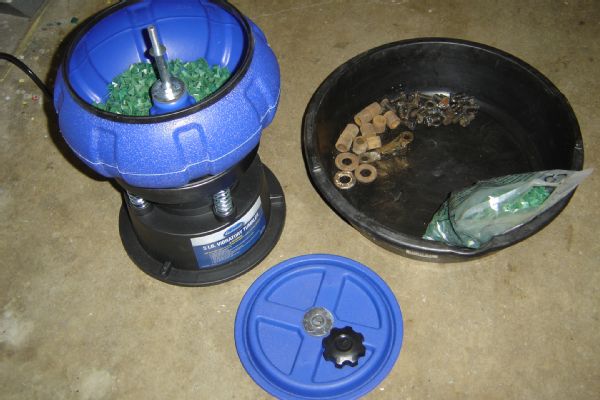
Using a wire wheel on every nut and bolt can be very time consuming, so we opted to use this cool 5-pound Vibratory Tumbler from Eastwood and let it do the job for us. Depending on the parts, it can take anywhere from 4 to 24 hours, so placing the tumbler in a safe area on the floor is best.

With several steps of media available depending on the parts, we used the light rust- and paint-removing larger green media on these bolts shown here. There was also a finer-polishing corncob media to use after this stage for parts that require a shinier finish.
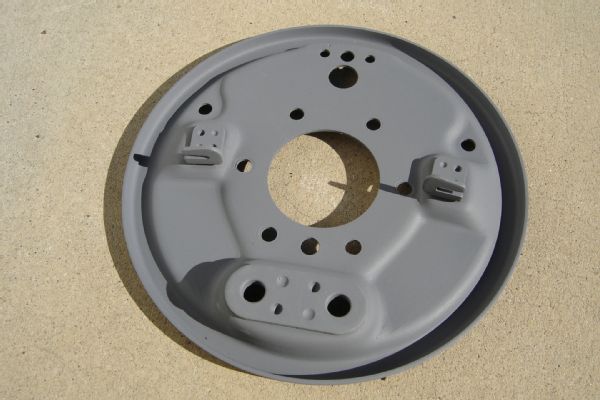
This factory backing plate had quite a bit of surface rust from sitting in the Jeep salvage yard, but after Anacapa Industries finished media blasting, it looked new again. As with any newly blasted part, you will want to at least get a coat of primer on it as shown to keep it from flash rusting, especially if you live in a cold and damp climate.
When assembling the rear axle backing plate, we arranged all the parts in the correct order from left to right top, then left to right bottom: shims, bearing retainer, backing plate, thin gasket, axle grease seal, thicker gasket, and lastly, the grease cup.
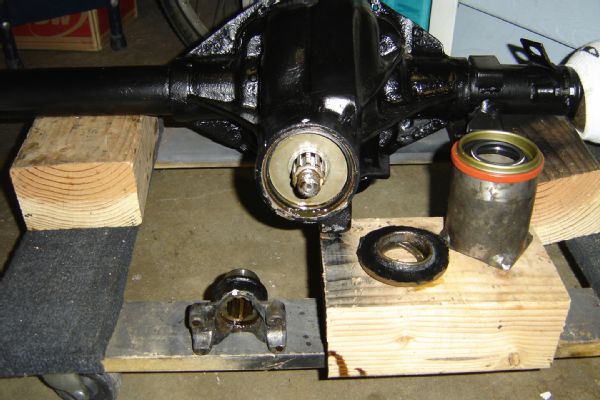
To remedy a leaking pinion seal, we removed the pinion nut and then used a two-prong puller to remove the yoke. Next, we used a seal remover with a hook and found the culprit: a seal that was completely destroyed and came out in eight pieces. Then we installed the new seal with a same-diameter tool as shown.
These new shackles from Kaiser Willys Auto Supply came with a rust-inhibitor coating that had to be removed before we used Eastwood’s Rust Encapsulator and then top-coated with Extreme Chassis Black satin paint as shown.
Using the factory frame holes, there were two left-hand thread (LHT) shackles and two right-hand thread (RHT) shackles. The LHT shackles were installed on the front left and right rear of the vehicle. The RHT shackles were installed on the front right and left rear.
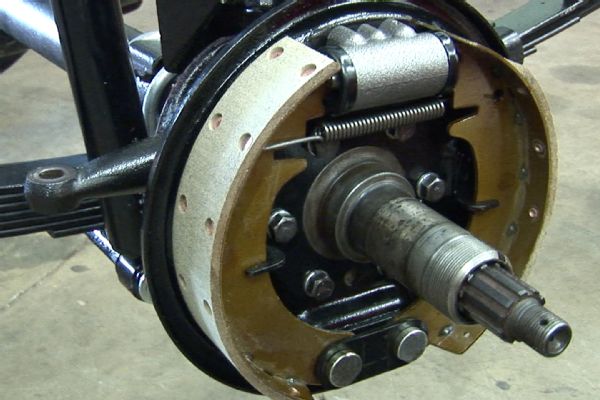
The 9-inch brake overhaul kit from Kaiser Willys Auto Supply included most of the parts needed to refurbish existing brakes, including drums, wheel cylinders, master cylinder, shoes, and upper return springs. When assembling, the leading shoe has more brake pad material and the trailing shoe has less as shown
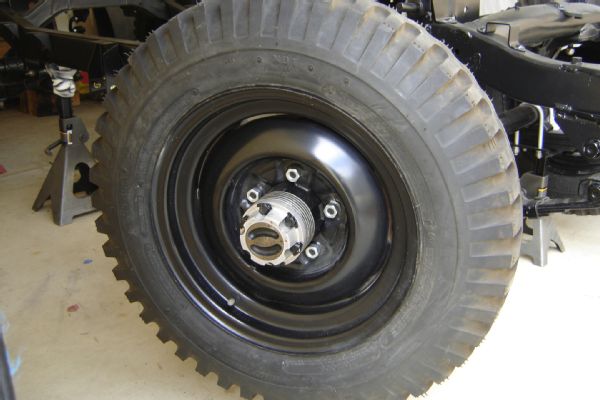
The vintage Warn hubs were on the CJ-2A when we bought it, and we really wanted to keep them. After a little TLC and lubing, the internals were still in perfect working order.
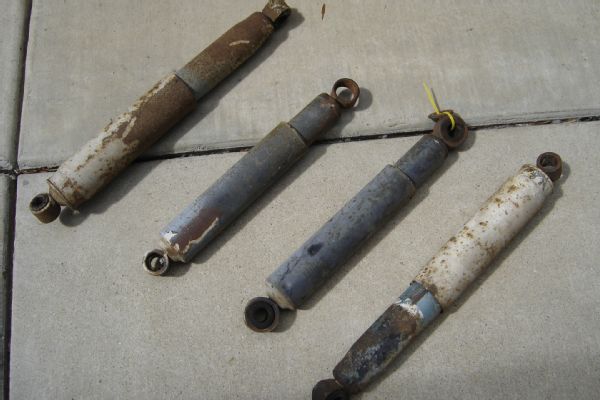
This shows why restoring everything is just not possible on most projects. These shocks were not only missing most of the rubber bushings but a few had no compression resistance at all and were completely shot.
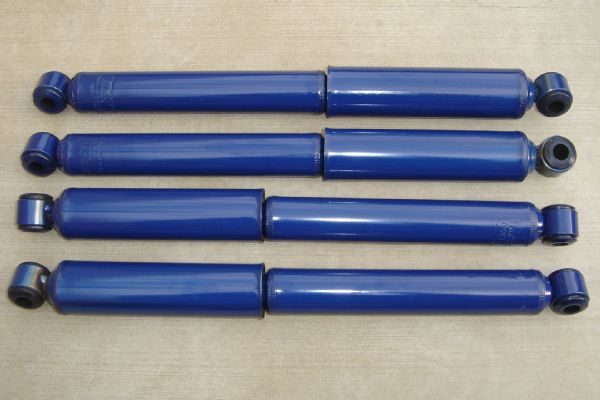
New shocks will not only help make the Jeep suspension stay in control on the road but will also help with aesthetics as the blue shocks will stand out against the mostly black chassis.
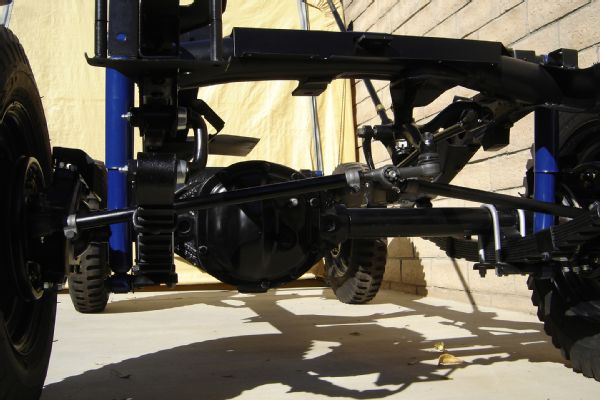
The last step in completing the chassis was the steering. With a rebuilt steering box, drag link, and tie-rod assemblies installed using various rebuild parts from Kaiser Willys Auto Supply, we’re now ready to start working on the drivetrain.