 Christian Hazel
Brand Manager, Four Wheeler
Christian Hazel
Brand Manager, Four Wheeler
Have you added a leveling kit to the front of your pickup but now when you tow or haul heavy cargo in your bed the nose of your truck points sky high like a flat-billed teenager’s wannabe prerunner? You could use air helper springs. Or maybe your heavy load needs to be unevenly distributed, causing the rear of your truck to lean to one side? You could use air helper springs. And perhaps your tow rig sways, leans, porpoises, or bottoms out once you load it to the vehicle’s max weight limit, because your factory springs are fatigued? You could use air helper springs.
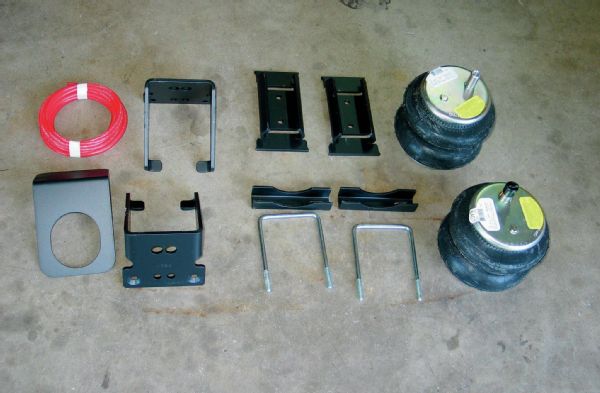 In addition to the double convoluted air springs, powdercoated brackets, zinc-plated U-bolts, heat shield, and line, our kit (PN 2299) for ’06-’08 Ram 2500 and 3500 trucks included all the necessary mounting hardware and air fittings to plumb the air springs together or individually.
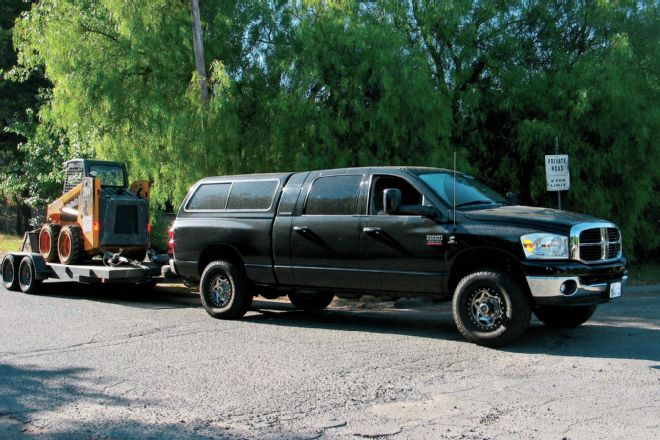
There are probably many other reasons you could use air helper springs, but if you’ve read this far into the intro, you could use—you guessed it. In our case, we had an ’07 Ram Mega Cab with a 6.7L Cummins turbodiesel. The truck was frequently used to haul heavy trailers holding heavy equipment or heavy off-road vehicles. Did we mention the word “heavy” enough? We got tired of feeling the rear bumpstops bottoming, so we pulled the trigger on a Firestone Ride-Rite rear air helper spring system. Ride-Rite’s PN 2299 fit our chassis and included a pair of high-quality double convoluted air helper springs with a combined capacity of 5,000 pounds, heavy-duty mounting brackets, hardware, and enough air line to plumb the air springs either together or individually. We also ticked the boxes on the company’s website for some optional extras that added on-the-fly adjustability, as well as the utility of onboard air. Ride-Rite offers bolt-on kits for a huge array of vehicles, so chances are better than not that there’s a part number that covers your vehicle as well.
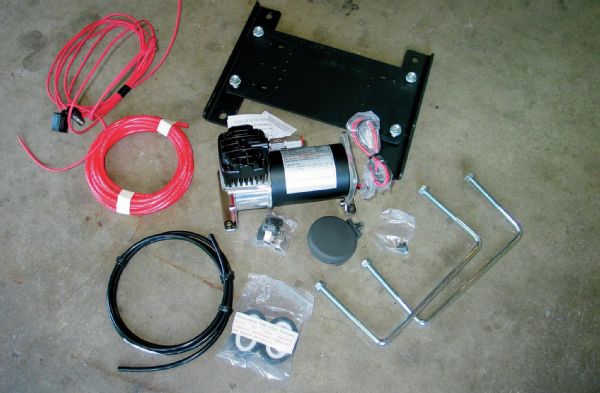 We ordered the optional Ride-Rite Air Accessory System (PN 2239). In addition to other components, the kit includes a 20 percent duty cycle compressor, compressor mounting bracket, hardware, and all the electric and pneumatic connections and fittings required to plumb it in the vehicle.
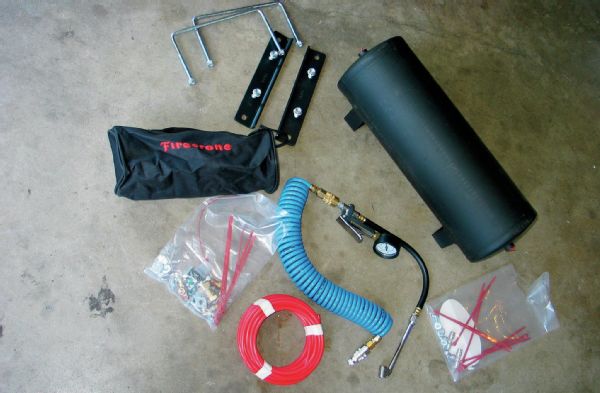 The rest of the Air Accessory System kit (PN 2239) includes an auxiliary air inflation kit and 3-gallon air tank with brackets and all the fittings. You literally have to buy nothing else with the PN 2239 kit.
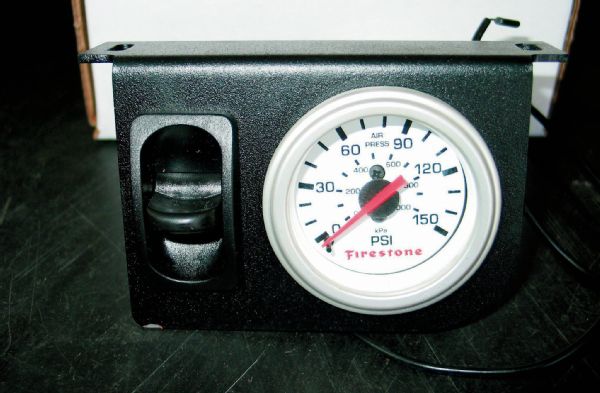 One optional extra we splurged on is the Air Control Accessory kit (PN 2225). Although Ride-Rite has other multiple control kits, we opted for the single control kit that operates both air springs together. It includes a control panel, 30 feet of air line, connectors, mounting hardware, and electrical connections.
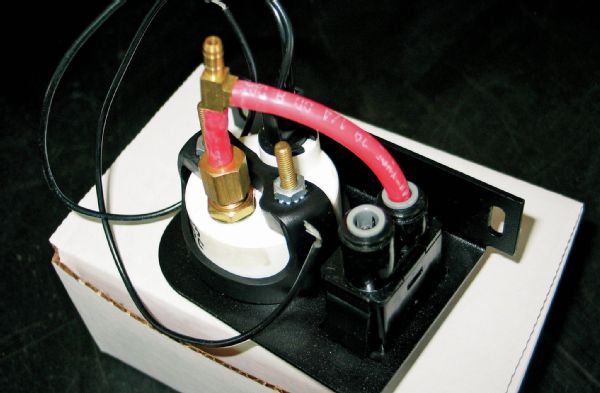 The one downside to mounting the Air Control panel in a modern truck interior is the pneumatic lines take up a bit of real estate behind the gauge, so you have to get creative in its mounting placement. It’ll all come down to your interior layout and personal preferences.
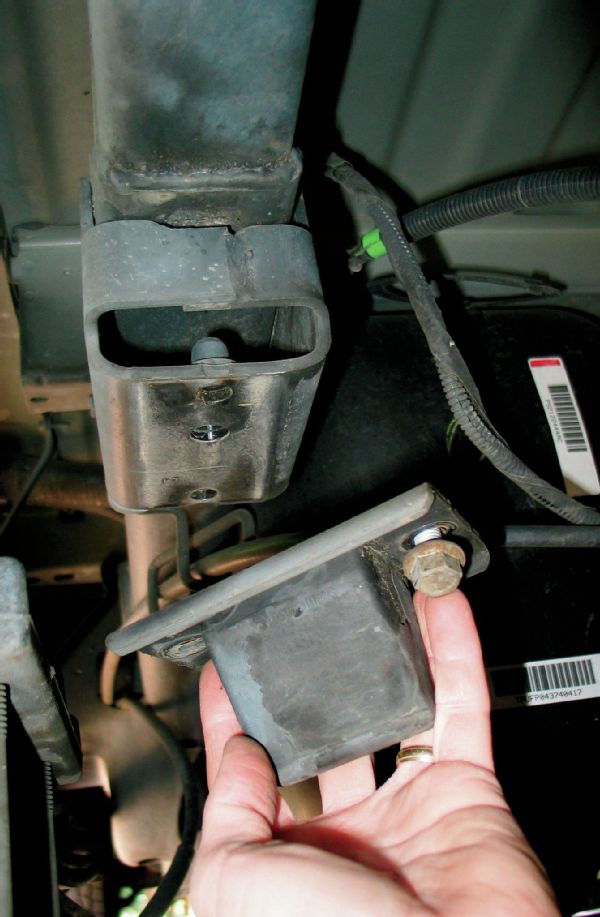 The actual installation of the Ride-Rite Air Helper Springs went down very fast. The first step is to remove the factory bumpstops.
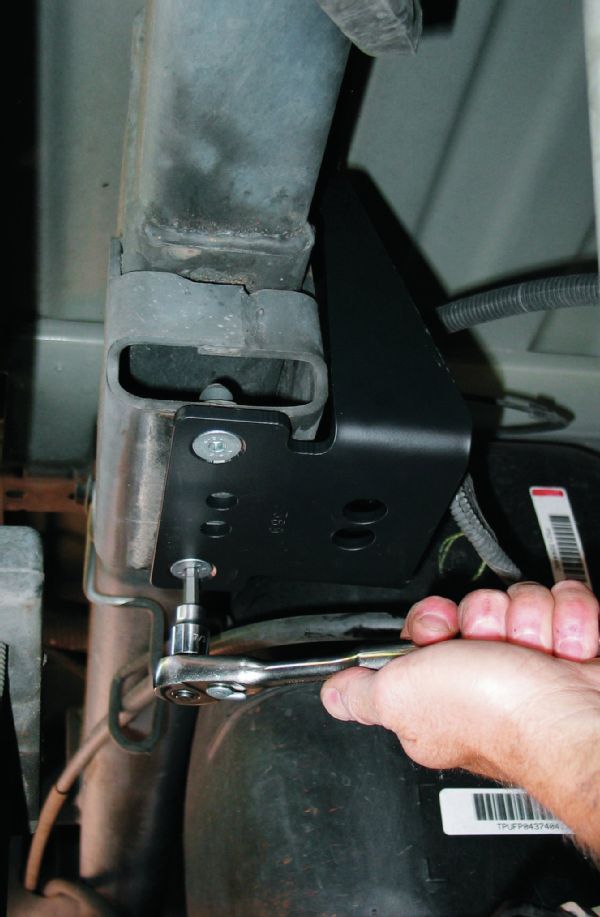 The upper bracket bolts to the bumpstop mounts using flush-mount, self-centering tapered bolts.
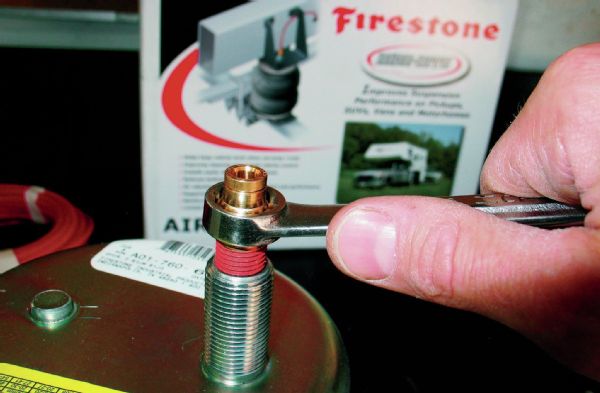 We made the mistake of prepping the air springs beforehand by installing the air line fittings. Wait until the air springs are installed, because the mounting nuts won’t fit over the brass fittings. All of the line fittings are a simple push-lock—Just make a square cut of the plastic air lines and push them in. It’s stupid easy.
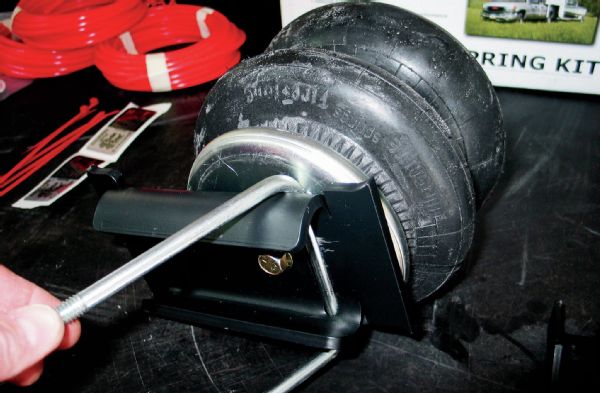 Bolt the air springs to the lower bracket and position the included U-bolts through.
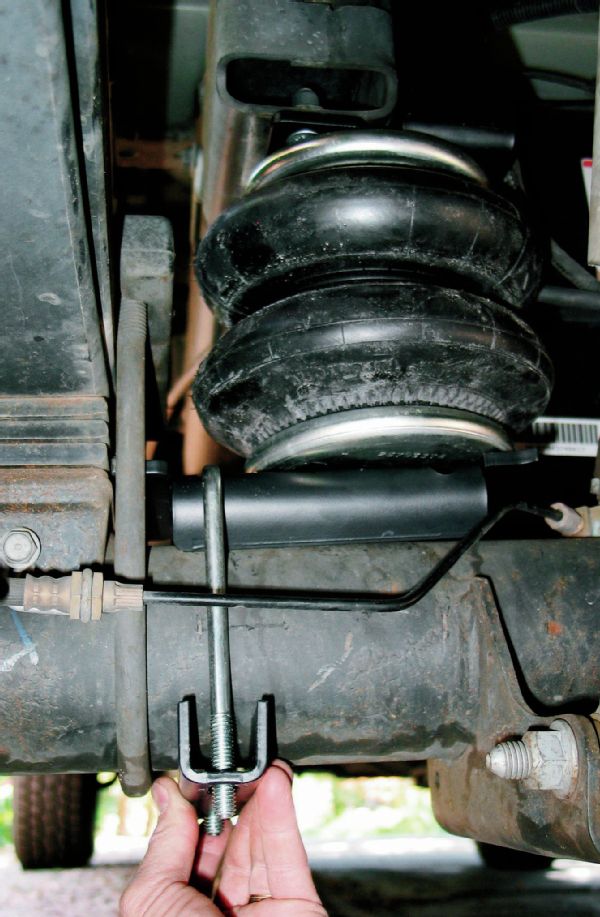 A single U-bolt on the axletube is all that’s required to keep the system in place.
 With the lower U-bolt tightened up, install the upper hardware and tighten to spec. Then you can install the brass air line fittings in the top.
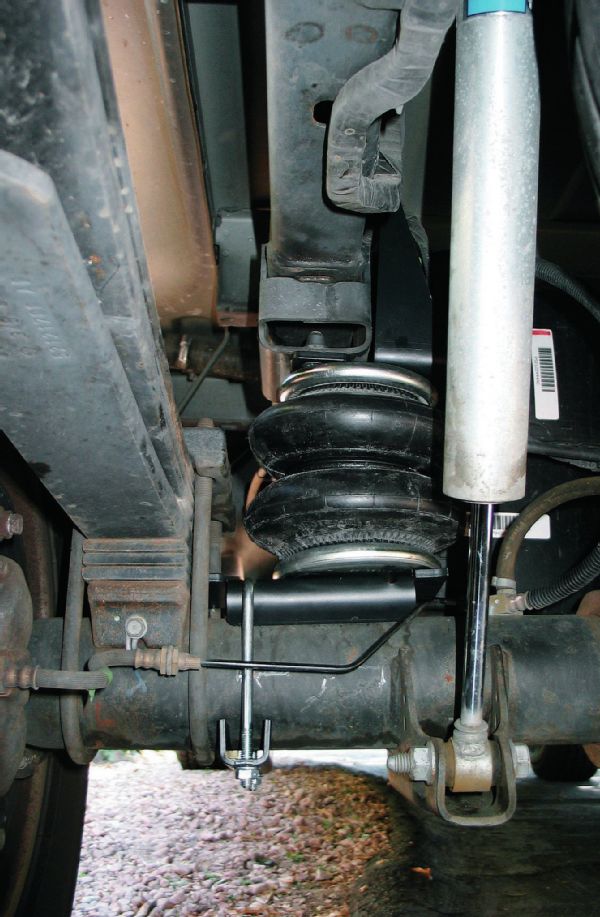
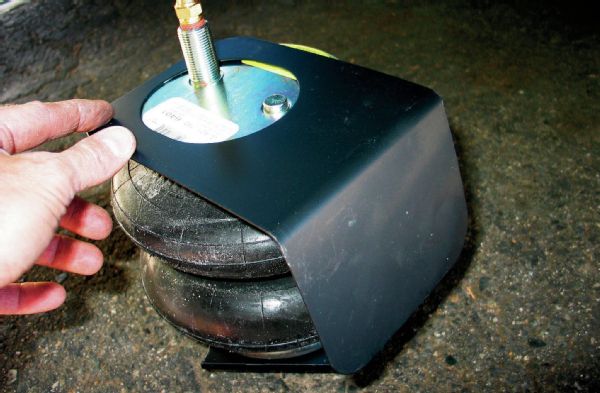 The passenger-side bag uses this heat shield to protect the bag from the heat of the tailpipe.
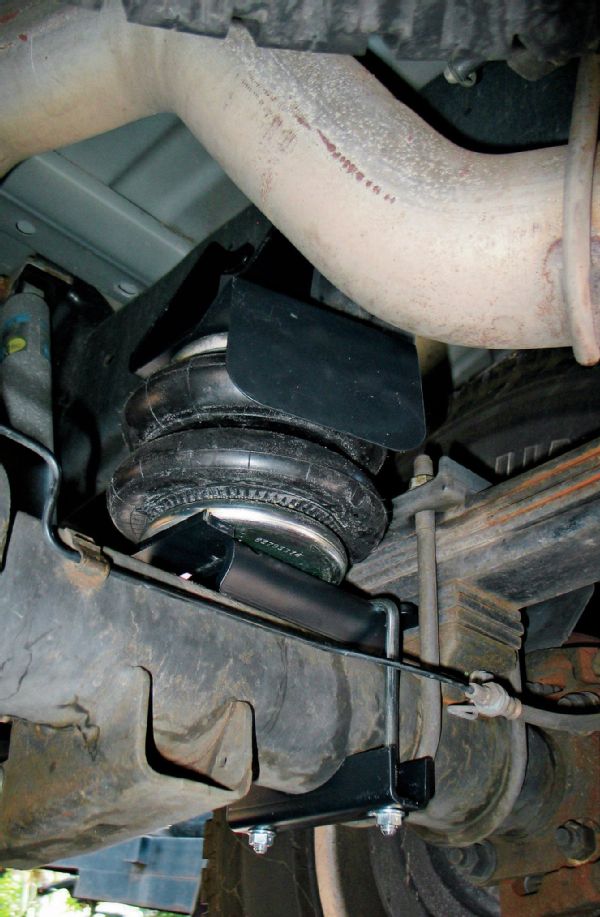 We had plenty of clearance with our factory exhaust, and it seemed we’d have no trouble with larger-diameter aftermarket tailpipes.
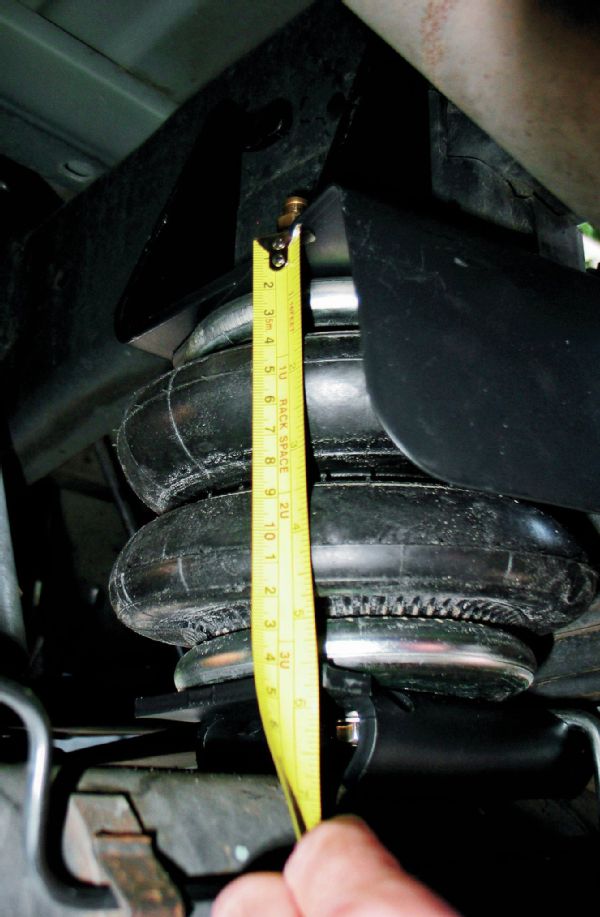 With the mounting hardware fastened, you want to make sure you have between 51⁄2 and 7 inches between the upper and lower mounting brackets. This will prevent the bag from acting as a limiting strap on extension. To prevent damage on compression, Ride-Rite suggests keeping at least 5 psi in the air springs for normal driving.
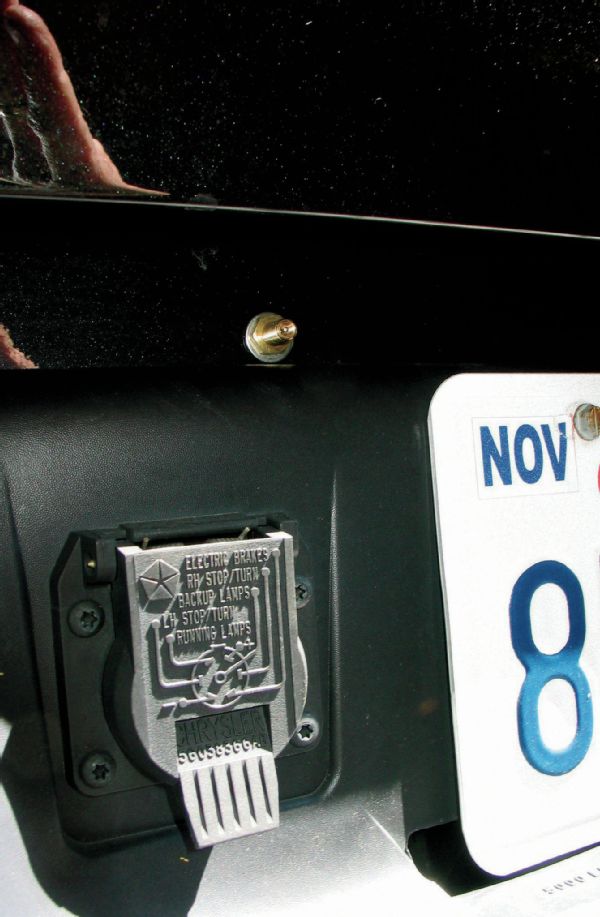 We plumbed our air springs together so they would inflate equally side-to-side. We then installed a T-fitting and ran one end into the in-cab control panel and the other to this Schrader valve mounted under the tailgate so we could either manually or automatically inflate the springs.
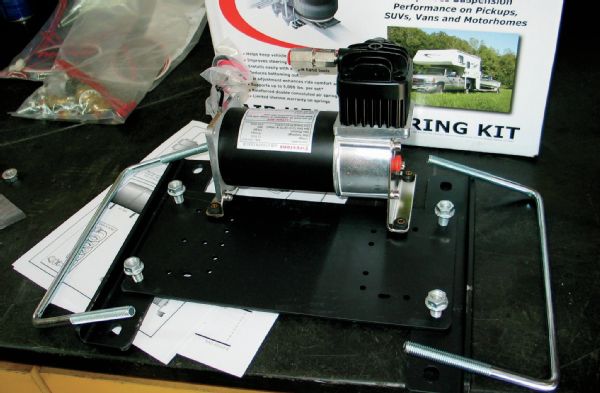 The supplied brackets allow many different ways to mount the compressor. Most will opt to mount the compressor to the framerail using the supplied U-bolt mounts, but we snuck ours up under the bed on a custom bracket we fabbed up.
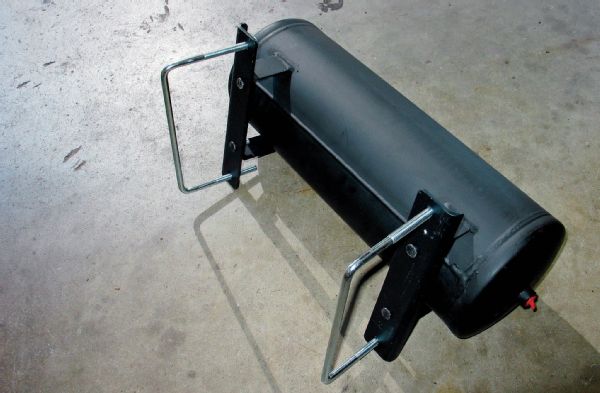 The 3-gallon air tank also includes large U-bolt brackets that will easily fit most 3⁄4 and 1-ton framerails.
 We hemmed and hawed over placement for a long time. The most obvious spot was right on the outside of the framerail straddling the T-case crossmember, but we eventually decided to omit the tank from our system, and saved it for a Jeep buildup with onboard air.