Lamps are an important part of any car restoration. The process usually isn't too tricky, but it can gobble up a good-sized chunk of sweat equity. For many folks (us included), time is more available than dollars, so it's a no-brainer: We can do this ourselves. So can you. Refurbishing a set of lamps isn't tough, provided you have all of the hardware. The task can be handled in a weekend (not counting the time to paint or powdercoat).
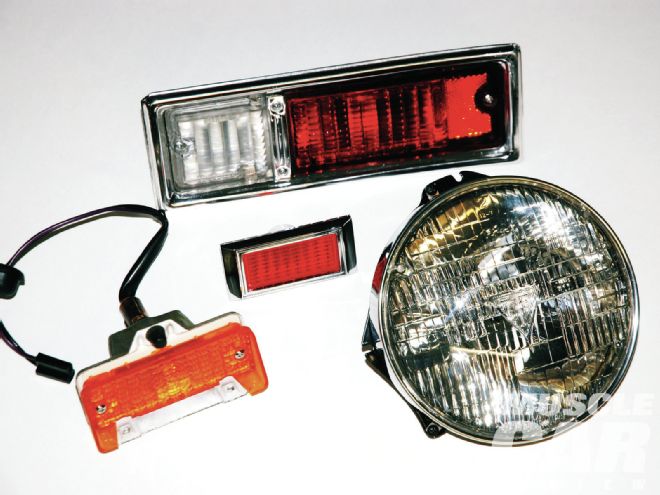
Follow along for a look at how we restored a complete set of lamps from a 1969 Chevrolet Nova. What works on this car likely works on every other muscle car built. Show 'em your taillights. And be proud of it!
Finding the bulb part number for a given light assembly isn't easy. Most General Motors parts catalogs don't have the respective numbers listed. We pored over parts catalogs, assembly manuals, and other sources of information, only to come up blank. Instead, the correct bulb numbers were found intermittently in one of three sources: the factory service manual, the overhaul manual, and (believe it or not) the owner's manual.
The accompanying chart lists the appropriate taillight and side-marker lamp bulb numbers along with the candlepower ratings for '69 Chevelle, Camaro, and Nova models. As for lamp identification, most vintage Chevys used lamps manufactured by the old Guide Division of General Motors. When you examine a lens closely, you'll discover a raised code molded into the part (something like a casting number). Here are examples of such codes.
Side-Marker Lamps
Example: Guide 13 SAE P1 69
The code breaks down as follows: Guide 13 is the manufacturing code number; SAE P1 indicates the Society of Automotive Engineer's Specification P1 for side-marker lamps; 69 is model year. Both the front and rear side-marker lamps are coded identically, even though the front lens assemblies are amber while the rears are red.
Taillamps
Example: Guide 12 SAE STDBR 69
As before, Guide 12 is the manufacturer's code, SAE indicates the Society of Automotive Engineers, and 69 is the model year. Don't be too quick to use the model year on the lamp as a definitive ID characteristic. A lamp was often carried over from year to year (on this '69 Nova, many lamps have a "68" date code). As far as STDBR goes, it could be part of the SAE code, but we can't confirm it.
1969 Chevrolet Bulb Numbers Candlepower Chevelle Camaro Nova Tail/Stop/Directional 3-32 1157 1157 1157 Backup 32 1156 1156 1156 Front Side-Marker 2 194 194 194 Rear Side-Marker 2 N/A 194 194 License 4 67 67 67Parts Department
Here's a list of the components we used during the lamp restoration. All were sourced from Classic Industries.
Description PN Headlight ring retainer screws G7842 Headlight adjuster kit C1402 Park lamp lens gasket 4157 Side-marker lamp bezels K72 Side-marker lamp gaskets (outer) K837 Side-marker lamp gaskets (inner) N3013 Taillamp lens gaskets W4158 Taillamp-to-body gaskets 7730113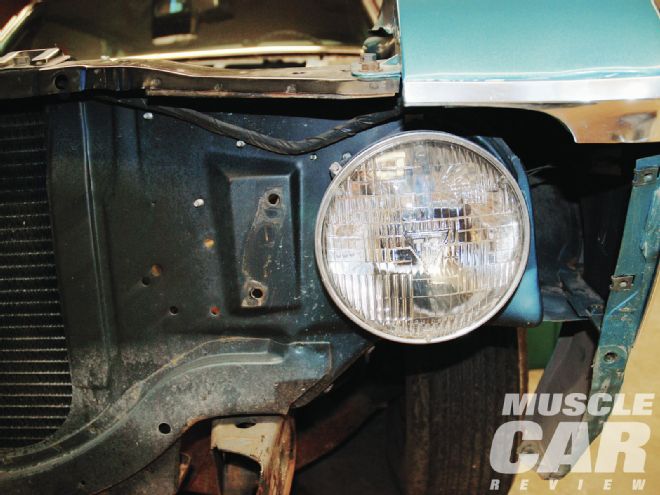
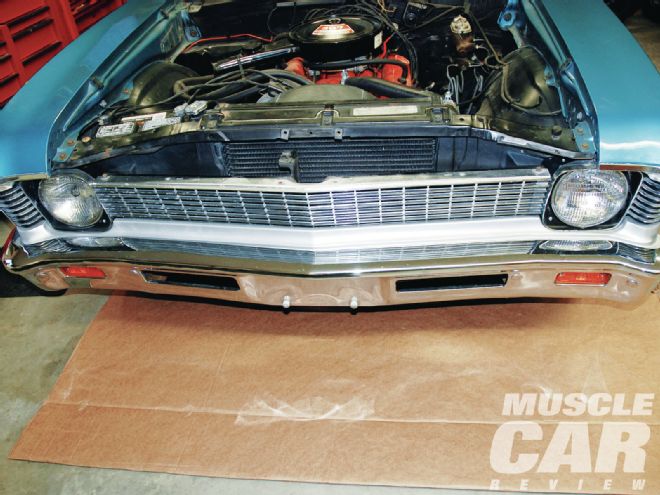
1 We started with the headlights. Here the car is being disassembled for restoration.
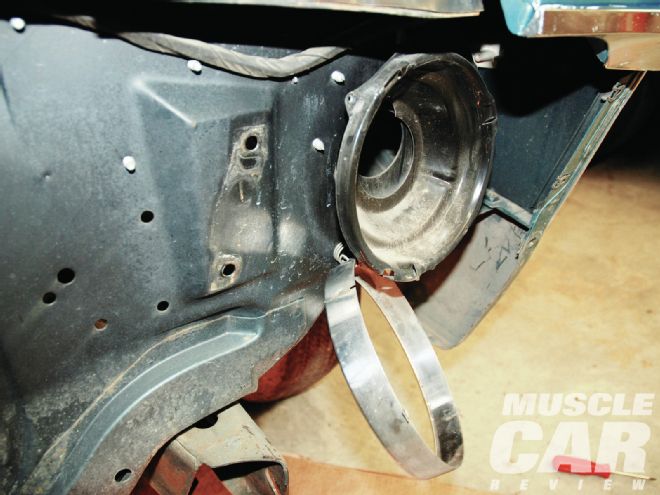
2 The original T3 lamps were removed for safekeeping, then the buckets, trim rings, and small parts came out. We sent the buckets out for powdercoating in semigloss black.
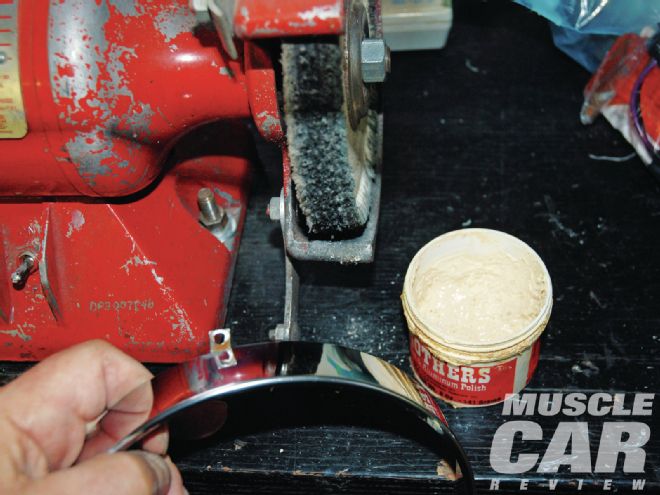
3 The lamp rings were in nice shape, so we slathered them in Mothers polish (any good aluminum polish works) and gently buffed them. Gentle is the operative word here, folks. Too heavy a hand will bend the stainless. Be careful.
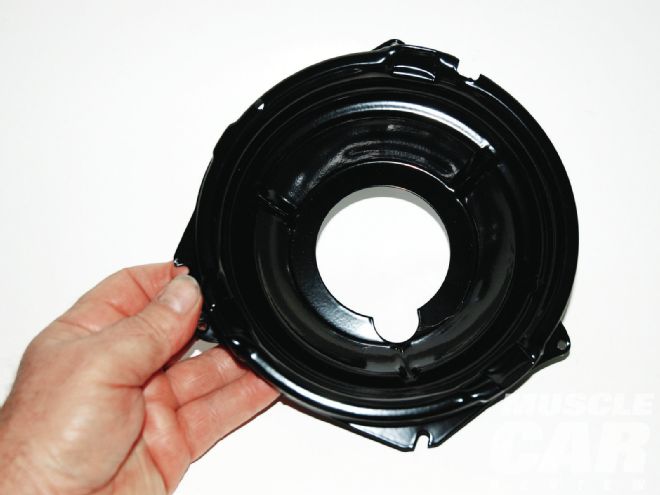
4 Here's one of the headlamp buckets hot out of the powdercoating oven.
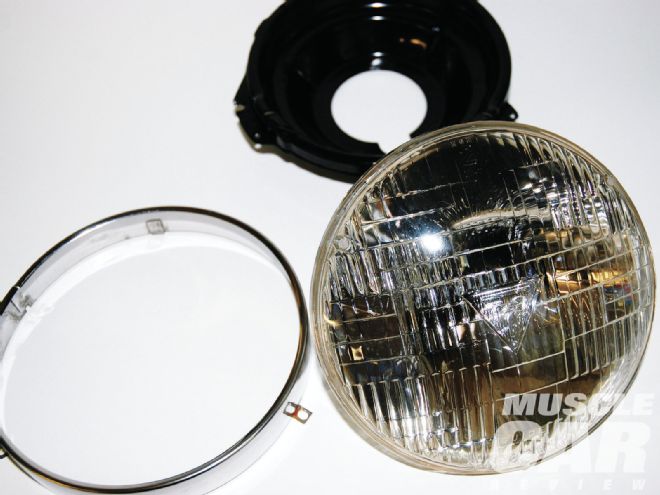
5 The original T3 lamps were cleaned and detailed. Windex works perfectly. We use it regularly.
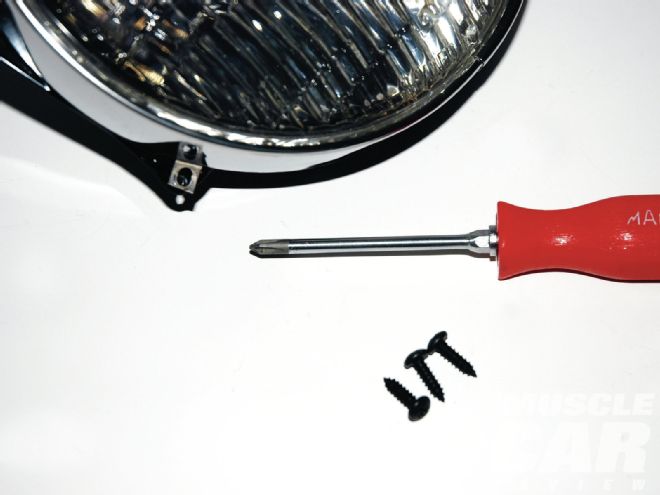
6 Classic Industries sells these screws for installing headlamp rings. They're slightly oversize, which is perfect for older cars with lamps that have been reinstalled multiple times.
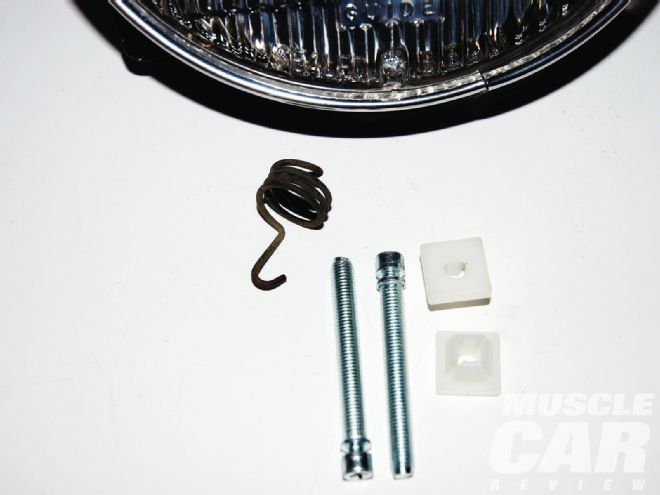
7 Here are the adjusters we'll use when the car goes back together. The plastic buttons clip into the radiator support, and the adjusters screw into them. The spring holds the works together. Reproductions are available too, but our examples were in good shape, so we just cleaned them.
8 Next up were the parking lamps. It's a simple matter to strip the assemblies, as shown here. We cleaned the park lamp housings with Windex and a toothbrush. If you soak the lamp housings for a half-hour or so, much of the crud will fall off.
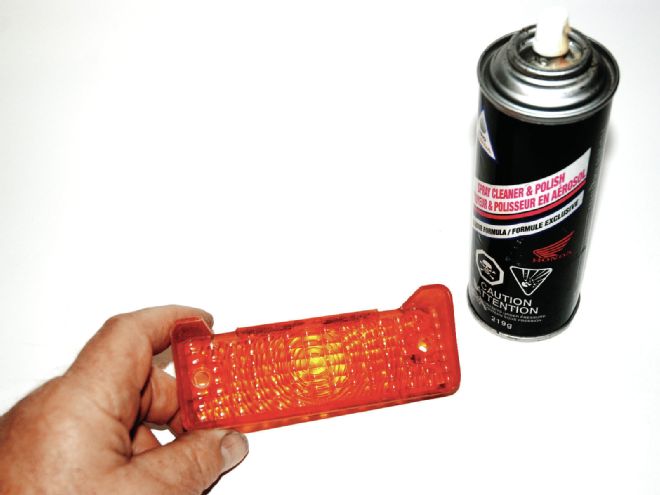
9 Lens assemblies are easy to clean: Bathe them in Windex and polish them. We prefer Honda motorcycle windscreen polish, as it's gentle and perfect for the task. Most car care companies offer plastic polish that works well too. If your lenses are damaged, reproduction replacements are readily available.
10 We reassembled the works with new gaskets from Classic Industries and installed a fresh bulb. (See the sidebar on bulb types.)
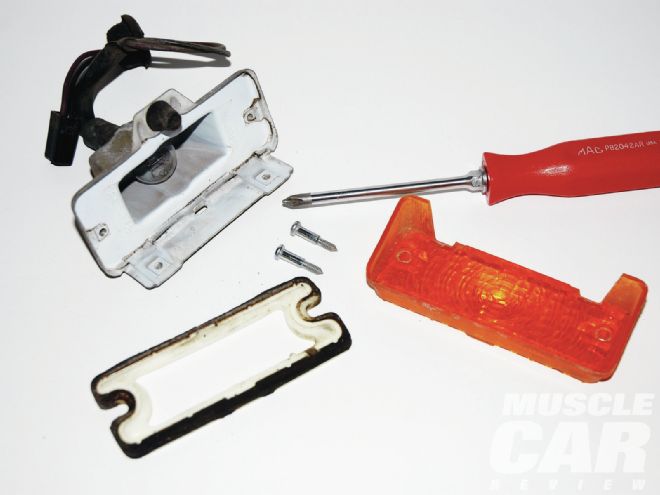
11 The license plate light is an easy restoration too. It quickly disassembles by way of a Phillips screw. In our case, it was simply a matter of cleaning all of the bits, polishing the lens, and putting it back together. Like other pieces mentioned here, you can buy complete reproductions if necessary.

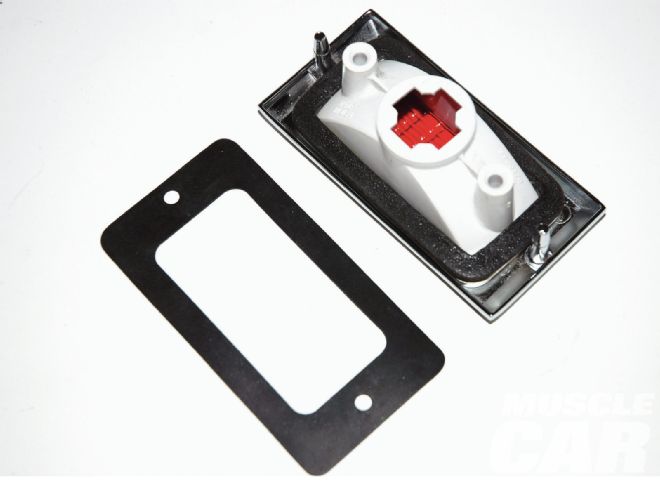
12 Side-marker lamps were next on our list. While we just show the back assemblies, restoration of the fronts is pretty much identical (although Chevy never used a gasket between the lens and the fender on the front).
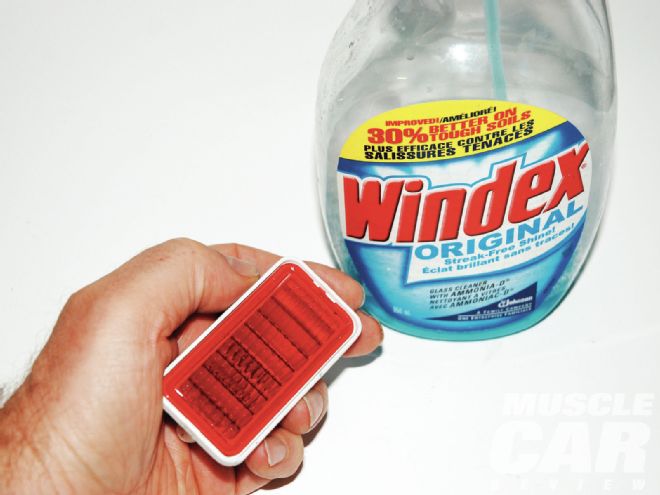
13 Cleaning with Windex and a toothbrush is first, followed by polishing using the plastic polish mentioned earlier.
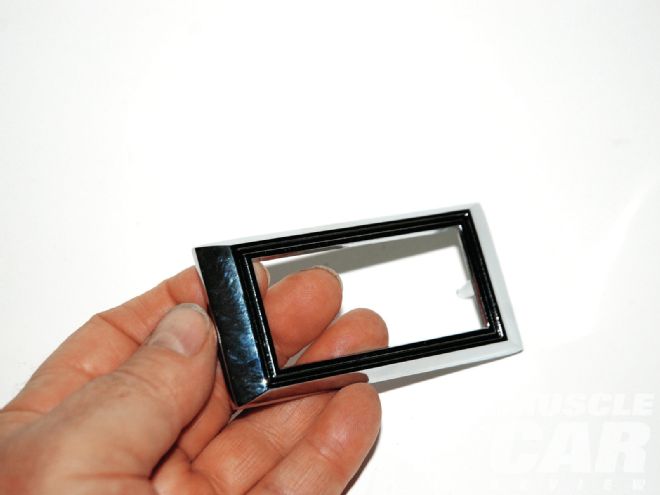
14 The chrome bezels for our side-marker lamps were damaged. It looked like they were ground with a DA sander (the car had been repainted once in its past life). The edges were definitely rough! Our solution was to obtain reproduction pieces from Classic Industries.
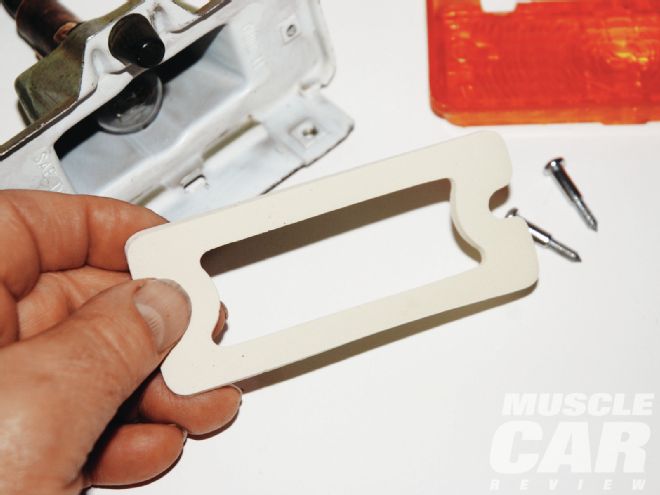
15 When buttoning up a set of side-marker lamps, you have a couple of gasket options. The OE setup used a gasket behind the lens body. The aftermarket offers that part but also offers a gasket that affixes to the bezel studs. Take your pick.
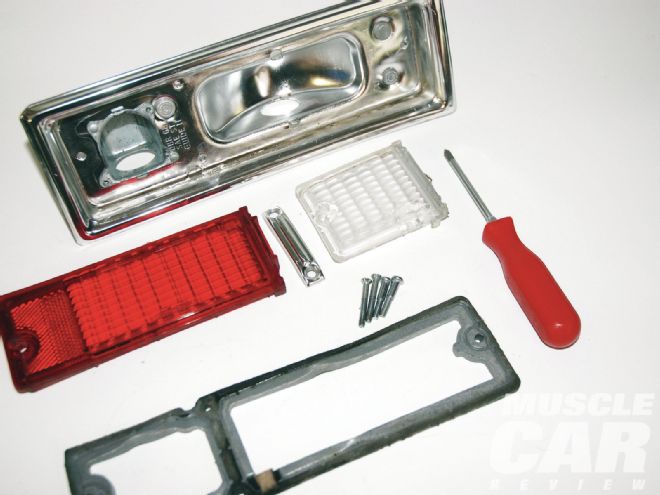
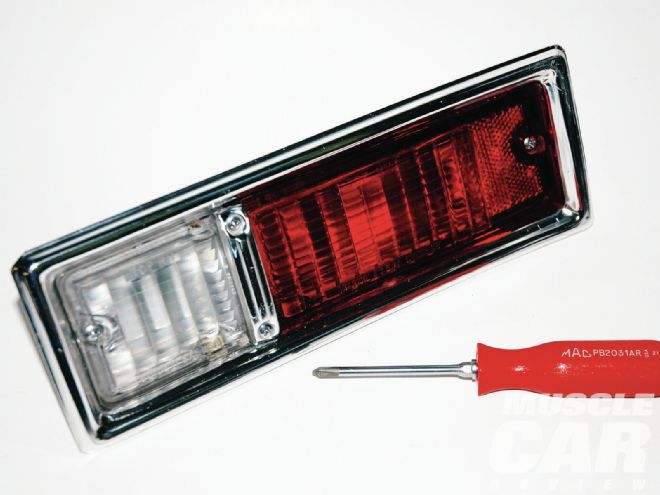
16 The taillights were last on our list. First, we disassembled the works. As you can see, it's all rather basic, held together with Phillips screws. We cleaned the housings with (you guessed it) Windex. If you run into a stubborn spot, a shot of carb cleaner works, but don't get carried away, as it can sometimes melt plastics.
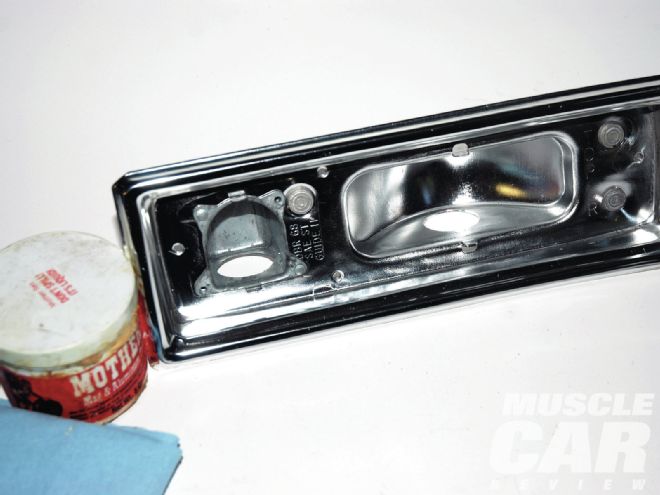
17 Next, the housings were polished using the same process we used previously (mag wheel polish and a buffing wheel). The lens assemblies (two-piece jobs in our application) were cleaned and then polished.
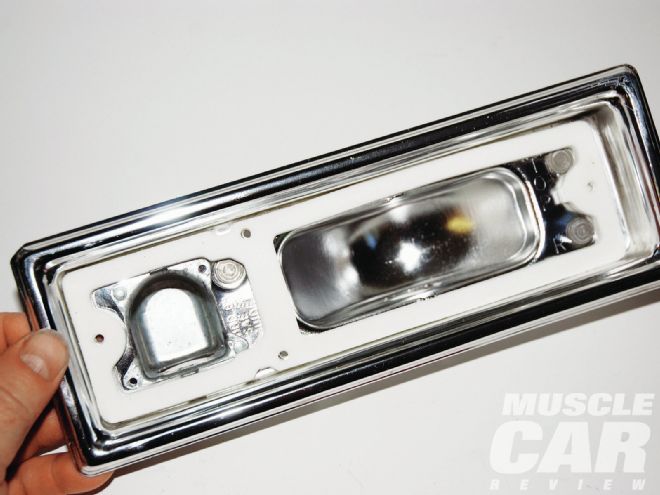
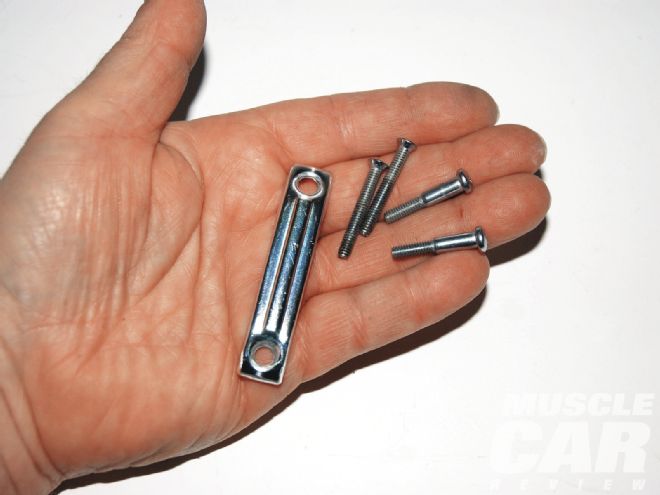
18 Here's the completed housing along with the divider trim piece that splits the taillights and the backup lamp. The stock hardware was polished as well, and then the taillight was assembled with new gaskets. MCR