When we last left our "Low Dollar Dart" project, it had a run a less-than-stellar 15.09 at 94 mph in the quarter-mile, thanks in part to its mile-high 2.76 gear ratio. Since our goal was quick e.t.'s at the track, one of our first steps was to up the gearing to a numerically higher ratio so we could get off the line a whole lot quicker. Based upon our current 5,500-rpm shift point, we selected 3.55 gears as a compromise between streetability and track performance. Sure 3.91s might be a little quicker at the track, but we weren't willing to live with more than 3,500 rpm at freeway speeds.
Why Does Gearing Make a Car Faster?
The peak power rating of an engine is what virtually everyone uses as a measuring stick of performance, but in drag racing, what actually matters is the average power that the vehicle puts down when going down the track. In our case, we could leave at about 2,200 rpm if we were really leaning on the converter, so the power that actually matters could be measured from 2,200 rpm to our 5,500-rpm shift point. With steeper gears, the vehicle will get into the powerband quicker right off the launch, with a good bump in Second gear also. Toward the top end of the track, the acceleration rate will be about the same, but by then, the steeper gears will have already made quite a bit of difference.
Buying a Centersection
Luckily for us, the 8-3/4 Mopar that came with our Dart has literally hundreds of used pumpkins floating around the Internet, eBay, Craigslist, and even local papers. With a new centersection coming in at upward of $1,500, it was looking like used was going to be the way to go to keep with our low-dollar theme. Fortunately for us, after a few months of searching, we were able to score a less-desirable small-pinion 741 case centersection with 3.55 gears and a posi for $300. Since the price was right, we weren't going to quibble over the used gears or questionable posi, and we plunked down the cash for the purchase.
Installation
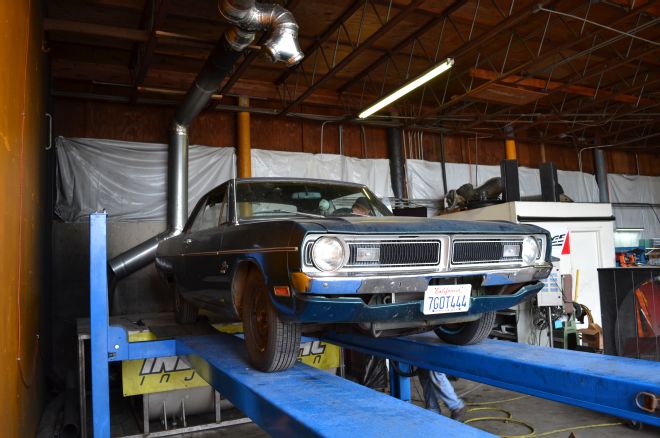
Vintage Hot Rod Design and Fabrication in Chico, California, was sympathetic to our cause and offered to help us out. As long as we were OK with a used no-parts warranty (and we were), they were willing to walk us along on installing the new gears in our Dart. As it turns out, it's a good thing that they did, as we found a number of errors that a previous shop had made when replacing an axle seal. In good hands, we let mechanic Jody Wilson show us the path to more performance, with a 8-3/4 centersection swap.
Performance Testing
Per Jody's instructions, we went a bit easy on the gearset for the first 50 miles, as he said it was better to be safe, even with used gears. After we couldn't take it anymore, we hooked up the G-tech again and made another run. Virtually every part of the pass was quicker, the 60-foot time dropped from 2.54 to 2.27 seconds, and the 0–60-mph time went from 6.68 seconds to 6.25 seconds. We wish we could give you times past that, but our Dart decided to alert us to the next modification it needs by sputtering and almost dying at about 70 mph. Either our fuel filter is clogged or our stock fuel pump is tapped out. Either way, we expect the gears to be worth a good half second in the quarter-mile, which isn't bad for the same amount of engine power. Speaking of power, we were able to get the ’71 on a Superflow dyno at Total Performance Diesel in Santa Rosa, California. Based on our trap speed, we figured around 192 hp at the wheels, and we actually weren't far off—as the car made 197 hp at the tires. What really impressed us, though, was the power curve; the 360 had a diesel-like curve, flattening out at peak power from about 3,500 to 5,000 rpm.
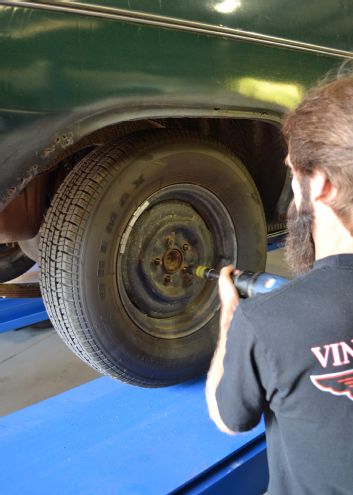
1 Our first step after we got on a lift at Vintage Hot Rod was to remove the wheel, tires, and brake drums (which should simply pull off). Be aware that some 8-3/4 rearends have reverse-thread lugs on the passenger side of the vehicle, so you'd actually turn right to loosen them. Our rearend (whatever it was out of) had the standard threads on both sides.
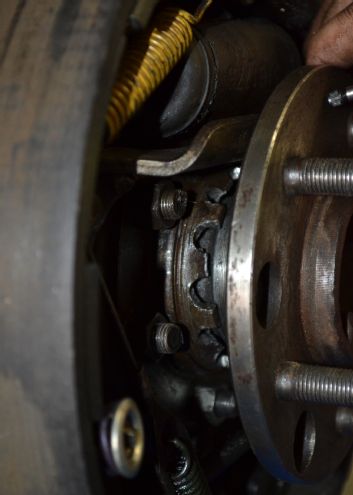
2 After the brake drums were off, taking the axle retaining nuts (which can be accessed through holes in the axle) and the rotating lock-ring was the next step. Note that there’s a metal tang on one of the retaining nuts that holds the lock-ring, which should be kept safe for reinstallation.
3 After the axle was removed, Jody checked the splines on our used posi to make sure everything lined up. "A lot of people cobble these things together with junk parts and then sell them online or at swap meets," Jody noted. Ours turned out to be OK, so we went ahead with tearing the rest of the rear axle apart.
4 Next, Jody removed the driver side, just like the passenger side. It was then he noticed that the axle seal was installed improperly and had leaked and washed all the grease off of the axle bearings. Fortunately, there was no damage.
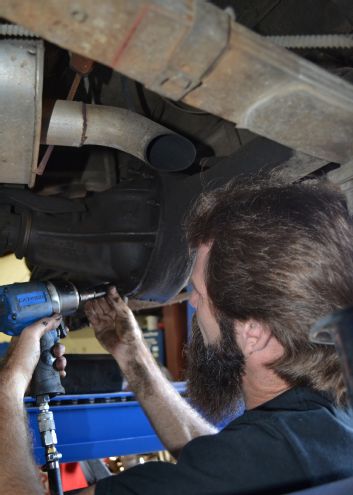
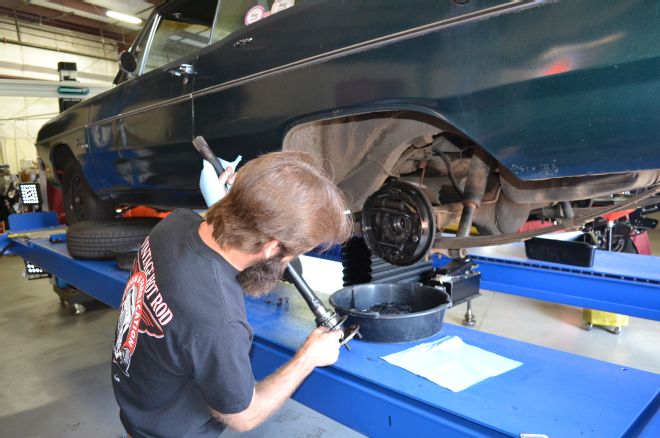
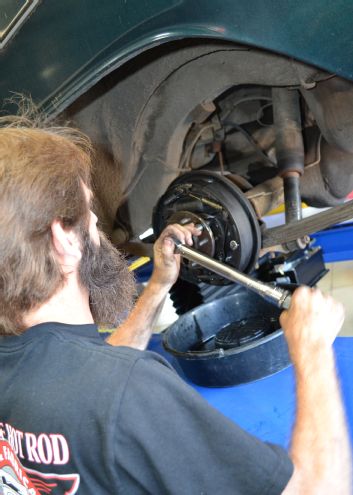
5 With both axles out, the whole centersection could be unbolted and drained. Either a lot of elbow grease or an impact gun can be helpful at this stage if the bolts have been on there for nearly 50 years.
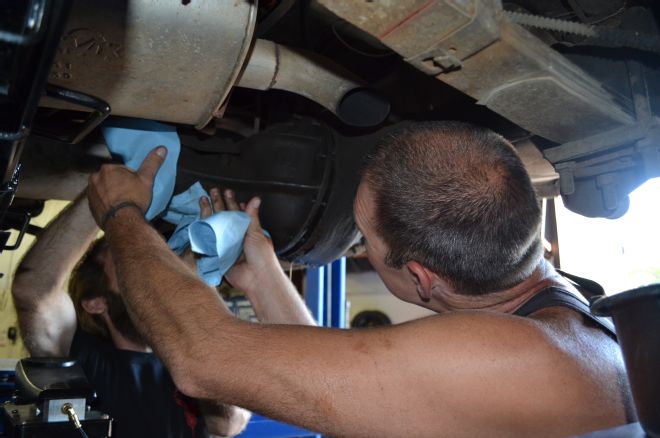
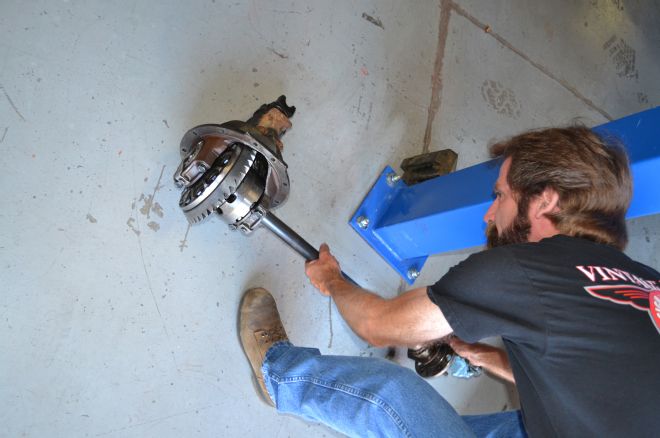
6 With the help of fellow employee Paul Bowman, Jody drained and then dropped the centersection. When performing this task, make sure both the rearend and car is secure, as the pumpkin may require some prying and jiggling to remove.
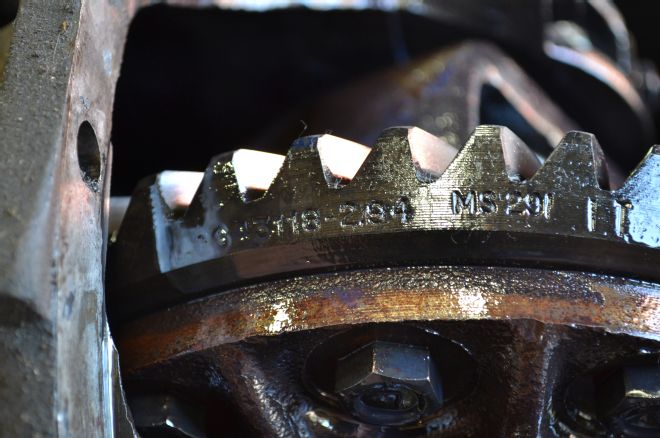
7 After saying we had 2.76 gears about 10 times in our first two articles, we discovered we actually had a 2.94:1 ratio. We still anticipated a leap in quarter-mile performance with a step up to 3.55 gears.
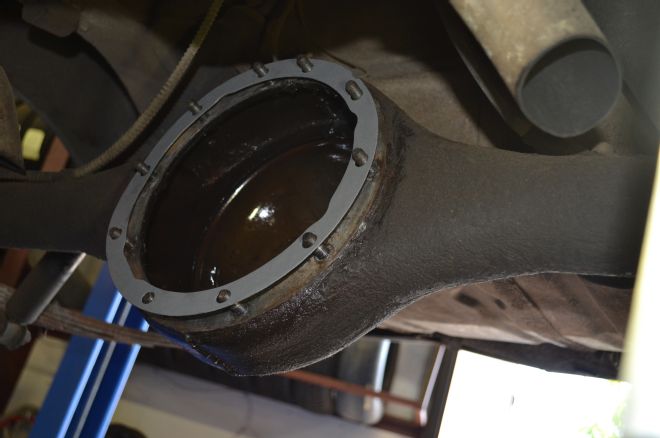
8 We'll spare you the time spent gasket scraping and skip right to the installation of the new centersection gasket. Make sure you get the right one, as most parts store guys will give you a blank look when you tell them you have an 8-¾ A-body rear axle."
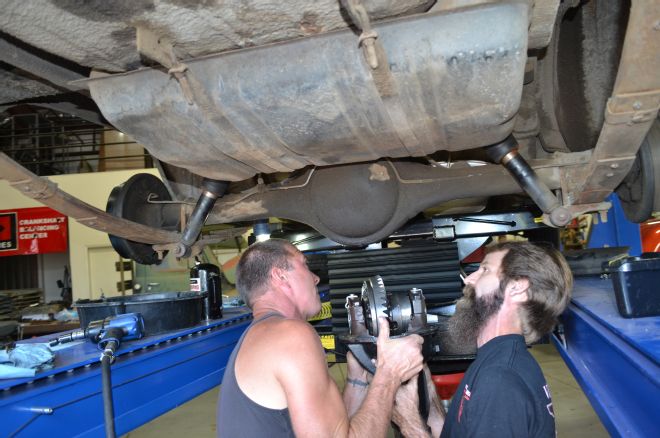
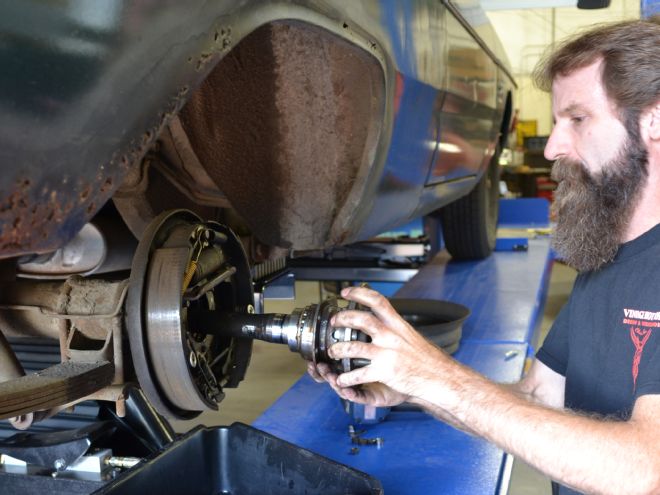
9 With the new gasket in place, it was time for Bowman to help again, as the new centersection was lifted into place. It had just been removed from another car by its previous owner, so we didn't have to clean it up at all—we just dropped it right in.

10 Once the new 3.55 centersection was in place, the nuts to hold the pumpkin in place were torqued down to 45 ft-lb, followed by the U-joint caps to 15 ft-lb.
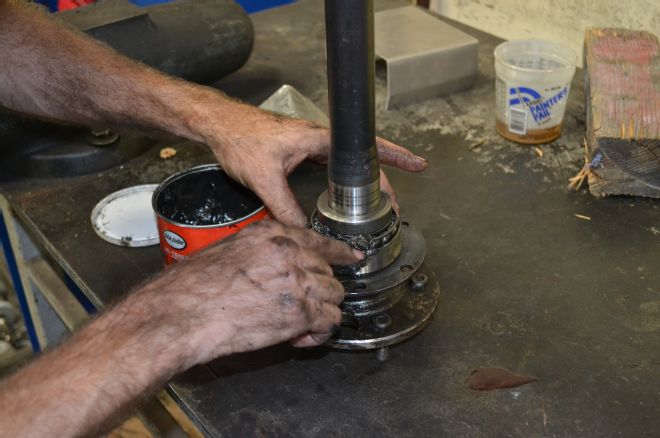
11 Jody had indicated that now would be a good time to re-grease the axle bearings, as they're a press-on design and often filled with decades-old grease. Ours especially needed more grease because of the improperly installed seal that Jody had found earlier.
12 After a new driver-side axle seal was installed, the re-greased axleshaft was then slid back into the tube and the axle retaining nuts were torqued down to 35 ft-lb.
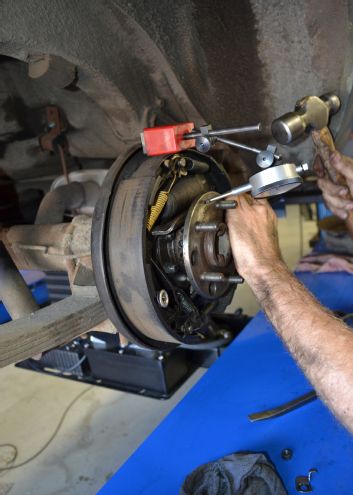
13 A dial indicator was the only specialty tool that was needed for the install. The endplay was set by rotating the bearing adjuster until the dial indicator read the recommended 0.08-inch spec.
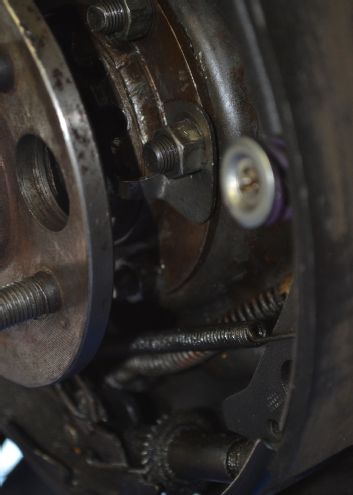
14 After the passenger-side axle retaining nuts were torqued down, one of the nuts was backed off and the locking tang was installed to keep the bearing adjuster from rotating.
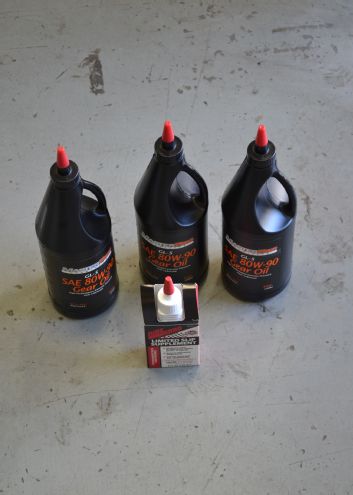
15 The final step before we hit the road was to fill the differential with roughly 3 quarts of 80W-90 oil until it ran slightly out of the fill hole. We also added an friction-modifying additive for the limited-slip clutches so it wouldn't chatter around tight turns.