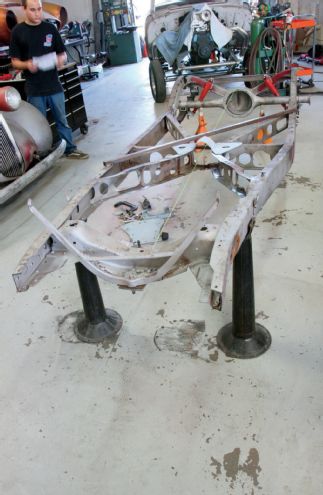
Previously, we followed Circle City Hot Rods' (CCHR) Jimmy White and crew as they carefully resurrected the shop's '40 Ford pickup chassis. As mentioned, the old hot rod had definitely seen better days—but its future was quickly starting to look brighter...much brighter.
Not only had the pickup been the recipient of some rather questionable frame mods—most via torch and stick welder—it had experienced nearly 75 years of use, abuse, and whatever Mother Nature could throw at it. CCHR's practice of "perfecting the antiquity" would not allow any of that evidence remain; but at the same time, the project had somewhat of a tighter budget, which for some may pose a bit of a quandary...how to properly clean up a '40 vintage frame without cutting any corners? As most of you may have already witnessed on our last visit—no corners were cut (quite the opposite, literally), and budget constraints were easily met simply by utilizing Chassis Engineering's (CE) quality components.
With CE's bolt-on parallel leaf kit now installed, focus turns toward the frontend: swapping out the old straight axle for CE's 4-inch dropped I-beam, re-splitting the wishbone, and reconstructing the forward X-member with their bolt-in kit.
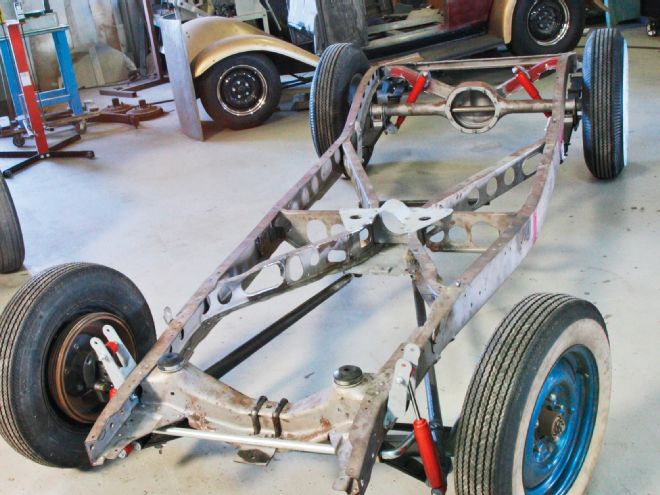
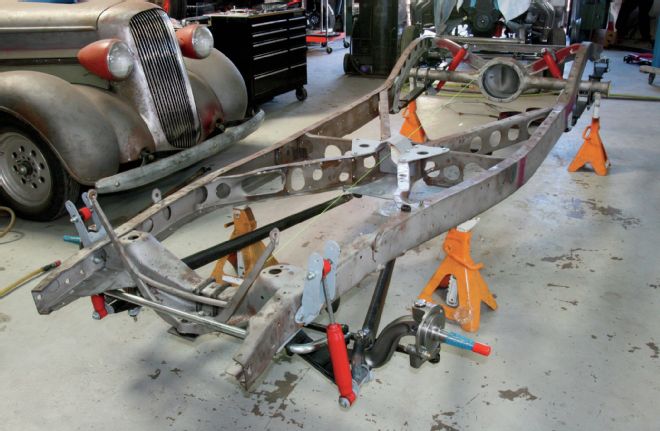
1. Circle City Hot Rods left off with the rearend rehab on the '40 Ford pickup chassis last time; resurrection continues with the center and forward portions of the used and abused frame.
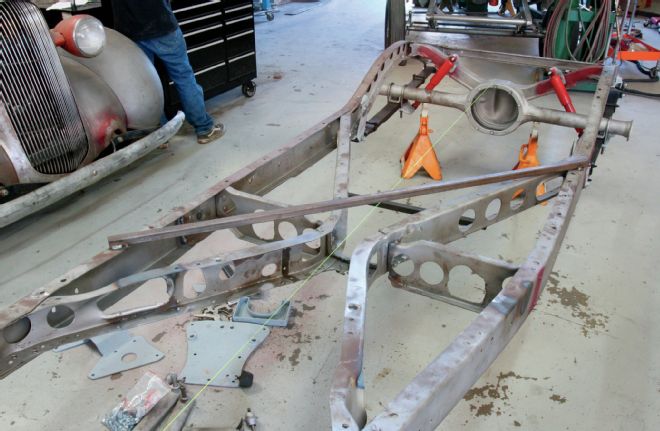
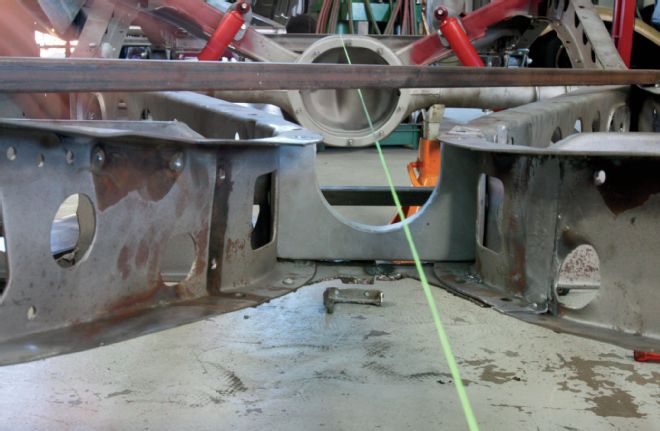
2. Chassis Engineering's bolt-in Center Tunnel Clearance and Transmission Mount will not only do what its name suggests—provide drivetrain clearance and provide a proper mounting location for the auto trans—it ties together the weakened X-member.
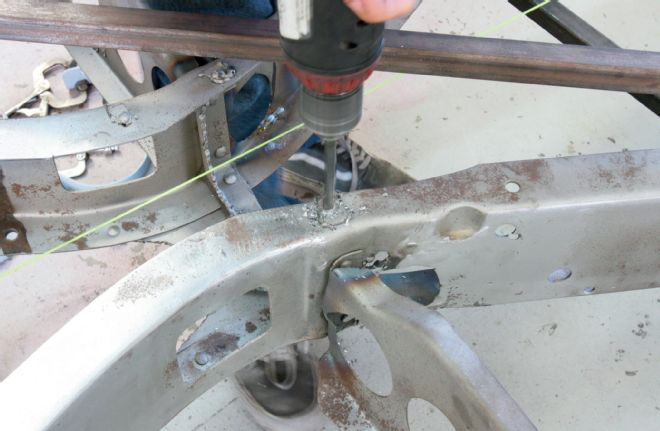
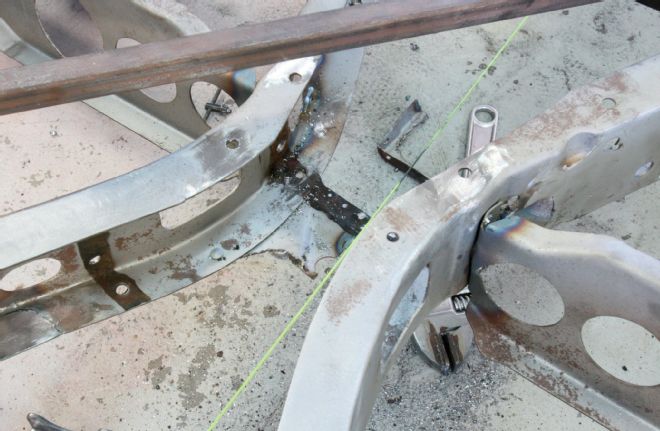
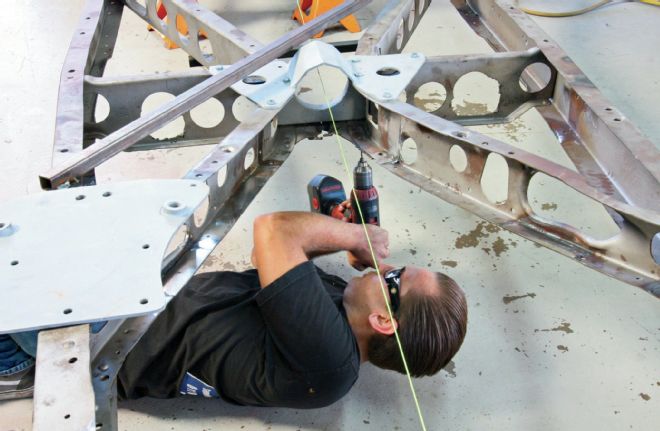
3-4. Though previously butchered up quite a bit, the rivets attaching the old torque-tube/trans mount section are located and drilled out first. Note the frame has been crossbraced prior to the centersection being removed to prevent any 'rail movement/flexing.
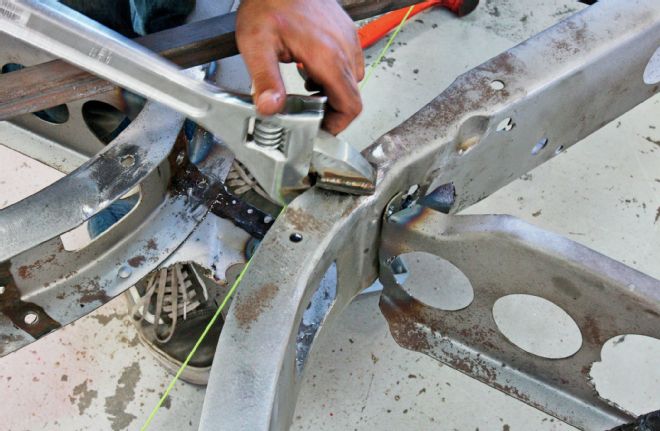
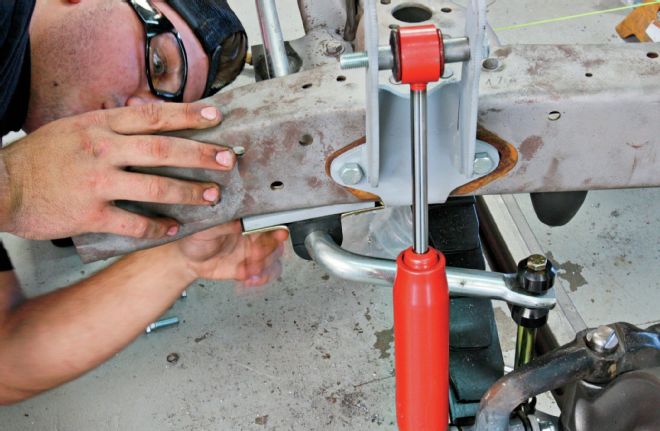
5. With a specifically modified framerail attitude adjustment tool, the 'rail flanges of the stock X-member are flattened out.
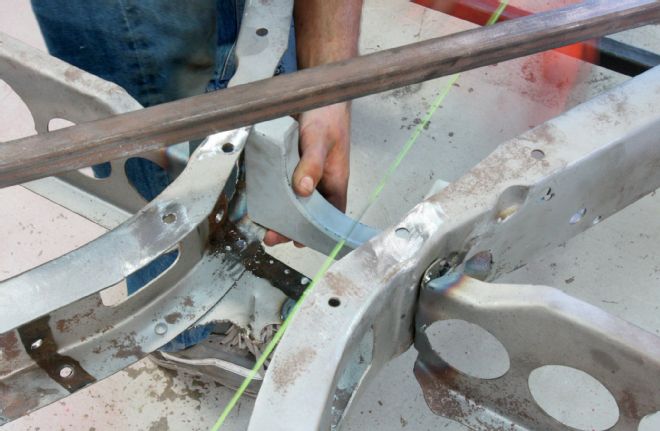
6-7. The lower horseshoe-shape pre-fabricated portion of the new tunnel mount is wedged into place, its underside holes lined up with the appropriate vacated rivet holes on the X-member.
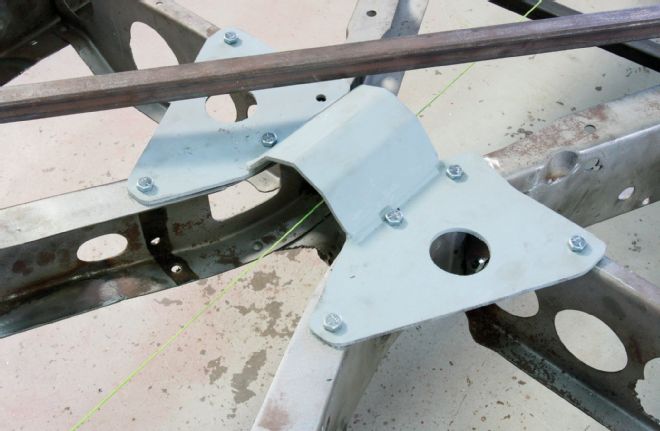
8. The upper butterfly-shaped piece simply bolts in place atop the frame, as such.
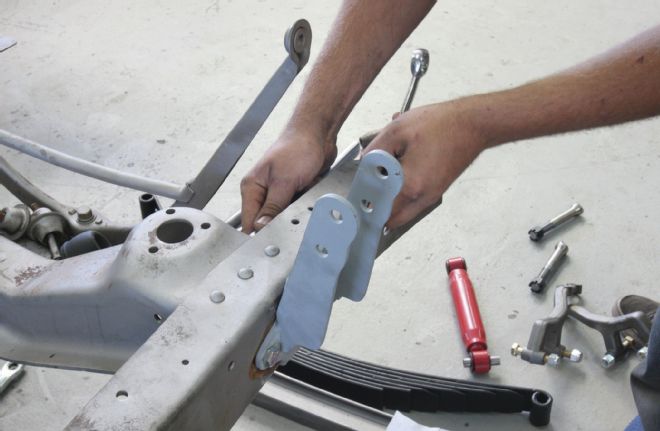
9-10. Additional holes are drilled for the lower brace plate/split wishbone mount, which also simply bolts in place, ultimately securing the entire new X-member mount kit.
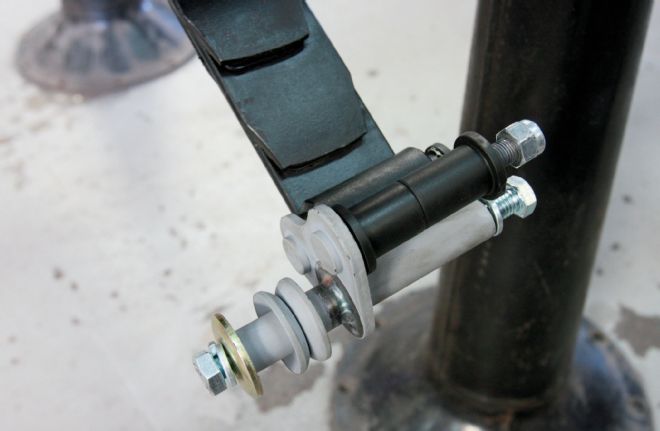
11-12. With the center portion of the chassis handled, the frontend work commenced, starting with the installation of the transverse leaf spring, shackles, and bushings.
13. Since the old previously split wishbone was, well, subpar, White sourced a good, used, un-split one to modify and incorporate into the '40 pickup chassis. First off: splitting it!
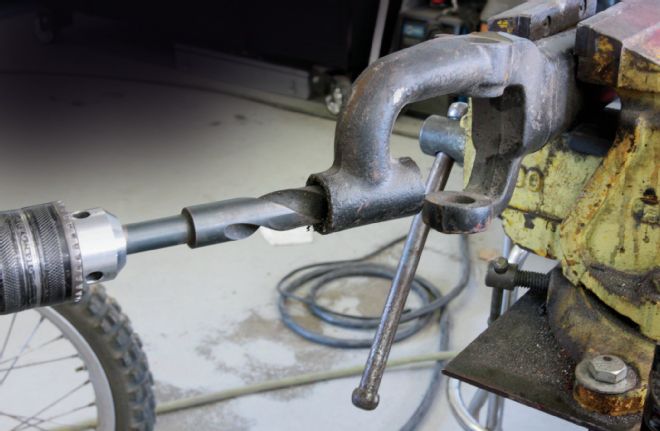
14. Next, the old bushes were drilled out.
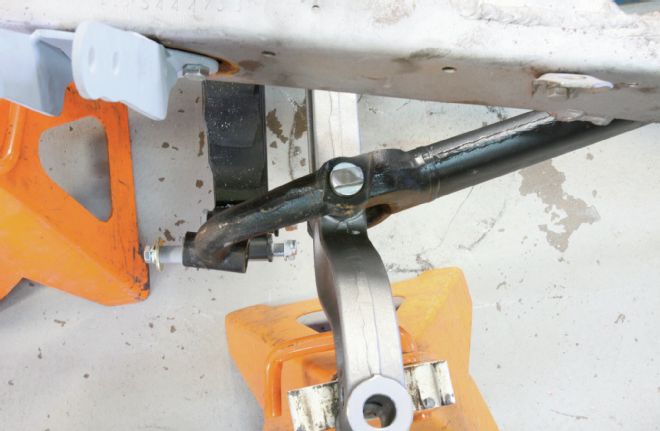
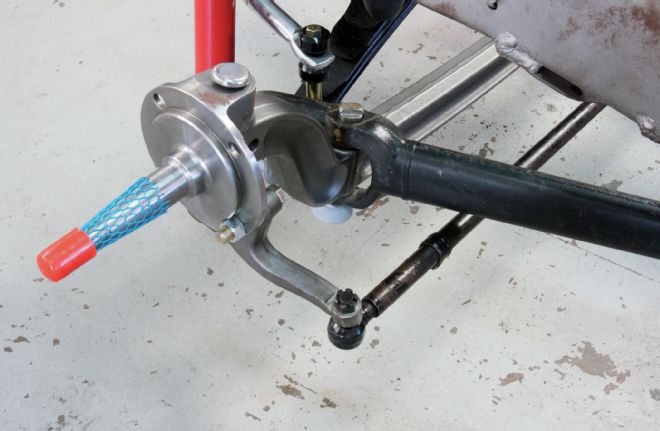
15. In order to accurately set up the axle and split wishbone, the bolt-on upper shock mounts were attached to the frame for suspension mockup.
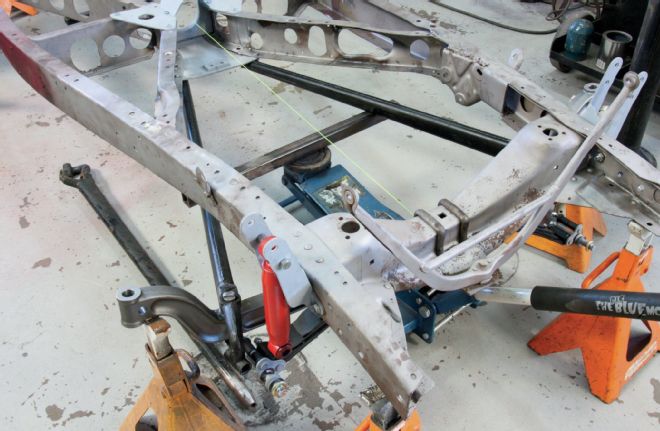
16-17. The axle is mocked up for placement with the cut wishbone bolted on—this will determine the exact length at which the 'bones need to be cut.
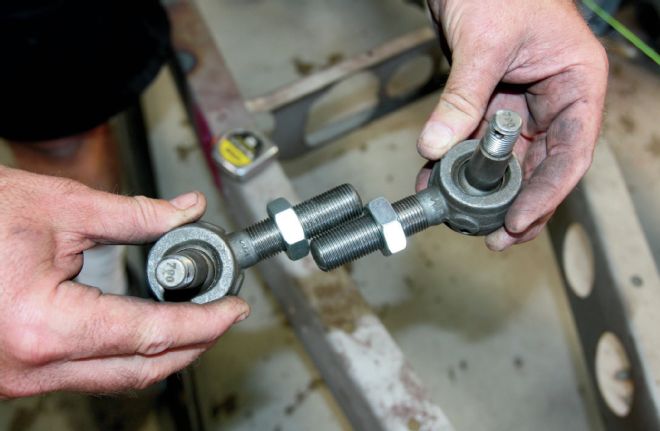
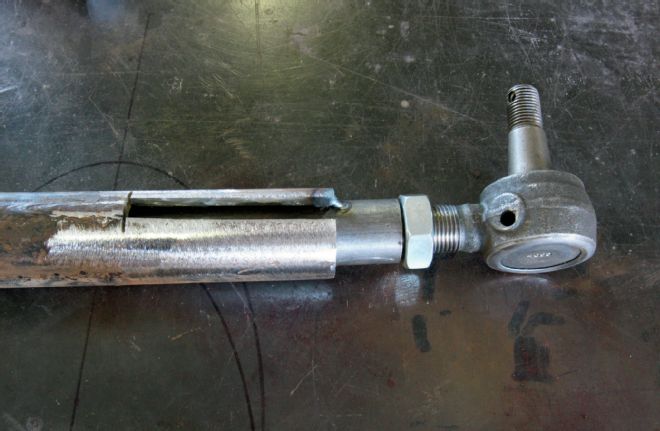
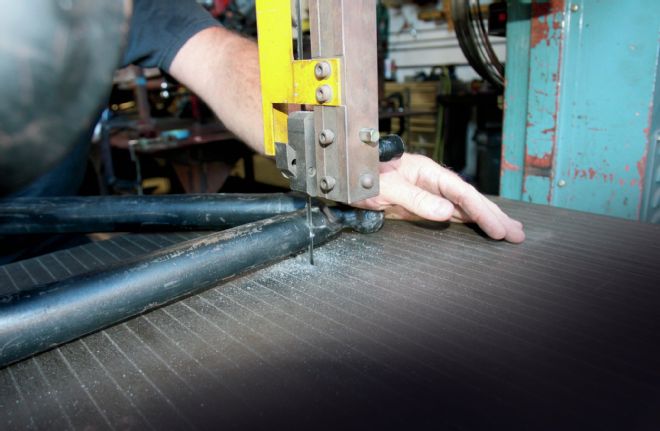
18-19. The wishbone rods are cut down, then in order to accept thread-in Ford tie-rod ends, the CE bung tubes are welded into the sliced 'bones.
20. Now, with the wishbones cut to length, fitted with rod ends, and attached to the center mount, you can that, due to the act of splitting, the spring mounts need to be "adjusted."
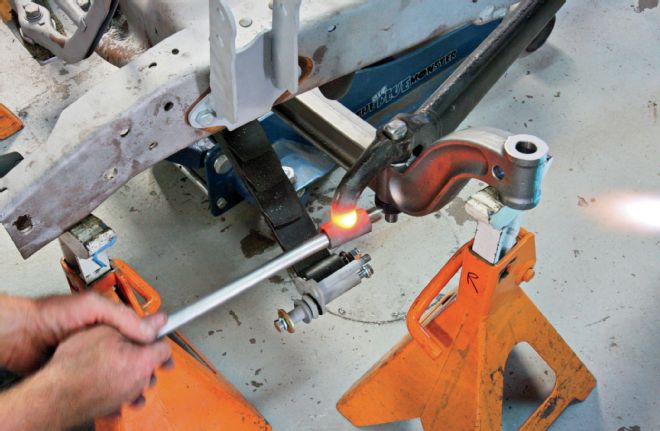
21-22. A torch and a length of solid bar stock do the trick of re-aligning the wishbone ends with the transverse leaf eyes so that both are perfectly parallel.
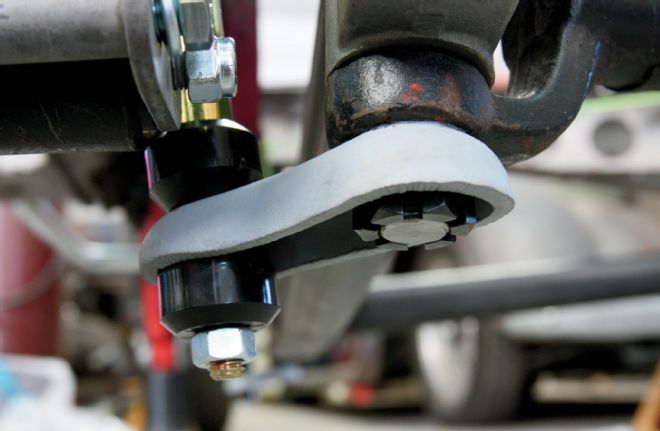
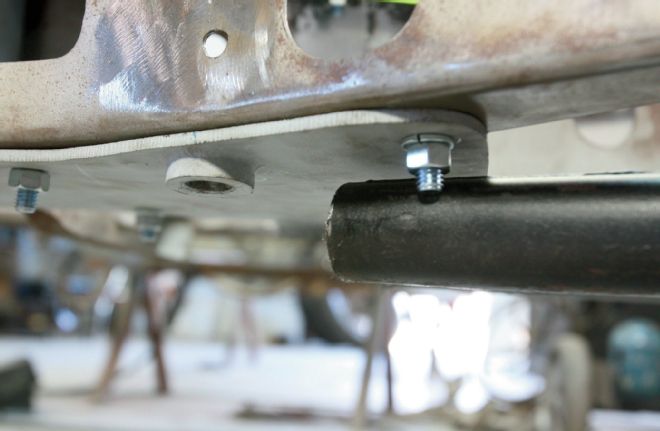
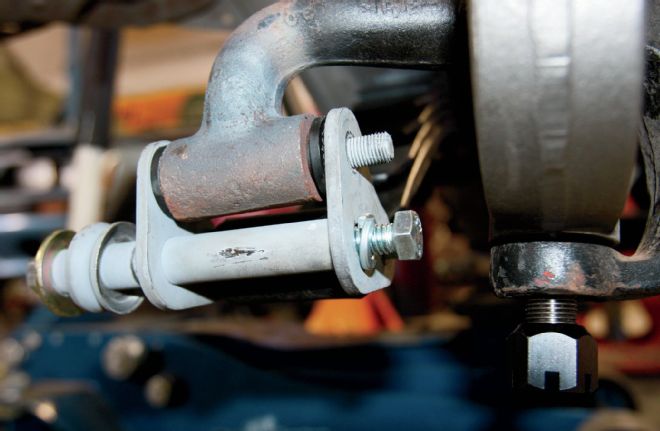
23. CE's Forged I-beam Front End kit also includes a sway bar, which of course CCHR will incorporate. It locates its link ends off the lower wishbone mount ...
24. ...and the bar itself attaches via a plate mount to the underside of the frame.
25-26. With the heavy work behind them, all that was left to make the '40 chassis roll was to install the remaining CE suspension components, attach the OE steering linkage, and throw on a set of wheels and tires.
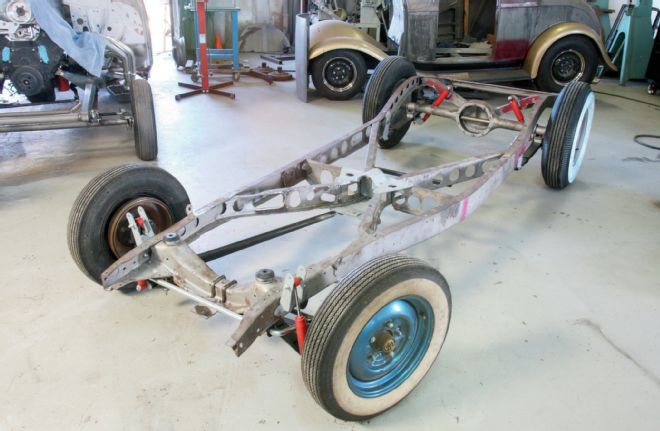
27. And there you have it—beast turned beauty...