So far, the Demon project looks much cooler than we imagined. We wanted to capture the feel of Don Schumacher poised on the line at OCIR in 1969 in his record-setting Stardust Funny Car. We tried to adhere to the ethos even while using available parts that weren’t as era-correct as they should be. A glaring example of this is the use of ET Gasser wheels instead of Halibrands or spoked Americans that you’d find in the late-1960s, or the Cragar SS/T or Centerlines you’d find on this kind of car in the 1970s. We’re also cheap, so instead of spending the $3,400 market price the correct rear 15x10 Halibrand mags command, we found a pair of vintage U.S. Indy mags with the right offset for $60 on Craigslist.
We know it’s fun to stare, but we don’t do trailer queens. This car needs to be quick on the street and ultra-brutal at the track if we’re going to live with it. Like salt sprayed on a prewar jalopy from a lap at Bonneville, the runny shoe-polish dial-ins and car numbers on the flimsy plexy will be proudly displayed as we cruise Ruby’s in Redondo Beach, California, on summer nights, hopefully with some flame from the turbos licking the primer off the welds.
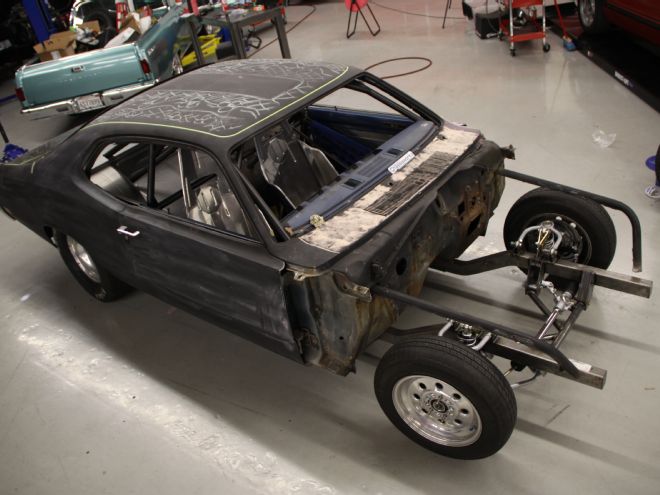
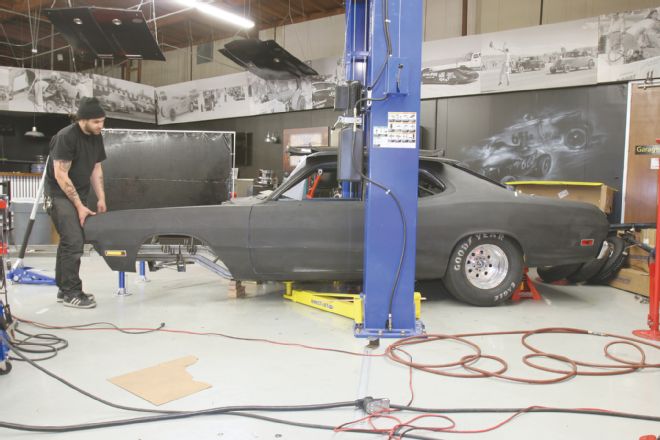
That’s right, turbo Hemi. And to get the snake pit under the hood, we decided long ago to go full enchilada and hack the front end off the car, replacing it with a Chris Alston 2x3 A-arm front frame system. Because that’s what he would do. In addition to a wicked sit, the subframe kills somewhere in the neighborhood of 300 pounds of weight and mates to the back half and four-link waiting in the rear.
All you need to get this project done yourself is a flat garage floor, a tape measure, a Sawzall, and an MIG welder. Let’s go.
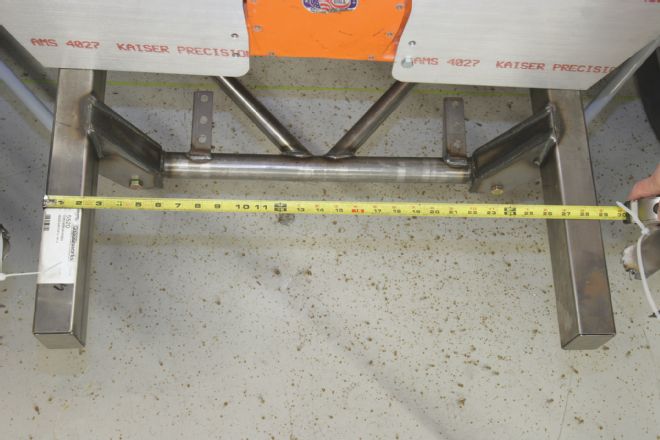
We ordered a 3x2x0.083 boxed frame from Chris Alston, which had a 29-inch width and 6 inches of ground clearance . Using the 29 inches as the base, we added 13-1/4 inches for the suspension and another 4 inches for the wheel offset to get the distance from the outside of the wheel and tire to the lip of the front fender.
Before we removed any parts from the car, we made a mark on the door and measured the distance from it to the front wheel spindle centerline. With that number we had the information to position the new frame under the car and retain the stock wheelbase.
Our measurement was 25 inches, which we had wisely written on the door. Using that number, we made a new mark on the floor that represents the spindle centerline.
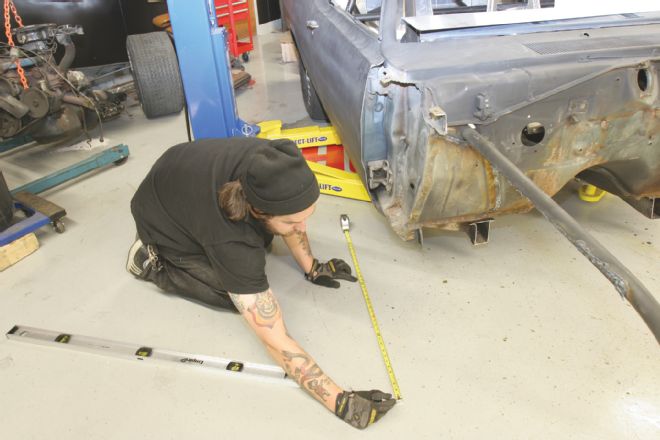
We also measured off the driver side and connected the dots with a green tape-line we used to line up the frame.
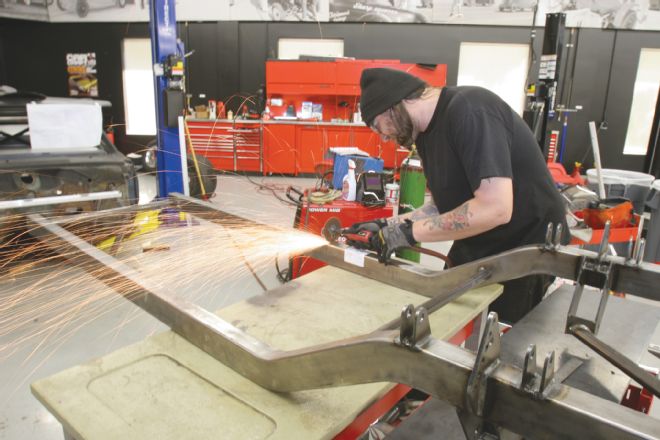
The suspension mounts were already welded in place by the guys at Chris Alston. It's an option we recommend. The frame was long so we could cut it to fit.
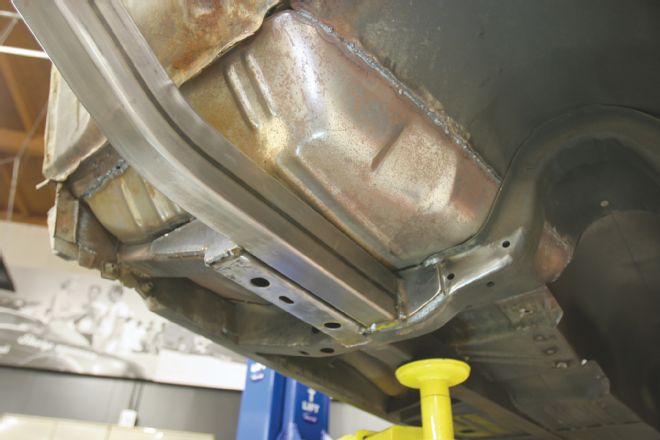
The mounting point for the new frame is the face of the transmission crossmember that was already connected to the rear subframe and roll cage by the previous owner. We cut the torsion bar mounts out of the crossmember with a plasma cutter and stripped the paint with a wire wheel.
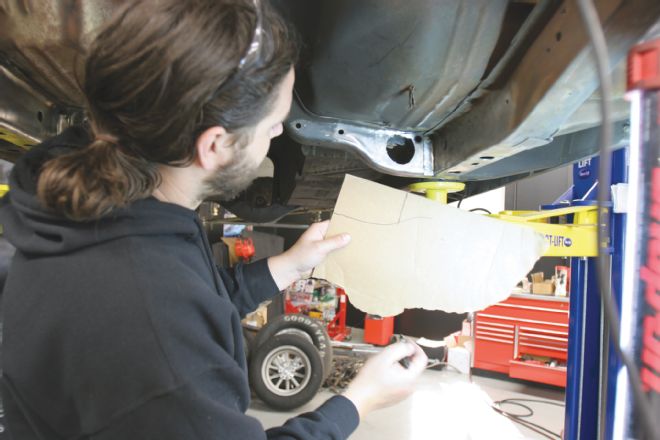
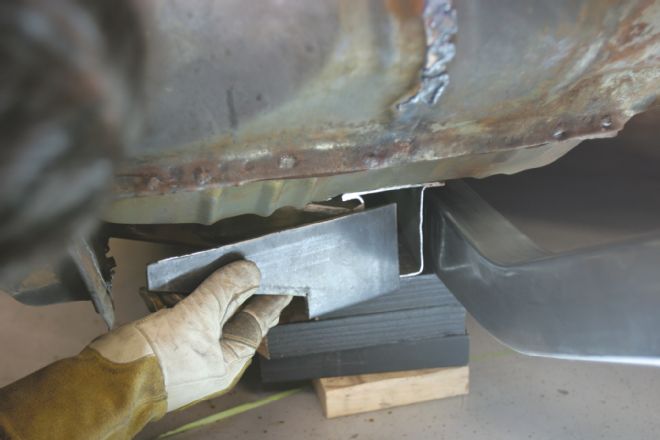
We cut a template to cap the hole and provide a place for us to butt the new front subframe.
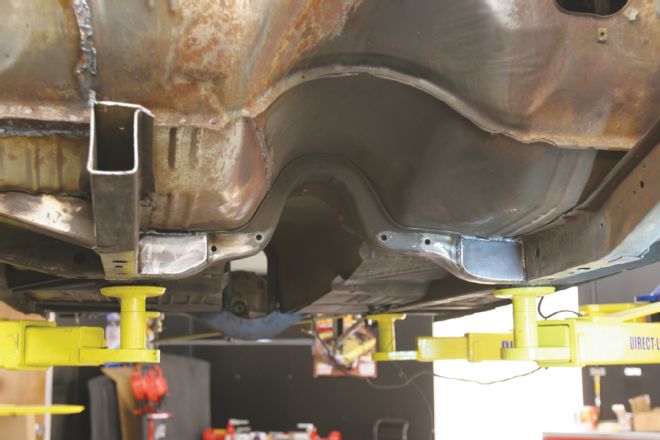
In this photo you can see both caps and where we intended to weld the new frame along the inside of the old one.
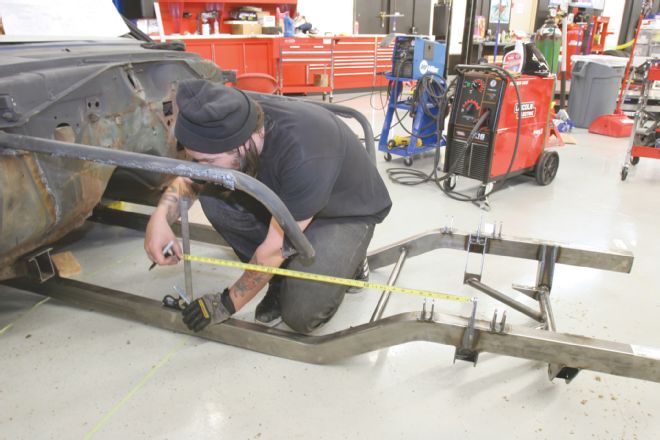
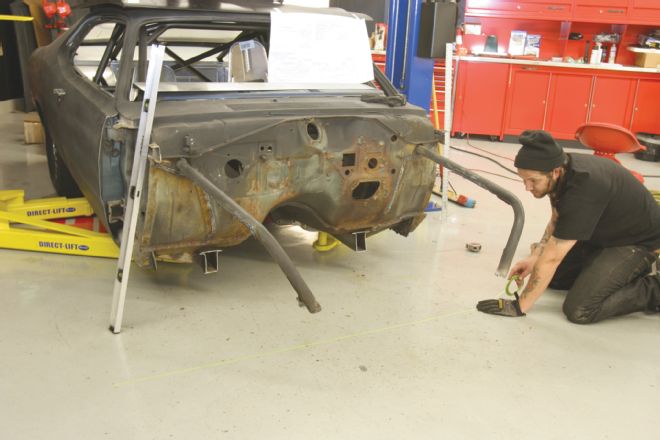
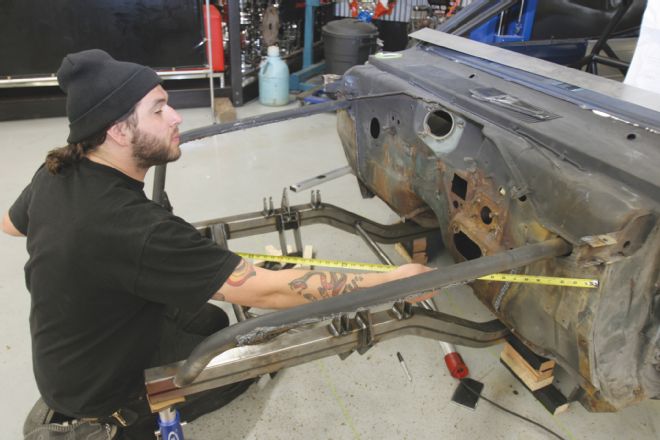
This was the tricky part. Knowing where we were going to butt the frame, we needed to make a new measurement of the distance from the spindle centerline to the face of the plates on the crossmember. Having a tape-line in both positions makes this measurement easier.
Measure twice, cut once.
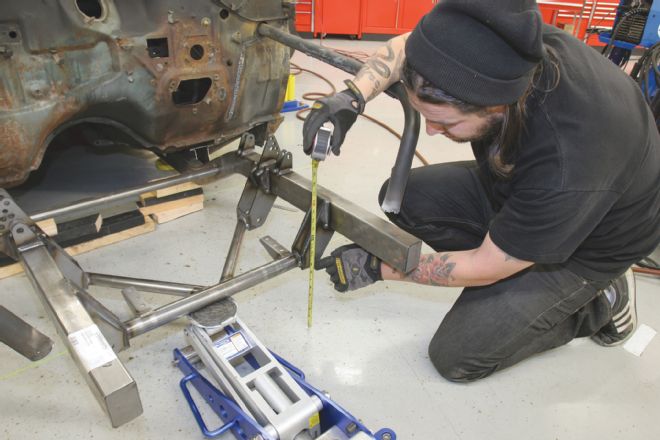
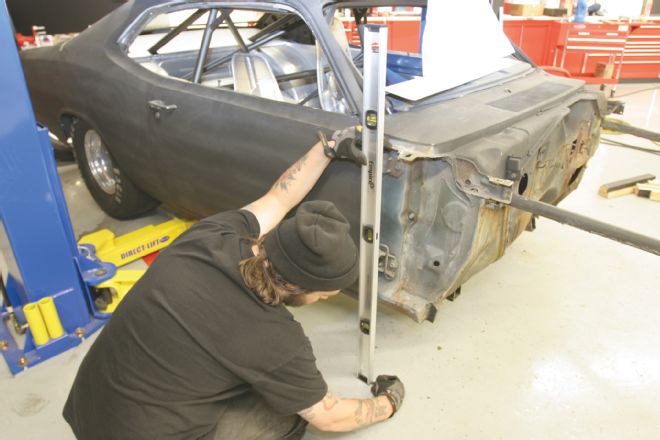
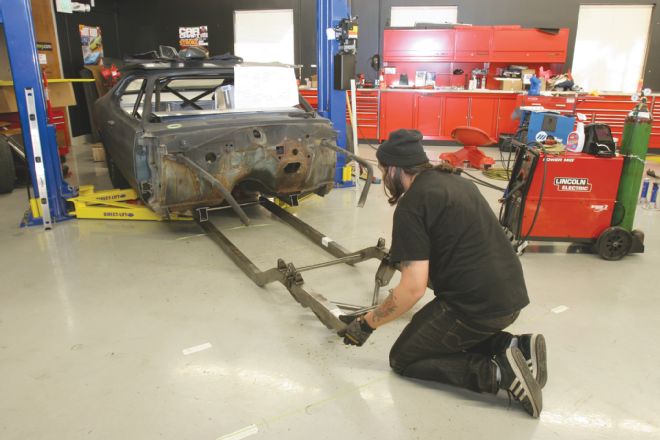
The next measurement is the height of the frame rail from the ground. Chassisworks provides a blueprint with each frame, which has this information. We measured from the ground to the bottom of the steering rack mounting-bracket and from the top of the frame to the ground and compared the numbers with the blueprint.
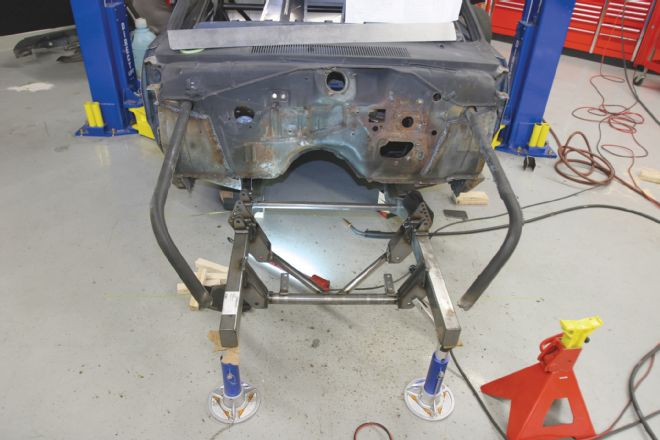
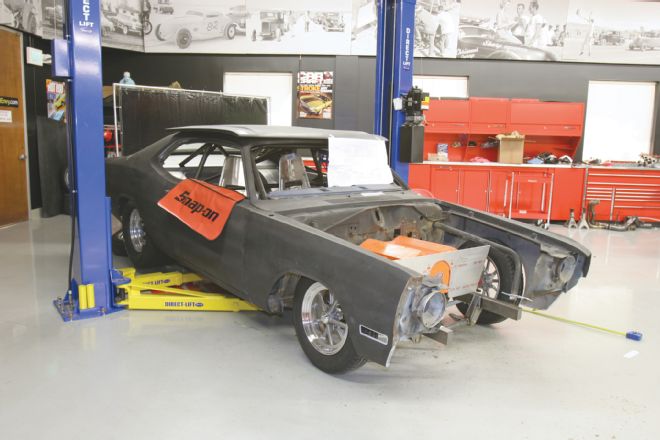
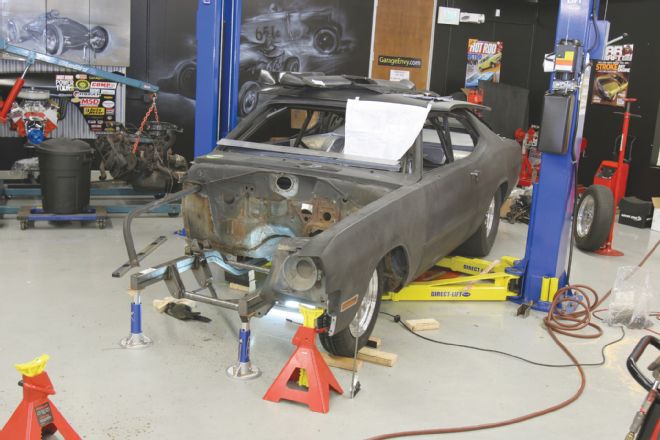
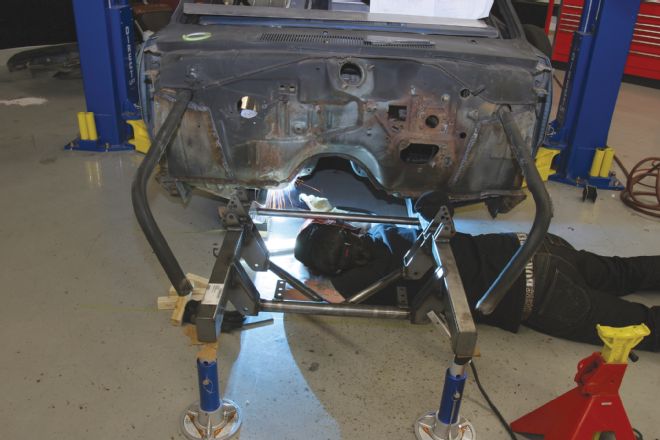
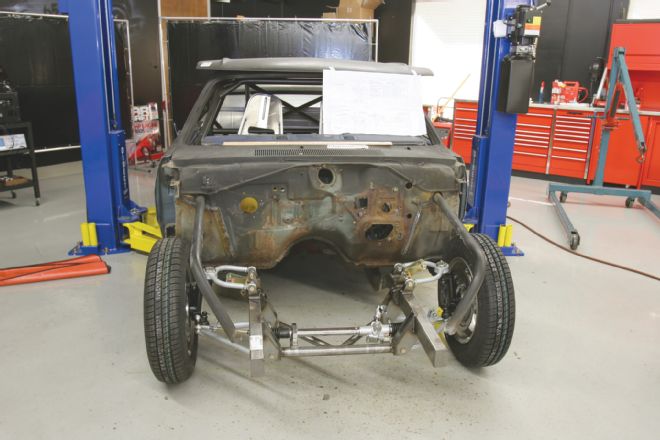
Here, the frame is mocked in position and supported at the correct height.
Before we tacked the frame in place, we mounted the front fenders for one final check.
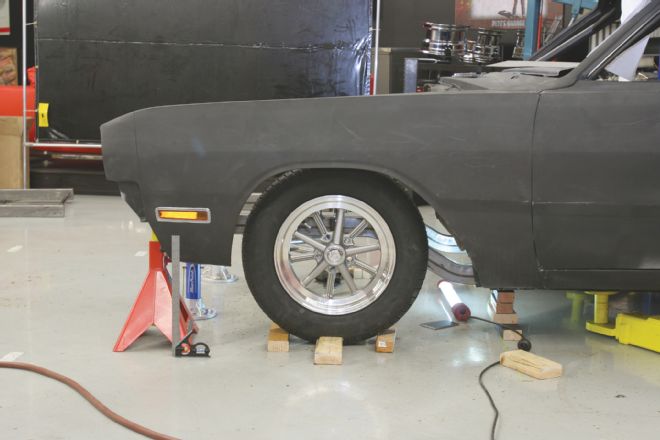
Using the tape-line as a guide, we made sure that the wheel sat in the correct position in the wheel well.
Here you can see the 4-inch distance from the fender lip to the outside of the wheel and tire.
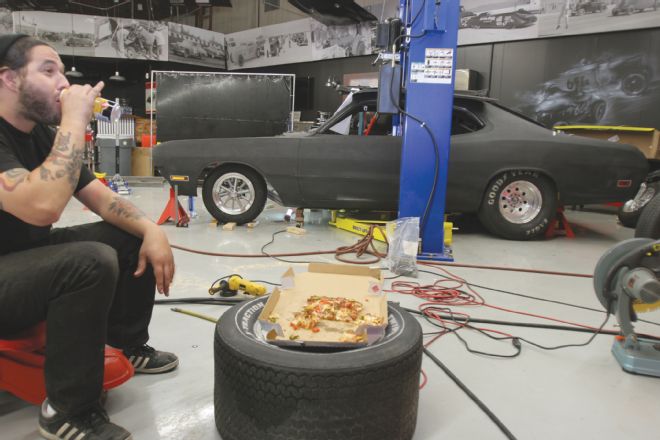
By midnight, we decided to take a break. We ordered the pizza using an iPhone and tracked its progress as it was checked for deliciousness and delivered to the new shop. That is a Boddingtons that Grant Peterson is drinking.
Back to work, we double-checked to see if the frame was square measuring diagonally from the frame to the body in several places.
After we were satisfied that the frame height was correct and everything was centered in the car, we tack-welded the frame to the crossmember.
We also welded a connecting plate from the base of the rollcage to the subframe, capping the ends of the frame horns.
This photo illustrates how we connected the subframe to the transmission crossmember.
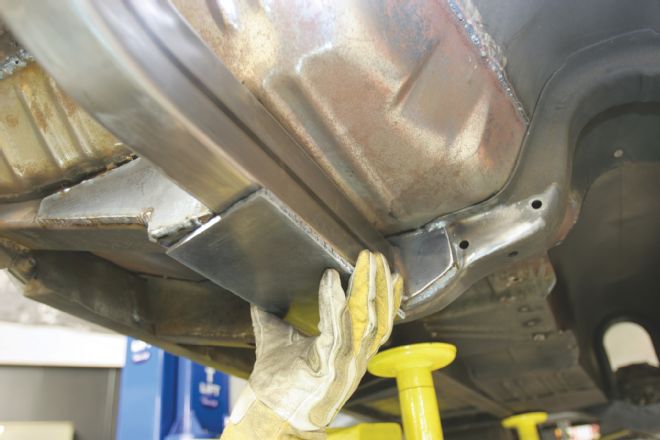
The final step was to add a plate of steel that tied everything together.
Coming next month: suspension, wheels and tires, and an eBay Hemi.
PARTS DescriptionSourcePNPrice Drag Race A-Arm Suspension and Frame ClipChris Alson ChassisworksPKG H$1,398.00 Gasser ET WheelsSpeedway Motors91058672279