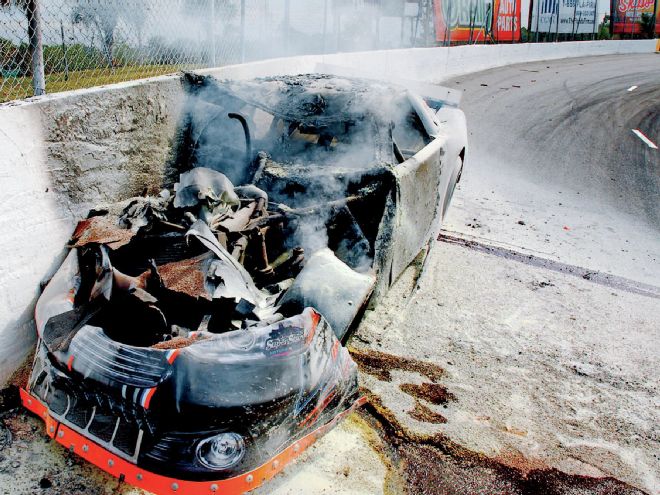
The fastest and most efficient way to deal with a stuck throttle situation is to use a brake pressure kill switch that is installed in the brake lines. The first and immediate response to realization that the throttle will not close is to hit the brakes very hard. This response will activate a pressure kill switch which will interrupt the current to the distributor and kill the motor while the brake pressure is elevated.
These units are relatively cheap, or compared to a destroyed front end, complete car, and/or injured driver, it is extremely cheap.
So, it is a no-brainer that we all need to install a brake pressure kill switch, something that right now only a few racers are doing. Here is a detailed but simple explanation of how to install one of these units.
Choose the Appropriate Brake Line
For asphalt race cars, we would use the front brake line for our installation. For dirt cars, we might choose the rear brake line if it receives more braking pressure than the fronts.
 First, choose which brake line you will install the BPKS onto. For asphalt, use the front brake line and for dirt cars, you might consider the rear brake lines. Cut a section out of the line and install the T-fitting with compression fittings using plumbers tape for the threads. If you fill the block with brake fluid before installing the switch, and fill the switch too, less air will need to be bled out of the lines.
Installation
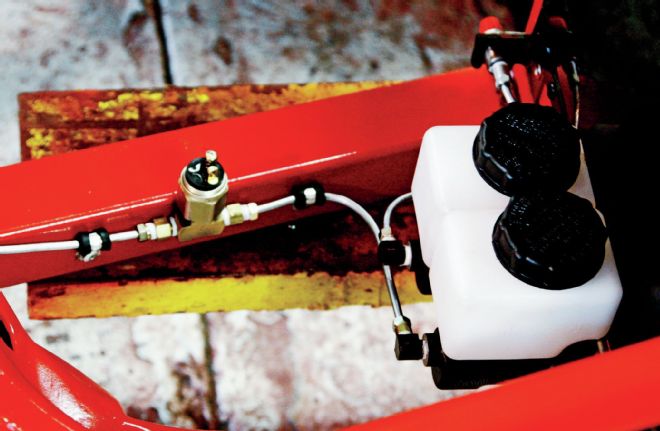
Install the unit near the brake master cylinder so that you can route the ignition wires easily between it and the distributor and panel. Remove anything holding the brake line. The switch will be attached to a T-fitting.
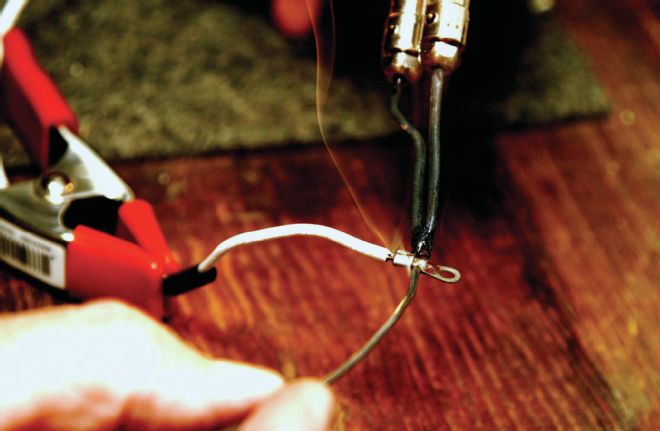 When preparing your wires, be sure to solder the connections to prevent the wire from pulling out at the wrong moment. Just crimping the wire is not enough to hold it under racing conditions.
You’ll need compression beads and compression nuts the size of your brake line. Cut out a section of the brake line where the unit will reside to the make room for the T-fitting. File the ends of the line, slide the compression nut, then the compression beads onto the lines and then tighten the nuts. Be sure to use plumbers tape on the threads.
Fill the T-fitting and the brake pressure switch with brake fluid and then screw the switch onto the T-block again using plumbers tape on the threads. By filling the block and switch with fluid, very little air will be trapped.
Bleed both of the front brake lines completely so that you are sure no air is left in the lines. Then, re-mount the line to the frame, preferably using rubber insulated mounts. Once the unit is installed, prepare the wires that will be connected to the distributor and the ignition box.
The brake pressure kill switch we installed interrupts the flow of current between the ignition box and the distributor. So, we prepared two wires the proper length to reach those two ends. When you attach a closed end terminal (never use open end terminals), always solder the connection.
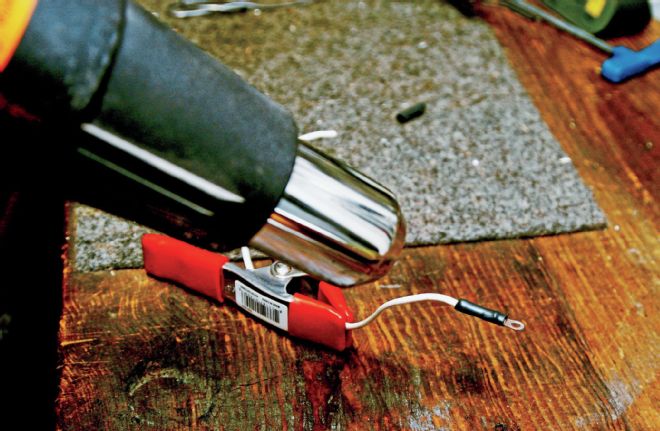 After soldering the connection, slip a piece of shrink wrap over the terminal end and heat it with a heat gun. This insulates the connector and helps prevents a short between the two wires.
Crimping the wire is not enough to prevent an unexpected disconnect if a piece of rubber or rocks get thrown against the wire. And, use a heat shrink insulator on the connection to prevent shorting out.
Testing and Adjusting the Pressure
Once we have installed the unit and connected the wiring properly, we need to test and adjust it. Have the driver sit in the car and attach a current tester to each of the two leads on the kill switch. Switch the tester to the OHM side and the lowest units and read the display. If you get a reading, the switch is closed and the engine will fire and run.
Then have the driver put pressure on the brake pedal until the display shows no resistance. At that point, the engine would stop running if it were. See if that pressure relates to something that in the opinion of the driver is in excess of normal braking.
Remember that in racing conditions, if a competitor cuts you off, your braking pressure will increase, so have the driver simulate that to see if it kills the motor. If not, and he can still kill the current with heavier brake pressure, the unit is fine. If not, adjust the pressure cutoff until it is correct for your use.
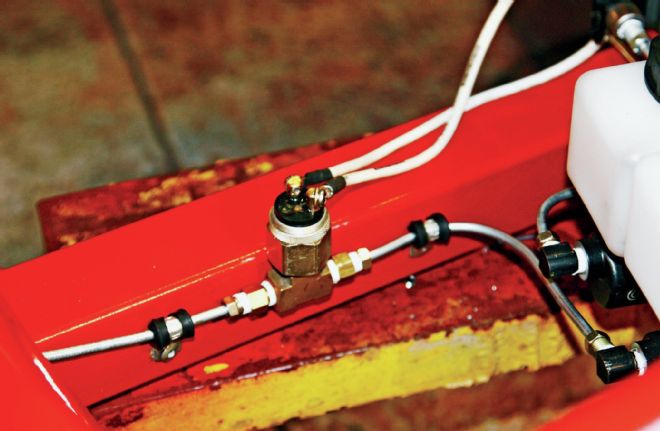 The final installation shows our T-fitting and switch nicely mounted to the frame, the connections to the brake line using plumbers tape, the insulated line attachments, and the soldered wiring with shrink wrap leading to the distributor and ignition box. Once adjusted to the correct pressure, this switch should be tested each time before the car goes out onto the track.
When convenient, fire the motor and then try to kill it with excessive brake pressure application to make sure it is working. The engine will re-fire as soon as pressure is released. When at the track, have the driver remember to test the unit each time before the car is run.
These units are relatively cheap, or compared to a destroyed front end, complete car, and/or injured driver, it is extremely cheap. Order your brake pressure kill switch today and rest easier when your expensive car and irreplaceable driver is on the track. If you ever need it, you will be very happy you took the time and effort to get this done.