Brake and Suspension Upgrades
We're nearly finished with the disc-brake swap on our '67 Chevrolet C10 longbed pickup and are hoping to have the truck back on the road in time for Anti Tour, our annual road trip (which happens in July—see our website and Facebook page for details). So far, the only challenging aspect of swapping CPP's Big Brake Kit was breaking through decades of crud and road grime to get to the fasteners. Here's what we've accomplished.
Parts List
Description P/N Source Price Front/rear Big Brake Kit 67762FRBK6-BB CPP $1,798.00 1-inch Drop front spring and shock kit 6372CSSK-F CPP 164.50 Upper control arms, pair 6372SCA-U CPP 199.00 Lower control arms, pair 6372SCA-L CPP 279.00 1⁄8-inch steel plate NA M&K Metal 23.00 Trim & Bumper paint 251574 Rust-Oleum 5.98
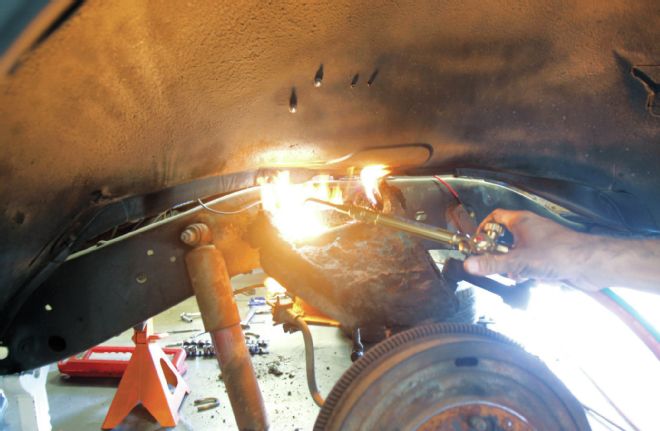
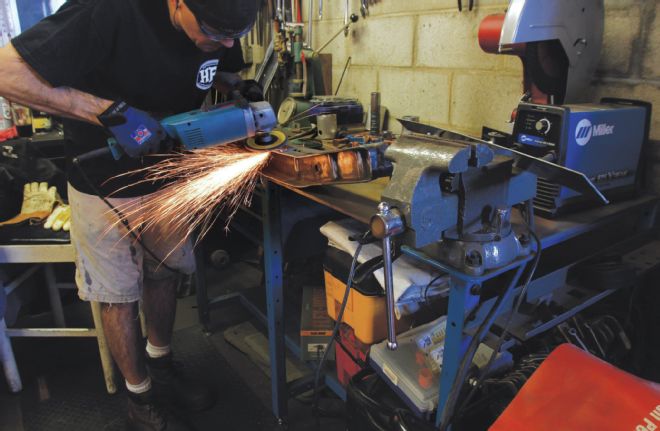
You can see on the top of our control arm the accumulation of junk that is more than an inch thick in some spots and nearly as hard as cement. We discovered one way to quickly break through this is to broil it with our acetylene torch. You don't need to make the metal parts cherry red, just heat the dirt and grime up until it gets crusty looking.
The added benefit of using the torch is the overwhelming satisfaction that comes from watching a 6,000-degree flame reduce this extraordinarily stubborn material to carbon, which can be easily scraped away. Here is the result after some light scraping and a few passes with a wire wheel on our angle grinder.
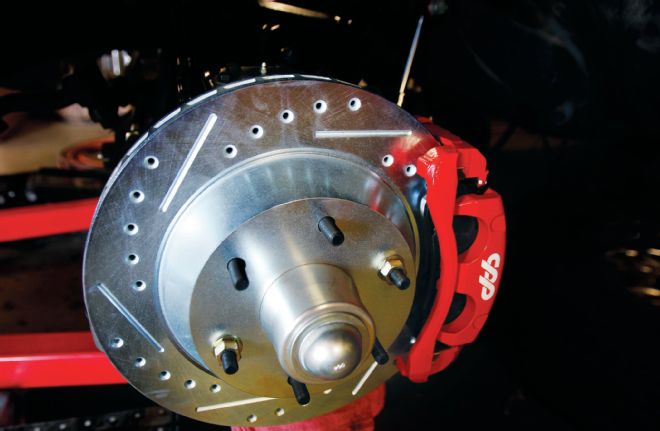
Installing CPP's front disc-brake components was as easy as removing the old stuff and installing the new. When purchased as a kit, the brake calipers and rotors are already installed on the spindle. This kit includes CPP's 13-inch rotors mounted on a CNC-machined aluminum hub. The PBR calipers are similar to those on newer Corvettes and Camaros. They house twin 52mm pistons and are shipped complete with pads installed. The brake components are mounted on CPP's own-design Modular Drop Spindles, which will lower the front end by 2 inches. We also scrapped the stock coil springs for CPP's 1-inch drop coils.
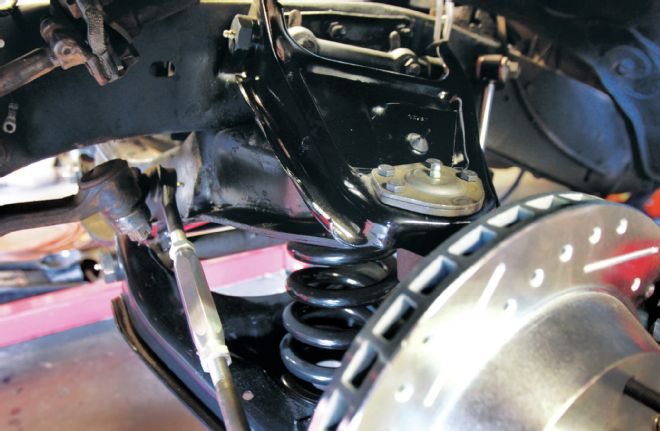
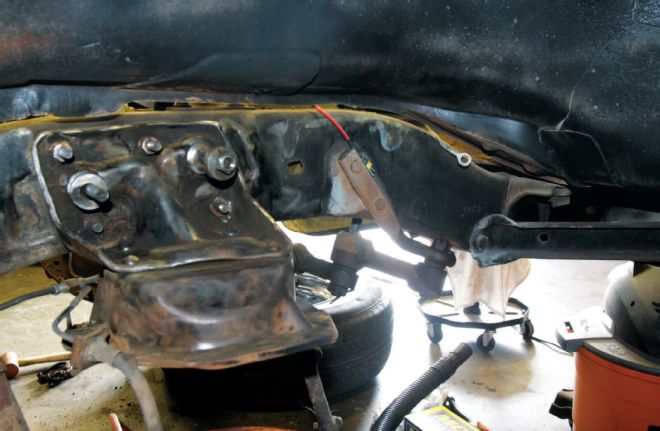
We didn't want to put new brakes on old suspension parts, but we did want to maintain a reasonable budget and get the job done as quickly as possible. Our best option was to replace the upper and lower control arms with stock replacements, which CPP sells complete with new bushings and ball joints already installed. This saved us hours of cleaning, scraping, and pressing out old bushings to install new ones. If you have some more money to spend, CPP offers very stout-looking tubular upper and lower A-arms that offer improved suspension geometry over stock. If you have less money to spend, CPP also sells all the bushings, rod ends, and ball joints you'll need to rebuild the front end of nearly any classic American car.
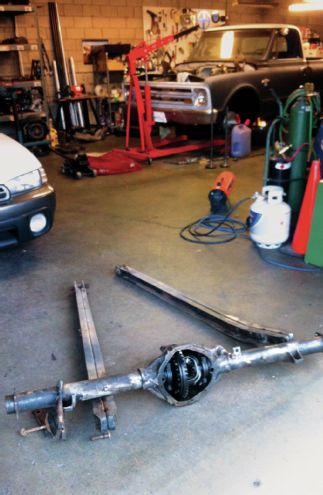
Cleanup continues on the rear suspension as well. Not only did we remove the old drums and backing plates but we also pulled the axlehousing and trailing arms off the truck for a thorough cleanup.
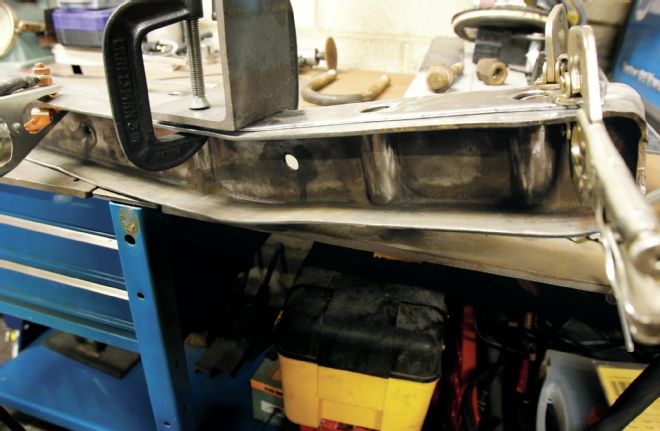
The Chevy truck trailing arms (used from '63–'72) are made from two sections of C-channel spot-welded together. Though the material is quite sturdy at approximately 1⁄8-inch thick, we wondered if there was room for improvement. We sought advice from Steve McClenon, owner of Hotrods to Hell and expert on the truck-arm suspension. He recommended checking the arms for cracks, stitch-welding the seam where the pieces of channel meet, and reinforcing the area of the spring perch.
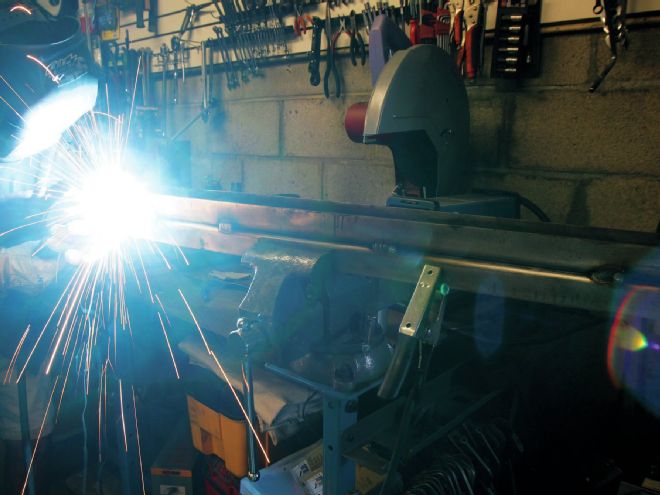
We began by stripping the arms to bare steel and welding the seam in 2-inch sections, 2 inches apart, along the top and bottom sides.
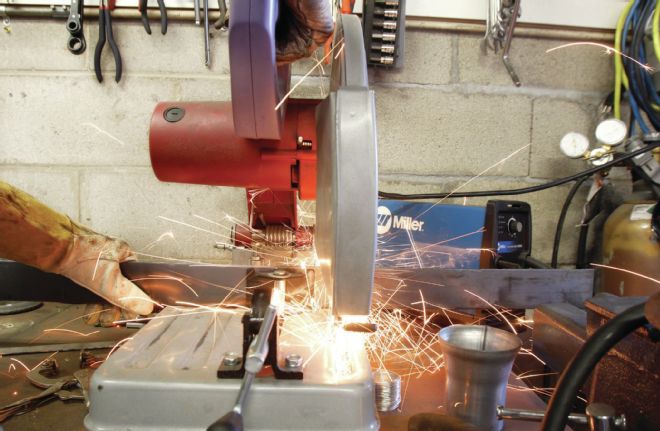
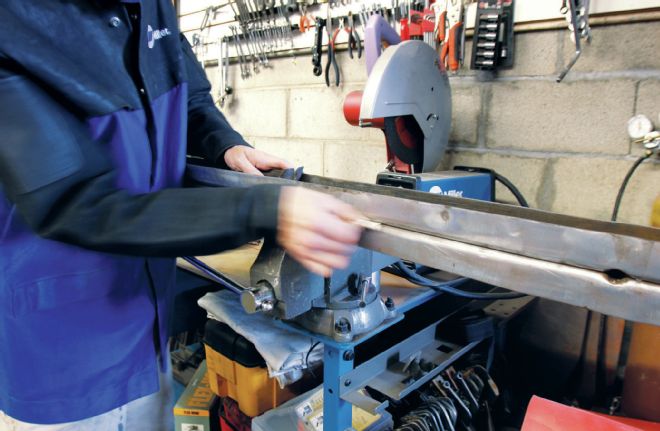
McClenon also recommended reinforcing the spring perch and area where the axle bolts to the arms with 1⁄8-inch plate. We grabbed some 1⁄8-inch hot rolled steel sheet from the remnant pile at our local sheetmetal store and cut strips to fit the arms.
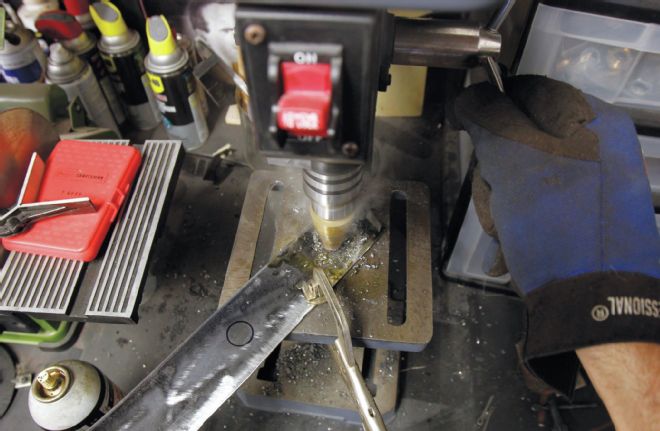
With the strips of sheetmetal cut to fit the width of our trailing arms, we roughly shaped them to fit the bend of the arms and marked the bolt holes with a Sharpie from the opposite side of the arm. Then we clamped the pieces to our drill press and used a step bit to drill holes about 1⁄4-inch diameter larger than necessary to accommodate any misalignment while marking and drilling the holes. We verified the placement using the stock fasteners.
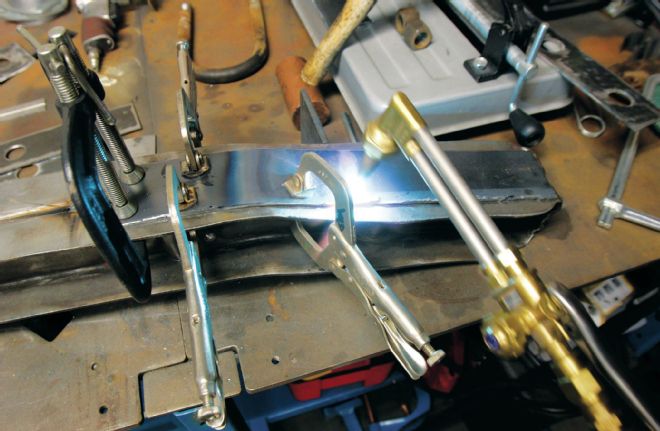
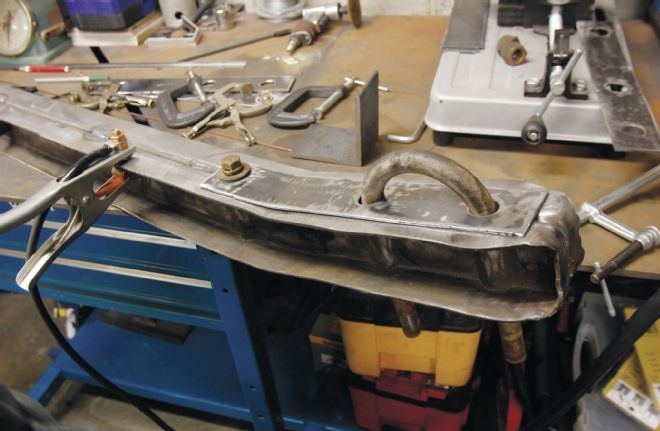
We were able to fit the plate to the tops of the trailing arms by bending them slightly by hand and clamping them in place before welding. The bottom plates needed to be heated and hammered to fit.
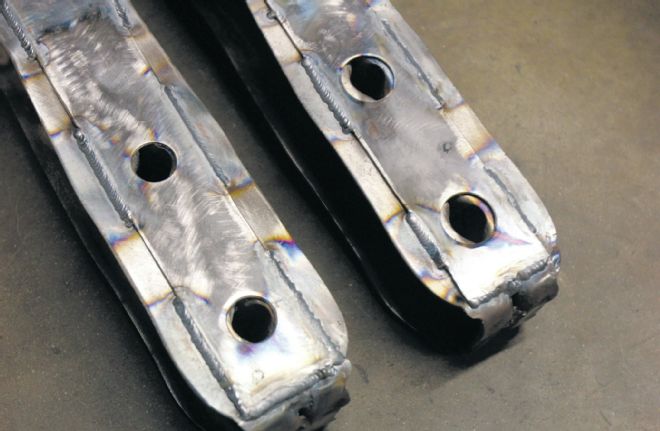
Using our Miller Diversion 180 TIG Welder, we welded the plates to the trailing arms, in 3-inch segments, spaced roughly 1-inch apart. After a thorough cleaning, we painted the trailing arms with Rust-Oleum's Trim & Bumper paint, which we chose mainly because it had the semi-gloss finish we liked best. Our next installment will document upgrades to the rear axle and the installation of CPP's rear disc-brake kit.