Just about everyone who is passionate about custom classic trucks feels the same way about tools and equipment. If you're into trucks and wander through the tool department at the mall while the other half is shopping, you fit the profile.
When it comes to making chassis modifications, like replacing suspension components, it's easy to be intimidated if you don't have a well-equipped shop. However there's nothing to fear if you don't. Thanks to Bob's F-100 Parts and Restoration you can install a four-bar and coilover rear suspension system under your pickup with basic handtools.
Bob's kit comes with four-bar brackets that fit existing holes in the frame so there are no alignment or measurement difficulties. It's simply a matter of removing the original spring hangers, drilling the holes slightly larger, then bolting the brackets in place with the supplied hardware. Same with the rear crossmember, remove the rivets and bolt the crossmember in place through the enlarged existing holes. The included Panhard bar also has bolt-on brackets for the rearend and the frame.
While the major components of Bob's four-bar kit bolt on, there is some welding that can't be avoided, specifically it's required to attach the four-bar and coilover brackets to the rearend housing. If you have a welder, you're all set. For those without a welder the position of the brackets can be marked (or if you don't completely trust your welding skills when it comes to suspension components the brackets can be tacked in place) then the rearend can be transported to a pro.
Bob's F-100 four-bar kit comes with everything necessary for installation, including Aldan coilover shocks with springs chosen for the application. A great companion to Bob's bolt-in front suspension, these kits make it easy to get professional results in your own garage with just basic tools. You can always go shopping with the little woman and look for more tools later.
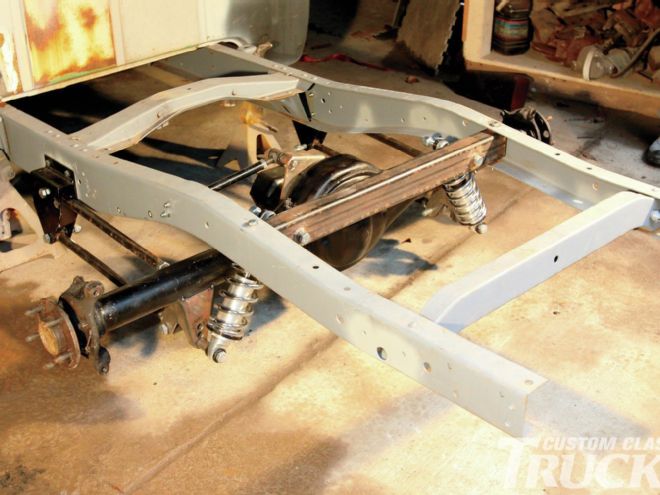
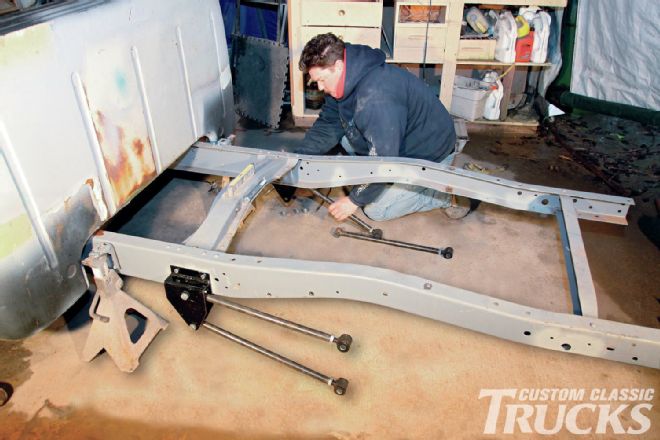
 1. Bob’s F-100 Parts and Restoration offers a number of bolt-on suspension components, including this four-bar kit installed on a ’56 Ford that had the original rearend removed.
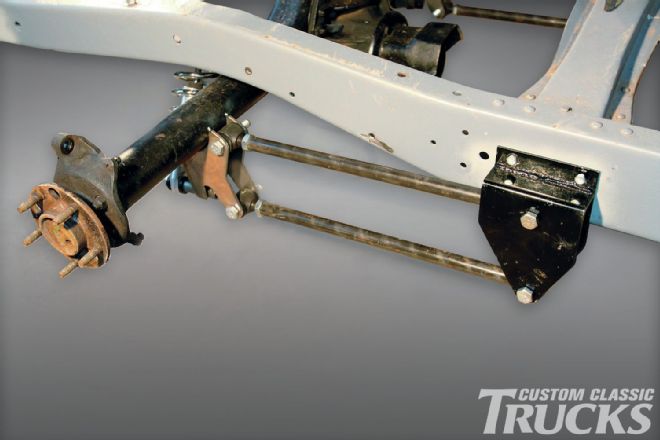
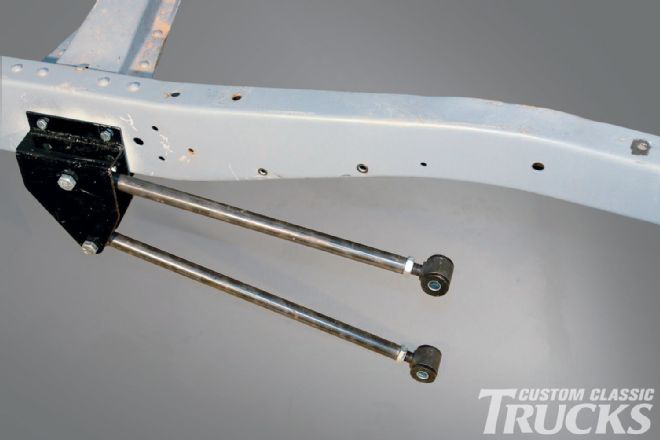
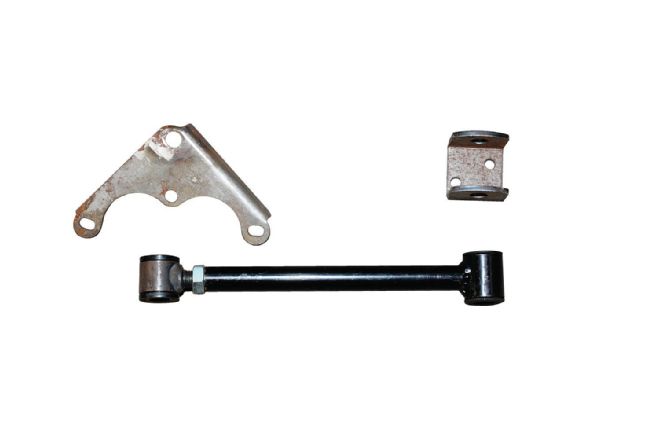
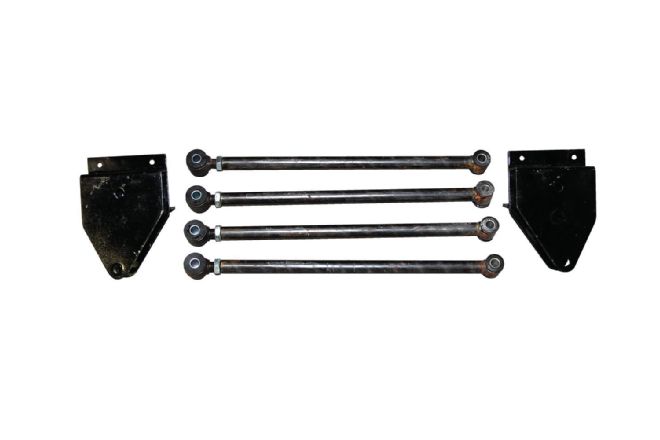 2. Shown here are the bolt-on frame brackets and the four-bar links, which have one fixed end and one adjustable.
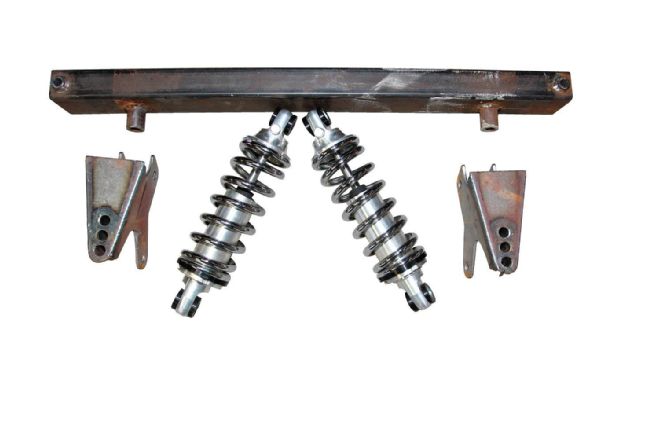 3. The kit includes a bolt-in crossmember, axle brackets (the only parts that require welding) and a pair of adjustable Aldan coilovers.
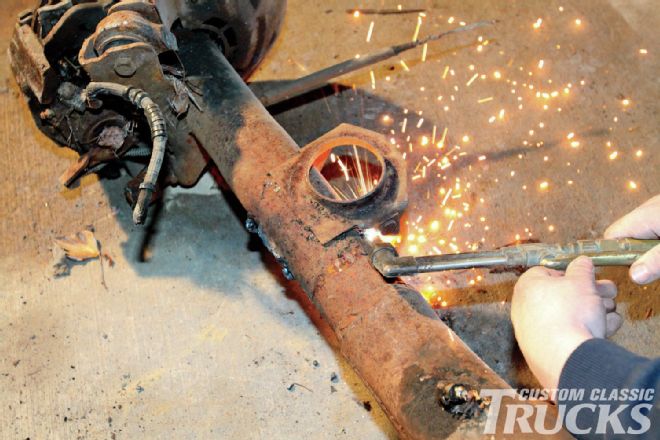 4. A Lincoln Versailles disc brake-equipped rearend was picked up for $150. A cutting torch was used to remove all the factory brackets.
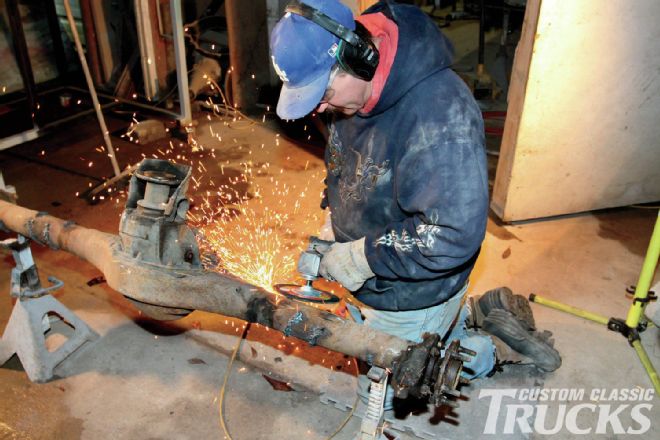 5. With the stock brackets trimmed close to the housing a disc grinder was used to remove what remained.
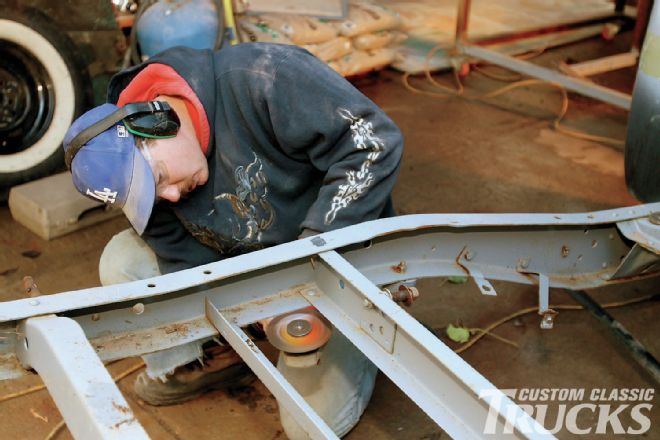
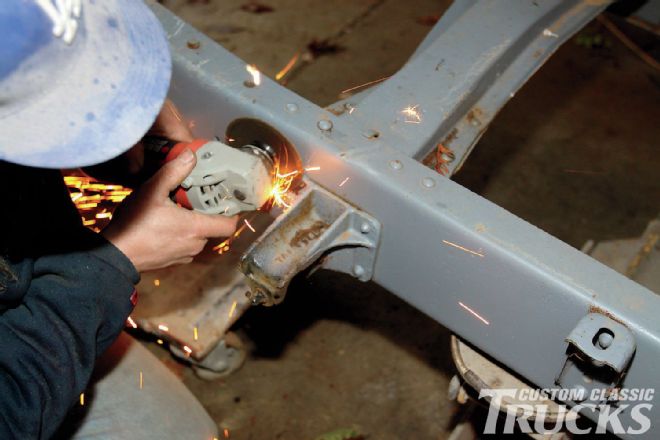 6. To remove the spring hangers, the heads of the rivets were ground off...
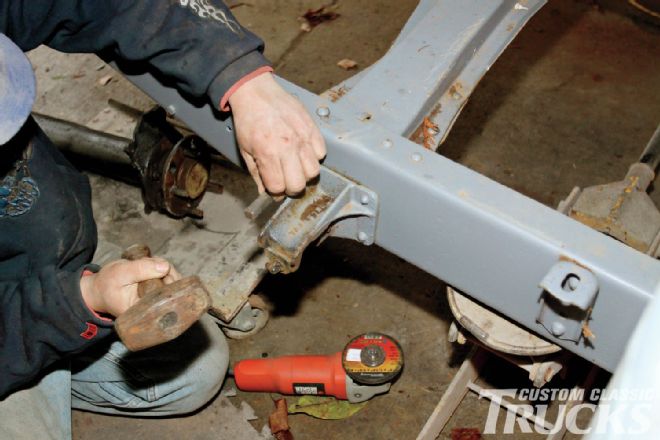 7. ...then a punch and a big hammer were used to drive out what remained.
 8. The same procedure was used to remove the factory shock crossmember.
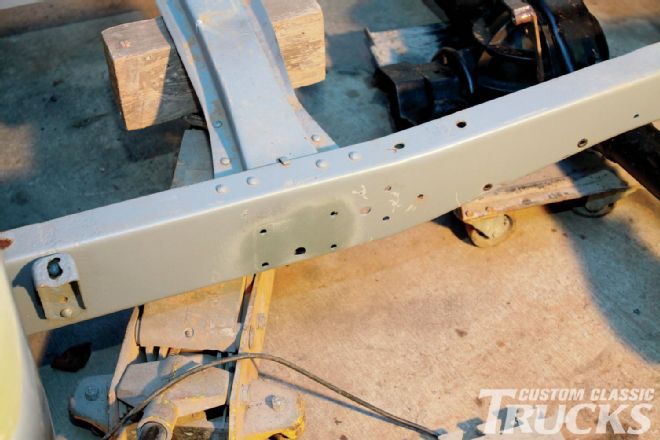 9. As the frame had been primed earlier, the bare areas exposed after removal of the spring hangers were touched up.
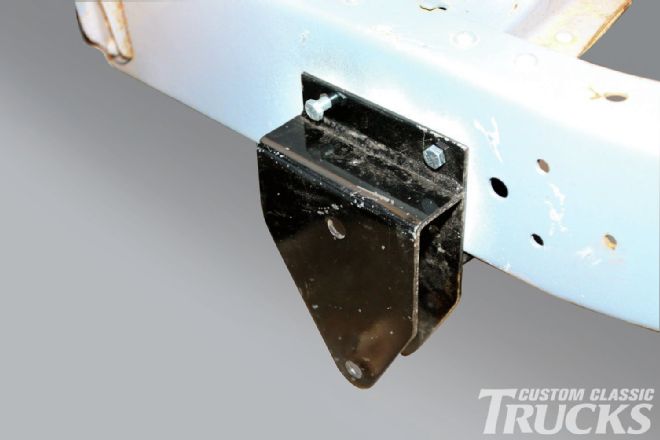 10. After drilling the holes to 5⁄16 inch, the frame brackets were bolted in place. The brackets are slightly different; we mounted them with the bottom hole to the rear of the top hole.
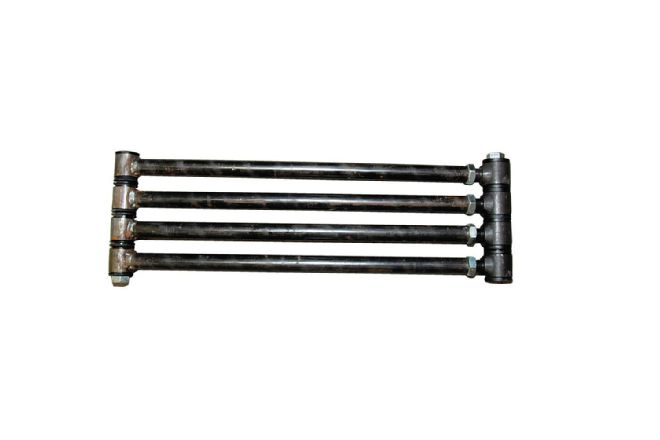 11. To ensure all the four-bars were the same length we adjusted them so long bolts would slip through the ends.
 12. With the brackets tightened and the bars adjusted they were put in place.
 13. Bolting the four-bar brackets to existing holes in the frame eliminates any guesswork, or the possibility of incorrect measurements.
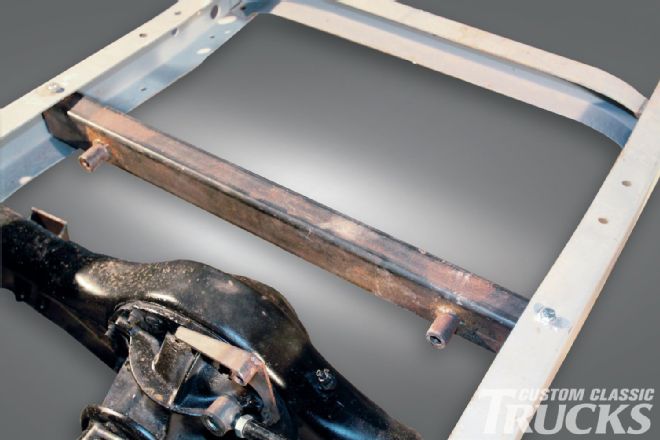 14. The replacement crossmember mounts the coilovers. It fits inside the framerails and bolts in place through the original rivet holes.
 15. To fit the axle brackets to the housing some minor grinding was required.
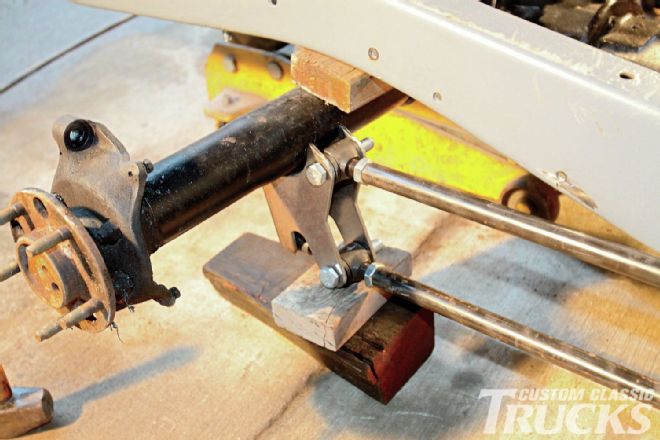 16. With the rearend housing supported by a jack the four-bar brackets were held against the axle housing with blocks.
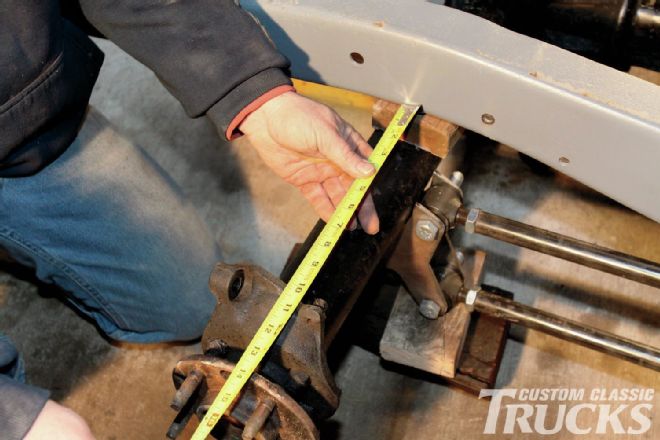 17. After centering the rearend under the frame the four-bar brackets were positioned equidistant from the ends of the housing and 36 inches apart center to center.
 18. The Panhard bracket attaches to the center section studs and the frame bracket bolts to the frame.
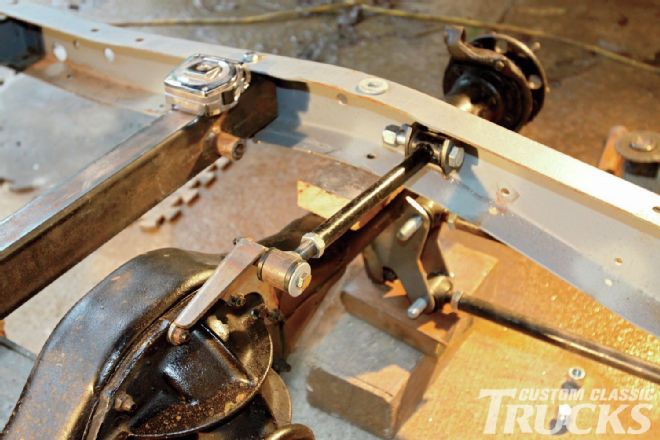 19. At ride height the Panhard bar is near level; the adjustable end makes centering the rearend easy.
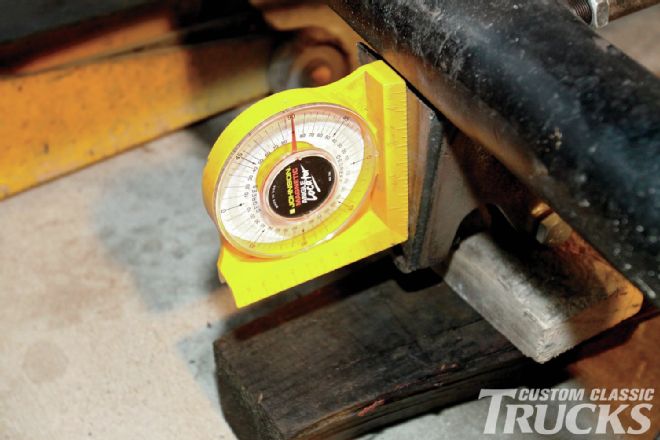
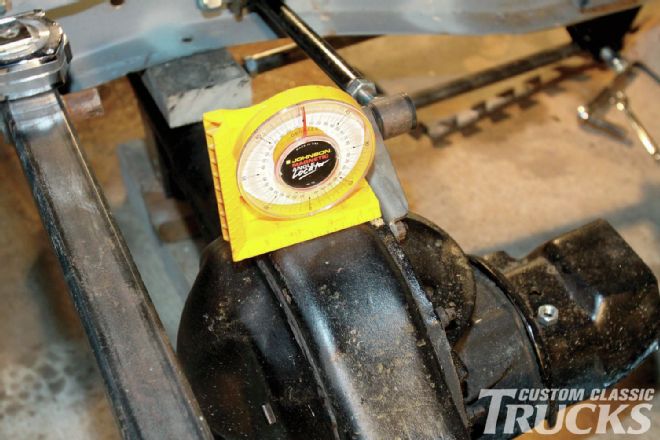 20. With the chassis at ride height, the pinion angle was set at 3 degrees pointing up. Again, the threaded four-bars can be used to make any necessary adjustments.
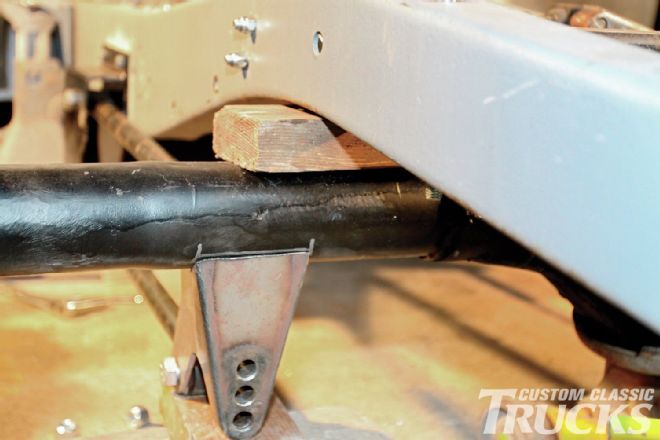
 21. We checked to make sure the coilover mounts were at the same angle as the crossmember to ensure the mounting bolts would be parallel. Failure to do so can damage the bushings and the shocks.
 22. If the rearend has to be taken to a shop to have the brackets welded on, reference marks can be made with a welder’s pencil.
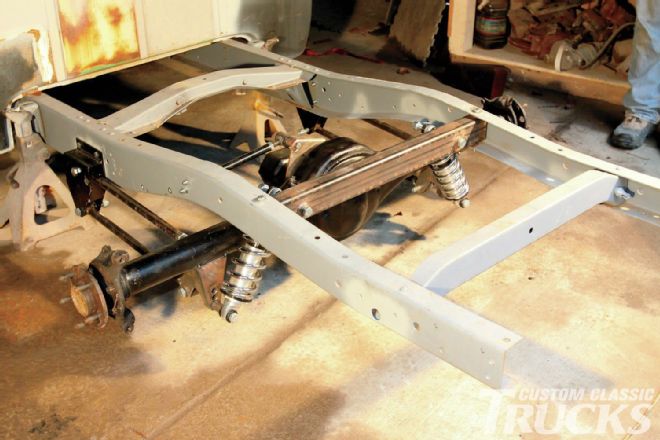 23. The finished installation is clean, will provide great ride and handling characteristics, and best of all it can be easily done in your garage.