There’s an old racer’s adage that says, “You can only go as fast as you can stop,” meaning that it doesn’t matter how fast or quick your car is if you can’t rein it in quickly and reliably afterward. That’s true in any realm of motorsports, but perhaps most in the world of autocross and road racing where high-performance braking is key to low lap times, or just keeping your car off the wall.
More than any other section of the aftermarket (with the exception of tire technology, because traction is always the true limiting factor) performance braking has made today’s level of serious professional racetrack performance possible. Those glowing orange rotors you see on American Le Mans (ALMS) cars entering a high-speed corner are marvels of modern material engineering since they’re able to endure ultrahigh temperatures and still function to slow the car. And the continual evolution in the Pro Touring world and the ever-increasing race car level power and handling capabilities of the cars has necessitated that braking technology follow suit as well.
…the ever-increasing race car level power and handling capabilities of the cars has necessitated that braking technology follow suit…
So what does it take to engineer a high-level braking system from scratch? That’s the challenge we faced with Max Effort (our 1967 Mercury Cougar project car), since none of our chassis, suspension, or even pedal assemblies are stock derived, and our goals and expectations for performance are very high. Essentially, we had to evaluate Max Effort from all of the various angles that affect braking: weight distribution at rest, center of gravity height, wheelbase, rotor effective diameter, caliper piston diameter, pad friction coefficient, and tire traction coefficient. That’s a lot to think about, but it’s what you have to evaluate anytime you make changes to your car since alteration to any one parameter will change the overall calculation. While there are equations that can be used to compute hard numbers, it’s a bit academic. In reality, on the street and racetrack, those considerations will be used to get the right parts choices and the initial setup in the right ballpark; the rest will be based around the driver’s preferences during testing.
…Sire Custom Performance happens to be quite adept at building custom and race car brake systems from scratch…
How do you figure out what those parts are for your car? Consult an expert. We’ve done minor plumbing previously, but fortunately for us, Yannick Sire of Sire Custom Performance happens to be quite adept at building custom and race car brake systems from scratch, and has several under his belt, so we asked for his assistance in the design, layout, and installation of our Max Effort system.
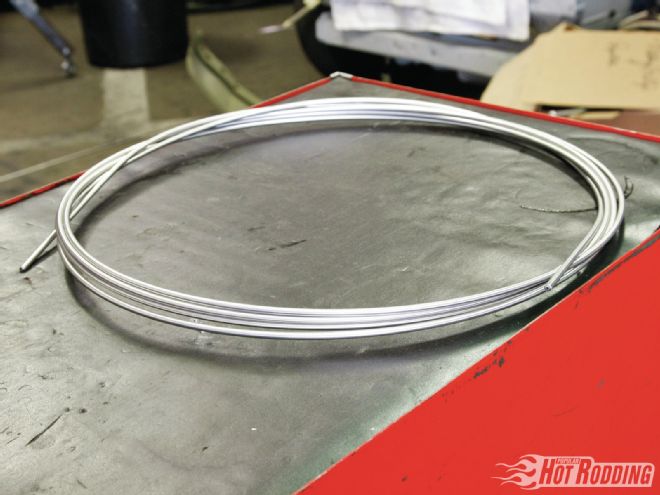 Since we’re starting from scratch, we called up Eastwood to get a coil of their stainless 3/16-inch brake line. It’s double annealed, so it bends and forms easily, and they have the best price we could find. Steel would be fine as well, but for a little extra investment we never have to worry about corrosion or rust.
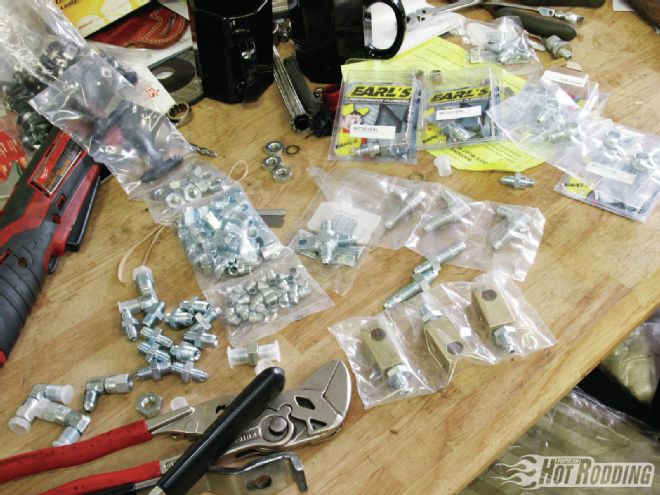 One place to never scrimp when planning a brake system is the fittings; if it doesn’t seal perfectly and reliably, your brakes aren’t trustworthy. For our system we’re using only Earl’s Performance Plumbing. They have a huge catalog of fluid system parts at a fair price. We worked with Tom Neeley at Earl’s Store #1/ANPlumbing.com to make sure we had all the right parts.
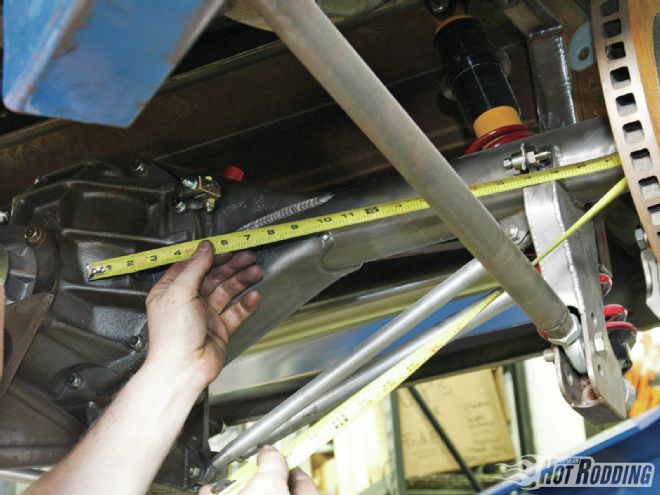 The first section of the system we’re going to build is the rear brakes. Here Sire takes a rough measurement from the T-fitting mounted to the differential to the fitting where the soft line will connect to the caliper to determine how much hard line he will need.
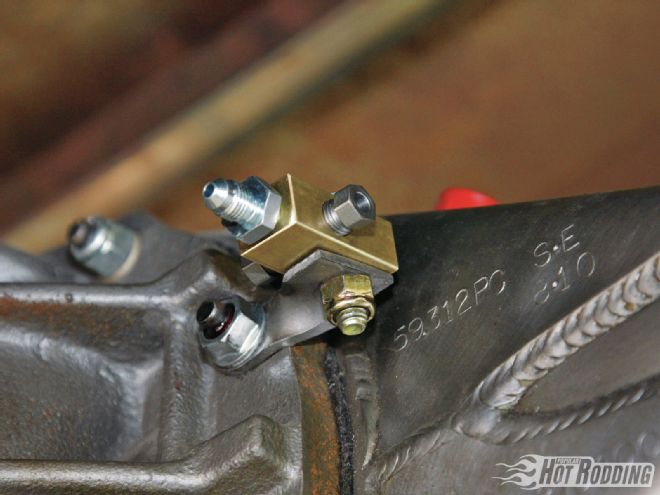 Our T is a brass Earl’s fitting that serves to evenly distribute brake fluid to each rear. The tab is just a piece of flat stock Sire twisted to create a simple mounting bracket. It’s typical to have the T offset to one side of the rearend housing for clearance. Make sure that there is no suspension travel interference when mounting it.
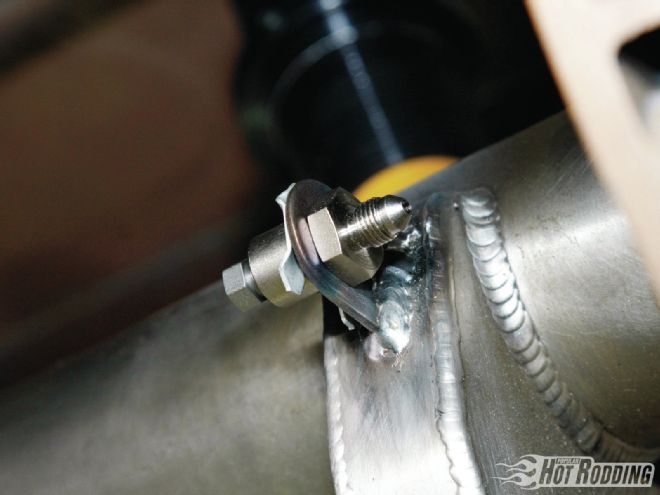 These Earl’s -3AN male fittings are clipped into a tab that Sire tacked to the rearend housing. All of the four arms of the brake system will terminate with a fitting like this. We want to use as much hard line as possible since it offers zero expansion from pressure, but from here, flexible line is required to connect to the caliper.
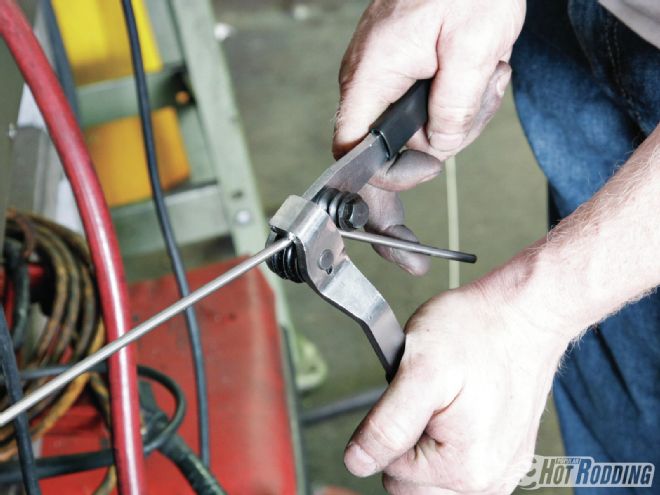
 When creating the hard line, it’s always best to start with straight sections. Eastwood has a simple and very effective solution for quickly uncurling brake line with this BrakeQuip straightening tool. These save so much time and result in such a higher quality final line that we’d consider it a necessity for custom plumbing.
 Nearly all of the bends will be accomplished with a standard hand tubing bender such as this one from Eastwood. These result in consistent radii and prevent crimping of the lines. Pro tip: Not all benders have the same radius, so always use the same bender all the way through the job to keep the look consistent.
 Cleanliness of execution separates the pros from the Joes on brake lines. When you need to make several bends in a short section, it helps to mark your beginning and ending points on the tube. Alternatively, a section of welding wire or even a coat hanger can be used to create a template to copy the bends.
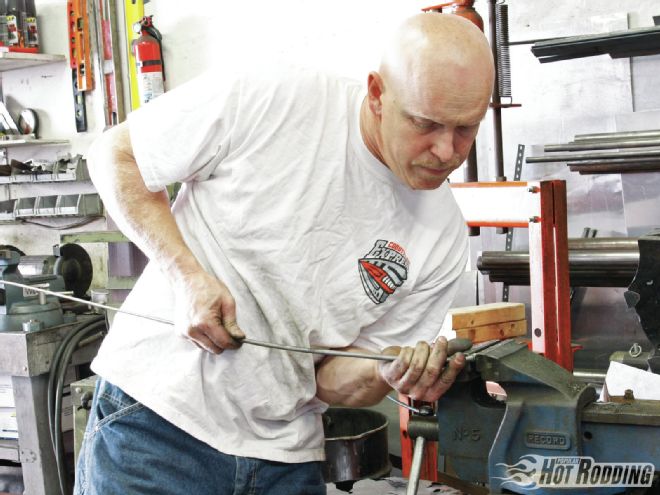 There are always certain bends that require a little more hands-on effort. To help protect the tube, Sire slides a coil of steel wire scavenged from some stock GM master cylinder brake lines. When doing this type of bending, the main consideration is to not exert all the bending force on one section of line, otherwise it will crimp. Typically your thumb makes a great mandrel. Thankfully, the Eastwood line takes shape easily.
 For creating the 45-degree end flares for our hard line, we used this amazingly awesome flaring tool from Eastwood (PN 25304, $249.99). Even Sire was thoroughly impressed by how easy to use and perfectly consistent it is: “I don’t get excited about tools, but this thing is bitchin! This is hands down the best flaring tool I’ve ever used.”
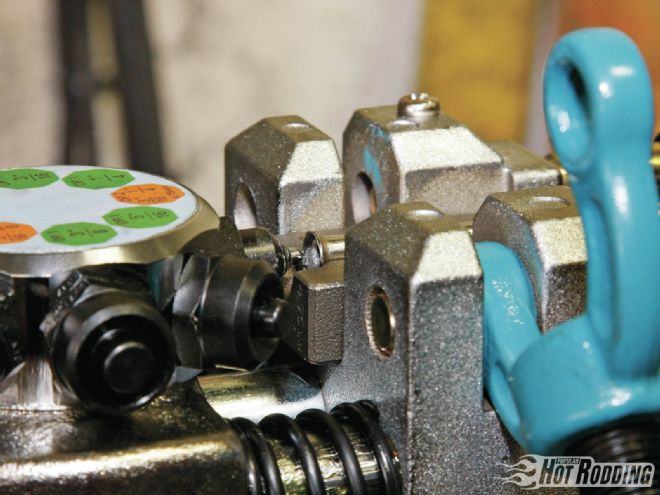 The Eastwood flaring tool can create single and double flares in 3/16-, ¼-, and 5/16-inch steel or stainless line. It functions by locking the line into cast steel blocks, which are clamped down. The flaring die is then pressed into the end of the line simply by pulling a lever.
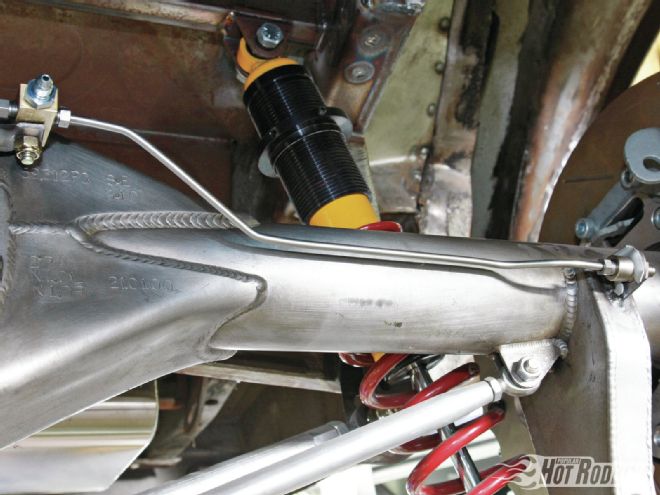 With the right tools and taking the time to get the right measurements and bends, the result is a line that lines up perfectly with the fittings and flows well aesthetically with its surroundings.
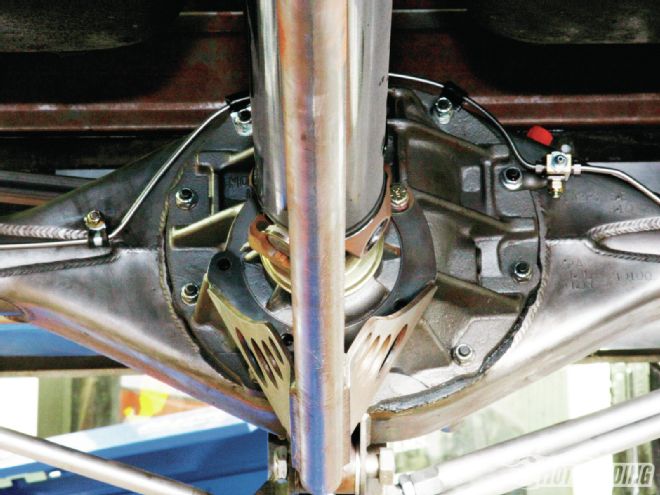 The large radius over the top of the differential is another place where you’ll need to get creative on your “mandrel” source. A 5-gallon bucket and your knee tends to work very well for areas like these since accidental crimping isn’t too much of a concern. Note that we used Adel clamps to secure the line in several spots. This is necessary to prevent vibration, which can lead to stress cracks and abrasion.
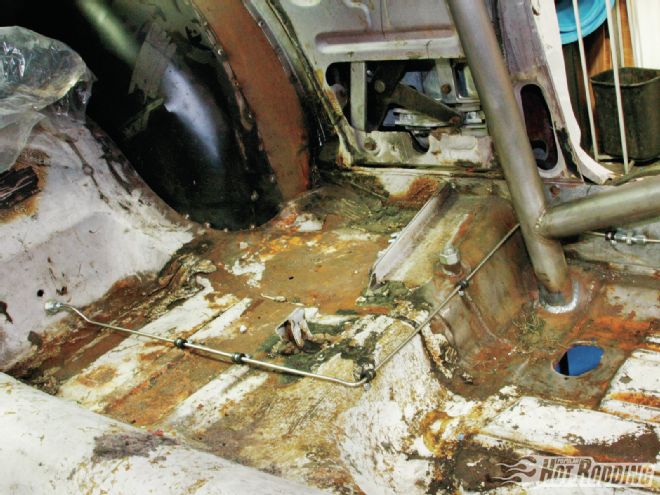 Rather than run the line under the chassis like stock, we chose to use an Earl’s bulkhead to run it directly into the cab since it will simplify our underdash master cylinder plumbing. It also serves to protect the line and make it easily serviceable should the need arise. Note that Sire kept the bends at a minimum; it’s always good practice with plumbing to keep the routing as simple as possible.
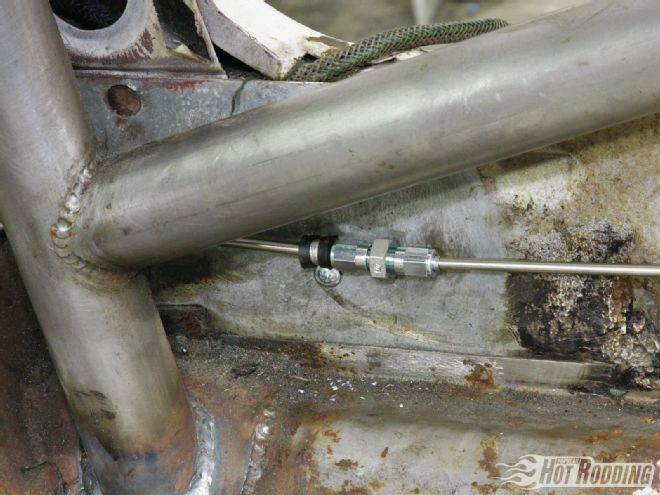 Our 20-foot coil of Eastwood line could easily make this line in one pass, but on long or complicated sections it’s not a bad idea to split it into two. An Earl’s compression fitting joins the two sections of the rear system down by the rocker.
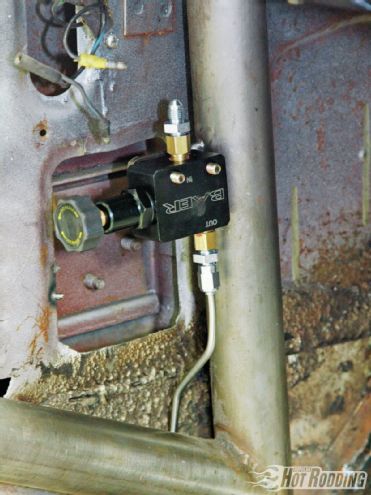 Here’s the other reason we wanted to run the lines inside the car: We wanted our Baer brake proportioning valve to be easily reachable by the driver for on-the-fly adjustments to the front/rear brake bias. This will let us compensate for varying track conditions, different brake pad compounds, or driver preference.
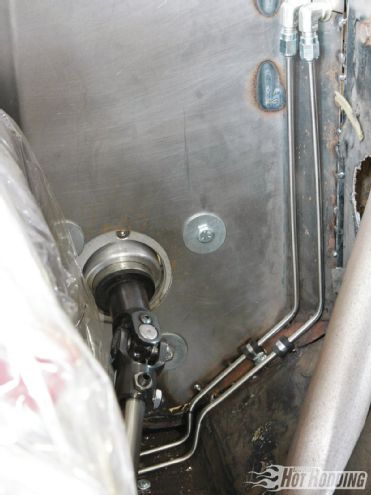 To exit through the firewall to plumb the front brakes, Sire used 90-degree bulkhead fittings from Earl’s. The line on the right is for the brakes, while the left will be used to plumb the hydraulic clutch later on.
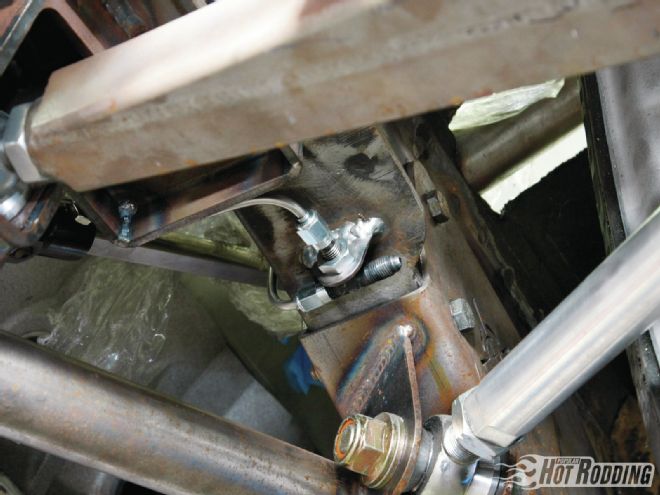 The brake drops over the framerail and runs up to meet another Earl’s T-fitting sitting in a tab welded to the bottom of the frame. Positioning this tab is important since one side will connect directly to a flexible line for the driver-side caliper, and we want to minimize the length while ensuring enough clearance for the tires and the suspension to move without snagging.
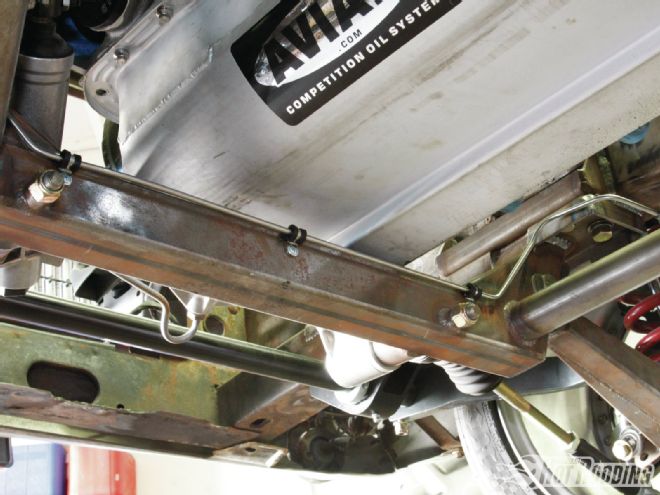 The other side of the T is used to route a hard line to the other caliper. In case you’ve ever wondered, the difference in length doesn’t matter since brakes are a hydraulic system.
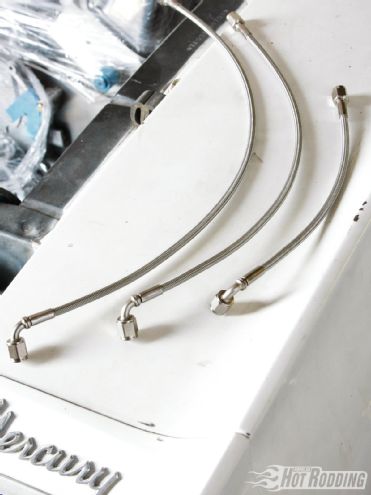 As for those flexible lines, Earl’s Speed-Flex braided stainless steel lines are perfect for competition use since they use racing standard extruded PTFE hose rated to 4,000 psi. They’re available in many typical lengths from 10 to 48 inches, but if you take the time to carefully measure out exactly the length you need, ANPlumbing.com can whip up gorgeous custom ones for just a couple of dollars more per hose.
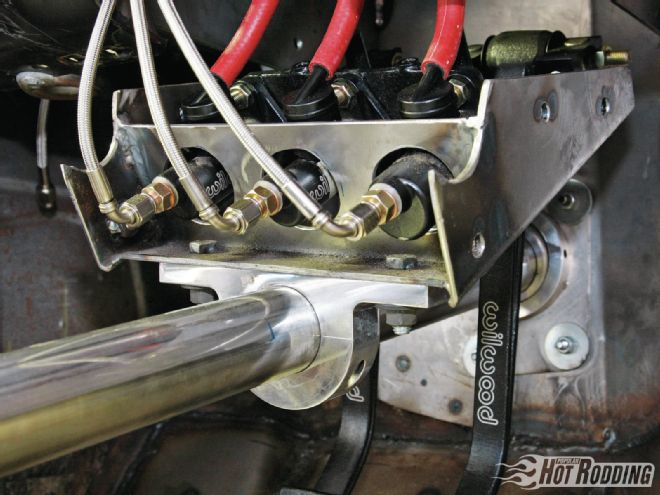 With the column and pedal assembly dropped down, we can access the Wilwood master cylinders for plumbing the Speed-Flex lines. We have them arranged left to right: clutch, front brakes, and rear brakes. The red hose will run to the remote reservoirs, but we’ll need to do some dash reassembly to determine the right mounting location. The masters are gravity fed, so the reservoirs will need to be above the masters.
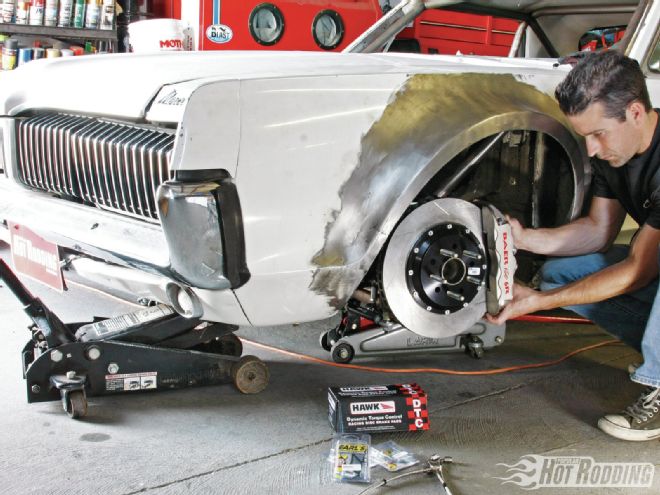
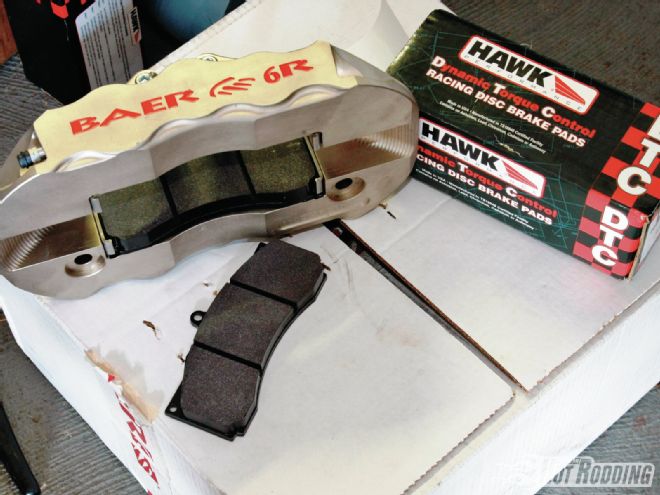 Our calipers of choice for Max are Baer’s 6R Asphalt Competition on all four corners. These billet monoblock beasts have internal crossovers and removable bridges for quick pad replacement, convenient since our super aggressive Hawk Performance DTC-70 and DTC-60 (front/rear, respectively) aren’t street friendly and we’ll switch them over for Hawk HPS for that. The 6Rs still have all the requisite dust seals to make them suitable for street driving.
 Our rotors are slotted 14 inchers from Baer, front and rear. Yes, that is a lot of brake for the rear, but we’ll certainly never have to worry about thermal capacity. Plus the proportioning valve will adjust the bias to compensate. And if nothing else, the Bear 6R calipers are just gorgeous! We’re now one vital fluid system closer to getting Max driveable.