The mating of Ford’s old Model A bodies to Ford’s more graceful, more substantial Deuce frames has been a common practice throughout the better part of hot rod history. But who do you suppose might have birthed the original notion? Without a “way back” machine, we’ll likely never know who is owed their due propers. Therefore, the best we can do to honor the unsung originator of this time-tested tradition is to just go on and mate another Model A body to another Deuce chassis.
Today for those who desire a clean-as-possible execution, the “A-V8-mate” has been made a little easier. Thanks to artists, Eric Schill of Riley Automotive in Commerce City, Colorado, who’ll custom build an A-V8 chassis to his customers’ individual specifications, and Henry Richards of Steadfast Manufacturing in Mansfield, Ohio, who has recognized the need for a kit-formed body sub-rail conversion, which enables the Deuce chassis to better accept the Model A passenger car body.
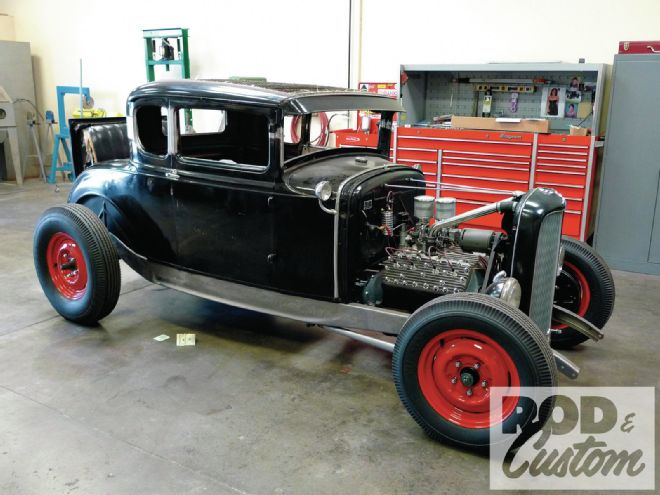
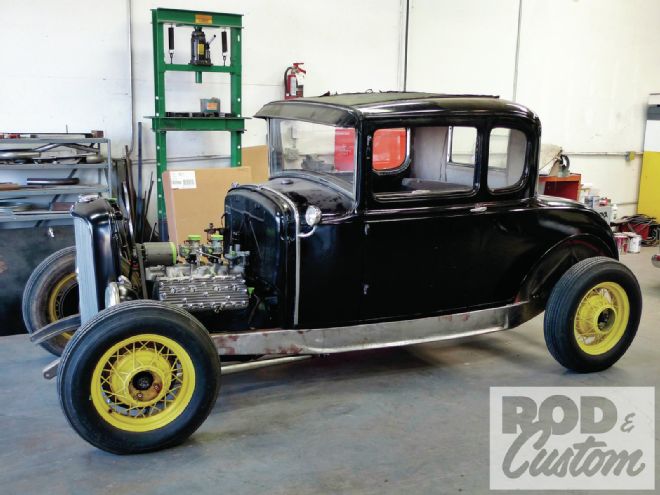
Although he had to purchase a complete, running, and registered ’30 coupe to acquire a well-preserved body, Mark Schneider of Lakeside, California, now has a rust-free, solid start on his latest hot rod project. Schneider knows exactly what he wants: an accurate example of a late A-V8, true to tradition, but with an extra helping of attention to detail. For the body swap and impending chop, a ringer has been called in: hot rod builder, Jimmy Benitez. For the past eight years, Benitez has practiced his craft at the Jalopy Shoppe in Escondido, California. This job will begin there, and continue at Benitez’s new digs, Coastal Auto Restoration & Performance in San Clemente, California.
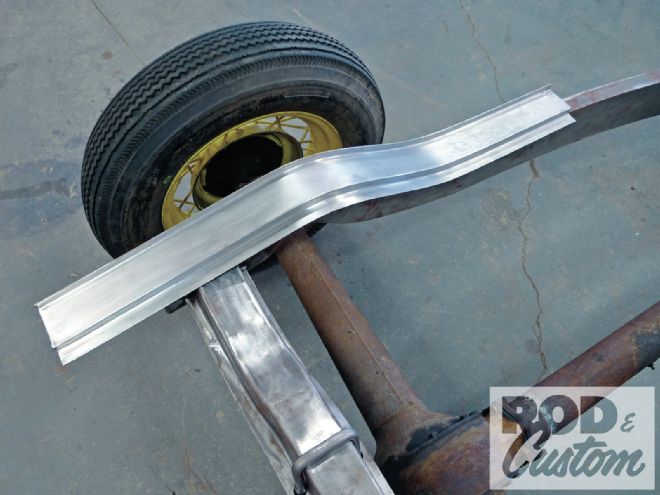
1 Our Steadfast sub-rail kit was sourced through Riley Automotive. The parts arrived, as seen here, but sans instructions of any kind. The cut-to-fit sub-rails come long, but at first they appeared slightly wider than necessary as well. A telephone call to the manufacturer helped to clarify the reason for the extra width.

2 As we now understand, most Model A Fords are badly rusted and their wheelhouses will likely require replacement anyway. With new wheelhouses grafted into a slightly more outward location, overlap clearance can be gained where the lower portion of wheelhouse will eventually meet the upward curve of the ’32 framerail.
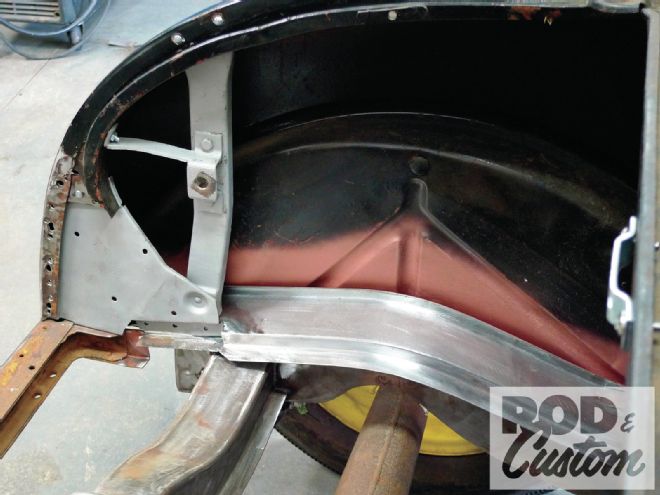
3 However, this rust-free California coupe has cherry wheelhouses, and its owner prefers that they remain in their original locations. So know that from here, Jimmy Benitez will have to work a little harder than Steadfast intended. This is in order to compensate for the slight bit of extra sub-rail width.

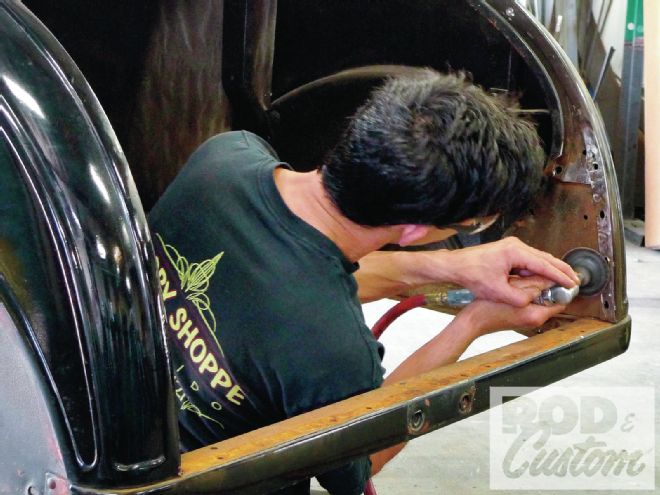
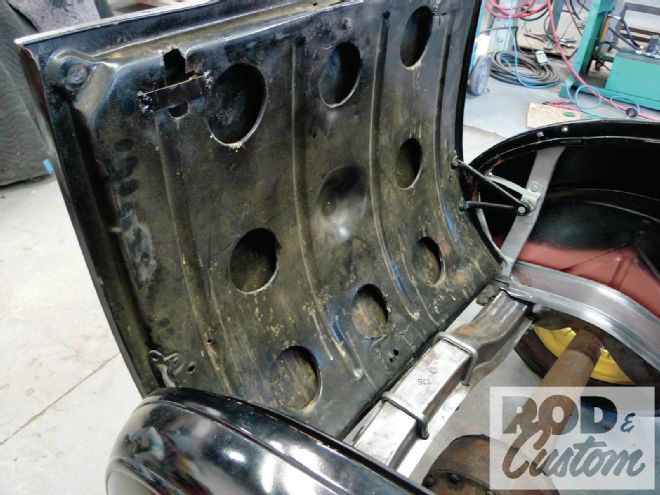
4 This job’s challenges will include the salvaging of a functional rumble seat, no matter what that entails. Here with air chisel in-hand, Benitez begins to persuade the hinge-mounting bracketry from the old coupe’s quarter-panels.
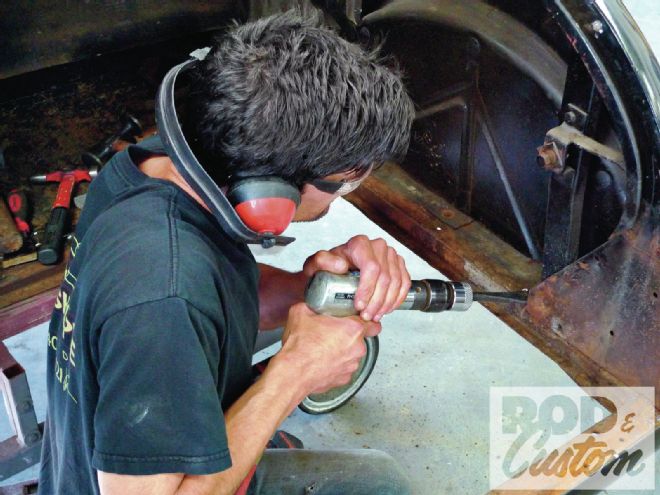
5 A quick pass with a spent 3M Roloc, 3-inch abrasive disc on an angle die grinder helps to coax the Ford factory’s spot-welds out of hiding.
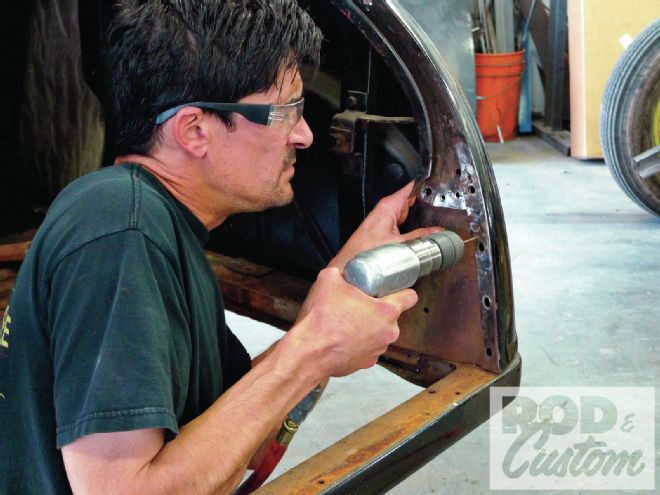
6 Next Benitez drills out the spot-welds, being careful not to drill too deeply into the second layer of metal.
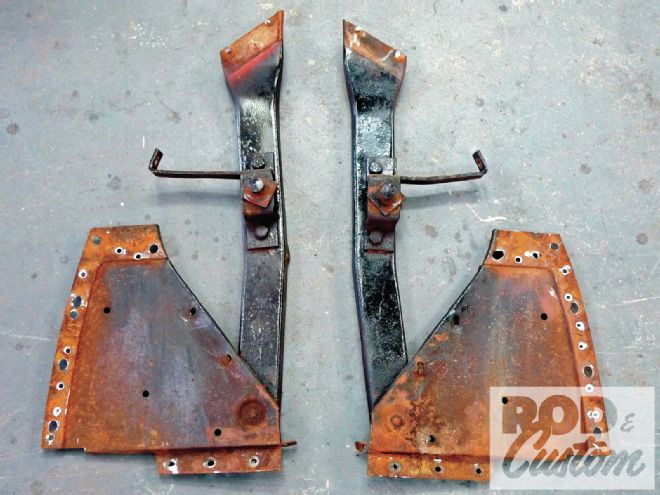
7 A little later on, the vertical braces will be shortened as necessary to accept the height of the swoopy sub-rails. The wide triangular pieces will also require modifications, which must not alter the hinge geometry of the rumble seat’s lid.
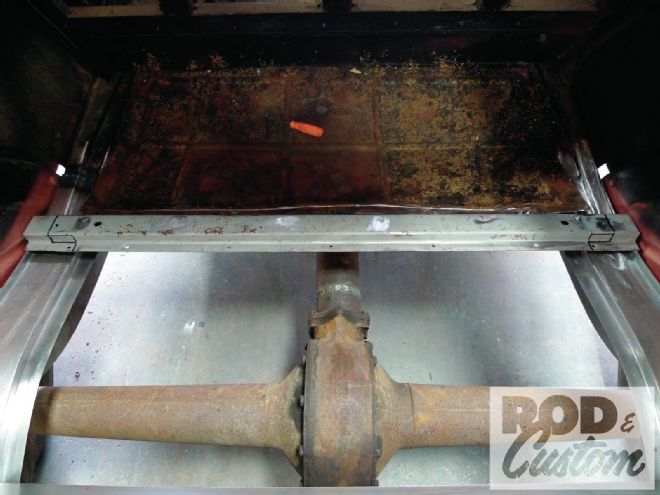
8 Although a new floor crossmember is included in the Steadfast sub-rail kit, we’ll likely want to retain as many of this coupe’s original pieces as possible. Once the original is removed and its condition is assessed, a final decision will be made.
9 “Rodney, here; straighten this for me,” Benitez says with crossmember in-hand. “Then you can sandblast it—and blast those other pieces over there,” he says. For anyone who might be thinking that I’m only taking pictures on these jobs, I’ll have y’all know that I usually end up working on cars.
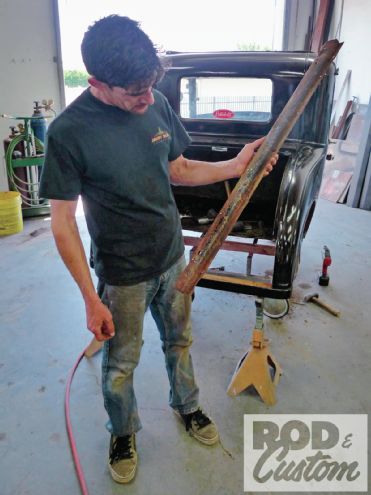
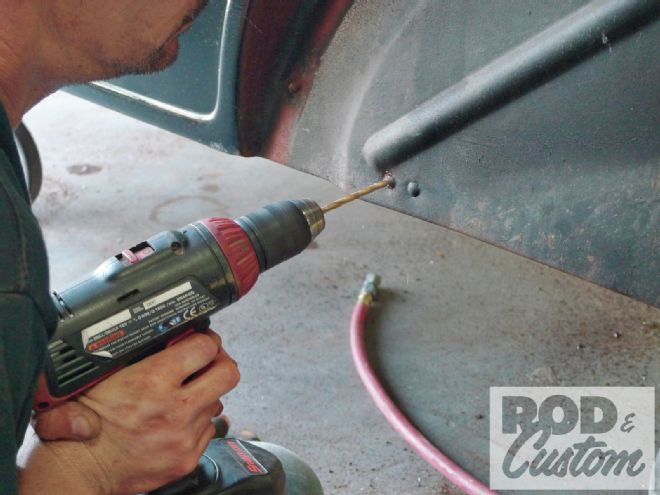
10 Before the body can be set on the fresh, Deuce chassis, sections of the old Model A sub-rails must be cut away. A cutoff disc on a die grinder does the job, but back at the home shop, I have something that Benitez might like a little better. I’ll bring that in for day two.
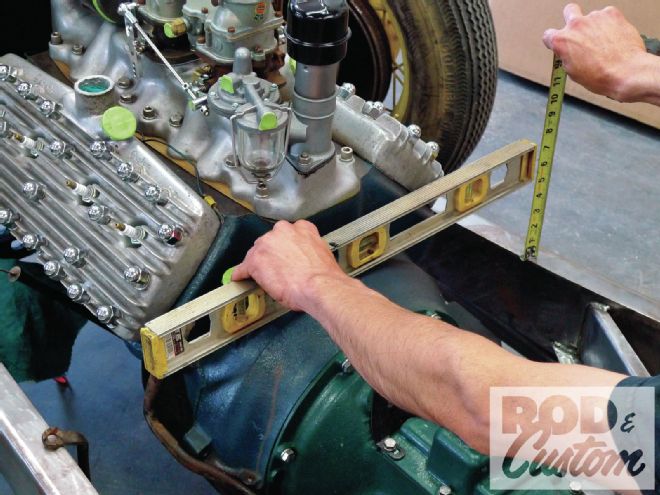
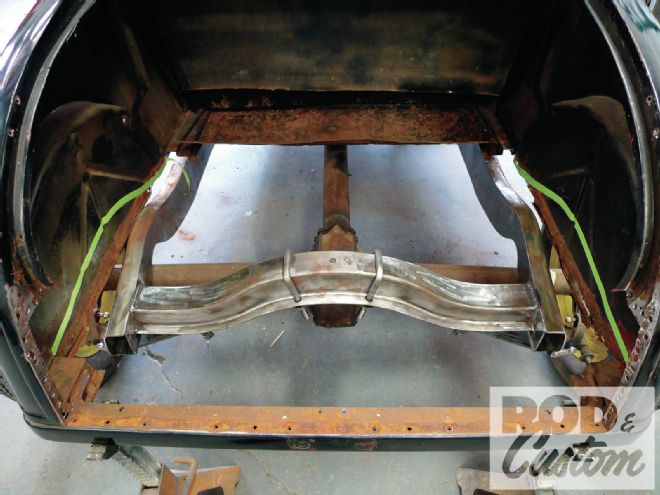
11 With the obvious clearances made, several measurements are taken before the body is lifted on. If we can eliminate the possibilities of any unforeseen interferences, we’ll lessen the chance of damaging parts, damaging the body, and/or damaging our own bodies for that matter.
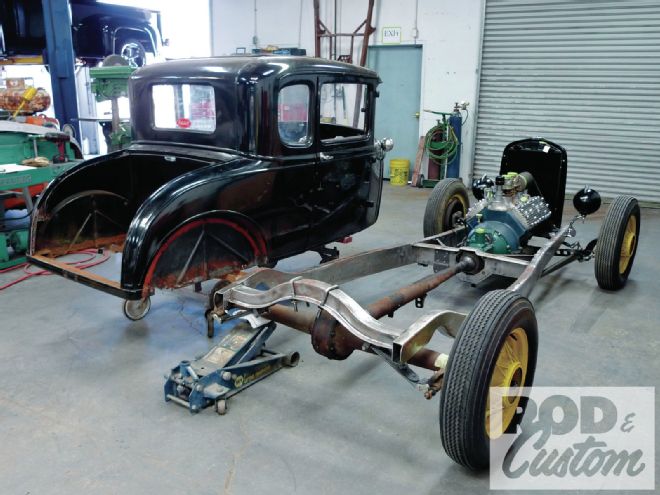
12 The wheels and tires used here are just temporary rollers. The removal of the left-rear wheel and tire should make the rehearsed dance steps to follow a little less clumsy.
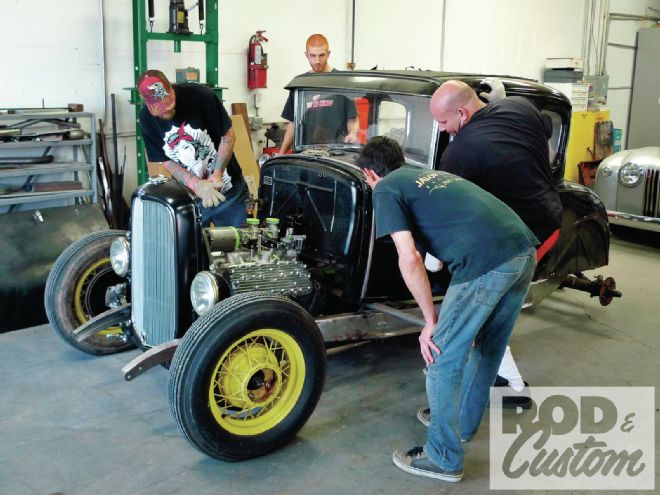
13 Of course the Jalopy Shoppe does have a nice, functional two-post lift, but on this day it was in use. So, Benitez has called upon three of his burliest buds to set the body in place—as he and yours truly carefully observe the operation.
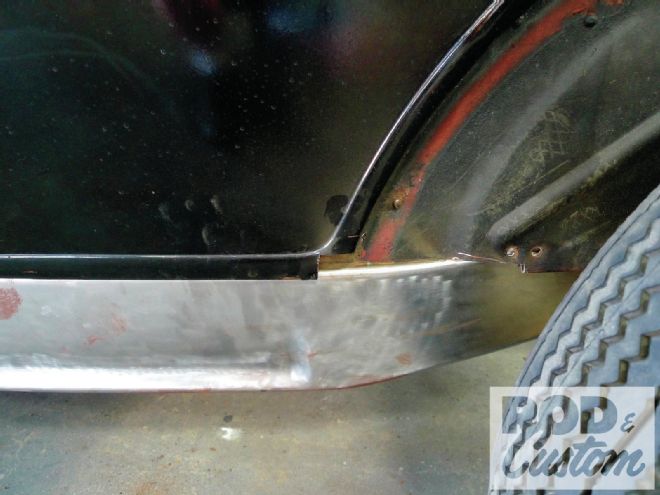
14 With the body in place, a few more relief cuts were made where the wheelhouses and lower reveal corners would not overlap the width of the ’32 frame. This is why Steadfast recommends relocating reproduction wheelhouses further outward. Even so, Benitez is willing to do what’s necessary to retain this car’s original wheelhouses.
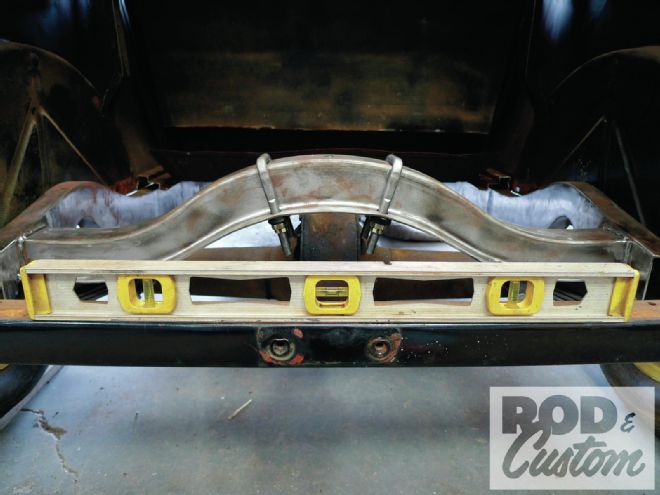
15 Before any permanent fabrication begins, tire inflation is evened out. Then numerous measurements and level checks are recorded. These steps are absolutely paramount for establishing the best possible body-to-frame relationship. If it isn’t right at this stage, it’ll never be right—and the naked eye will detect imperfection.
16 Once satisfied with the body’s location, guidelines are marked where excess wheelhouse sheetmetal must be trimmed to clear and flow with the curves of the ’32 frame and new sub-rails.
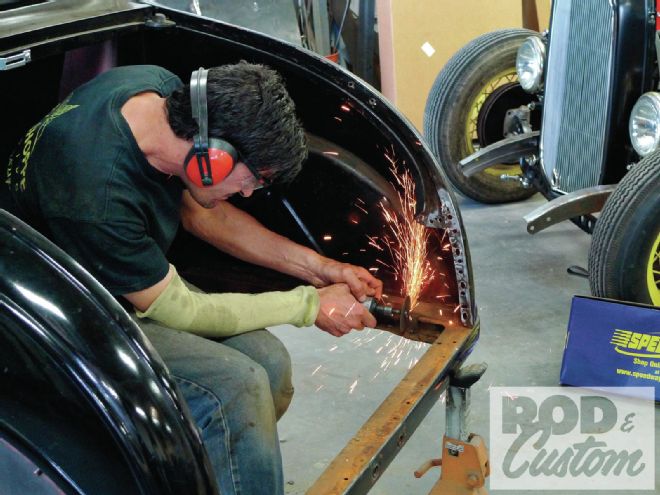
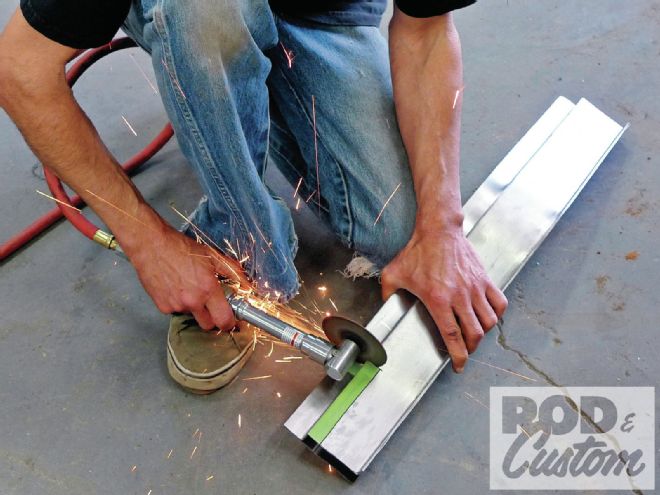
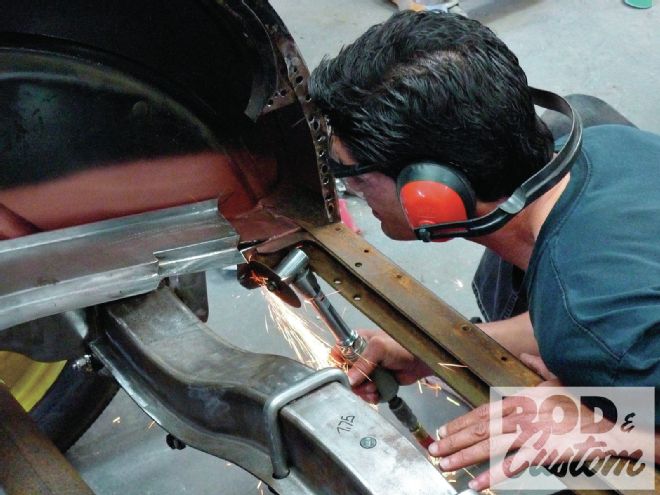
17 Here for day two, as previously promised, something from the home shop; and Benitez likes it. This Central Pneumatic 3-inch extended-reach cutoff tool won’t completely replace smaller die grinders, as they all have their places. However, for long, straight, controllable cuts, this is an invaluable tool—and it’s priced right at Harbor Freight.
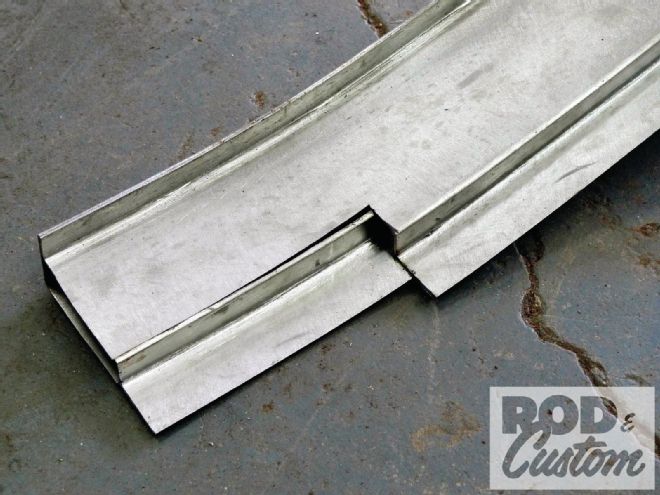
18 With the new sub-rails trimmed to the desired length we can now clearly see the jog that we must work with, as we’ve chosen to retain the coupe’s original wheelhouses. In this particular instance, all four ends of our new sub-rails must now be modified to blend into the originals.
19 So once again, Benitez gets to cutting. The idea here is to create a factory-like appearance for the necessary jogs by removing and reversing metal where required.
20 While the fabrication is still in its early stages here, you can get the feel of what’s being done. The remaining openings will be patched, welded, and smoothly dressed soon enough.
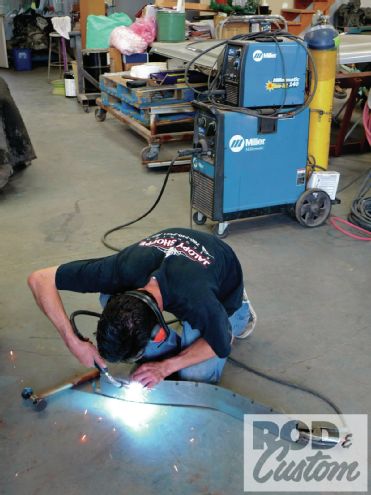
21 And what’s wrong with this picture? Before firing up the old Miller MIG, somebody should have put their helmet on. Of course Benitez is only tack-welding, and he can do that with his eyes closed, but still, we don’t recommend trying this at home.
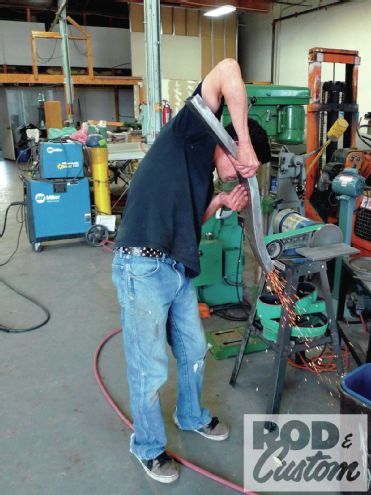
22 After a good once-over-twice with the ol’ 3M Roloc-equipped angle die grinder, the sub-rails are off to the belt sander for an additional bit of cosmetic cleanup.
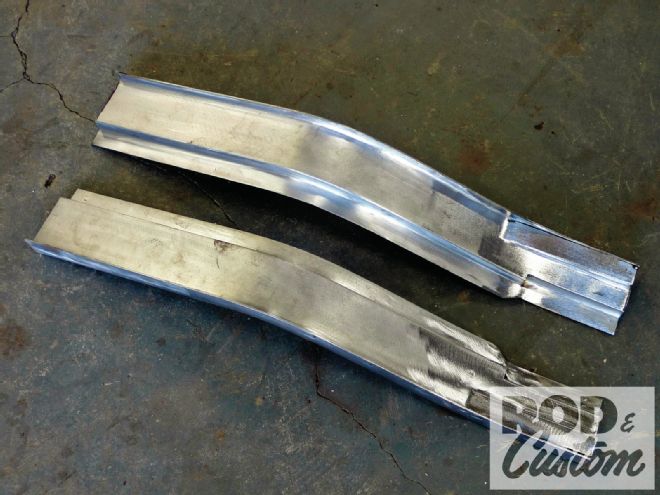
23 The two forward ends of our new Steadfast sub-rails are now modified to get in where they fit in. The rearward ends will receive further modifications in place after the new sub-rails are tack-welded to the salvageable sections of the old ones.
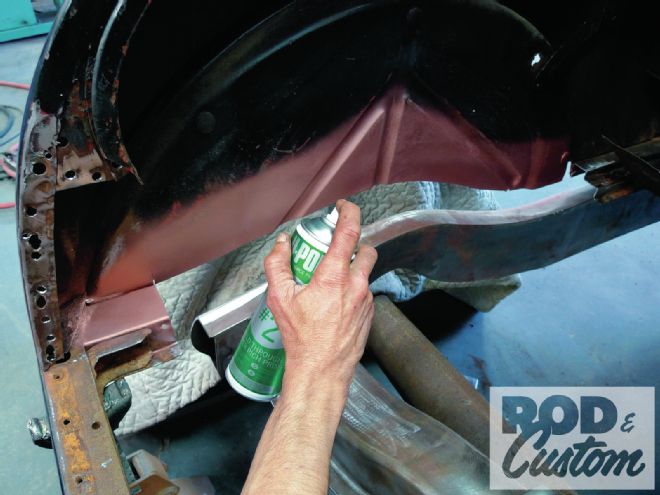
24 Before tack-welding the new pieces to the old, a coat of U-Pol Weld #2 weld-through, copper-rich primer is applied. This step, along with thoughtful seam sealing afterward, will go a long way to ensure that our work will last.
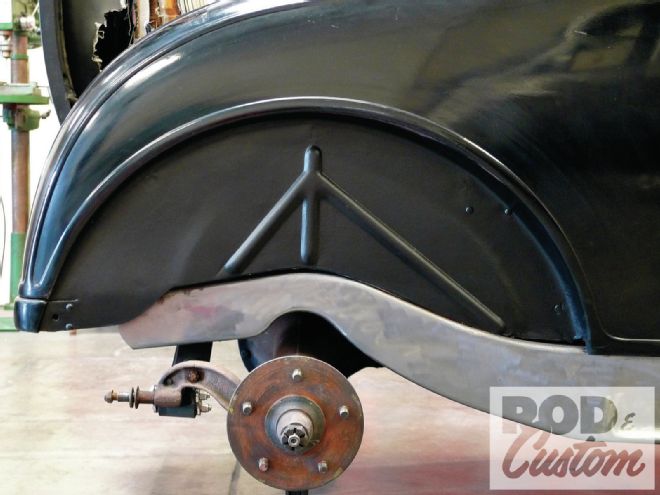
25 Here’s a close look at the modified rumble lid bracketry, now back in place and ready for testing. The triangular sections and vertical braces have all been shortened to accommodate the higher rear section of the ’32 frame and sub-rails.
26 Although many measurements have been taken along the way, possible interference from the higher rear frame crossmember was difficult to calculate. At this point, however, we’re pleased to report that the rumble lid swings freely and closes square.
27 After some straightening of the old coupe’s original floor crossmember, the final decision was indeed made to use it rather than the new one that was supplied with the kit. Here the scribes of a dull Sharpie denote the width modifications to follow.
28 The rumble lid bracketry will certainly hide these unfinished-looking rearward sections of sub-rail, but even so, there will be no shortcuts taken here. Benitez is a fast fabricator so there’s no reason to ignore what doesn’t show.
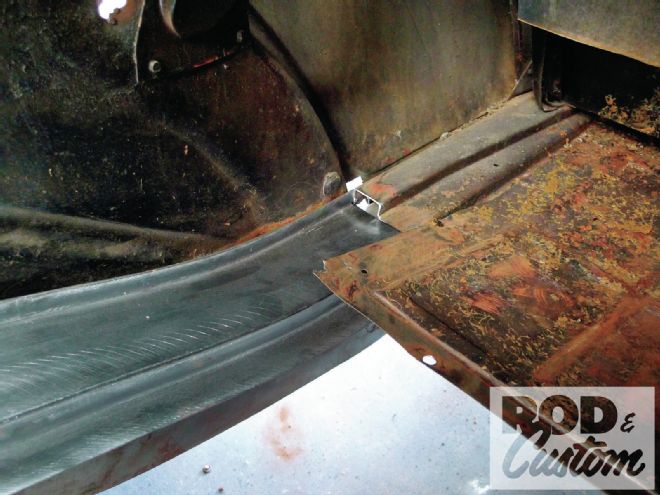
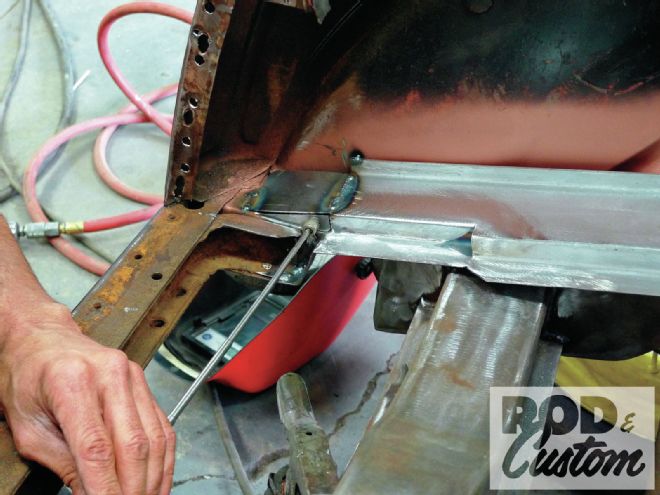
29 Here in this tight corner a telescopic magnet is used to hold the last bit of patchwork in place for welding.
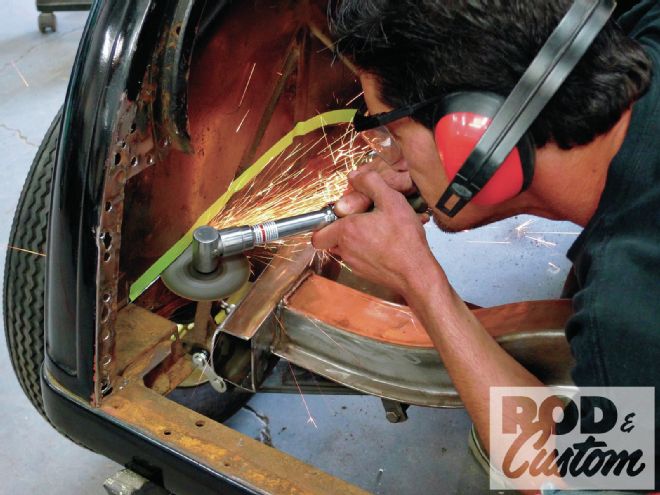
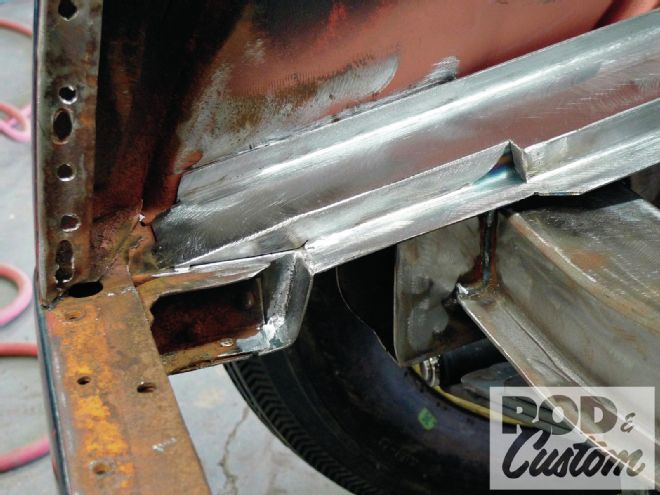
30 After a quick bit of cleanup with the ol’ angle die grinder once again, our patchwork is all prettied-up. From here it’s time to permanently weld the finished sub-rails to the coupe’s solid, original wheelhouses.
31 With his head down and helmet on, Jimmy is now committed as final welding gets underway. So far what we’ve witnessed was accomplished in a little less than four workdays—actual shop time may vary.

32 In retrospect, we still feel that the extra work required to retain the original wheelhouses was appropriate for this particular car. However, those whose hands are less tied by tradition would do well to consider Steadfast’s recommended approach.
33 Although Jimmy chose the path of most resistance, the Steadfast sub-rail kit has indeed simplified the job.