In preparation for installing the LS327 engine, I’m trying as hard as I can to get all my ducks in a row so it will be a simple matter of dropping the engine and transmission between the framerails and plugging the components in before the C10 is back up and running. So far, the induction and exhaust components are ready to rock and the engine is looking the part, but there are a few more things to tidy up before it’s time to bolt the powerhouse in place.

One thing that needs to be sorted out is the front drive. In LS jargon, that translates to the A/C compressor, alternator, and power steering brackets as well as the related pulleys, crank, and water pump notwithstanding. If we were using a junkyard rescue engine, those accessories would most likely be factory retained items, though there may be a clearance issue amongst some applications. Since our LS327 crate engine comes shipped as a long block, however, it’s devoid of the factory components. Therefore it’s necessary to either track down the factory items from a wrecking yard or install an aftermarket front drive kit.
We opted to go with the latter since it allowed us to use simple, off-the-shelf aftermarket components instead of trying to figure out what year/make/model each accessory, bracket, or pulley originated from. Going with an aftermarket kit ensured that everything would work together without the guessing game of combining different components meant for different applications.
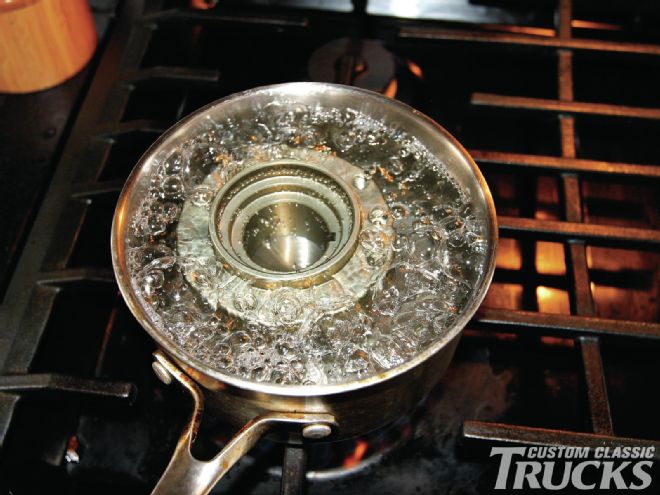 The first step to installing the S-Drive kit is to install the ATI crank hub, damper, and pulley. The LS engines use a torque-to-yield bolt to hold the hub in place on the snout of the crank. Therefore, the hub-to-crank fit is rather tight and requires the hub to be pressed into service. Since we’re using an aluminum ATI hub, a quick bath in boiling water will allow it to expand slightly, making the fit not so tight. The secret to driving a new hub on an LS crank is to use an LS7 crank bolt, which is slightly longer than the standard LS fare and isn’t a torque-to-yield bolt. The LS7 bolt drives the hub on as far as possible, then with a used torque-to-yield bolt, the hub can then be driven on the remainder of the way with a final torque to 240 ft-lbs. The used bolt is then removed and a new torque-to-yield fastener is installed, torqued to 37 ft-lbs, followed by a second pass to 140 degrees. A tedious process, but this ensures that the hub is properly seated and torqued to spec.
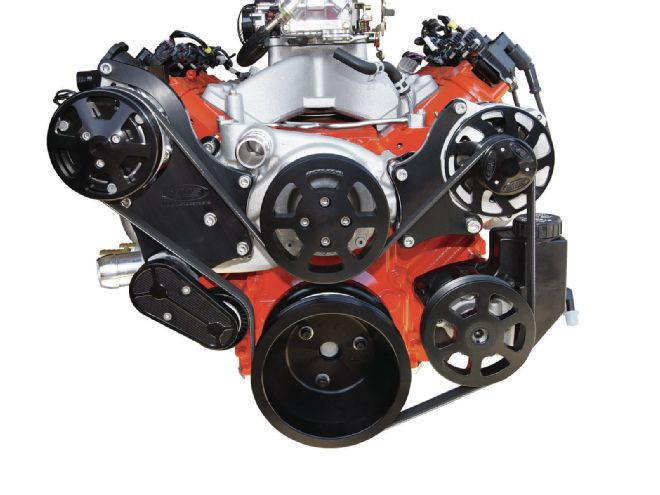
At the end of the day, Eddie Motorsports’ S-Drive serpentine kit is what we decided would fit the project best, given its totality in which it covers all aspects of the front drive setup from crank hub to serpentine belt. Eddie Motorsports really set out to cover all aspects of mounting the accessories up to an LS engine, including every bracket, nut, bolt, stud, washer, spacer, and component necessary to get the engine up and running. I like that because it takes the guesswork out of the equation completely, and for someone like me, that’s a godsend. CCT
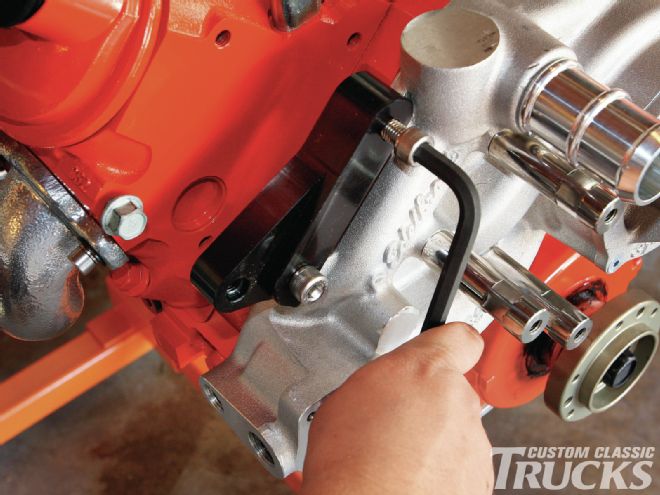 Next, the rear A/C compressor bracket is attached to the ears of the water pump using two M10x20mm cap screws.
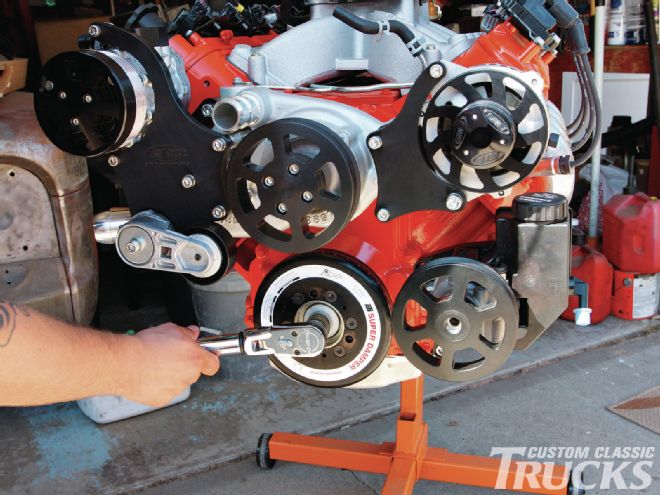 At this point, I installed the six flathead screws to 16 ft-lbs that mate the harmonic damper to the crank hub. Then I tightened the new torque-to-yield bolt to 37 ft-lbs, followed by a second pass to 140-degrees.
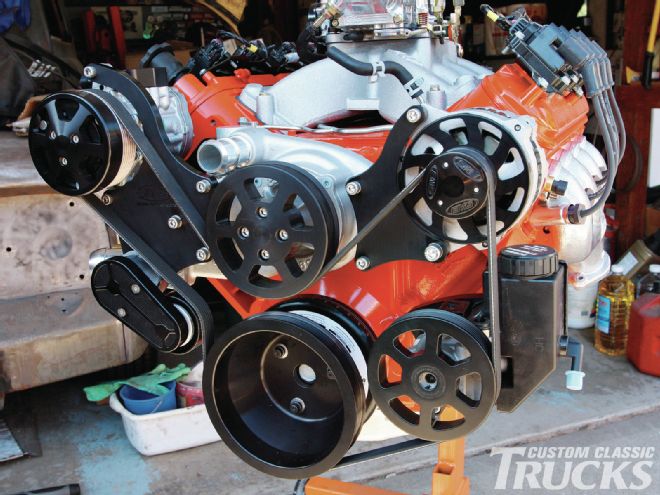 And there you have it! I really like the black powdercoated finish, though Eddie Motorsports also offers the kits in polished and machined finishes as well for those who want a more blingy engine compartment.