Rebuilding Cylinder Heads - Why? Car crafting is all about power-enough to run 12s in the quarter-mile and spin the tires at will. But not everybody can afford a shiny new set of aftermarket aluminum cylinder heads. The next best thing if you can't afford a trick set of alloy castings is to lay a little TLC on the heads you have. Last month, we introduced you to Steve Strope and his stepson Seth's '66 Mopar Coronet. While the resurrection bodywork continues on that somewhat abused B-Body, the pair also opened up the 318 Mopar engine that will eventually find its way into the engine compartment. The Coronet's original powerplant was an ancient polyspherical 318 that only the most diehard Mopar fan could learn to love. Instead, the pair chose a '70 LA version that promised to be in better shape. At first, the Strope plan was to perform a quickie Krylon rebuild by just cleaning and painting the low-mileage donor motor while adding an intake and a cam. That's when the, "Well, as long as we've got it apart" song started. Before the final note had played out, the heads fell off in anticipation of a quick valve job. We took the heads to Jim Grubbs Motorsports where ace machinist Ryan Peart transformed the greasy leakers into like-new castings.
Most guys don't have machine shops in their garages, so the focus of this exercise is to point out areas where a couple of simple and inexpensive machining steps can improve airflow for cheap and to illustrate just what goes into a quality rebuild on even stock iron cylinder heads. Check it out.
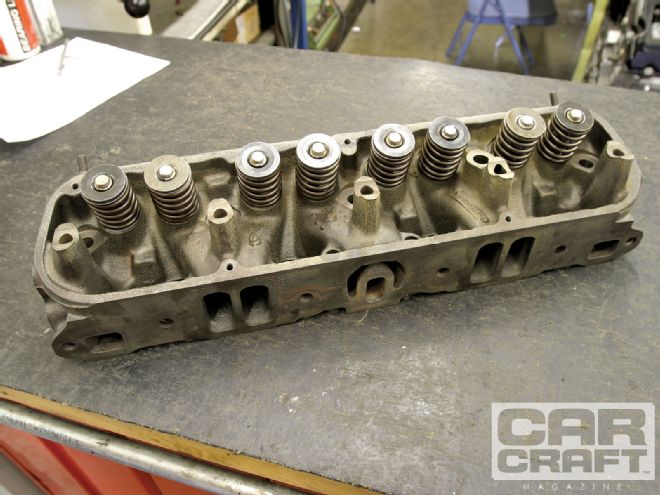
Guide to Rebuilding Cylinder Heads
The biggest issue with rebuilding cylinder heads is valve stem and guide wear. Generally, used heads will have loose guides that allow the valves to move laterally relative to the valve seat. This movement tends to beat up the seats, deteriorating their condition, which also diminishes the seal under cylinder pressure. If this isn't bad enough, loose guides allow the valves more room to move around, which trashes the valveguide seals. From this short description, it should be clear that a set of properly installed and clearanced valveguides is essential in the build process. So that's where we will start.
Rebuilding Cylinder Heads: Valve Grinding
Seat Work
In ancient times (about 20 years ago), seat preparation was performed using a series of grinding stones to establish the seat angles. Generally, this involved three stones that were dressed at the specific angle required. The accepted standard valve seat for a typical performance intake and exhaust valve seat uses 30-, 45-, and 60-degree angles. The 45-degree seat matches the angle ground on the valve. The 60-degree angle is also often referred to the throat angle that directs the air (on the intake side) from the port toward the seat. Then the 30-degree top angle helps radius the flow into the chamber. Different cylinder heads can and do respond to different combinations of angles, but the classic 30-45-60 is tough to beat.
With the advent of the dedicated valve-cutting tool machines such as the Serdi, Sunnen, and others, the machinist can specify a custom-made cutter that machines all three seat angles and widths simultaneously. Not only is this faster and far more consistent through all 16 valve seats, but it also ensures far more seat concentricity, which also helps flow.
Head Assembly
With the machining complete, all that's left to do is assemble the heads. We went with an Edelbrock valvespring to match the camshaft, since the springs were really inexpensive. There are a couple more steps that include choosing the right valveguide seals and valvesprings and ensuring that we have plenty of clearance for our new cam. The cam is a mild Edelbrock Performer-Plus with only 0.420-inch valve lift, so coil bind and retainer-to-seal clearance aren't issues. We also upgraded the intake seals to Viton-style positive seals that mount on the outside of the guide. Once the spring clearances were verified, Peart assembled the heads with a little lube on the stems, and we carried them back to Strope's shop to bolt them on the engine.
CLEARANCES COMPONENT CLEARANCE (INCHES) Valve stem to guide Intake, 0.001 Exhaust, 0.0015 Valve seal to retainer 0.050 Coil bind 0.050 Installed height 1.650
MACHINE COSTS OPERATION COST Clean and Magnaflux $88.00 Install new guides 170.00 Back-cut valves (8) 32.00 Surface heads 56.00
These are JGM prices that may not be typical of other machine shop prices, but they will give you an idea of what the operations cost.
FLOW TESTING VALVE STOCK VALVE JOB BACK-CUT CHANGE INTAKE CFM (PERCENT) LIFT INTAKE EXHAUST INTAKE EXHAUST 0.100 52 54 54 47 55 1 2% 0.200 108 97 107 90 118 11 10% 0.300 157 119 156 116 163 7 4% 0.400 172 128 177 126 164 -7 - 4% 0.500 166 135 167 132 168 1 0.5%
Note that our new valve job really didn't improve the flow, which is not unusual. The change that really helped was the 30-degree back-cut to the intake valve. Note how this improved the flow at 0.200-inch valve lift the most and then fell off, actually hurting flow slightly at 0.400 inch. Since our cam's max lift is only 0.420 inch, this should be worth a little torque if nothing else.