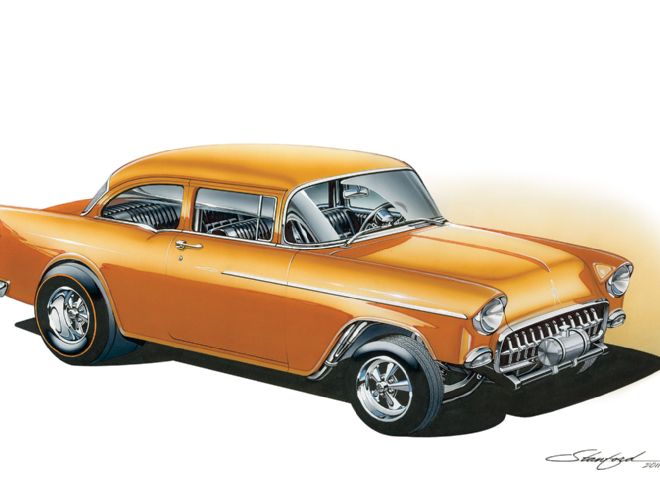
Last month we made really good progress on our Project Totally Gassed '55 Chevy dash. This month we will wrap it up and give you an insight into how the craftsman at Classic Instruments make their very popular line of custom gauges—face and inner workings.
The objective behind the project was to build a dash that was reminiscent of what we might have done back in the mid-'60s but to have the inner workings, the behind-the-scene goodies, to be current and take full advantage of modern technology. Items like the Classic Instruments GPS, Custom Autosound stereo, and American Autowire wiring complete with connectors and labeled just for our project.
The Correct Cluster
While our Gasser project is based around a reproduction steel body from Woody's Hot Rodz and Real Deal Steel, for this portion of the project we were fortunate enough to locate a near-perfect original dashboard. The good news is the dash was all original; the bad news is it was absolutely devoid of any trim or switches. Well, that turned out not to be a problem thanks to Danchuk, but the big question was what to do about the gauge insert. We did get a beat-up gauge cluster with the dash but it was in rough condition. As it turns out we had the only piece that Classic Instruments needed, the stamped housing that goes behind the dash. They would fill that factory stamping with their own modern gauge movements, add turn signal indicators and a high beam indicator, and basically remake the entire gauge face to our design. From here we enlisted the help of American Autowire to handle the electrical connections. Then when it was all done the completed gauge cluster was boxed up and sent back to us ready to bolt in. And bolt in it did, and it also plugs in, as the American Autowire wiring is done with a disconnect plug that will allow the unit to easily unplug should we need to remove it from the dashboard anytime in the future. The gauge cluster package also contained all the proper sending units and wiring directions to complete the project. In the end we had a gauge cluster that looked better than new with gauges that will be more accurate too. Now let's take a look at how Classic Instrument breathes new life into old clusters.
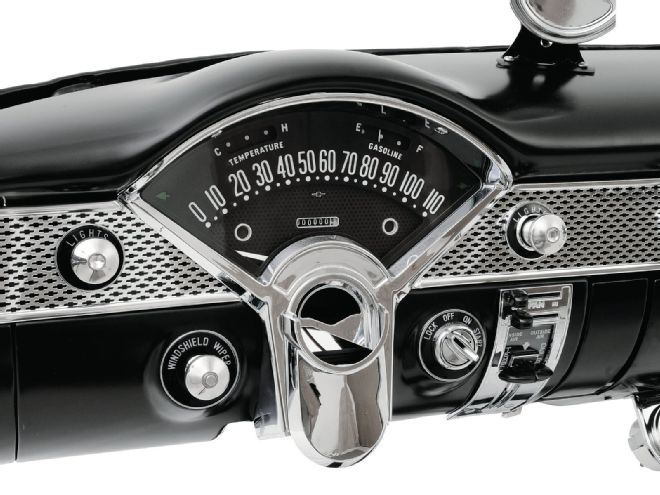 When we received the great-looking new gauge cluster from Classis Instruments it was a simple matter of bolting it all together. The Danchuk control knobs, reproduction light switch, and wiper switches look perfect alongside the new dash insert. From start to finish we couldn’t be happier with the dashboard; everything fit and worked perfectly.
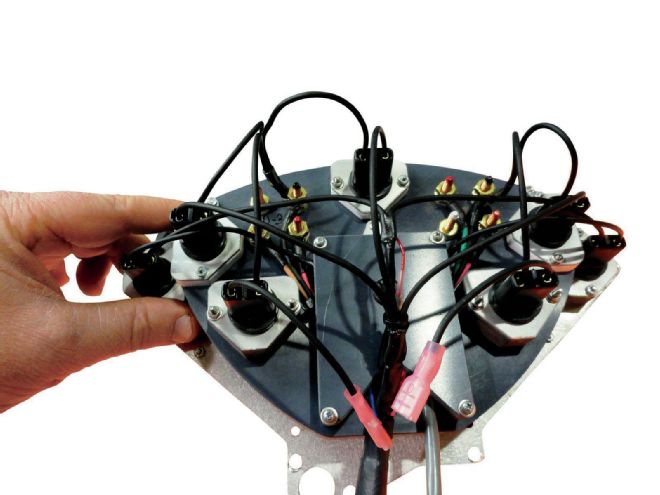
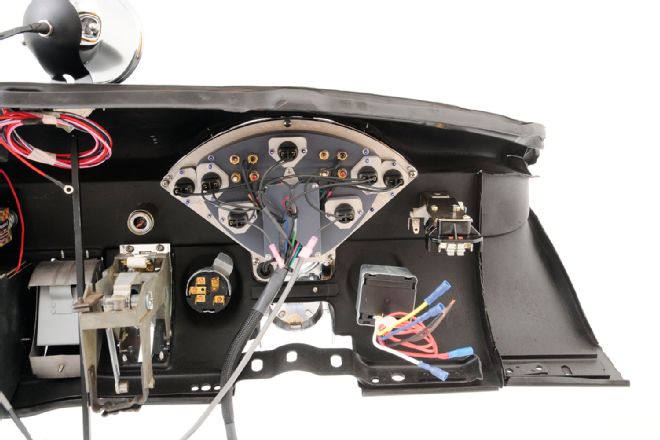 From the back side we can see the amazing quality and attention to detail that goes into the Classic Instruments gauge cluster. Once again notice how clean and simple the wiring will be with mostly plug-in components.
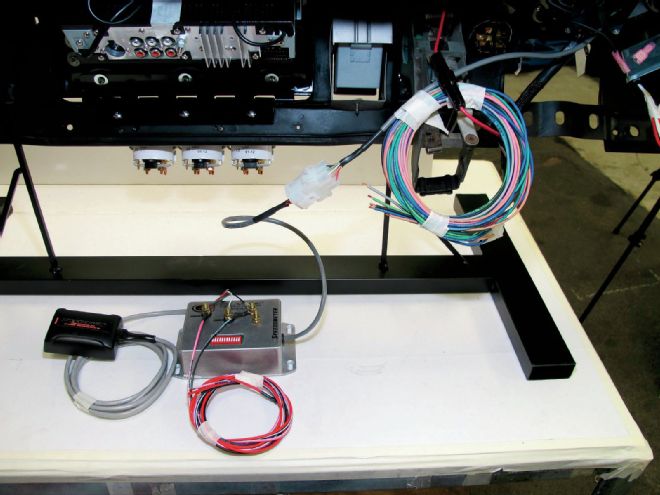 Remember what a hassle it once was to get your speedometer to read accurately? Well, thanks to all those satellites spinning around the earth, a Classic Instruments Sky Drive GPS module provides accurate speed readings.
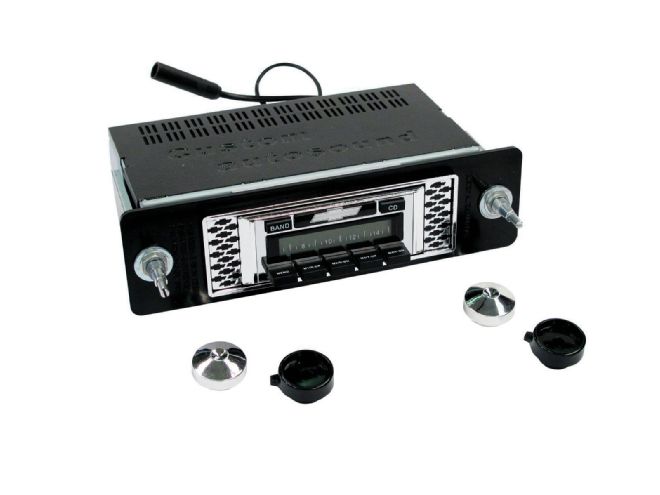 The final piece of the dashboard puzzle was getting some tunes in the car. That turned out to be a simple process too. Custom Autosound has a dash-mounted unit that fills the stock radio hole perfectly and provides radio reception and plays CDs too. In our application we opted for the iPod hookup.
 With the Custom Autosound radio mounted our dashboard is looking better than new and the great thing is while it looks stock every component has been upgraded in our build process.
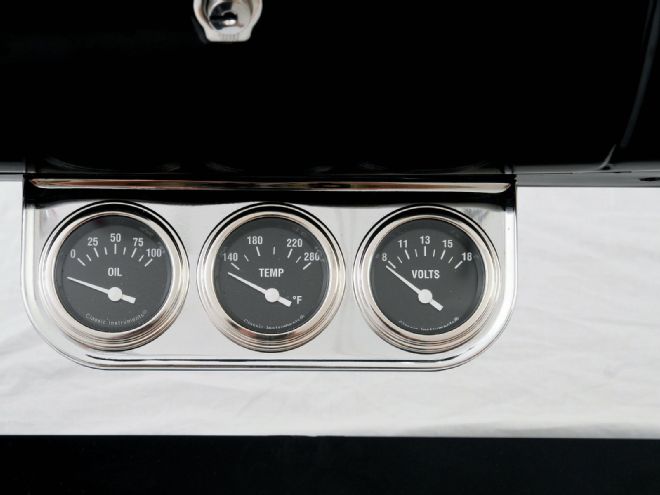 A trio of gauges mounted in a chrome panel directly below the radio. Installation was straight-forward and the Classic Instruments Hot Rod Series look perfectly vintage. Wiring is accounted for via the American Autowire harness. These three gauges will be repeated in the engine compartment firewall. Again, an American Autowire harness comes to the rescue as it accounts for all of the additional instruments.
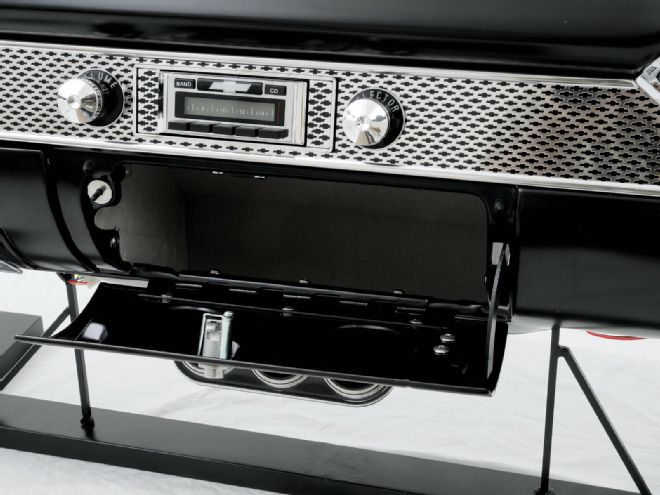
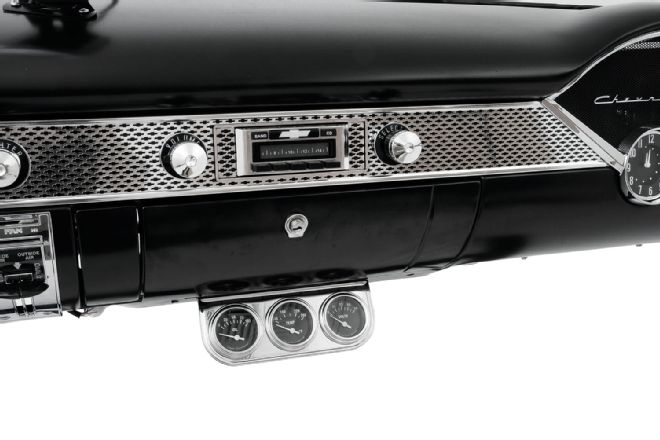 And here’s the center of the dash all completed. From the brand-new glovebox to cool Custom Autosound radio and Classic Instruments gauges, this looks like the perfect period-correct ’55 dashboard.
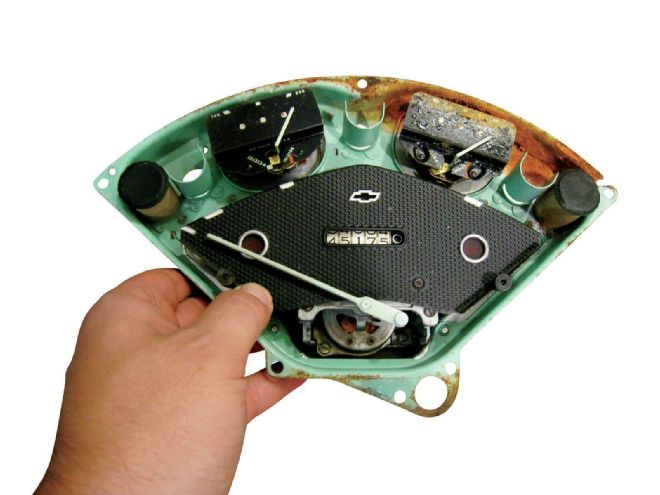 Obviously the donor car had a windshield leak at some point and the water found its way into the gauge cluster. However it was just surface rust so we still have the makings of a good cluster. The housing was media blasted clean.
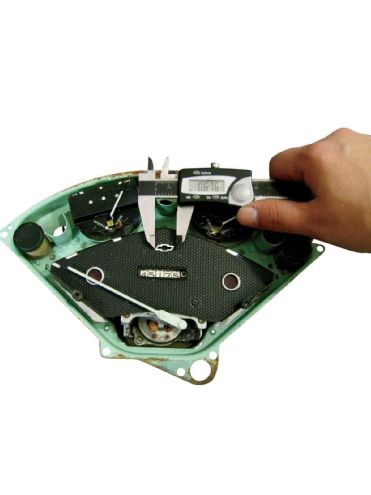 Important measurements were taken from the stock gauge face to ensure the new Classic Instruments face would be a perfect match.
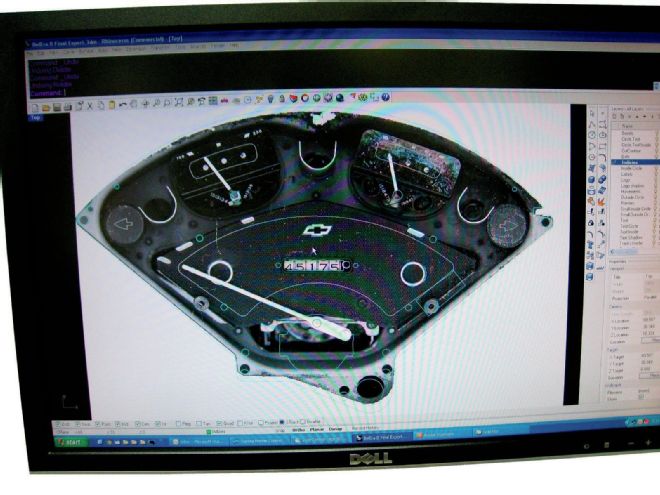 The original panel was also scanned into the computer so they could use this as a template for the new gauges and face.
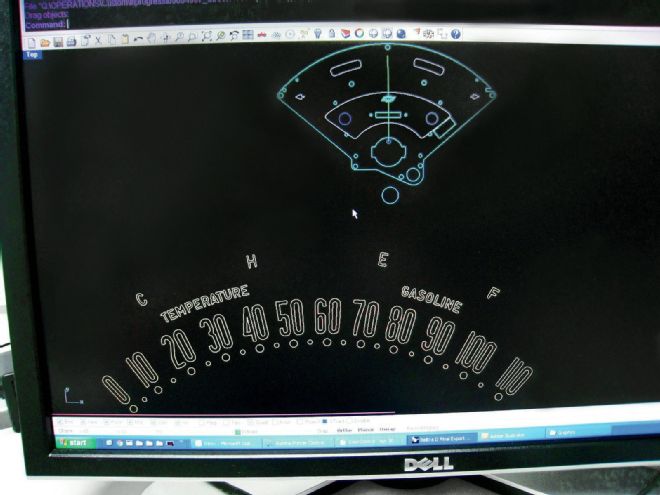 All of the design and engineering work is done digitally. This allows a tremendous amount of design flexibility that will fit inside the original cluster housing. That translates to almost unlimited custom designs for the builder.
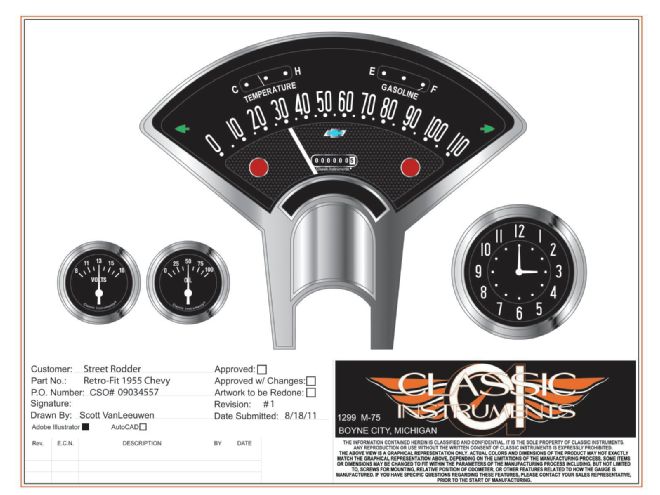 After carefully designing the gauge cluster to include the list of items wanted by the customer, a digital proof is generated. At this point you can see exactly what the gauges will look like when finished. Now is the time to make changes, if required.
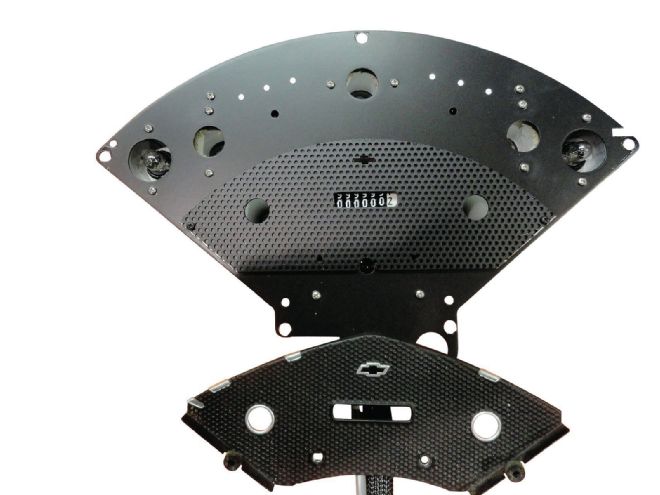 The gauge face consists of black perforated metal over a solid black panel. Note the upper speedometer and the lower turn signal panels are built from two different pieces.
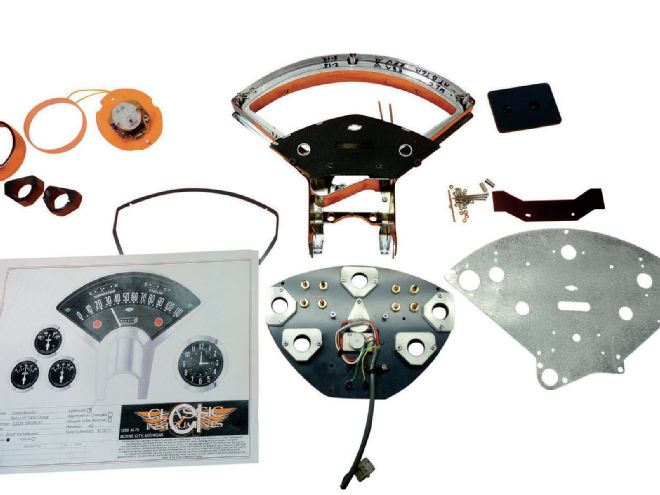 As you can see nothing of the old gauge cluster is used except for the actual housing. Here we can see the laser-cut faceplate, the panel back that actually holds the gauges, along with the black faceplate.
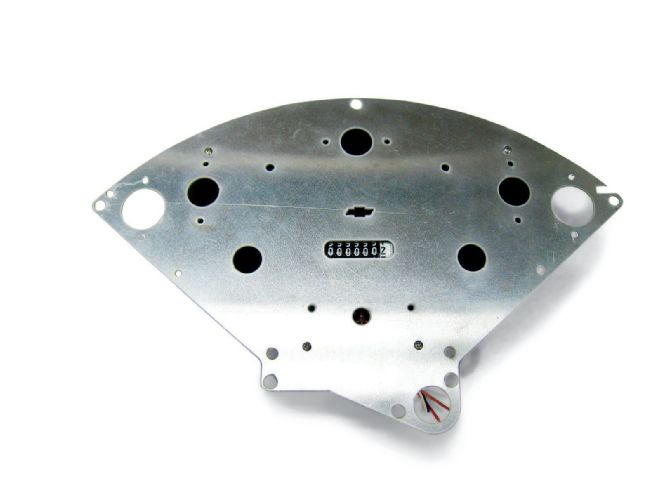 The new laser cut front panel has all the openings required and all done with laser-like perfection.
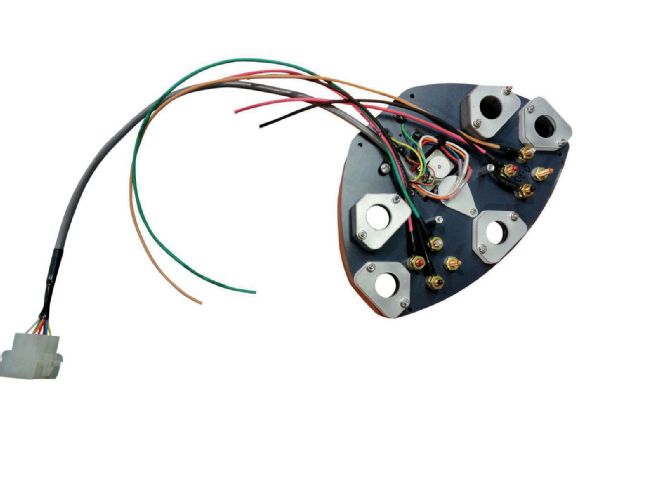 The gauges are all pre-wired by Classic Instruments and terminate in a plug. This makes wiring clean and simple and gives the owner the ability to unplug the gauges from the American Autowire master harness, should removal be required in the future.
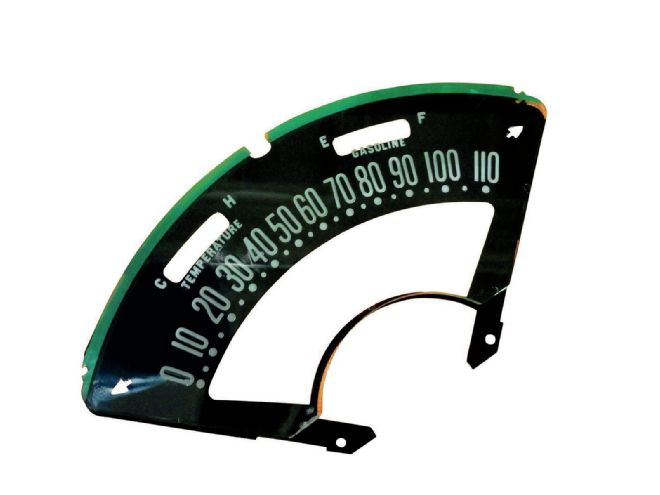 Now the Danchuk reproduction speedometer face is overlaid on the new gauge face and checked for fit. Not surprisingly, the fit is perfect.
 Gauge panel lighting is all done with modern LED lights so no more crawling around under the dash to replace old-fashioned bulbs. The LED lighting also tends to be brighter and whiter.
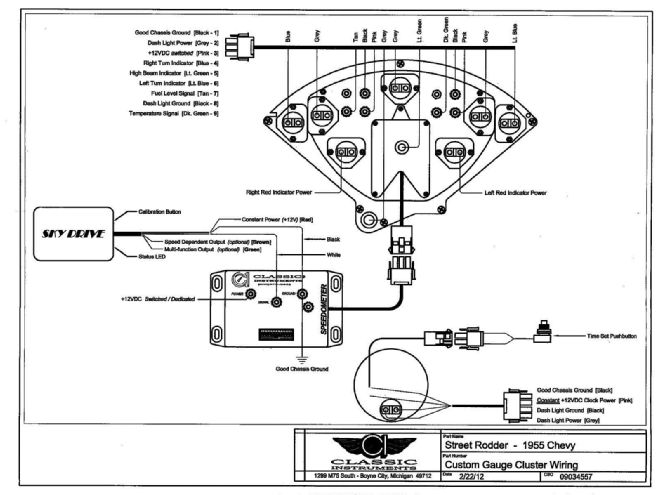 When we took delivery of the new Classic Instrument gauges they came complete with a wiring schematic, senders, and detailed instructions specific to our gauge set. Also accounted for is the Classic Instrument Sky Drive GPS. It all went together as smooth as silk.
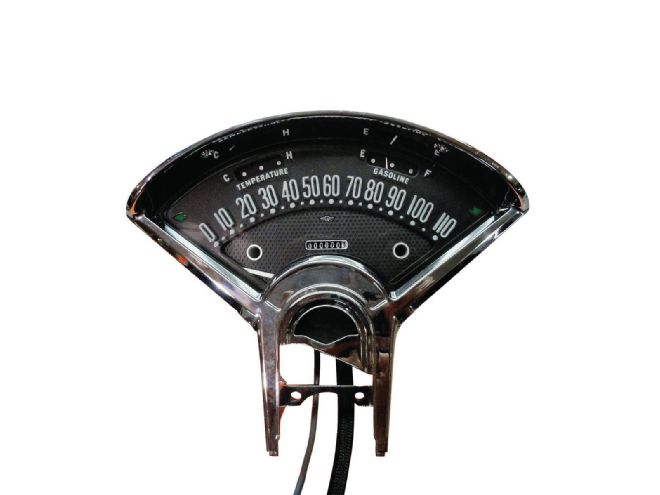 And here’s the gauge cluster fully assembled and residing in the Danchuk reproduction chrome bezel. If reproduction pieces are not available Classic Instruments can chrome plate the original bezels.