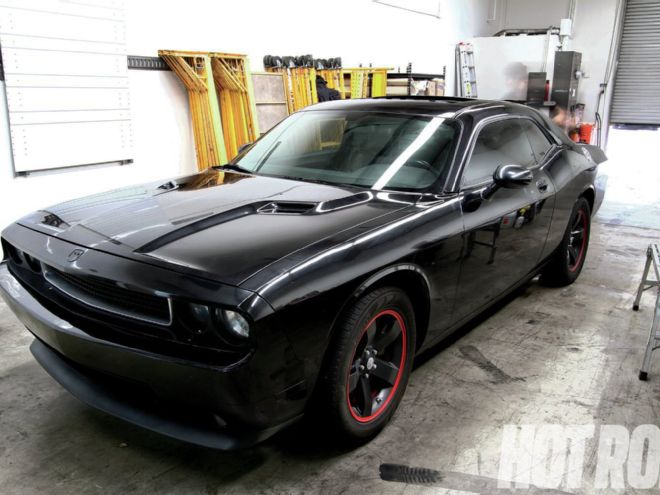
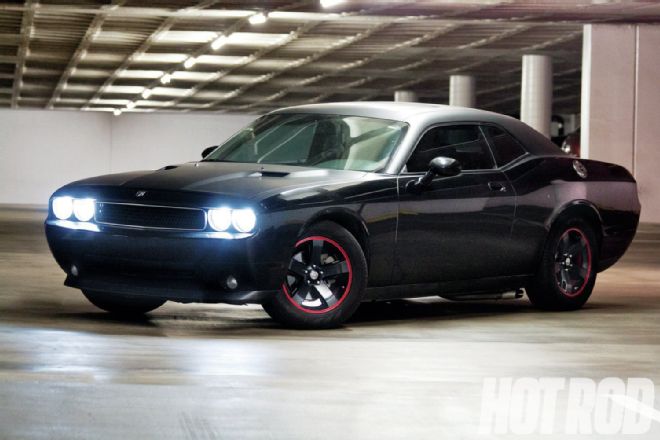
We wanted to spruce up our ’09 Dodge Challenger with a custom throwback to the ’70 Plymouth AAR ’Cuda, by covering the top half of the car in matte-black vinyl. Icon Image Graphics in Cerritos, California, helped us with the project and provided expert advice. The company insists cars be washed with soap containing no wax 24 hours prior to installation.
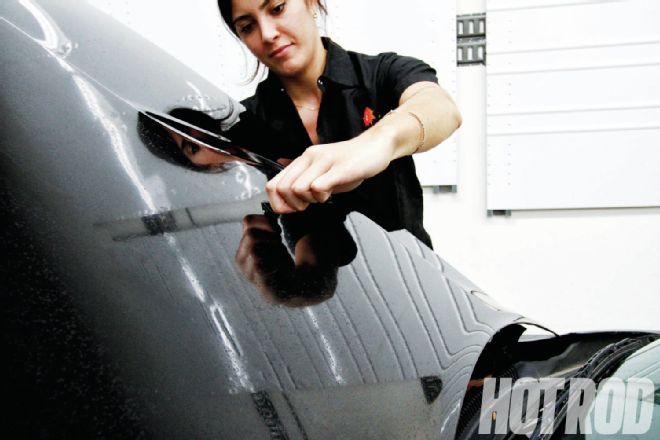
Take off anything on the exterior that is removable, including emblems, windshield-washer squirters, and antenna.
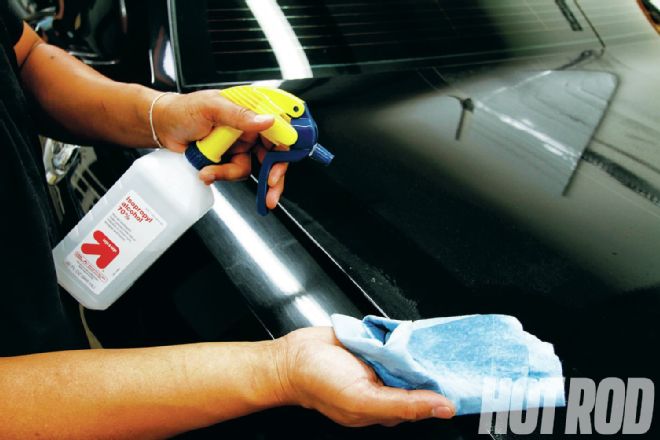
Remove any dust, dirt, and wax that might block the vinyl’s adhesive. Any safe-for-paint dirt and grease remover will work, but isopropyl alcohol is non-abrasive and great to use on paint or vinyl. Concentrate on edges and tight areas. Install in a clean, 60- to 85-degree, enclosed room (check your vinyl series’ spec sheet)
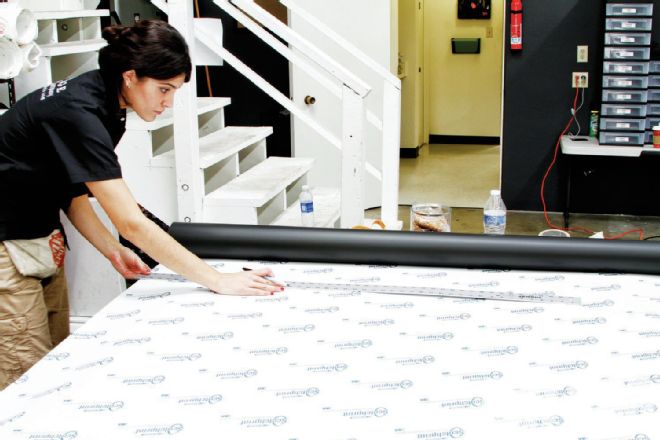
Start by measuring the largest parts of the car first and then transfer the measurements to the vinyl. We used 3M 1080 Series 1080-M12 matte-black vinyl, which retails for $24.99 a foot, leaving the bottom half of the Challenger in its original gloss black.
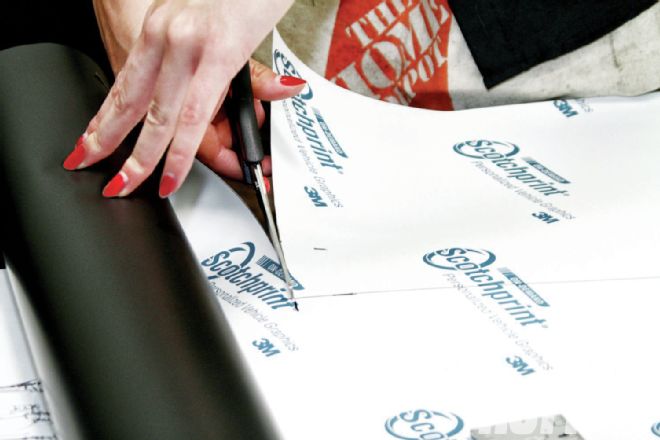
Cut with household scissors and allow for 1 to 2 inches of bleed on all sides. The material sometimes shifts, so the bleed prevents the film from being too short on an edge.
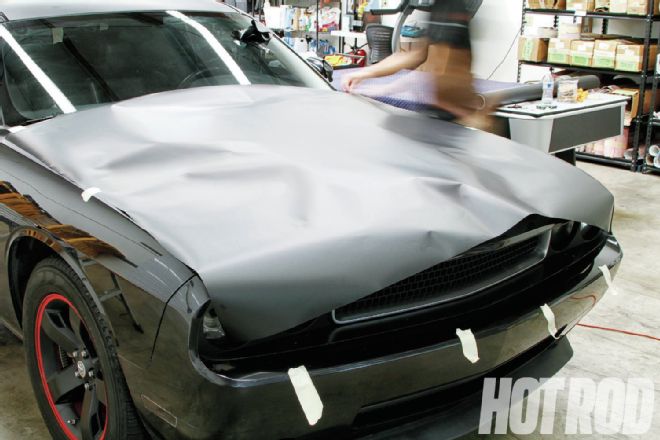
Lay the film on the car, with the backing still in place. Use masking tape or magnets, and check to make sure the piece will fit with plenty of bleed over.
If it fits, begin sticking the material to the car by first lifting half of the vinyl up and cutting off the backing (white material).
Start in the middle and work outward toward the edges. Don’t be afraid to lift the vinyl back up and shift it until it’s straight and flat.
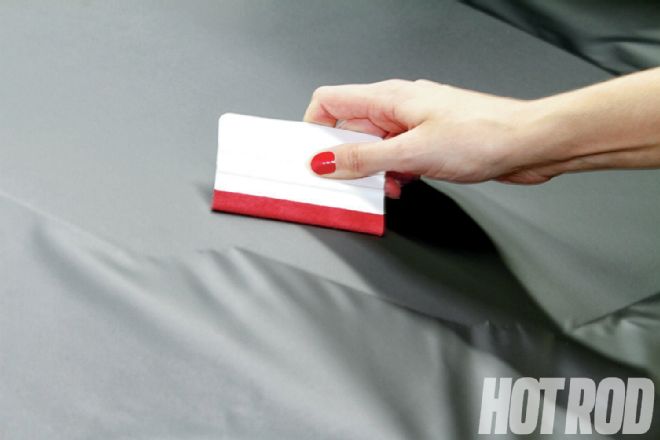
Using a new Wet Edge (don’t use water) squeegee, begin in the middle working outward. Holding the squeegee at a 45-degree angle, alternate between pushing and pulling motions, overlapping as you go.
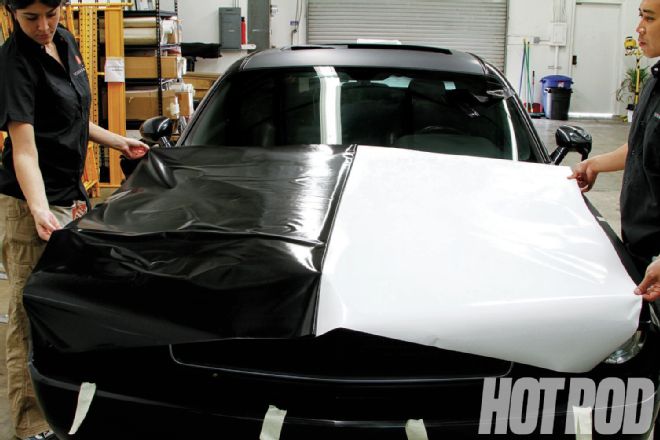
Now that the material is secure, lift the other half and remove the backing. Lay it flat on the car, following steps 8 and 9.
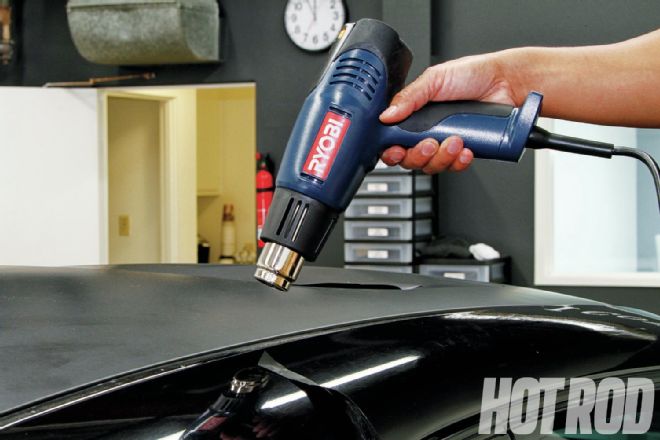
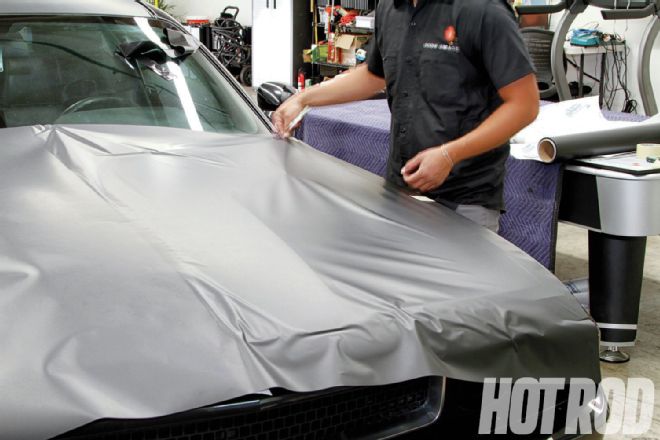
Use a heat gun or small propane torch to smooth out the vinyl and help stretch it--do not overheat or burn the film! The 3M 1080 vinyl has memory, which requires little heat to restore it to its original state. Here you will jump back and forth between steps 8, 9, and 10, as you work the vinyl into place.
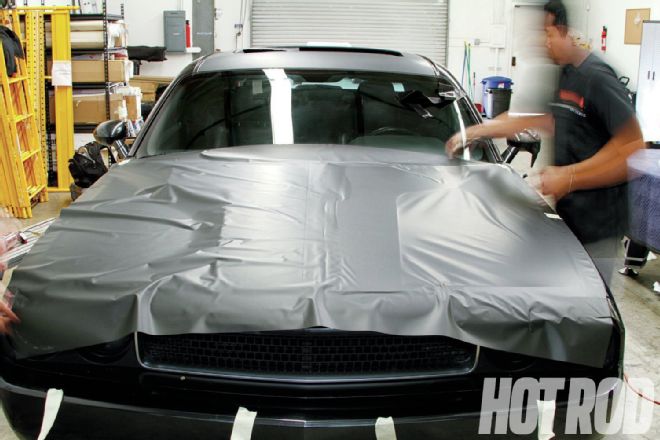
After the film is secure, it should look like this, with plenty of bleed over. Use your squeegee and fingers to roll the film around the edges.
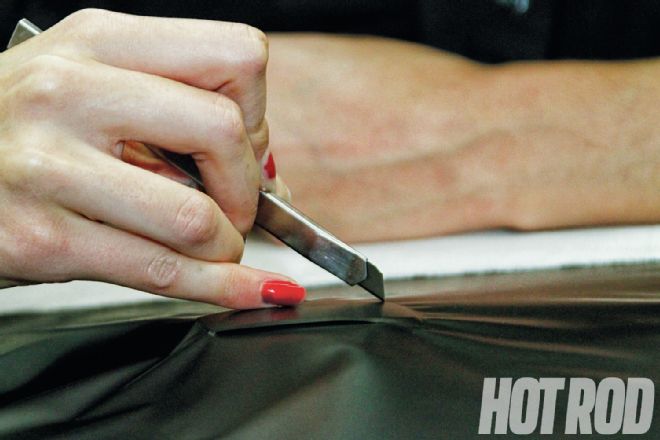
Use an X-Acto knife to slowly and gently cut the edges. Start by cutting larger pieces to get them out of the way.
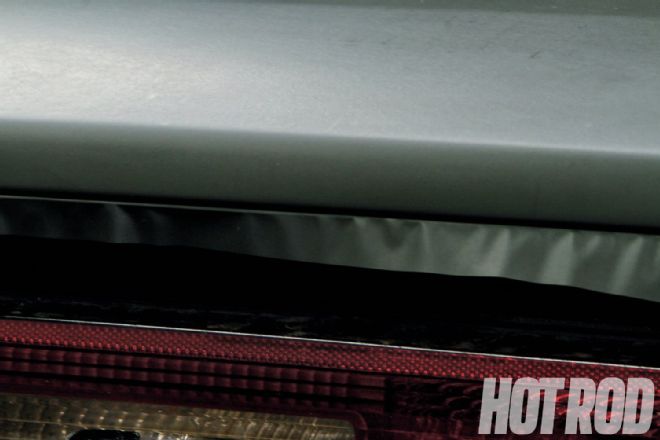
Roll the extra film around all edges by hand or with the squeegee. If film stops on the crest of an edge, it’s more apt to peel back and come loose.
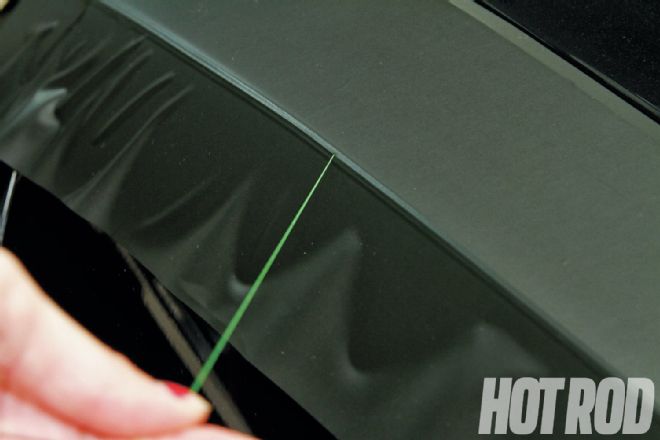
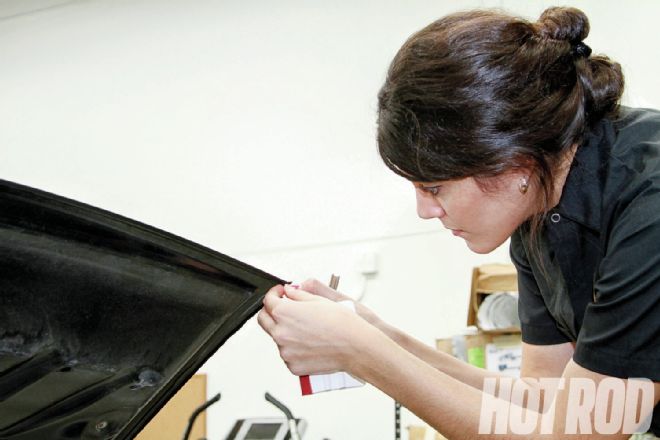
A more expensive but far less time-consuming option is to use Knifeless Tech Systems’ knifeless tape (Knifeless TechSystems.com), which is a small tape that goes on the desired edge under the vinyl. We laid it on the bodyline. After the vinyl was applied, we pulled the thin string from inside the tape through it, cutting the vinyl to our desired shape.
Once finished, allow three days with no washing or waxing, and leave the car in the sun as much as possible. Wash it frequently and never let a stain sit. This will last five to seven years, depending on the environment and care.
Rookie Mistakes
Too Much Heat: Some vinyl, like the 3M 1080 series, has memory. If the vinyl becomes wrinkled before it’s applied, you can gently heat the material for a few seconds, and watch the film return to its original shape.
Overstretching: Vinyl is layered material. If you pull too hard, one material will stretch while the other doesn’t, resulting in waves and ruined adhesive. Firmly hold the material, but don’t stretch it.