OK, we’ll cut to the chase right now. How do you salvage a bad paint job? You sand it off and start over. It sucks, but learn from the experience and you’ll be better off for it. We can dispense this advice because we speak from experience. This shiny red El Camino wasn’t looking so good when we started taking these pictures, and we couldn’t figure out what was going wrong. In the end, a good friend helped straighten us out, and we learned a whole lot in the process. Let’s dive in.
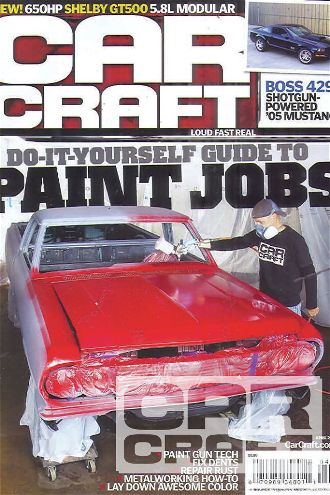 Remember our Apr. ’11 issue? We barely do either, but this car was on the cover with your author spraying some red paint. In reality, the color we wanted wasn’t available at the time of our shoot, so we made a few passes for the camera and stopped right there.
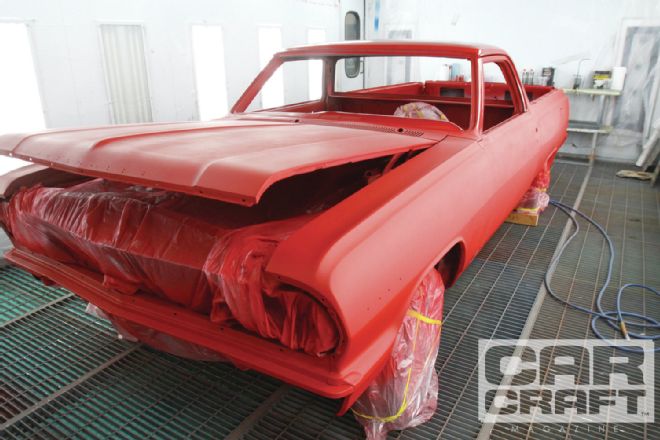 1 When we did get the color we wanted, we brought the car to LA Trade Technical College, because we wanted this paint job to be better than our previous, warehouse paint jobs. Autobody instructor Brian Ferre graciously offered the use of the school’s paint booth, and in there, Eastwood’s Candy Apple Red basecoat went on reasonably well.
 2 Things went straight to hell when we started spraying the clearcoat, however. Check it out: more orange peel than a Florida citrus grove!
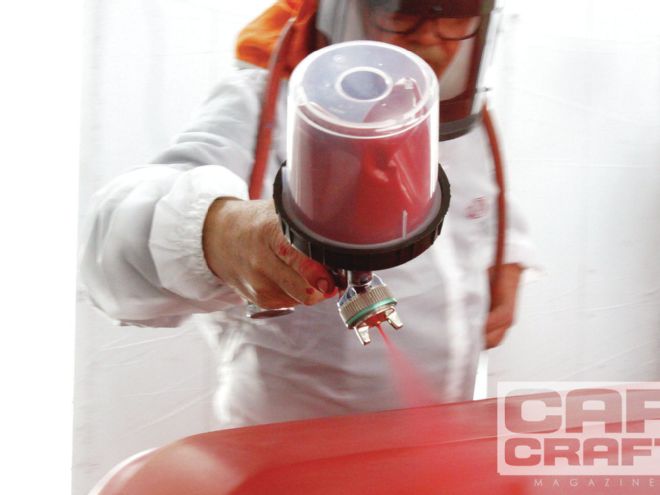
 3 To add insult to injury, the subsequent coat of clear went on worse. The white junk you see in this close-up is actually specs of clear paint that dried in the air before contacting the surface of the car. At this point, we triple checked all the variables—the gun settings, air pressure, and paint mix ratio—and all were correct; this shouldn’t be happening. At the limit of our knowledge, we quit right here.
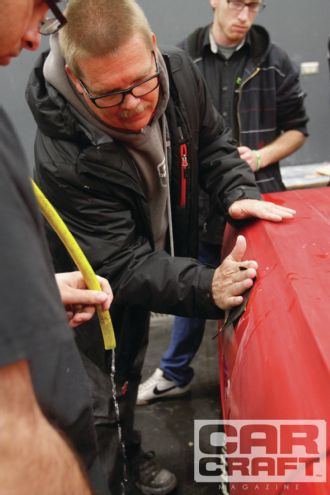 4 Instructor Brian Ferre said quitting the moment we realized we were in over our heads was the best possible thing to do. There was no salvaging the paint job at the time we stopped, and any attempt to do so would just have been a waste of paint, which is far too expensive to throw away. The fix was to sand the clear off and start over, which we did with the help of some of the students in his class. Here, Brian is using “God’s sanding block”—aka his hand—demonstrating the proper technique of holding the paper between his finders and sanding with his palm. Don’t use your fingertips, or you could sand grooves into the leftover paint which will show up in the final paint job.
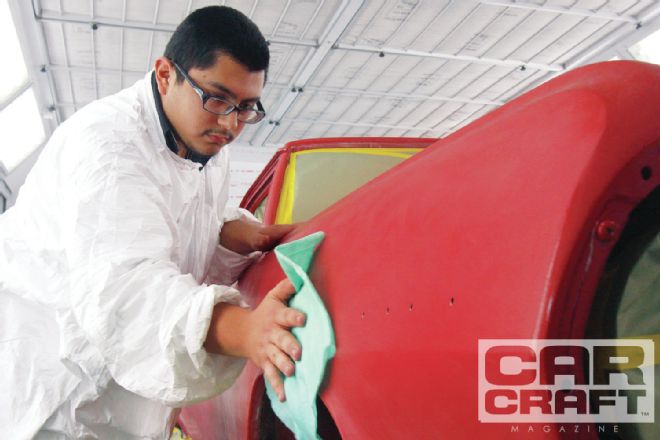
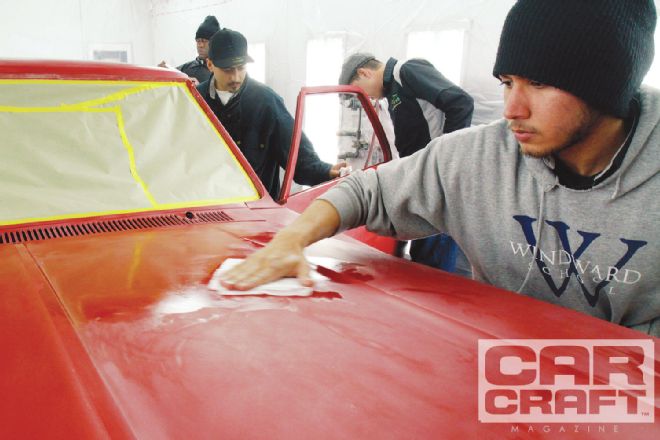
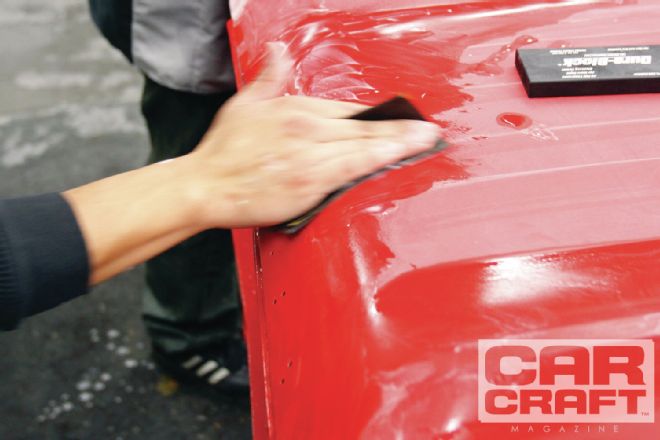 5 We mostly used foam rubber sanding blocks over the surface of the car, sanding with 800-grit wet sandpaper until the clearcoat was completely smooth, if not gone completely. Basically, when we started seeing red paint rinsing off the surface, rather than the milky white clearcoat, we stopped sanding. We did break through the red basecoat in a few spots, but that was OK because we planned to spray the car with one more coat of base anyway. Still, this is a good reason why you should buy a little more paint than needed to paint the car. It’s good to have extra for touch-ups or bigger fixes like this.
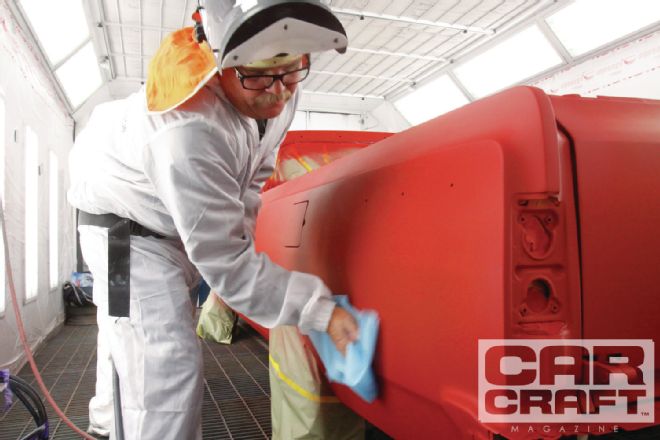
 6 We used green masking paper purchased at Finishmaster, a local autobody supply store, then wiped the car with DuPont’s Sontara cleaner wipes. They are formulated to remove dust, oil, and fingerprints without leaving behind a residue that could clash with the paint.
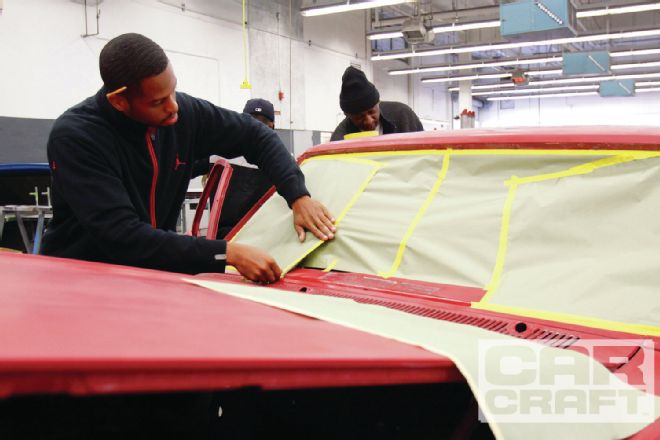
 7 After wet sanding, we thoroughly washed the car. The sanding residue will dry to a fine powder that can get churned up and land in our new paint job, making it a dusty mess. After washing, we began masking the car before pushing it into the spray booth.
 8 Take extra time to blow the car off with compressed air, followed by wiping it with a tack cloth. You’ll be surprised how much junk is still left on the car even with all the cleaning you’ve done up to this point.
9 And if we didn’t sound OCD enough, we wiped the car one last time with DuPont’s Sontara Final Tack Cloth. It is a lint-free cleaner cloth with a mild solvent designed to be the final wipe before paint is applied.
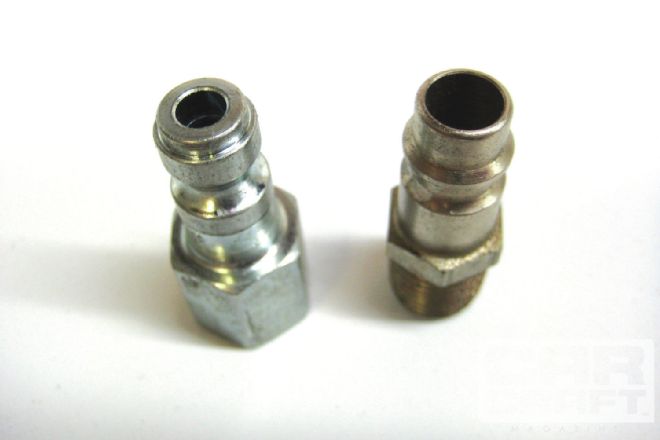
10 Here’s something we’ve never covered before in our previous paint articles: high-volume air hose fittings. We had used standard 1⁄4-inch fittings and a 3⁄8-inch internal diameter air hose in our first attempt to paint the car, which may have starved the gun for air and contributed to some of the problems we had. HVLP paint guns need high volume (obviously), so you need to supply it with as much air as possible. High-flow fittings can be purchased at your local autobody supply shop or online from Autobody Toolmart or similar retailer.
8 Take extra time to blow the car off with compressed air, followed by wiping it with a tack cloth. You’ll be surprised how much junk is still left on the car even with all the cleaning you’ve done up to this point.
9 And if we didn’t sound OCD enough, we wiped the car one last time with DuPont’s Sontara Final Tack Cloth. It is a lint-free cleaner cloth with a mild solvent designed to be the final wipe before paint is applied.
10 Here’s something we’ve never covered before in our previous paint articles: high-volume air hose fittings. We had used standard 1⁄4-inch fittings and a 3⁄8-inch internal diameter air hose in our first attempt to paint the car, which may have starved the gun for air and contributed to some of the problems we had. HVLP paint guns need high volume (obviously), so you need to supply it with as much air as possible. High-flow fittings can be purchased at your local autobody supply shop or online from Autobody Toolmart or similar retailer.
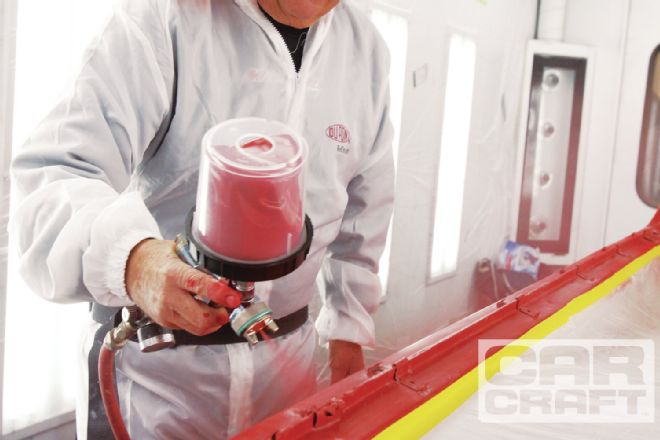 11 Brian mixed up the remainder of our Candy Apple Red and began by touching up all the areas where we sanded through the basecoat and exposed the primer underneath. He set the gun’s fan control to a narrow pattern to minimize the amount of buildup on the surrounding basecoat.
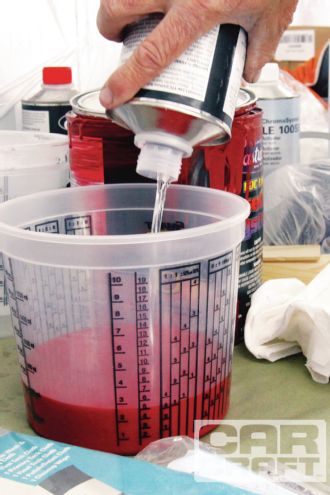 12 Based on how it flowed out of the gun as he was doing the spot repairs, Brian felt the paint should be reduced further before applying a full coat to the rest of the car. Though it was mixed properly, Brian told us paint often needs some fine tuning with more or less reducer, depending on conditions, and this is likely what happened during our attempt to clear the car. Brian recognized small changes in how the paint flowed out on the surface of the car and was able to adjust the mixture to get it to act the way he wanted it to. This is why painters always recommend shooting a test panel prior to actually painting the car. Get the gun and paint mixture finalized on scrap material first, and you’re not wasting time and material.
 13 Reduced more than recommended, the basecoat went on smoothly and evenly. After waiting the appropriate flash time, Brian wiped the car again with DuPont’s Sontara Final Tack cloth.
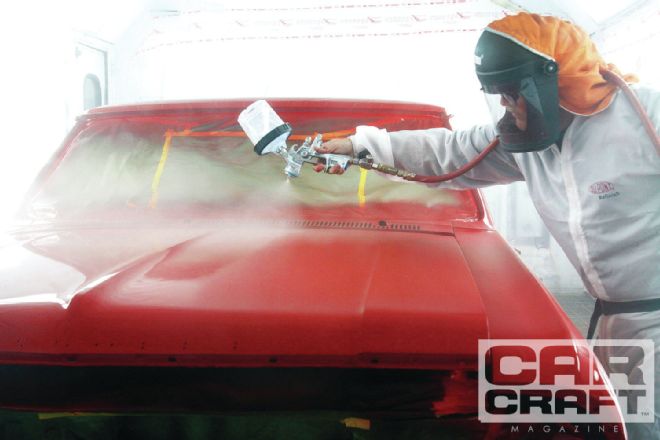 14 Finally, we were ready for the clearcoat. Brian mixed some DuPont ChromaClear 2400S and applied three medium coats to our ElCo.
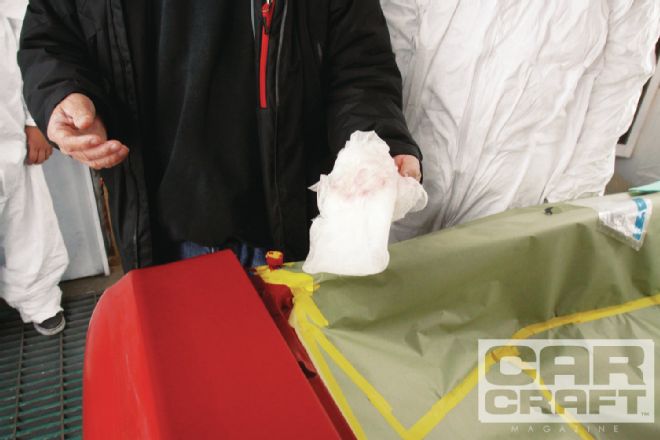
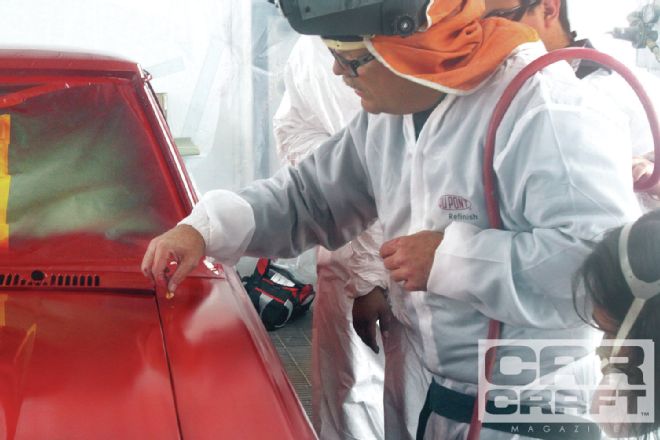 15 He also showed the students and us how to grab a piece of trash out of your paint using a small piece of masking tape rolled in a loop. If you grab the offensive item (probably dog fur, in our case!) while the paint is still wet, the paint will flow into the area where the dirt was before it cures, and you’ll never know anything was amiss.
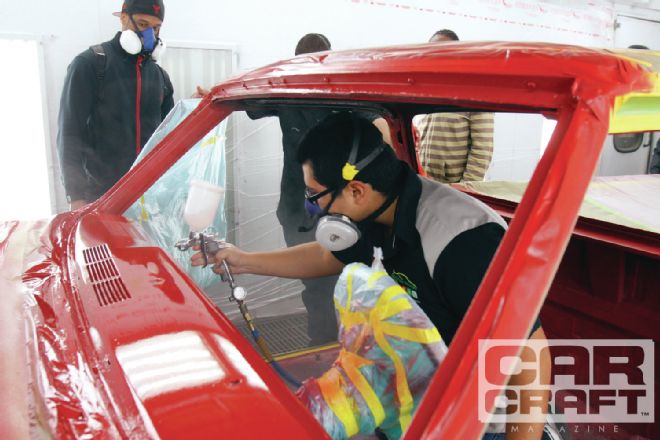 16 After the clearcoat cured, we remasked the car to paint the interior. The students each took a turn with the paint gun.
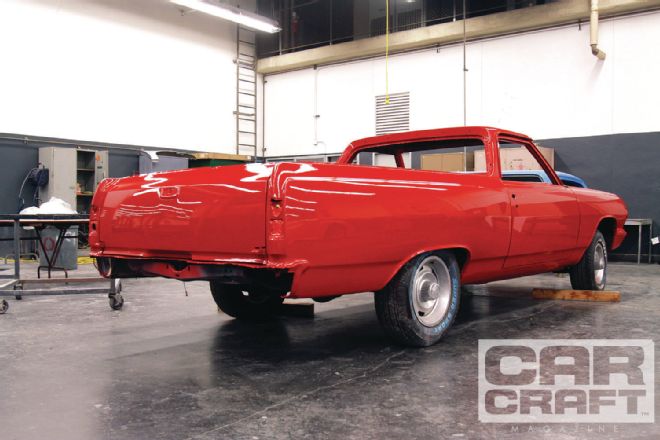 17 Allowed to cure overnight, the ElCo looked spectacular once we unmasked it the next day. As stated in the beginning, basically the only way to fix a bad paint job is to do it over again. That, and be willing to experiment with mix ratios and gun settings ahead of time before you start painting the car. Learn from our mistakes, and you’ll save yourself lots of time and stress. Special thanks go to Brian Ferre and the autobody students at LA Trade Technical College—this was a great learning experience.
Parts List
Description P/N Source Price Low VOC Candy Apple Red basecoat 12569 ZP Eastwood 169.99 DuPont ChromaClear DUP 7900S LA Trade Tech 210.00 Masking paper PAPI325-18 Finishmaster 36.00 800-grit wet sandpaper 19633 Eastwood 32.99 DuPont Sontara Painter’s kit E4849 Finishmaster 32.33