Tailgate chains do have a place – up on the wall hanging next to the whips (whips 'n' chains, get it?), not hanging on our tailgates anymore. Pat Helferich, one of the owners of Z Best Hot Rods, suggested I get rid of those chains and switch over a customer truck to a set of Stealth pins from Classic Performance Products. I had just installed a set on Pat's own 1955 Chevy pickup that I'm assembling for him and we really liked them. The owner in question agreed, they were ordered, and here we are.
For years, a custom trick was to remove the tailgate chains and latches to clean up the look and not have something hanging there that could mess up the paintjob. Since tailgates usually aren't sat on when you have a custom truck or really opened that much, the need for the chains is gone. Of course if you would like to still open it and have it hang, there are several options available. I have used the folding chromed brass marine lid supports for years. There are some with nylon straps to retain the gate. Dan Carpenter has come out with a stainless cable that holds the gate open and hides in the bedpost and box area of the tailgate when closed.
When it comes to latches, there are a few options; marine-application latches have been popular for years and are carried by Mid Fifty F-100 Parts. On my own 1956 Ford, I just welded up the ends of the tailgate and drilled a small hole through the bedsides and into the areas I covered. A #10 stainless screw on each side holds it closed. Easy, cheap, and you can't see them.
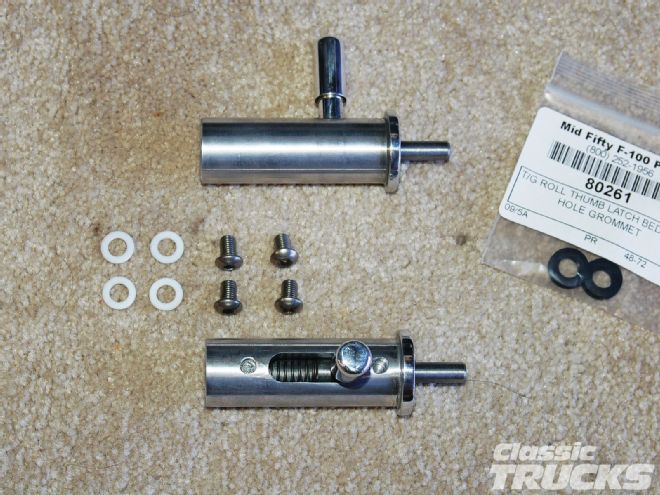
For those who prefer working tailgates, Classic Performance Products offers a neat set of tailgate latches called Stealth Tailgate Latch Pins. These were designed for a Chevy tailgate, but could be surely adapted to other makes too. The installation only requires a couple of single holes and two slotted holes. They're easy to install, work great, and are the ones featured here. The instruction sheet included was helpful in showing what was needed and the basic install steps. (By the way, if you want to stick to units specifically designed for Ford's, Mid Fifty F-100 Parts also offers a latch pin kit for the F-100s. They are designed to fit into the top roll of the F-100 tailgate. Made from aluminum, they also require a couple of mounting holes and two slots for the release pins to move in. These have nice, longer-than-usual release pins to grab onto.)
Neither of these kits require any welding and I installed them with basic fabrication tools. It took me about an hour to install them. The bottom line is these really clean up the tailgate area and still allow you to open the tailgate. Follow along and see just how easy these can be installed.
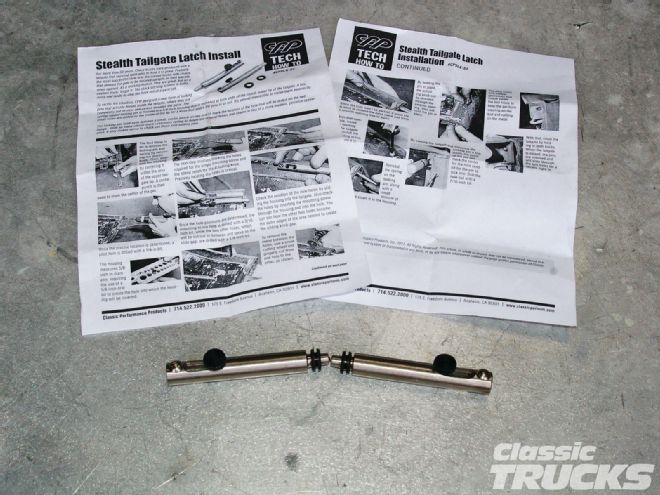
01. Classic Performance Product's Stealth Tailgate Latch Pin kit comes with everything needed. The total outside diameter of the pin assembly is 5⁄8-inch and they could easily be adapted to all sorts of things that might need securing. Instructions are included.
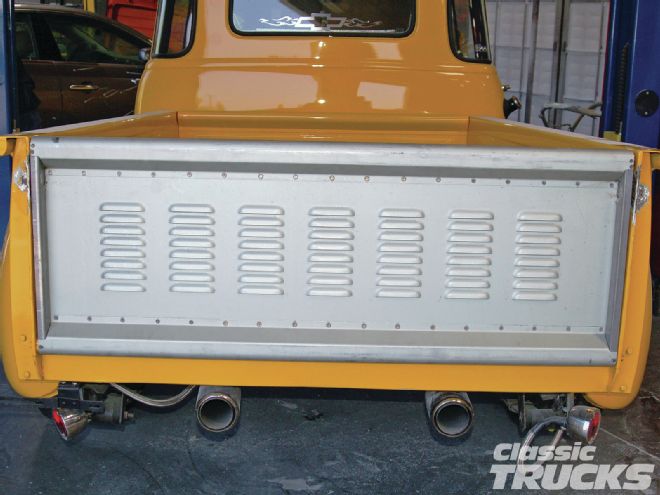
02. It's nice to start out with something new. The owner of this 1953 Chevy pickup wanted the tailgate replaced since the old one had been hurt in an accident. With a call to Brother's Truck Parts in Corona, California, I had a new one in hand. The owner chose a new louvered tailgate to give the truck a classic look, but didn't want the chains hanging anymore. That is no problem since Classic Performance Products has a neat little Stealth Latch Pin kit that rids you of all the stock ugliness.
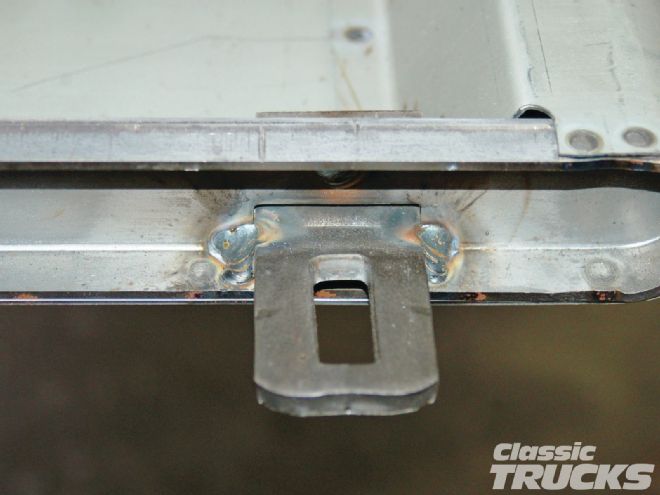
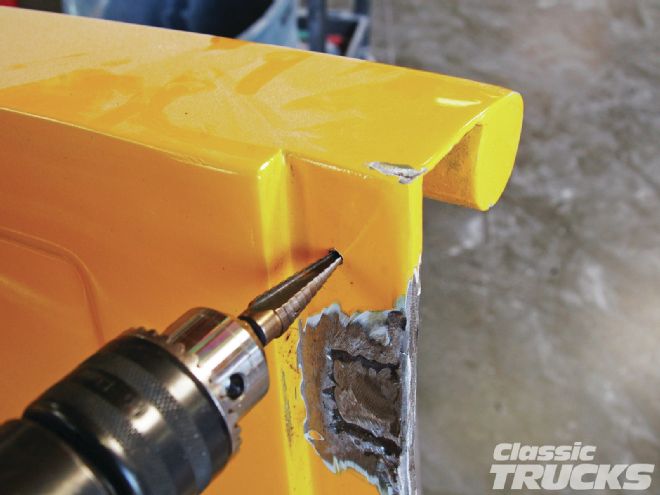
03. These are never really fun to remove, but if you think it through, they can come off pretty easily. The welds can be sliced with a cutoff wheel, but the spot weld will need to be drilled out. This reproduction gate only has one 1⁄4-inch spot weld where the stock gates have three smaller ones on these latches.
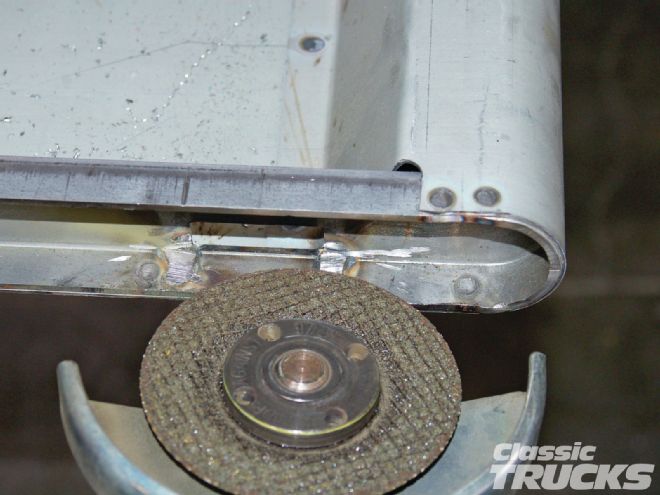
04. These welds are taken care of by slicing in parallel to the latch. You need to cut all the way up to the bend.
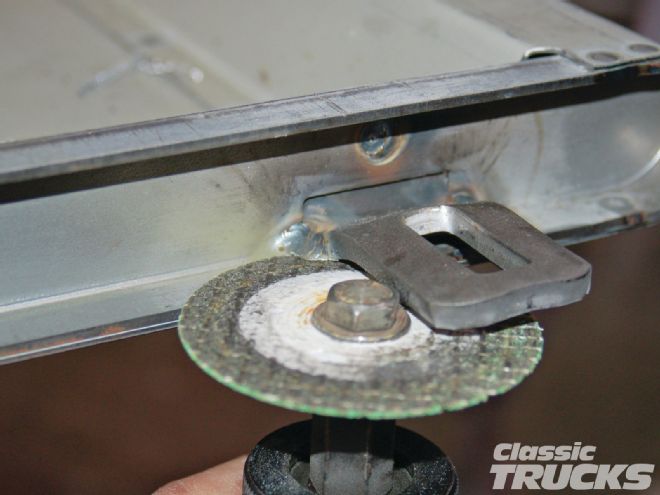
05. Then I ended up cutting half the latch out of the way to get the cutoff wheel into the corners at an angle. Be careful not to cut into the tailgate itself.
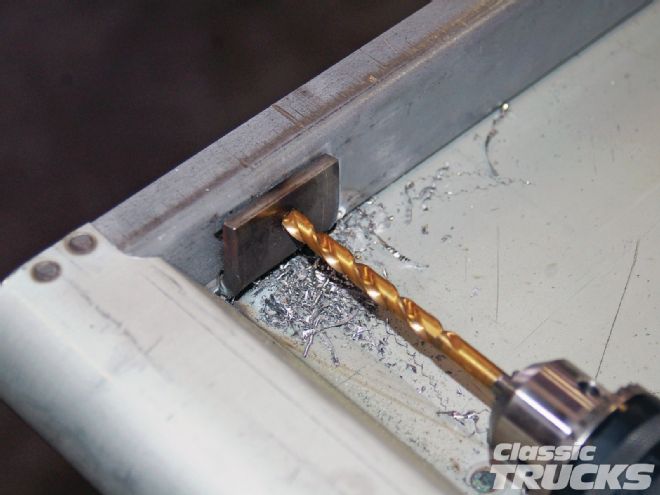
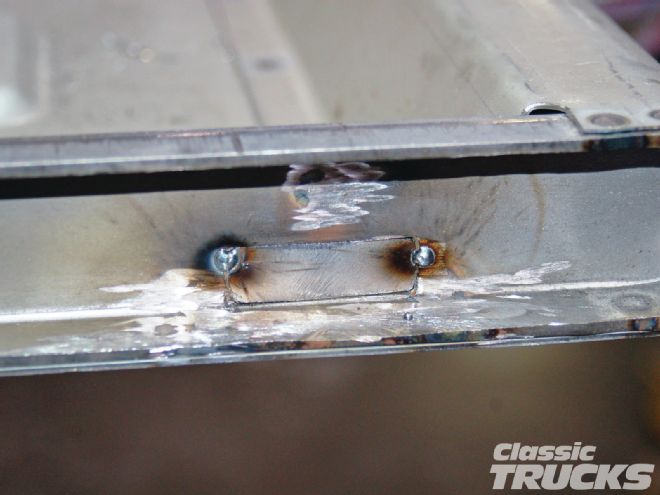
06. The spot weld they used looked like a 1⁄4-inch hole fill-welded to attach the latch. Since I didn't want to drill out the weld and have another 1⁄4-inch hole to weld up, I eyeballed where the center was on the backside of the latch and drilled through the latch with a 1⁄4-inch drill bit. I marked the thickness of the latch on the drill bit with a black marker so as I drilled I knew where to stop without going completely through. (If you pay close attention you can also feel it as you're drilling when the drill goes through the latch and is starting into the tailgate.)
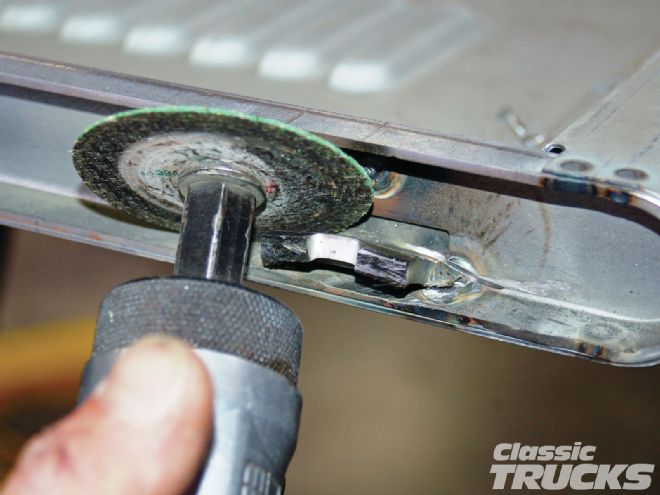
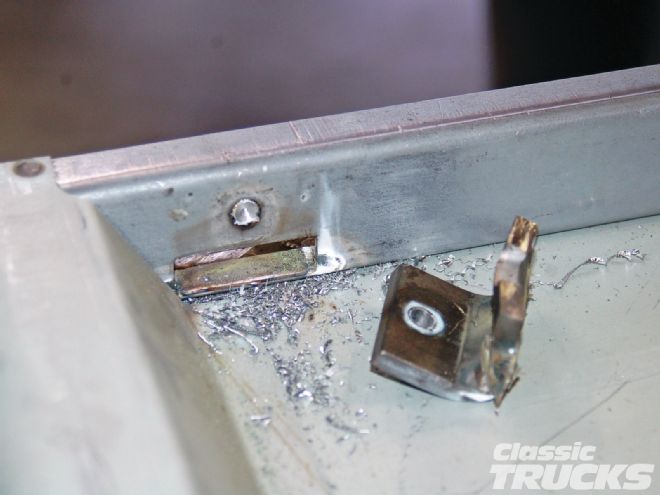
07. All it should take now is a smack with the hammer and chisel to finish breaking the spot weld.
08. I got pretty lucky and hit that spot weld dead center. Clean removal with no damage.
09. With the latch removed, I used a hard stone grinder to clean up the welds and get it ready to fill the slot left from the latch. I'll use some 16-gauge sheetmetal to make fill pieces and weld them in.
10. I cut up a couple of small fill pieces and welded them in to fill the slots with the MIG welder. If you're doing this to a stock tailgate, you could weld up any other small holes you have since the gate will get repainted (or primed) anyway.
11. A little touchup with the grinder and it's like these holes were never even there. Now I can move on to the fun part of the installation.

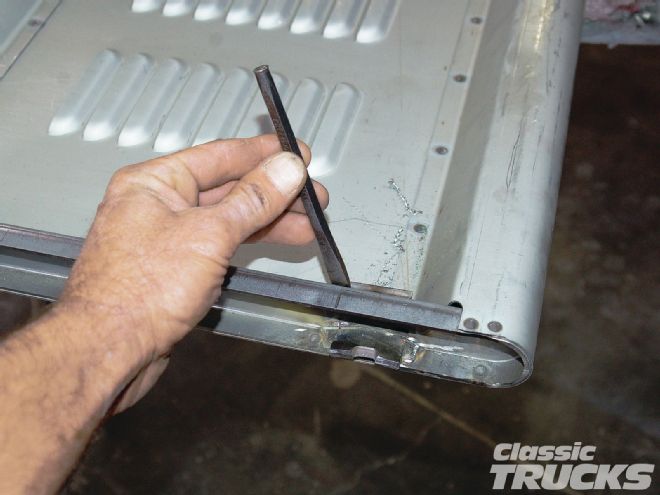
12. The latch pin itself has a center-punch point on it, so I used the whole thing as a guide. You need to make sure you are up against the wall you're going to mount to.
13. When I found the spot I wanted, I tapped the latch pin with a hammer to mark its center.
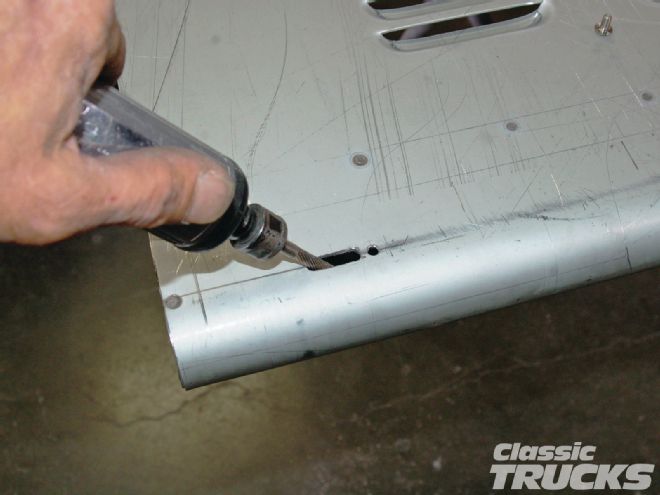
14. I started with a 3⁄16-inch pilot hole then worked through with a Cobra step drill to get to the needed 5⁄8-inch hole. If you have never used these drill bits, you are really missing something. For sheetmetal and material up to 3⁄16-inch you can't beat these. I have a set from 1⁄8-inch up to 1 3⁄8-inch. I love them.
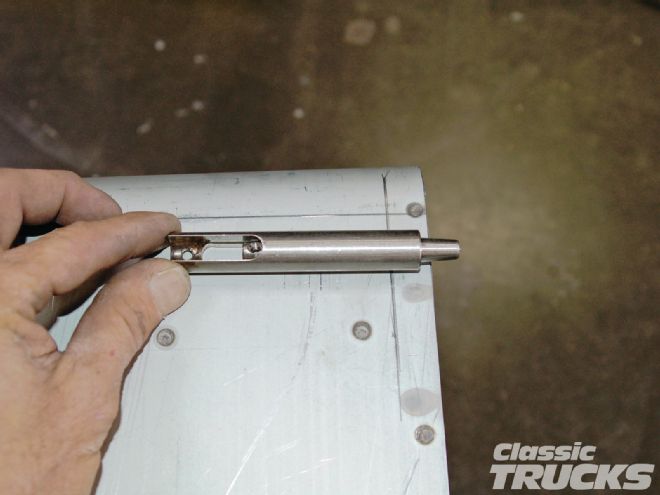
15. I used a T-square to transfer the 5⁄8-inch hole centerline up onto the tailgate. Then I center the latch pin housing on my centerline and make the marks for the needed holes, the latch pin slot, and the mounting screw hole.
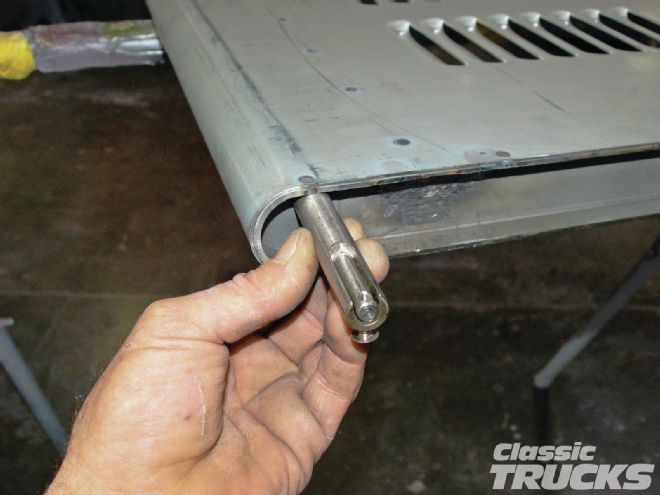
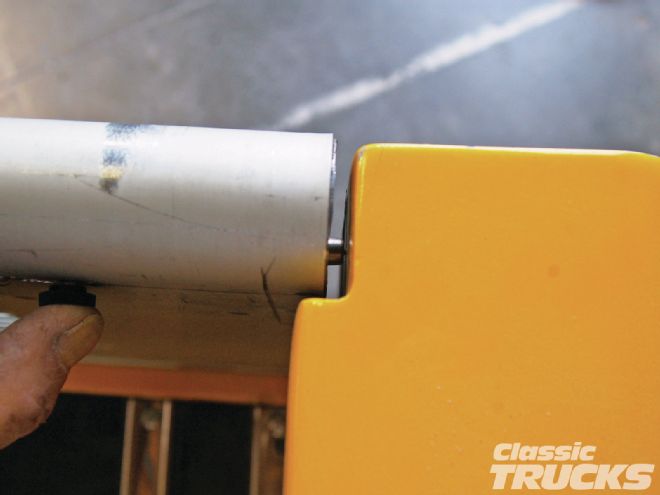
16. I kept the end of the tube setback slightly, but have also done them with the tube even with the edge. If your tailgate is kinda loose on the bed, then I recommend you keep the tubes even with the edges.
17. Before I drill any holes I used a plastic circle template to lay out the needed 1⁄4-inch holes for the unlatch pin's slots. Using my marks from the latch tube, I draw in the 1⁄4-inch circles and their centers. That's where I center punch and drill. The 3⁄16-inch mounting hole was located from the tube, center punched, and drilled.

18. When my cutoff wheels get small I save them for situations like this. A smaller diameter wheel will make a smaller cut. A couple of quick slices and the unneeded pieces were gone, leaving me with a pretty nice slot. Here I'm using a 1⁄4-inch carbide cutter to dress up the slots and clean off the hanging material under the holes.
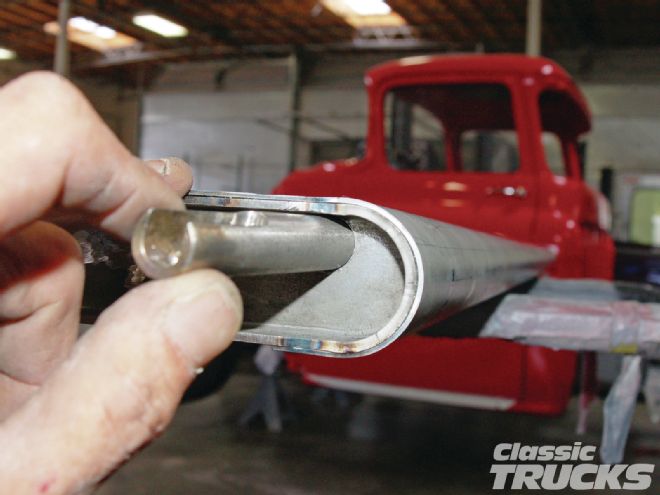
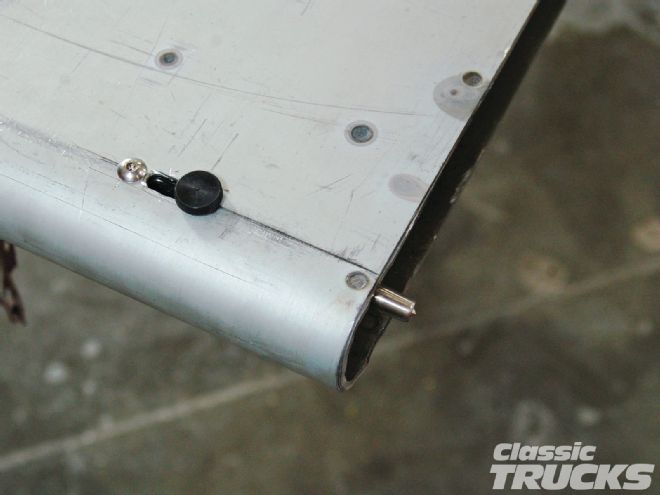
19. Then it's just a matter of installing the tube and securing it with the provided stainless button head 10-32 screw. The spring and pin go in the tube and then screw the thumb screw to the pin. In final assembly I would give the pins a touch of white grease to keep them sliding smooth.
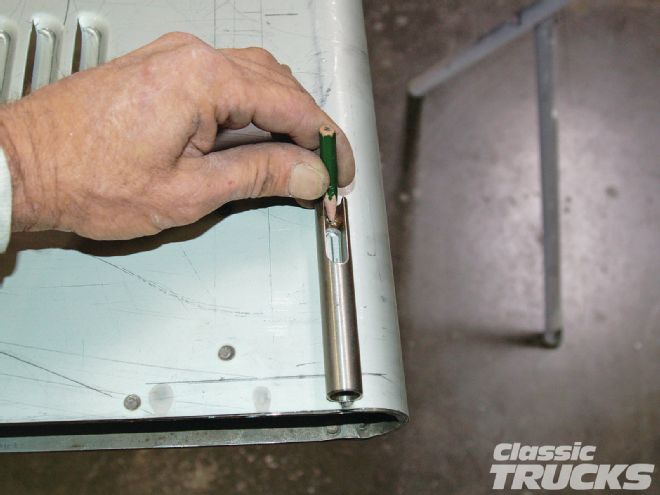
20. Bolt the tailgate in place and close it to where you want it. Make sure the top of the tailgate is even with the top of the bedside on both sides. To mark the needed holes for the pins, just slide in and release the latch pins. The points on the ends will center punch the needed location. (Thanks to whoever designed these!)
21. Again I grab one of my step drills and pop the holes out to 7⁄16-inch.
22. Grommets like a flat surface to locate on so the scraggly material on the inaccessible side of the hole had to be taken care of with the high-speed cutter. With all that out of the way the grommet fits perfect. Take care with these holes, if they are just slightly too big the grommet is going to keep falling out. Too tight and the latch pin won't go through and seat in it.
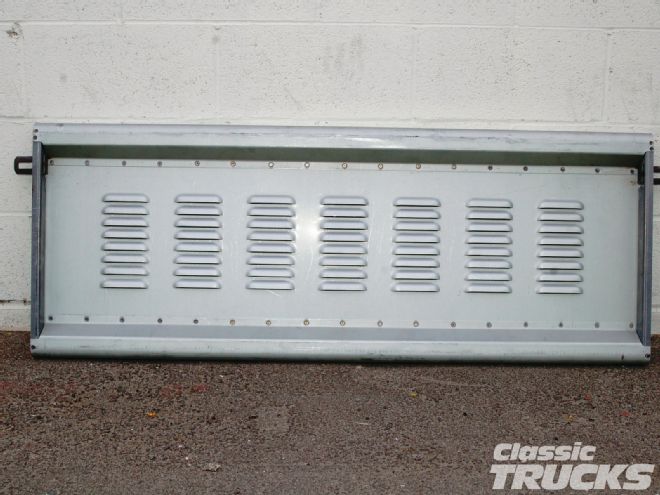
23. All finished and ready for some bodywork and paint. These sure clean up the tailgate and look great. It took me about an hour and half, but I was shooting pictures too. I have done other sets since in about an hour. They would be a fun weekend project in the garage if you had a tailgate that needed them.

24. By the way, as I mentioned earlier, Mid Fifty F-100 Parts has a different set of latch pins for the F-100. The set shown here are the Tailgate Roll Thumb Latches and they install into the top roll of the F-100 tailgate. These beauties work really well and they come with longer, easier-to-handle release pins. They offer a smaller version called Thumb Latches that install further down the inside of the tailgate. They also offer several other external latches and tailgate supports as well.