Did the last guy leave you something “special” buried under the paint? Replace that battered doorskin with a new one from YearOne.
For a hobby that openly prides itself on brotherhood, integrity, charity, and social responsibility, hot rodding sure is filled with an apparently limitless number of scoundrels who will sell you a car whose body is loaded with unseen rot and mayhem. If you’ve ever handed over your hard-earned Benjamins to one of Craigslist’s finer proponents, congratulations! You’ve experienced that special thrill of finding a prize in the bottom of your automotive Crackerjacks.
We know that pain. Being gainfully employed at a well-known car magazine is no vaccination against buying a pooch packed with poor quality bodywork. Our ’68 was thusly ravaged. After stripping off all the paint, we uncovered the full extent of the carnage. It looked like the Nova had hit an iceberg on its starboard side, starting at the fender and gashing all the way to the quarter-panel. Unlike the Titanic, the Nova hadn’t slipped to the bottom of the sea, but found itself in the hands of a jackleg with an unbridled passion for putty.
 After removing the door, unbolt the hinge hardware and set it aside. (Now’s a good time to mediablast and repaint hinges.) Here, Outlaw’s Ron Aschtgen is using an Eastwood hammer and dolly to straighten a bent corner before the old doorskin is removed.
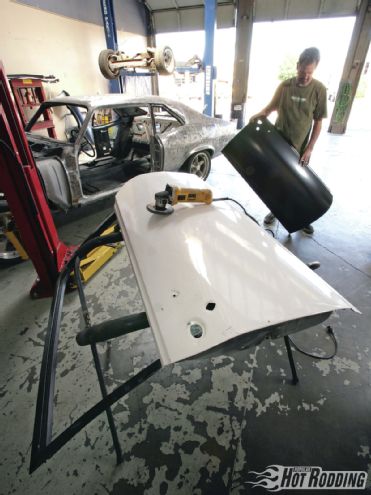
Up to a point, it’s more economical to repair a damaged doorskin. Nevertheless, when the rust or physical damage is too extensive, your best bet is to replace the doorskin. Even a high-quality doorskin like the one we got from YearOne isn’t that expensive (under $180), and the tools and techniques required to replace it aren’t that extensive, so the threshold of making the decision to replace it is actually pretty low. (Note: Such is not the case for the quarter-panel, which we also needed to replace. That operation is far more complex. We’ll have that for you in a later issue.)
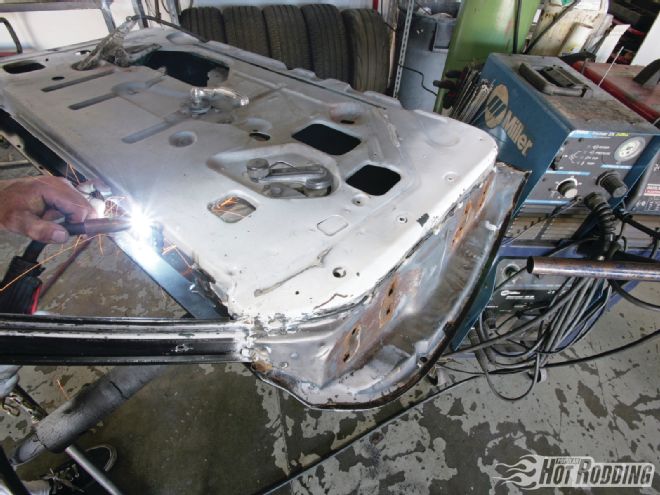
With these tips, you’ll be armed with the knowledge and confidence to replace a doorskin the right way. It’s so easy—especially with the doorskin installation tool from Eastwood—that the job can be done in about three hours, not including paint. This is one job you should not be afraid to take on at home; the only tool of note that you want to make sure to have on hand is a good MIG welder; we like the dual-voltage Millermatic 211 with Autoset. It’s got foolproof automatic settings for wire feed and amperage; it’s the perfect tool for this job since only minimal welding skill is required, and all you’ll be doing are small spot welds.
 Chisel away the remainder of the old doorskin where it folded over the doorframe. There are periodic spot welds that need to be broken—most of which can be split with a screwdriver and hammer.
As mentioned in last month’s paint stripping story (“Life’s A Blast”), we’re getting some great help from Outlaw Motorsports, and shop owner Ron Aschtgen walked us through the doorskin replacement procedure, a job he’s tackled on muscle car restorations many times. On a scale of 1 to 10, replacing a doorskin is about a 4, so follow along, and don’t be afraid to dive right in!
Description: Source: PN: Cost: Passenger-side doorskin, ’68-69 Nova YearOne XJ96RH $179 Doorskin installation tool Eastwood 12445 $59.99 Seven-piece hammer and dolly kit Eastwood 11979 $159.99 Spray-on Rust Converter Eastwood 51483Z $19.99
Tools You’ll Need
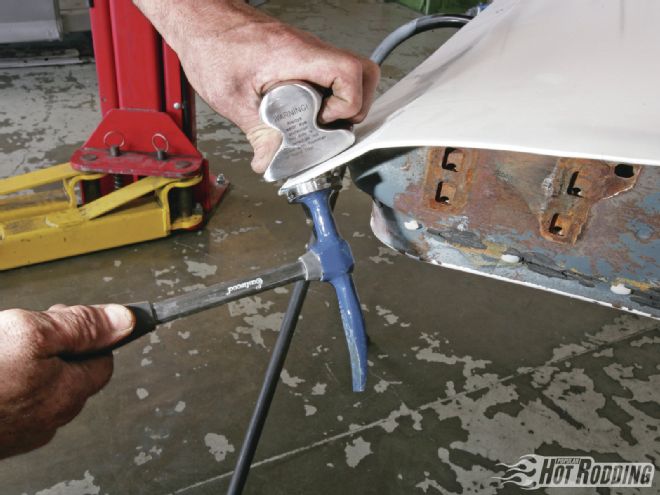
Doorskin crimping tool MIG welder Variable-speed angle grinder (with 40-grit grinding wheels) Pneumatic cutoff tool (with 3-inch cut-off discs and Scotch-Brite grinding discs) Screwdriver and ball-peen hammer Ratchet wrench and selection of sockets Spot-weld remover (hole cutter kit) Hammer and dolly set