One of the first things I always do after purchasing a car I plan on driving (as opposed to a restoration project) is to replace all the glass window rubber, weatherstripping, door bumpers, and windlace. This is usually a day to day-and-a-half job depending upon whether I’m removing the front and rear glass as well or just working on the side glass, but can make a world of difference right off the bat when it comes to the comfort level inside the cab. A rattletrap cab with banging doors and glass is really obnoxious when you’re trying to enjoy that new project and it doesn’t impress your buddies one bit (not to mention your wife). Besides that, allowing the door glass to rattle around inside the door is only going to ruin it that much quicker. And if you’re like me, you like to fix things before they break not put up with them until they do.

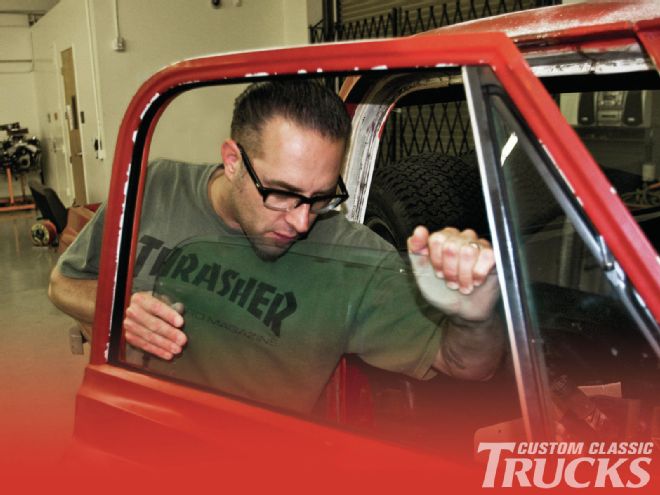
It should come as no surprise then that the first thing I did after purchasing my ’68 Chevy was to pull the old door glass and vent window assemblies out and replace all the rotten rubber bits. It’s a fairly straightforward process with the exception of the vent window assembly. These can be a bit of a pain for the first timer since the assembly is riveted together and replacing the vent window rubber requires removing said rivets, installing the rubber (it’s tight!) and replacing the rivets with a rather awkward riveting tool. It can be a handful for one guy, but with a decent work area and a vise, it can be done; and the end result will be well worth it.
I lucked out with my C10; all the glass was in great shape when I picked her up. The rubber parts though did leave something to be desired. They were cracked and in some cases completely missing, leaving the cab with the resulting bangs, clunks, and rattles as it tooled down the road; that’s no good.
To get my doors nice and tight again, I gave the good folks over at LMC Truck a call and put an order together using their super handy online catalog. They know how thick some of us shop rats can be and made things easy by grouping like items into kits. For instance, their window channel kit contains the inner and outer seals, door glass runs, and felt inserts to do both doors. That’s about as easy as it gets. I also added a couple other things to finish off the doors so I wouldn’t have to come back to them at a later date such as the door weatherstripping and door bumpers.
I set out on a Saturday morning while the C10 was still sitting in my driveway. By that afternoon, I had all the glass back in, the mechanisms on both the doors replaced and the window regulators greased up, painted, and in their respective locations. A new pair of door handles and window cranks with the proper colored escutcheons wrapped up the install.
It truly is amazing how big a difference a few rubber parts can make in transforming a rattle trap old truck into a tightly assembled machine. Now the doors open easily and shut nice and tight with a firm “thud” instead of the previous “clank” while the windows roll up and down as if they were new. What was a day’s worth of work will make a world’s bit of difference keeping the noise, wind, and heat out as the project progresses and we install things like a decent stereo and an A/C system. Stay tuned! CCT