Let’s face it; we are not about to run out of 1948-1955 Chevrolet truck cabs anytime soon. These trucks were produced in huge numbers, and due to their sound construction, many of them survive today. Having said that, very few have survived unscathed and finding a cherry cab is becoming ever more difficult. Mother Nature and use as a daily work vehicle has taken a toll on many of these trucks, but you may be surprised at just how easy it is to save one of these cabs.
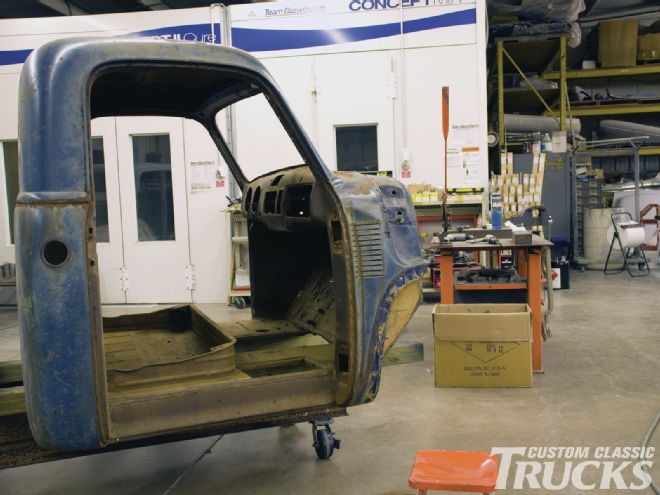
The cab we are repairing is typical of a 1951 Chevrolet truck, probably a bit above average condition with the only rust being found in the rear corners of the cab and a few pinholes in the lower cowl. However, the thing that made many people pass on the truck was the cowl damage. It seems that some time in this truck’s storied past, the passenger-side door was left open while the owner was backing up. The door impacted an immovable object and that sprung the door into the cowl. This did several things, it ruined the door and put a hurting on the cowl and lower A-pillar and, of course, the door no longer closed properly. At first glance it looked like Burt Whittington’s cab might be a major project to repair, with visions of extensive jacking of the cab and other assorted complications, but the crew at Rodcrafters, in Welcome, North Carolina, assured him this would be a pretty straightforward repair.
As it turns out, the repair was really a simple panel replacement, with a twist. The good news for lover’s of early Chevrolet trucks is that you can purchase every panel and inner brace for these cabs, and for those of you who prefer to work with new, yes, you can now purchase an entire brand-new steel cab too.
However, we simply ordered two rear cab corners to repair the rust, and one complete passenger-side cowl panel to repair the cab from the door impact from Obsolete Chevy Parts, in Nashville, Georgia. Burt Whittington supplied a good pair of 1949 Chevrolet truck doors to complete the repair.
The cowl repair begins by first melting the factory lead out of the seam, drilling out spot-welds and chiseling the panel off. Next, using a homebrewed tool the lower A-pillar was twisted back into shape and then the new cowl section was installed with special attention to fitting the new door.
The cab corners are straightforward rust repair with a simple cut and replace method being used. We found it interesting that Chris Mishoe, at Rodcrafters, chooses not to cut up to the full height of the patch panel, rather he removes all traces of the rusted area and then cuts the patch panel to match. The thought being should the cab ever be damaged in that area again, there would be room to cut above this seam and add more of another patch panel.
All the work was performed at Rodcrafters, while the team is skilled professionals, this is a repair that is well within reach of any home truck builder who has access to basic welding tools. Armed with the following photos, patience, and basic sheetmetal skills you might be surprised at how easy it is to save a cab. CCT