Chrome is history, sad to say. About the only vehicles still sporting plated bumpers in showrooms these days are trucks. The shiny stuff didn't disappear overnight, though; its extinction occurred through an evolutionary process. Pontiac started experimenting with "soft" bumpers in the late '60s, introducing them on the 1968 GTO under the name Endura. Chevy offered a similar option for the '69 Camaro, and Chrysler debuted its Elastomeric variation on the '70 'Cuda.
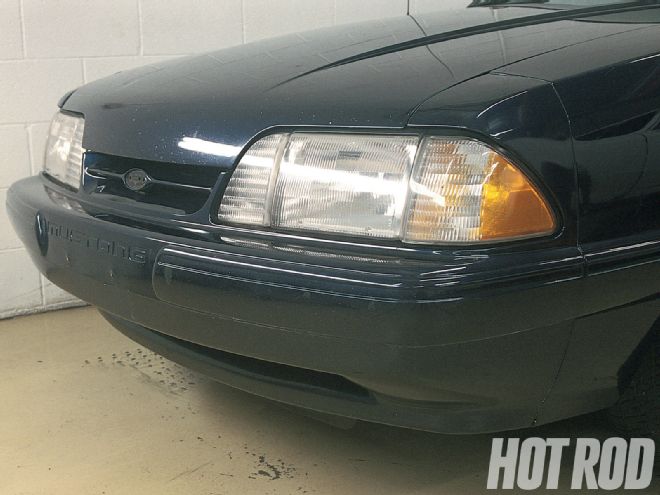
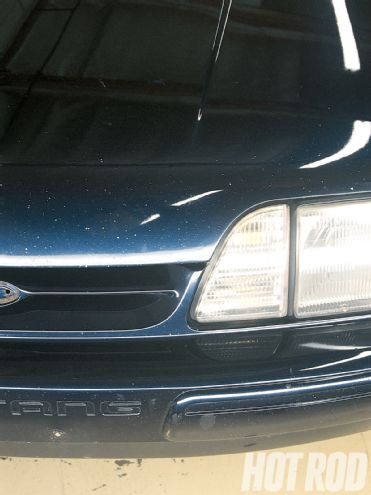 The bumper cover on this '93 Mustang had been previously repainted; the paint was flaking off, and minor flexing of the cover had created new cracks-a clear indication that the proper techniques had not been utilized. The hood had been repainted at the same time and was peppered with chips, probably the result of too much hardener, making it overly brittle.
This new generation of bumpers pre-sented a somewhat slicker appearance, as the molded material blended with the bodywork in a more fluid fashion than steel. These soft bumpers were painted to match the body, giving the appearance of no bumper at all. Since they could spring back to their original form after a minor impact, some advertising claims touted their resilience and imperviousness to damage. Unfortunately, these minor impacts revealed a new problem for manufacturers and consumers alike: paint that wasn't as flexible as the surface it was applied to.
By the end of the '70s, the automakers seemed to have it worked out. Camaros, Firebirds, Corvettes, and Mustangs all sported urethane bumper covers: soft, pliable forms that concealed their steel bumpers. The issue of finish adhesion was also solved through new processes and products, which seemed to solve the problem for the manufacturers but not necessarily for consumers.
Ultimately, the pliable fasciae require repainting, either to correct accident damage or as part of a new paint job, and very often, body shops don't take all the correct steps to restore the finish of these urethane pieces. The result is the same as it was back in the early '70s: cracked, peeling paint.
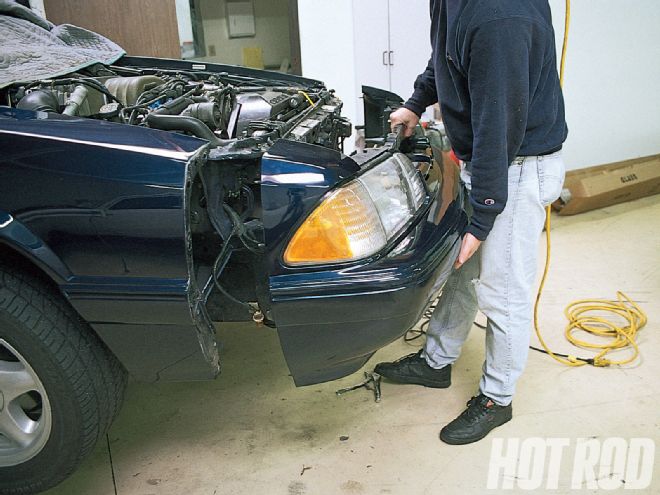 To keep costs down, we removed the bumper cover and the hood ourselves. Check with the shop you're working with first, as some places want to do it all... or not at all. On our Mustang, a series of studs coming from the nose assembly are fastened through holes in the fenders. Remove the nuts that hold them, plus two bolts in the radiator support brackets, and pull the nose free.
We faced such a problem on a '93 Mustang. A previous owner had repaired the nose area in a slipshod fashion; the paint had been flaking off for some time. Thus, we were afforded the opportunity to outline the proper procedure for this sort of work. But first, we had to locate a suitable repair facility.
The best method for finding a good shop may well be the oldest: word of mouth. A number of Petersen employees had worked with Car-Nation, and the consensus was universal praise. At Car-Nation, we found several specialty cars among the many late-model collision victims, including a pristine '68 Camaro and an equally sharp '66 GTO, both of them there for a touch-up. When classic cars are entrusted to a particular shop it is a good indication of quality workmanship.
The staff at Car-Nation walked us through the steps on our Mustang's fascia. Use this process as a guide for your flexible-surface repair to ensure that it turns out sharp-and stays that way.