The old adage states: "Things that are hard to work on are seldom the first things to be worked on first, if, or not at all." The same can be said for many of the systems on a race car. Just because it is fairly easy to work on in the shop does not mean it will be worked on first.
The same holds true at the track as well. If it's easier to change a tire than to change a sway bar or a torsion bar or a coilover spring, the tire might be the first thing that gets changed.
With that in mind, the folks at Diversified Machine have come to the rescue of any racers that are using a quick-change rearend and have made a very easy process to change the gears even easier, if you can believe that. Now the quick-change is truly quick-change. They call the new product the Vault Locker.
When you want to change the gears in your quick-change rearend in your Sprint Car or Late Model, the process was pretty straight-forward:
• Jack up the rearend
• Place a drip pan under the rearend so you can catch the
• Remove the six bolts or nuts that hold the cover on over the gears
• Remove the cover
• Replace the quick-change gears
• Reinstall the cover and the six fasteners
• Drain the oil out of the pad and if the oil is still in good condition drain the oil into a suitable bottle
• Refill the rearend
• Lower the car down of the jack and your good to go
Easy enough, but why not save even more time? After all, time in the pits between heats is always hectic and usually far too short. And, anything you can do to speed any one set of changes allows you more time to work on something else that will help you move to the front.
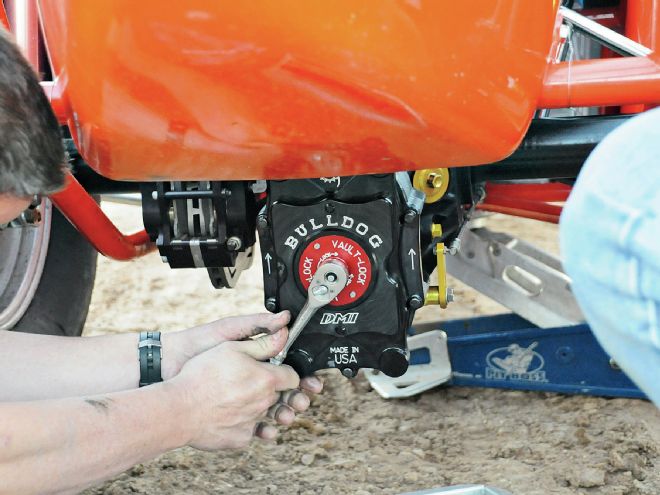
What the folks at Diversified Machine have accomplished is to speed the removal and installation of the gear cover by employing a complete redesign of their standard offering. Now all it takes is a 1/4 turn of a 3/8-drive ratchet or breaker bar, it is just that simple. The quick turn of the wrench and the cover pops off and you are ready to change gears. It takes the operation of the longest part of the process to the shortest and the reinstallation of the cover to an operation that takes the same 1/4 turn, just in the opposite direction.
We obtained a cover and went out to Canyon Speedway Park located just outside of Phoenix, Arizona, and put the Vault Locker through the paces of a Sprint Car test session. The session would involve six other Sprint Cars, but we would be installing the Vault Locker on the No. 50 Car of Charles Davis Jr. Upon arrival the team was shown the Vault Locker and they proceeded to "play" with the part prior to installation. During this period of exploration at least one member of every other team out for the evening was over looking at the Vault Locker. To a man and woman they all saw value to the intended application for the Vault Locker.
Installation was very simple, remove the existing cover, remove the studs that are used for the installation of the old cover. Clean the mounting surface and remove as much of the residual oil that may be present in the stud holes. Place the Vault Locker mounting plate on the gear housing and using the supplied six bolts and some blue Locktite, torque the bolts to 30 ft-lbs and then install the Vault Locker cover and you are good to go, it was really that simple. The product is that well designed and executed. We performed the installation at the track and encountered no issues at all, it was a fool proof process that was completed in less than 15 minutes.
Then the test session began. Of the six cars that were there that night, we were the only team changing gears and we were doing it in record time. We ended the night changing gears in a total time of about 4 to 6 minutes start to finish. The other actions that support the gear change process, jacking up the car, refilling the rearend with oil of course remained the same time duration but the process seemed much shorter because removing and reinstalling the cover was completed so quickly.
If you are serious about speed this is one part that will or should be on your rear end. Best of all everything you need except for the handtools comes with the Vault Locker.
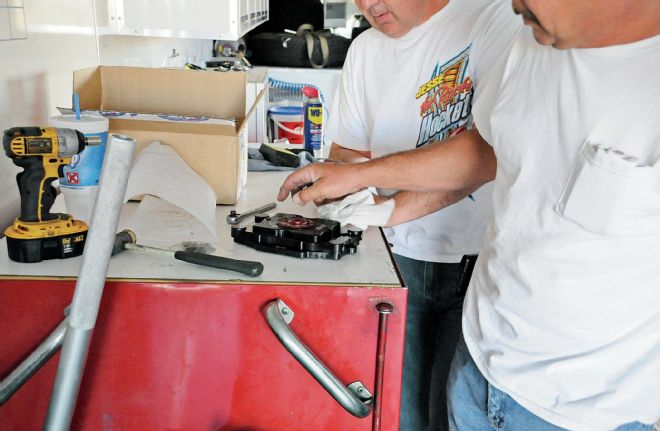
01. Upon arrival at the track the Crew Chief, Mickey Meyer, and Charlie Davis get their first look at the Vault Locker. This was soon followed by a parade of other crew, drivers, and team owners. It was definitely the new shinny part of the evening. The input from the other crews was positive with a slight air of trepidation.
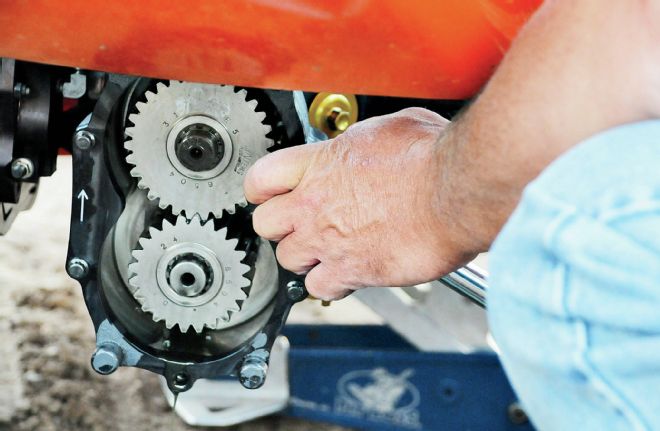
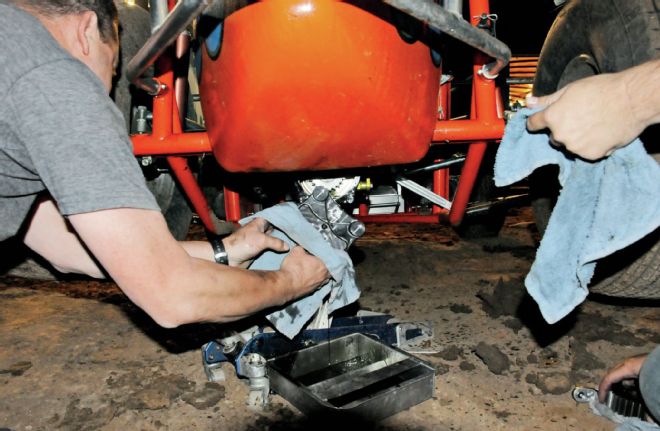
02. The cover that we would be replacing. The nuts that hold on the cover along with the studs that are secured into the rearend housing will be removed as part of the installation process.
03. The cover has been removed and the oil drained and we are now starting to remove the studs and clean out the thread holes of any residual oil that might be in the threaded holes so the Loctite can do its job.

04. The Vault Locker comes with some really good quality 12 Point bolts, as you can see here, that are used to fasten the mounting plate to the rearend.
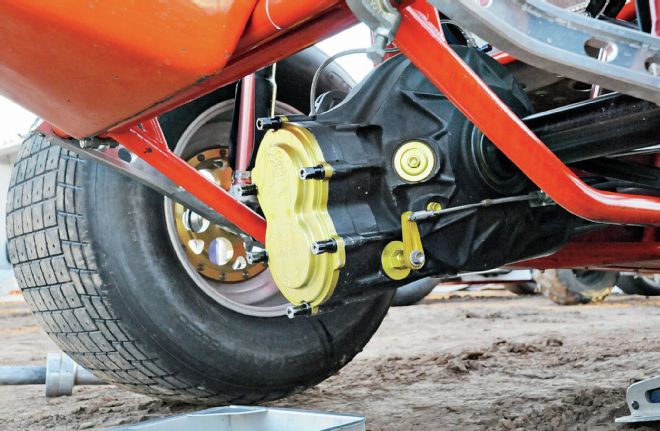
05. The mounting plate for the Vault Locker was the next step in the process. You will notice prominent arrows on the plate indicating that the mounting position, the folks at Diversified Machine have put a good deal of thought into this product.
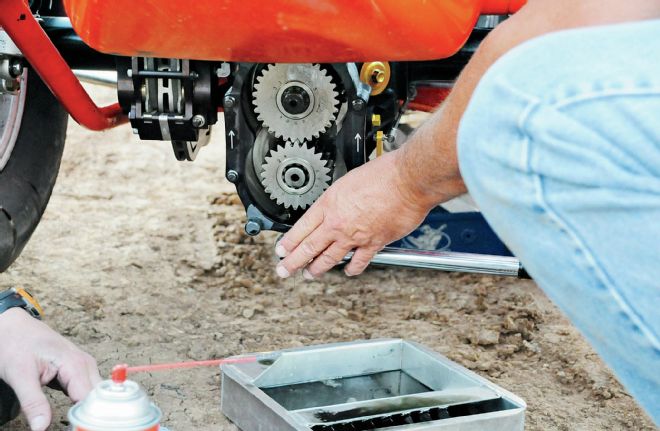
06. Using a torque wrench we torque the bolts to 30 ft-lb. Something that we as racers should always do...torque our fasteners using the correct tools.
07. At this point all that was left was to refill the rearend with oil and lower the car off of the jack and hit the track.
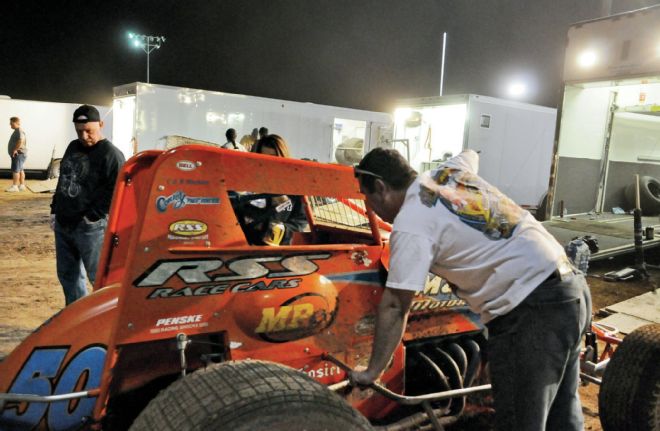
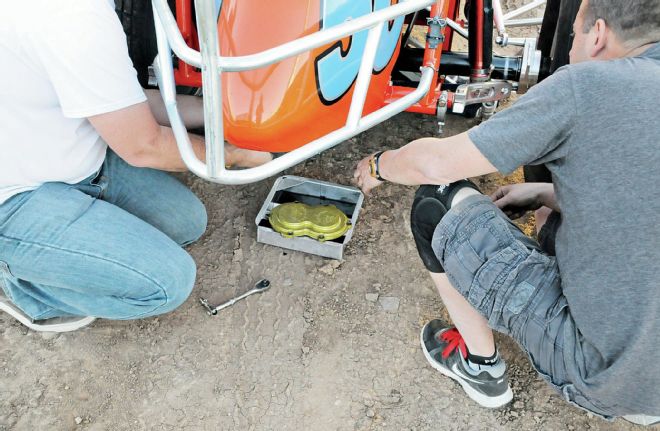
08. A debrief session between Charlie and Mickey prior to developing the next set of adjustments. In the meantime, the team checked for leaks around the newly installed Valut Locker and found none.
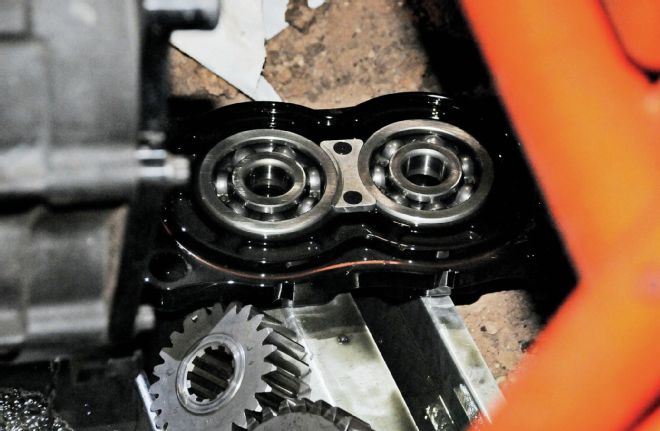
09-10. The time to remove the cover, remove and replace the gears and replace the cover was under four minutes. You have to remember that the whole assembly is still hot and care needs to be exercised. Better yet wear heat resistent gloves. Still it was way faster than the nut and bolt method used previously. As the night progressed the team got faster and faster at accomplishing the gear changes.
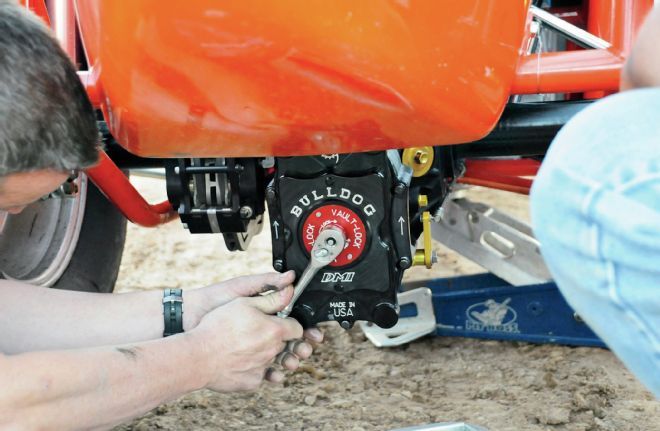
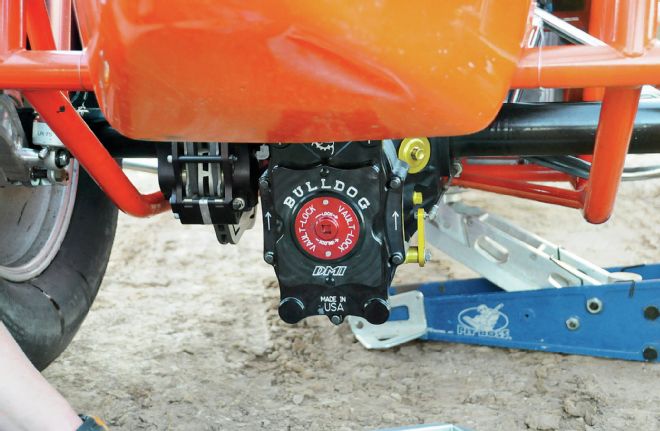
11. It was then a simple matter of placing the cover on the Vault Locker and using a 3/8 ratchet wrench simply turning the ratchet a 1/4 turn and feeling a very positive detent lock and we were done. All in all a great product; I would expect one of these on pretty much every Spring Car, Late Model, or any other car that is utilizing a quick-change rearend.