For years we got by with two- and three-speed automatic transmissions, but one of the biggest factors in improving driveability was the introduction of overdrive transmissions. While it's possible to pull such a transmission from a junk car, why gamble on its unknown history or mileage, especially when the internals of an auto trans are beyond most hobbyists' capabilities when it comes to repair?
A far better option is to purchase a new or remanufactured trans, tailored to your engine's power output. TCI Automotive offers three stages of transmission: the Street Rodder, capable of handling 350-525 hp, depending on the application; the Streetfighter (400-700 hp); and the Super Streetfighter (up to 1,025 hp). Each is available on its own or as a package with torque converter, transmission cooler, Max Shift fluid, dipstick, and universal TV cable. Though we're installing a 700-R4 GM trans here, TCI Automotive offers a range of GM, Ford, and Chrysler transmissions in Street Rodder, Streetfighter, and Super Streetfighter.
Given that the subject of our install is a mild 350-equipped 1954 Chevy Bel Air custom, the 700-R4 replacing an old TH400, the Street Rodder package was perfect. This offers excellent street performance and durability, TCI Automotive equipping this level of trans with an automatic valvebody and performance kit–equipped valvebody, providing firmer, but not too harsh, shifts, while remaining fully automatic and retaining the stock shift pattern. According to TCI Automotive, “Each Street Rodder transmission and torque converter undergoes the industry-recognized Triple Testing to verify that internal fluid pressures and shift characteristics match strict TCI Automotive quality control standards. Torque converters are tested to maintain that the impeller body and pump drive hub remain true and are then pressurized and tested to confirm the integrity of the weld seams. Finally, each unit is computer balanced to reduce drivetrain vibrations that can cause serious damage to your converter. Transmissions and their internal components are inspected and stock parts are replaced with high-performance TCI Automotive–manufactured parts where applicable. Valvebodies are remanufactured and 100 percent tested prior to installation. Last, each transmission is subjected to both a static hydraulic pressure test during assembly and a final dyno test prior to shipping. That's Triple Tested for your specific application."
We should mention a couple of things before we get into the install. First, the 700-R4 (as well as the 200-4R) uses a lock-up torque converter, and in its factory application, is computer controlled. All lock-up TCI Automotive 700-R4 transmissions have the TCI Automotive Universal Wiring Kit installed and may be wired independently of a vehicle computer. This also allows for easy retrofit into earlier non 700-R4 equipped applications such as this. Secondly, the TV cable setup instructions should be adhered to implicitly, as this is not a simple kickdown cable and incorrect installation will cause transmission failure.
Our application included modifying the transmission mount on the crossmember, as the 700-R4 is 4 15/16 inches shorter than the TH400 from the front of the bellhousing to the rear mount, but that aside, the swap was a bolt-in deal.
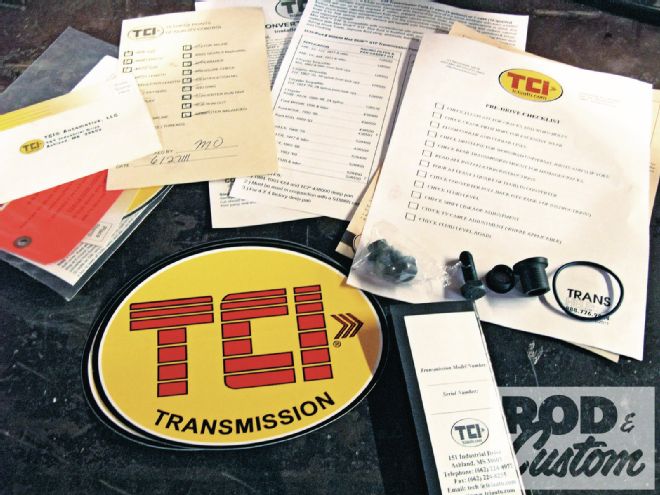
1. The paperwork that comes with the package includes instructions, a TCI Automotive quality control check list, and a pre-drive checklist for the customer, as well as a bag of necessary bolts, plugs, and O-rings.
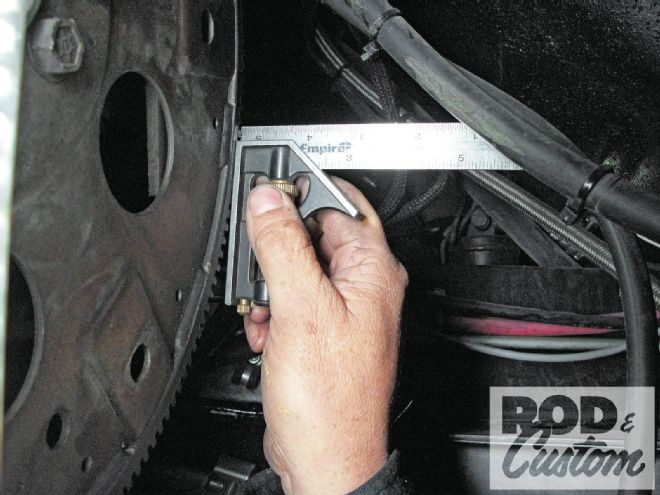 2. With the old trans removed, it’s prudent to take some measurements before continuing. The distance from the rear mounting face of the block to the mounting face of the flexplate is being measured here.
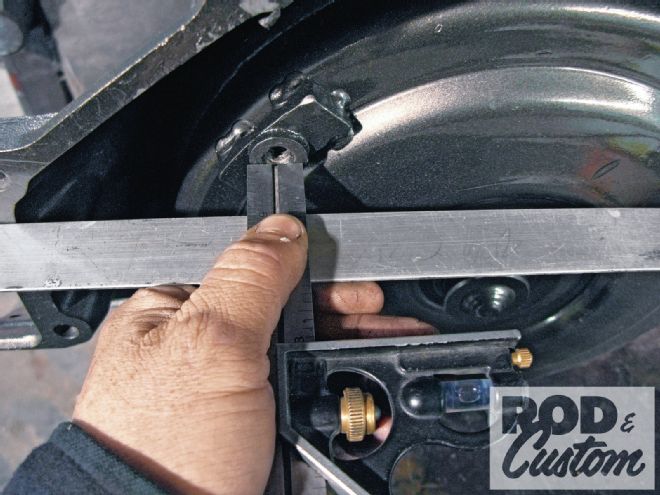 3. With a straightedge across the bellhousing, the depth clearance to the converter mounting pads was also measured, with the converter pushed securely back into the trans. The TCI Automotive instructions include dimensions for specific transmissions, but if the second measurement isn’t greater than the first, something’s wrong!
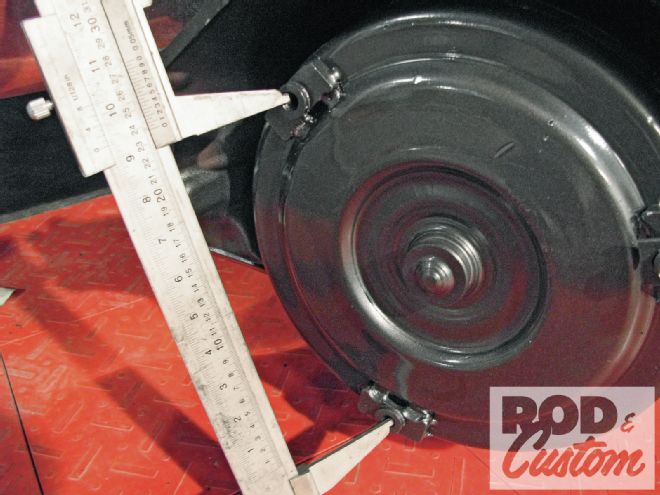
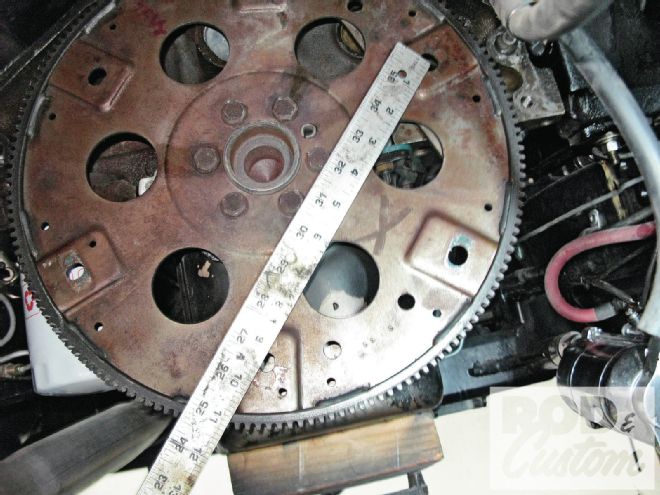 4. Double-check the new converter will bolt up to your flexplate by measuring across two of the mounting holes …
 5. ...and do the same across two of the converter mounting pads.
 6. The trans is shipped by TCI Automotive with this tab locking the converter in place. Now’s the time to remove it.
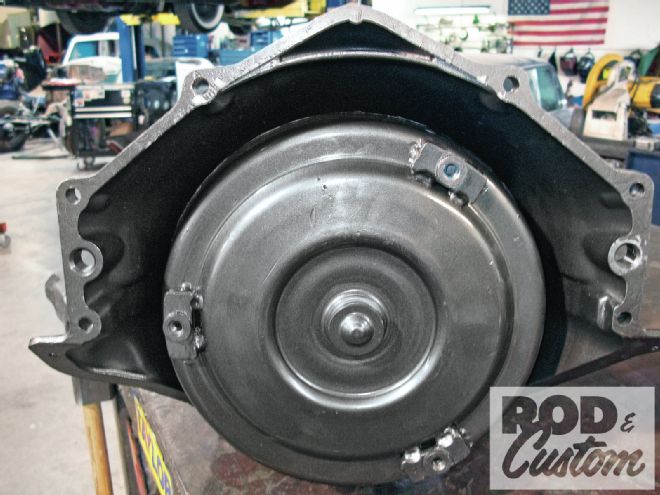
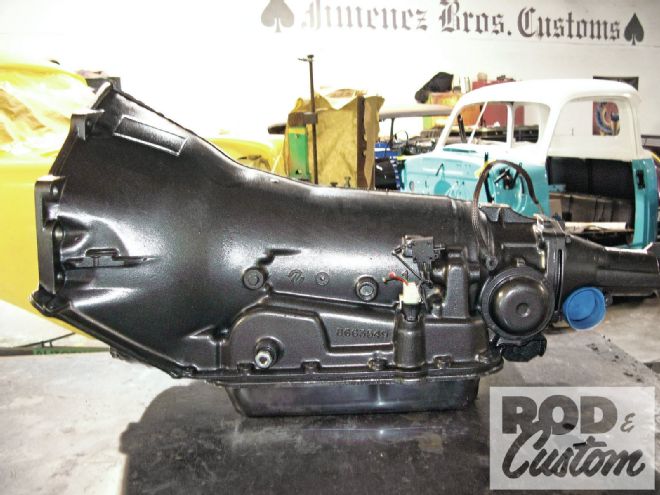 7. Here’s the new 700-R4 trans. Note the ground strap attached to one of the tailshaft housing bolts, and the vacuum switch and converter lockup switch, already installed
 8. Here’s the old TH400 we removed from the Bel Air, with torque converter still in place. Don’t discard it yet, we’ll be needing some parts off it.
 9. The transmission fluid cooler lines should be removed from the old trans and installed on the new. TCI Automotive supplies transmissions with threaded plastic plugs in these orifices.
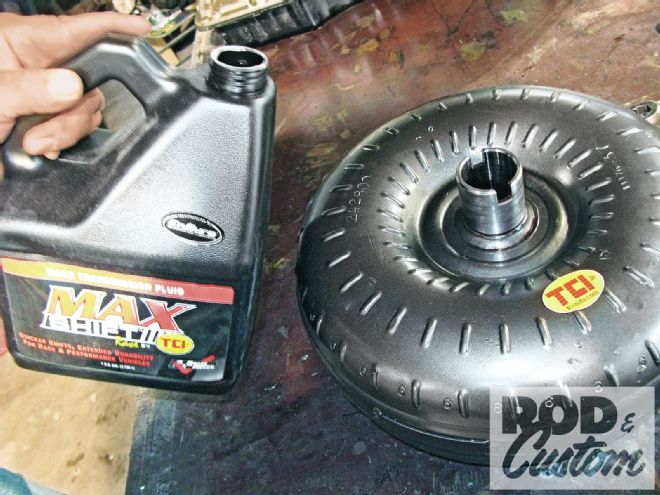 10. TCI Automotive also supplies its specially formulated Max Shift automatic transmission fluid (ATF) in the package. One quart was poured into the converter, and the wiping surface of the hub of the converter was also coated with ATF.
 11. The splined couplings of the input shaft and stator support and the pump lugs must engage correctly to allow the converter to slide all the way into the transmission. Rotating the converter as it’s installed ensures this.
 12. The trans was now raised into position, locating on the dowel pins on the engine block. The bellhousing and block mating surfaces must be parallel, and the trans supported while the two components are bolted together. Once located on the dowel pins, the trans should slide into place. Don’t use the bolts to pull it into position.
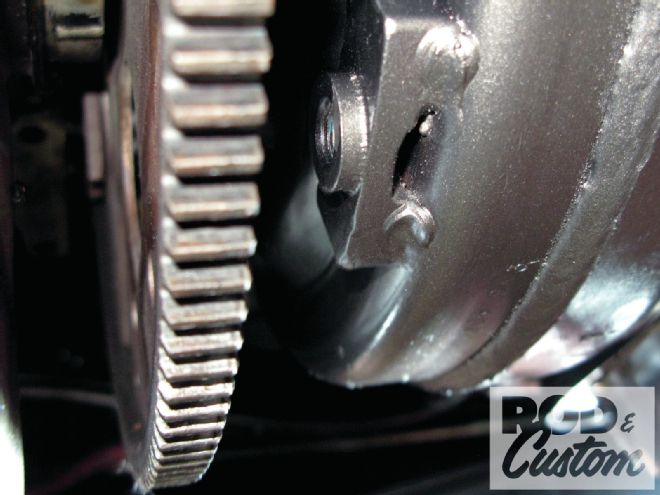 13. The engine and trans are almost bolted together here, but for illustration purposes the gap between the flexplate and converter pads is larger than it would be once they are bolted up. Once the engine and trans are bolted together, the converter should rotate and move backward and forward freely. The gap shown, or endplay, should be a minimum of 1/8 inch but not more than 3/16 inch.
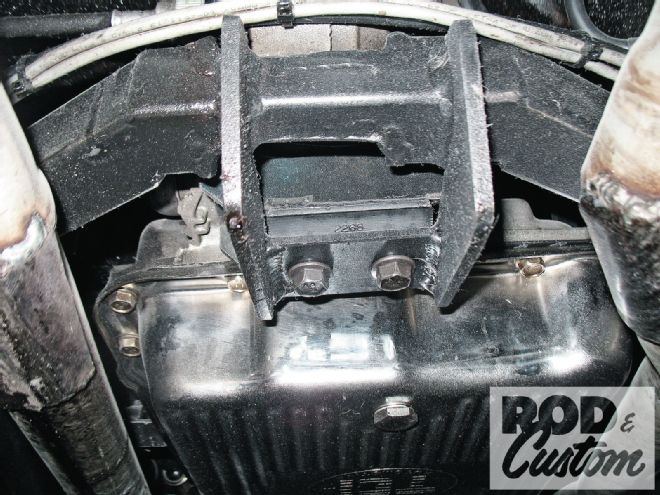 14. As mentioned in the main text, the measurement from the bellhousing to the rear mount is 4 15/16 inches shorter for our new 700-R4, so the crossmember and mount had to be modified to suit. Of course it had already been modified once for the TH400!
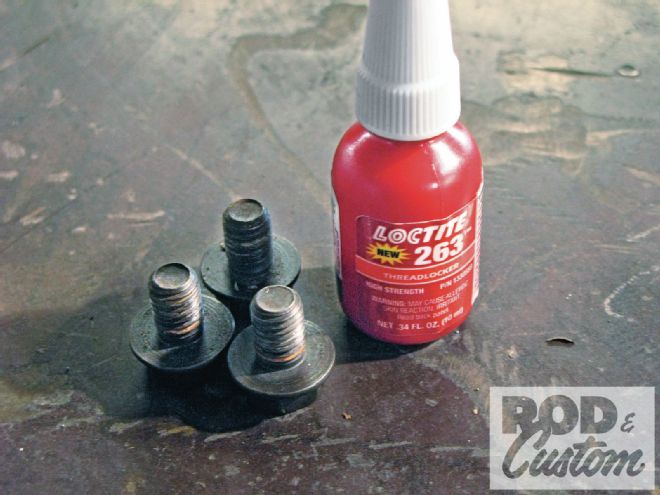 15. With all clearances and endplay meeting specs, the converter was bolted to the flexplate. Thread locker was used, and the bolts torqued to 30 ft-lb.
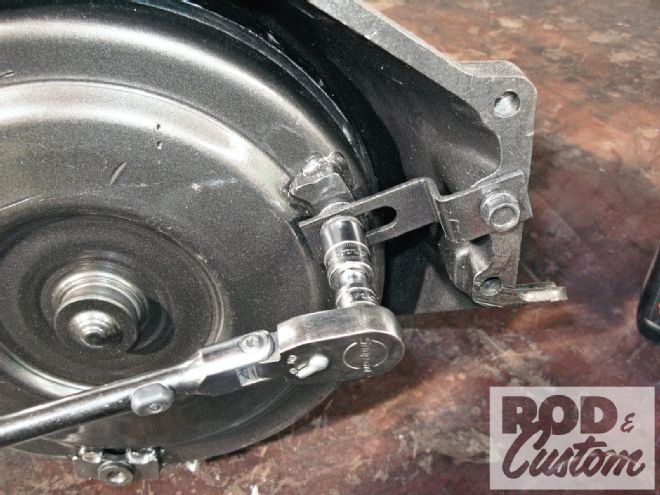
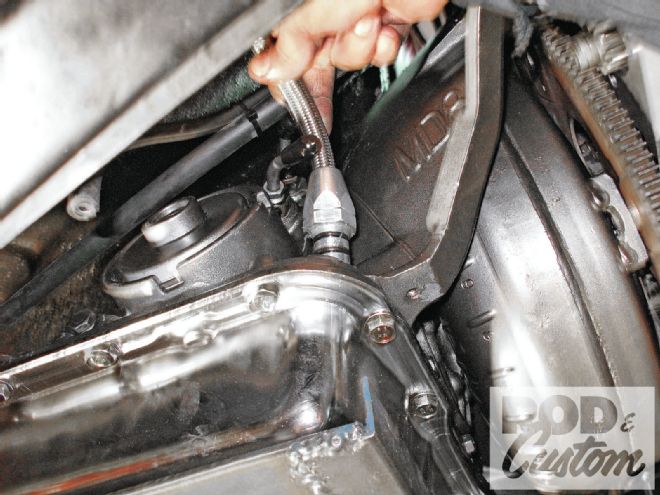
 16. Specific to 700-R4 and 200-4R transmissions is the Throttle Valve (TV) cable. Located on the right side of the trans body, behind the fluid cooler lines, this hook on the end of the TV link is where it attaches, secured using the 10mm bolt. This is NOT a kickdown cable, and must be properly adjusted to prevent damage to the transmission.
 17. You too will be doing impersonations of Thing from the Adams Family when it comes to fitting the TV cable, unless your trans tunnel is removable.
 18. A Lokar transmission dipstick was installed at this time.
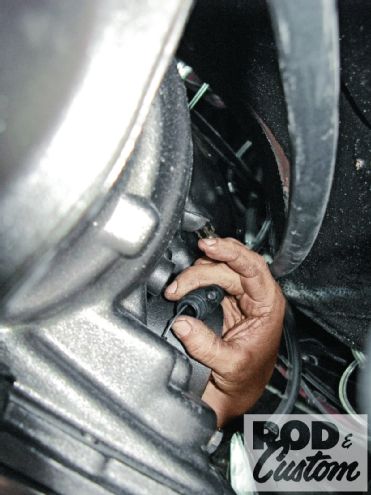
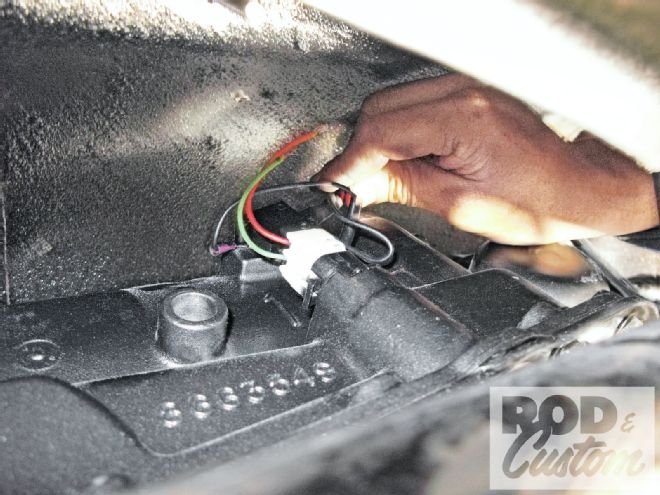 19. Moving to the driver side of the trans, the vacuum switch for the lockup converter was connected.
 20. The shifter linkage from the old TH400 was bolted to the shifter arm on the new trans, and then connected to the column shifter already in the car.
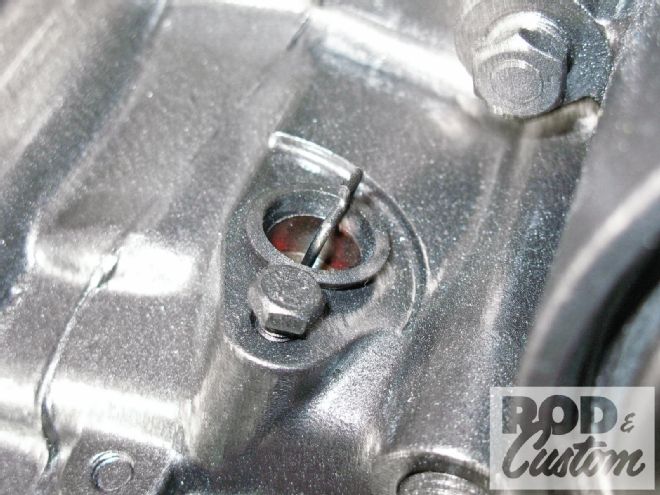
 21. With a new O-ring in place, a new speedometer drive and cable were installed.
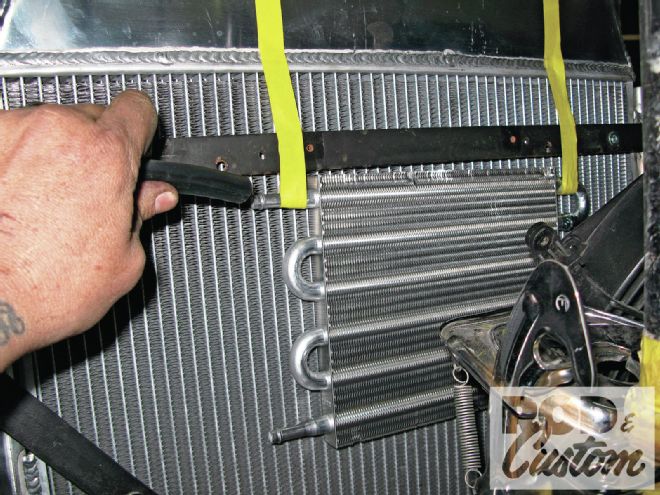 22. The trans fluid cooler is supplied in the package. JBC hung it in front of the radiator using tape to determine its best position before mounting it using the “through-core” mounts supplied.
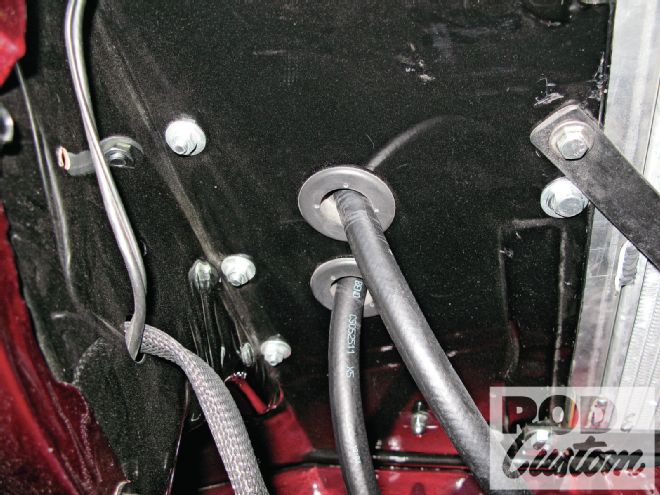 23. Rubber grommets were used where the rubber fluid lines pass through the radiator core support to prevent chaffing.
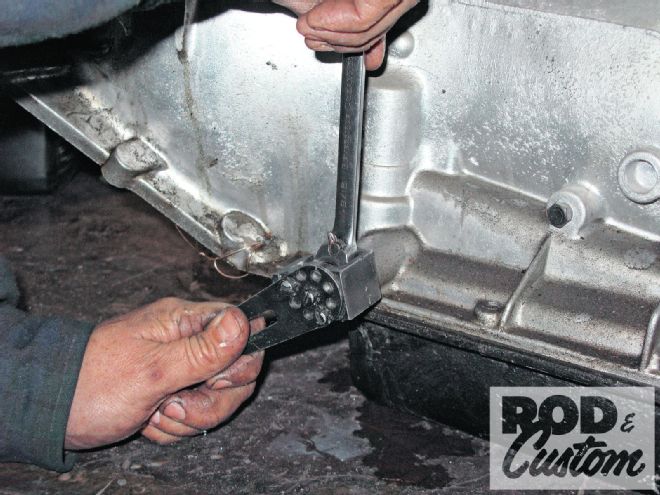
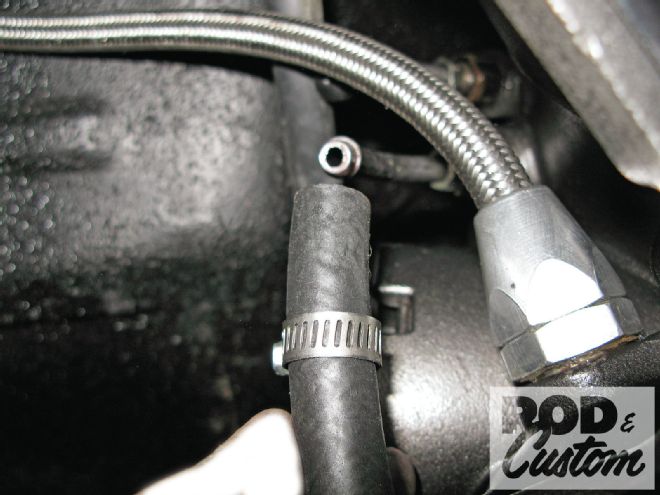 24. The last connections to be made at the transmission itself were the cooler lines. Using the factory hard lines from the old TH400 meant the beads, which prevent the lines blowing off, were in place.
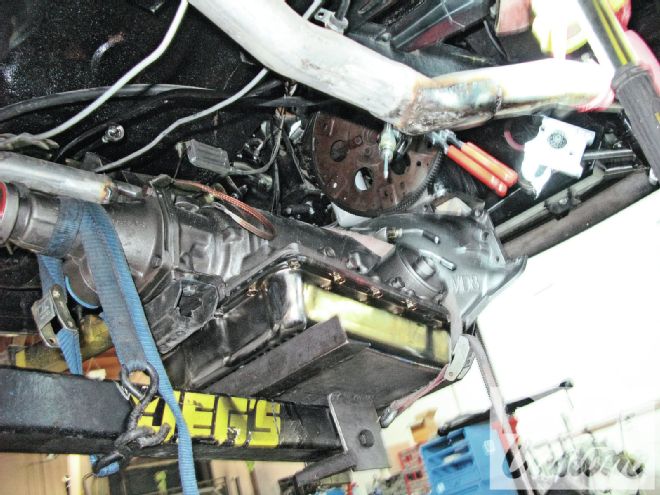
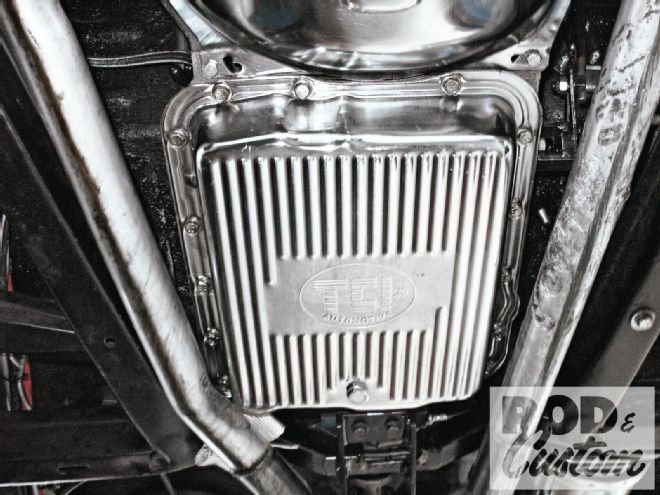 25. Apart from a slight modification to the exhaust at the passenger side rear corner of the transmission pan for clearance, and the aforementioned new mount, the installation was simple, with no tunnel clearance issues.
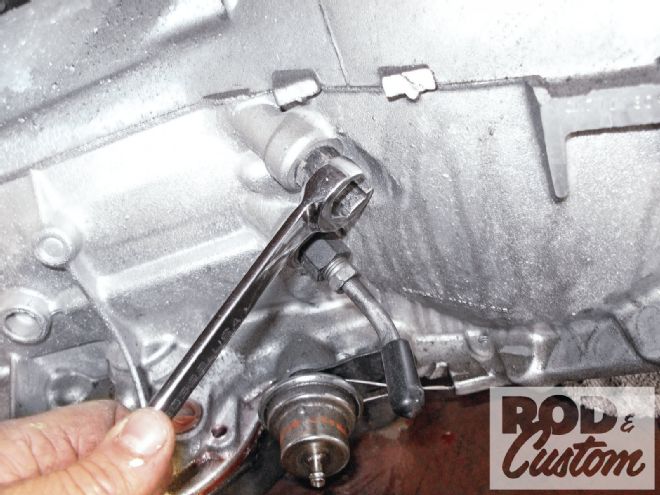
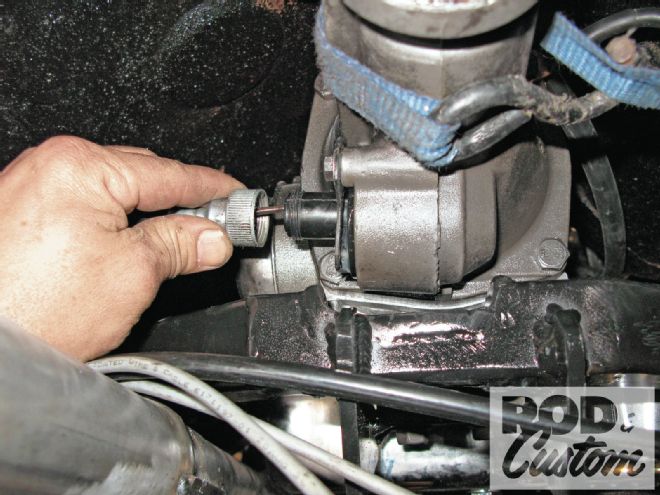
 26. Finally, the vacuum line was connected to the base of the carburetor.
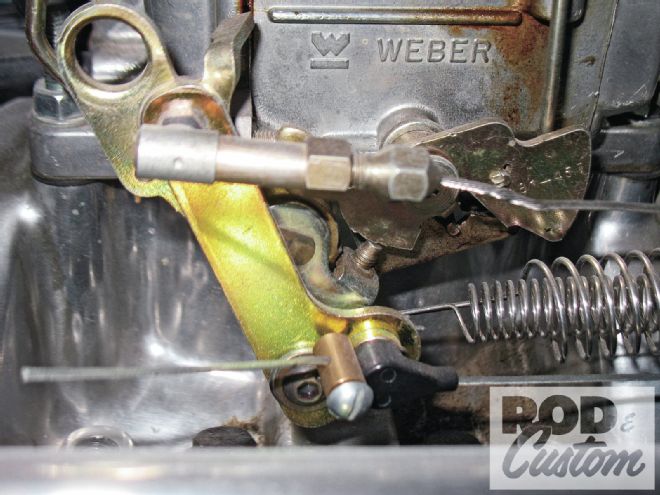 27. This TCI Automotive TV cable Bracket Corrector Kit was required to achieve correct TV cable geometry with the Edelbrock carburetor.
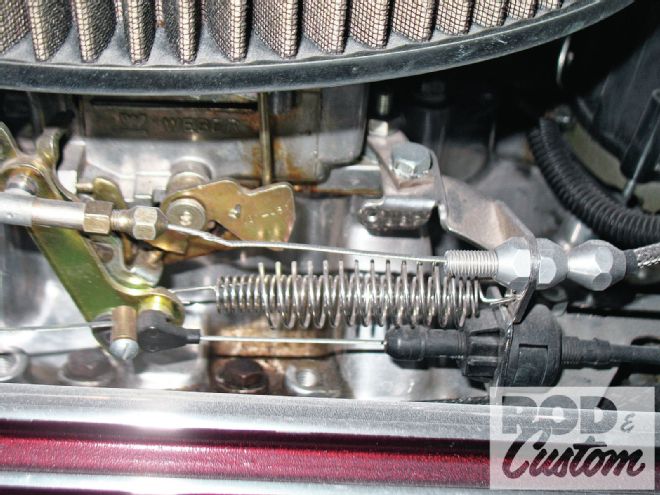 28. The TV cable and throttle cable were connected as per the TCI instructions. The TV cable instructions must be followed precisely for it to work as intended.
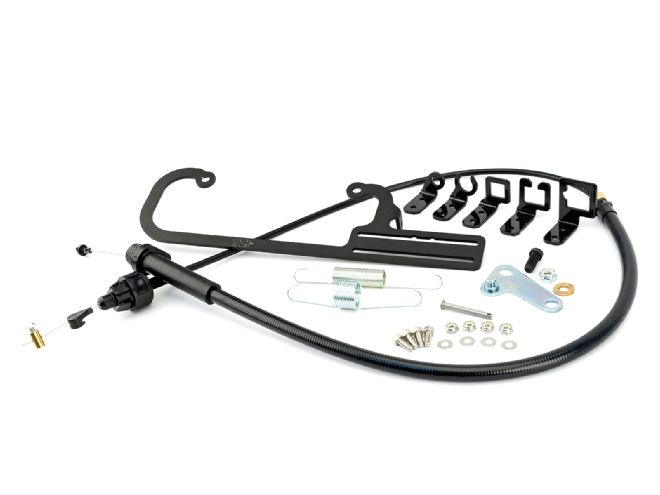 29. TCI Automotive also offer this TV Cable Corrector Kit when using a Holley carburetor with a 700-R4 or 200-4R transmission. It includes all necessary components under one part number, PN 370816