
OK, I have a confession to make, though it probably won’t come as much of a surprise to the observant amongst you who noticed the engine in the Notso Special in the last issue. One of the worst kept secrets around here, especially if you frequent our Facebook page, is that while I made it to Bonneville with the car, it wasn’t with the turbocharged four-cylinder engine as planned. That will still happen for next year, but circumstances, not to mention my ridiculously short self-imposed deadline, meant it wasn’t ready in time for August. If I’m honest, I think I was the only person who never doubted the car would make it!
All of which meant that, a couple of days before we were due to depart for Utah, with a car that was pretty much ready to go, but engineless, I contemplated pulling the 383 stroker small-block from project Purple Pig. I’d borrowed a plastic dummy small-block, scattershield, and Camaro T5 from my pal Kiwi Steve, and having test-fit everything to check for clearance issues, proceeded to strip the Pig. At this point, Steven Rupp, of Camaro Performers magazine, saw what I was doing and offered to lend me his still-crated ZZ383.
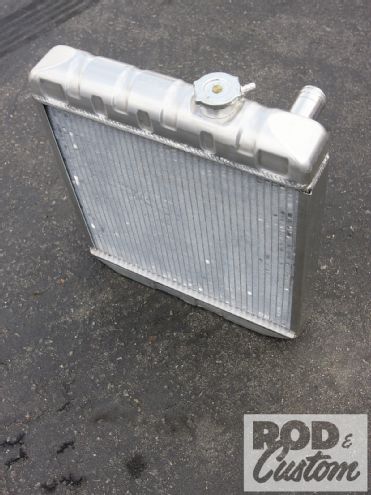
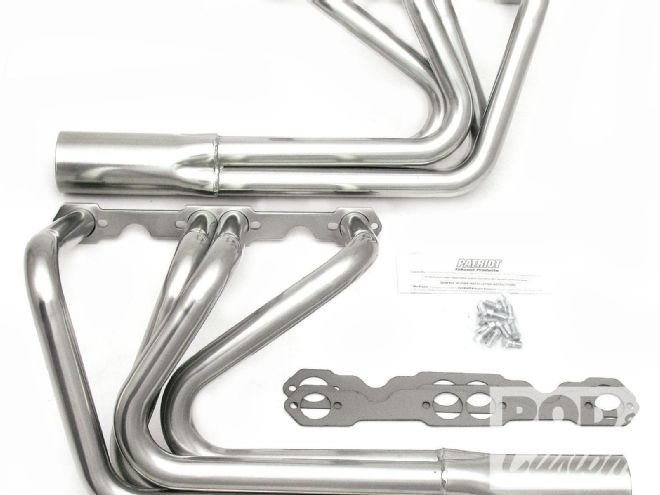
With photographer Tim Sutton and Editor Ryan Manson, of Custom Classic Trucks magazine, helping, we had a game plan. U.S. Radiator had already supplied one of their Triple Row aluminum radiators, designed for an early Mustang, and luckily the inlet and outlet would work with a small-block Chevy; it just required mounting a little farther forward than I’d planned. Patriot Exhaust supplied a set of ceramic-coated Circle Track headers, the company’s Don Lindfors not only delivering and installing them, and staying to help out, but also cutting down a pair of turnouts designed for T-buckets using the same headers to provide a little more than straight open headers.
The ZZ383 uses Vortec-style heads, and as such, the intake manifold I was going to pull from the Purple Pig wouldn’t fit, owing to the differences in mounting bolt positions. A Warrior intake manifold from Weiand solved that problem, while the Holley 750-cfm vacuum-secondary carburetor from the old engine in my ’46 was pressed dutifully into service, along with a borrowed PerTronix distributor. Phew, we were almost there, apart from a flywheel, clutch, and release bearing.
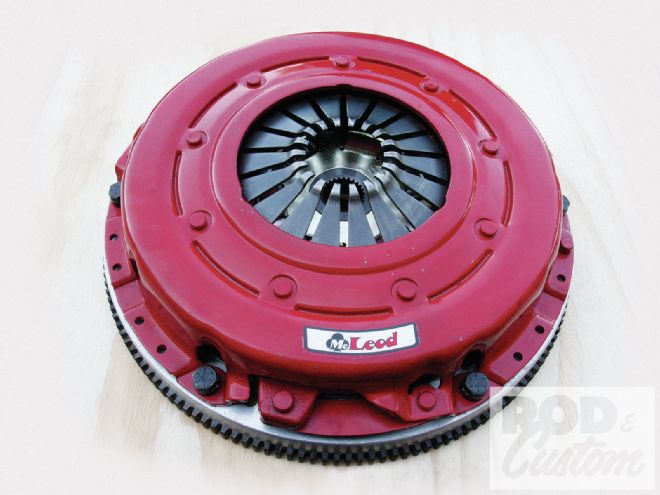
[1] McLeod Racing PN 75225 is the company’s 10 1/2-inch Super Street Pro clutch for a Chevy V-8, suited for applications with moderate engine mods up to 500 hp, and street tires.
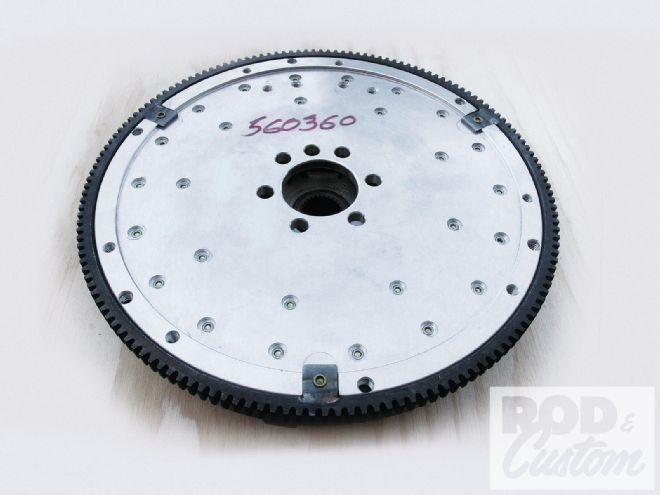
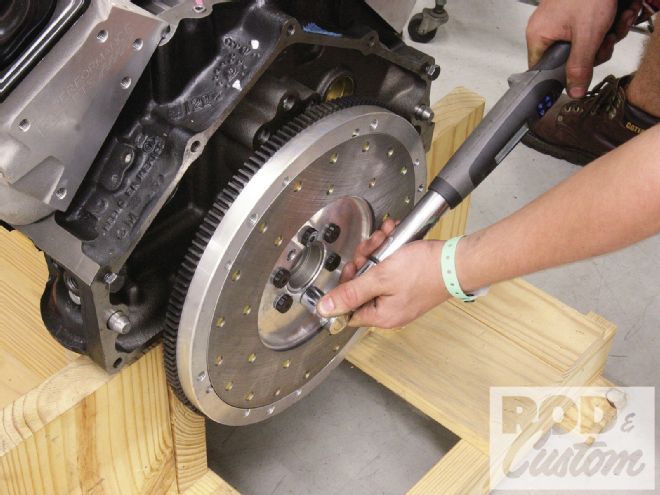
[2] PN 560360 denotes an aluminum flywheel for an ’86-99 Chevy V-8 with a 153-tooth ring gear. These flywheels are ideal for higher horsepower engines and combinations that achieve rapid rpm levels. It’s also externally balanced, so we made sure to add the counterweight. Note the two pairs of holes near the top for this (arrows).
[3] We used ARP flywheel bolts to attach the flywheel to the crankshaft.
[4] We torqued the ARP flywheel bolts to the recommended setting.
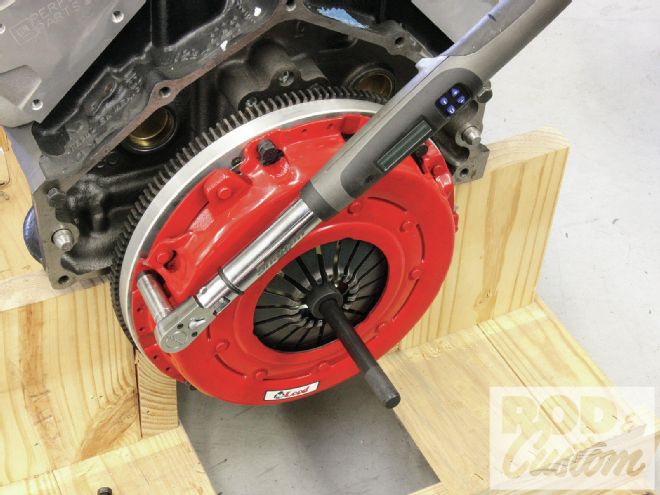
[5] With a clutch alignment tool in place, the clutch and pressure plate were aligned and torqued down.
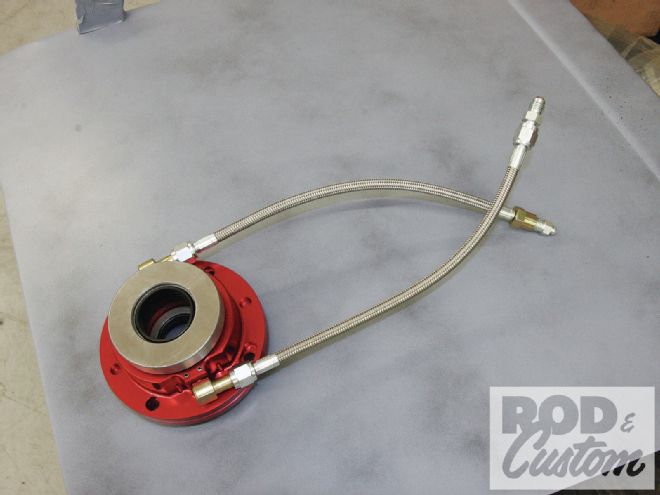
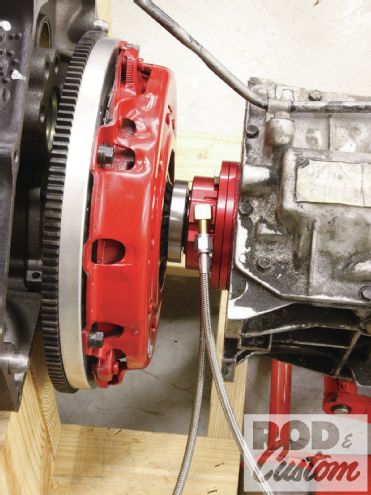
[6] McLeod Racing’s 1300 Series bolt-on hydraulic release bearing is intended to replace an OEM bearing retainer when the “A” measurement (refer to the chart on page 24) is less than 3 inches. Not only do these self-adjusting assemblies eliminate the need to fabricate a complex clutch linkage, but they are supplied complete with elbow fittings and 11-inch high-pressure stainless steel braided lines. One feeds fluid from the master cylinder, while the other is a bleeder line.
[7] We joined the engine and T5 transmission without the bellhousing/scattershield to photograph what the assembly looks like installed. The gap between the face of the bearing and the tip of the pressure plate fingers should be between 0.100 and 0.300 inch for proper pressure plate release. Longer pistons are available if clearance exceeds 0.300 inch, owing to variables in bellhousing length or pressure plate differences. Note that the stock input collar has been removed to fit the new bearing.
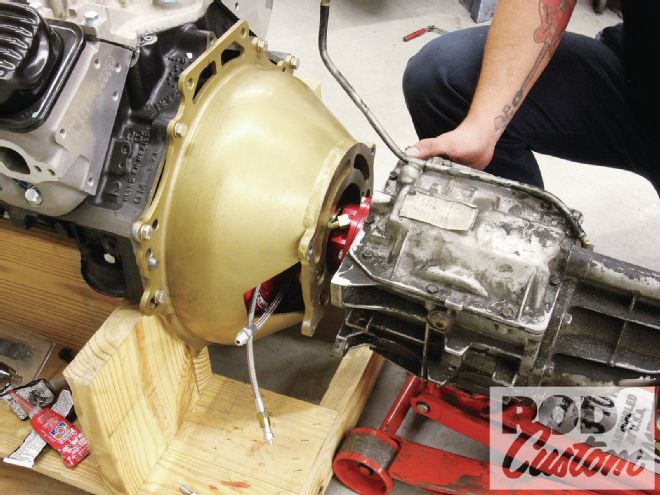
[8] Here’s the assembly going together for the final time, with the scattershield in place. The braided lines are fed through a hole in the side of the scattershield in our application. The bleeder line must be at the top of the bearing to ensure it’ll bleed correctly.
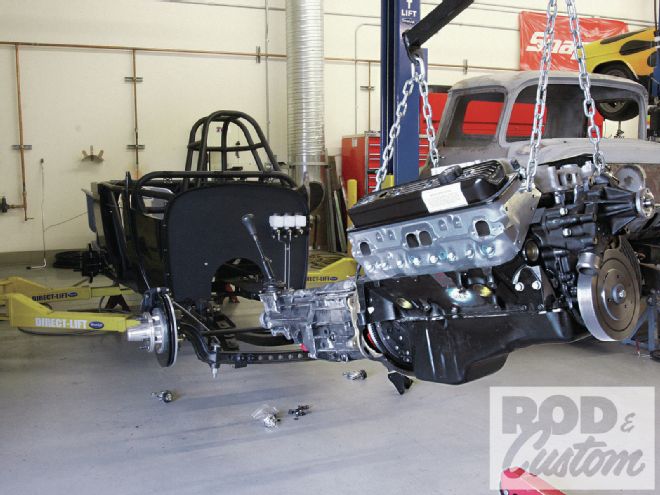
[9] The engine/trans combo could now be installed in the chassis. We’d already fabricated another trans crossmember and mount, as well as engine mounts, all bolting onto the chassis mounts intended for the four-pot motor, as we fully intend running that next year.
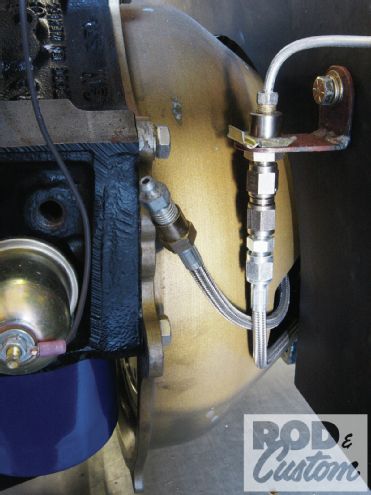
[10] A bracket bolted through the firewall into the rollcage secured the feed line, which was then hardlined to the master cylinder. The bleed line was cable-tied to the feed line prior to running the car. Note how tight the scattershield is to the trans tunnel, which was designed around a Quad 4 Rods Zetec/T5 bellhousing!
[11] After measuring the internal dimensions of our track nose, the helpful people at U.S. Radiator informed us that their ’65-66 Mustang unit would fit, if the mounting tabs on each side were left off. This has a 16x17 1/4-inch core, and while designed to cool a 260/289 Ford V-8 they felt it would be sufficient to cool the turbocharged Zetec four-pot, but fabricated ours with their Triple-Flow core for added security. We also had the inlet switched to the driver side to suit our Zetec application. While this radiator may be marginal with the 383, we don’t intend to drive it on the street with the V-8.
[12] While we were lucky with the radiator inlet and outlet lining up with the V-8, our last-minute engine swap necessitated a set of headers. Patriot Exhaust came up trumps with a set of ceramic-coated Sprint Car headers.
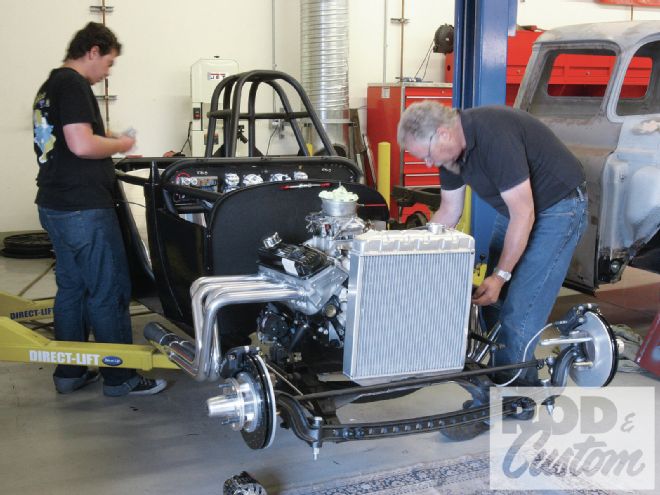
[13] With the engine mounted, the last minute thrash before leaving for Bonneville saw Don Lindfors installing the headers, amongst other jobs, Nick Fioto wiring the car (we’ll bring you the installation of the Ron Francis wiring kit once the Zetec is in the car), and Ryan Manson and Tim Sutton tackling the million and one jobs required to ready the car.
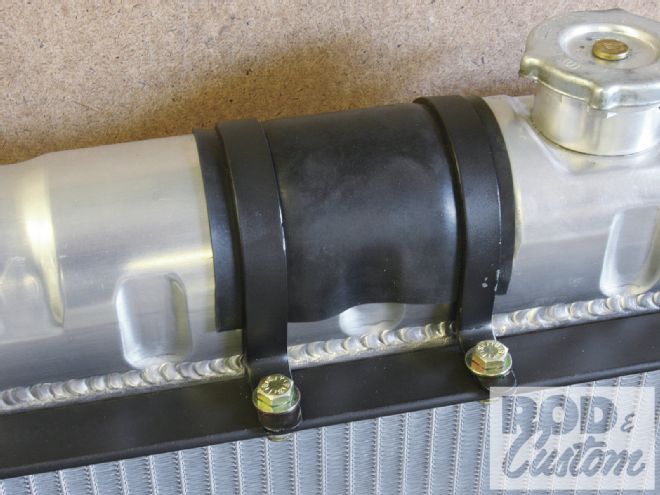
[14] Once the replacement engine was in place, we could determine the position of the radiator, fabricating a 1x1-inch angle steel framework on a crossmember welded between the framehorns, which also mounts the track nose. The flat bottom of the radiator was insulated with rubber and secured tightly in a C-section cradle on the crossmember.

I’d researched hydraulic release bearings and became convinced of the good reputation the McLeod Racing bearing had. This, along with the recommendation of David Webber, owner of last November’s feature car the “Boston Mangler”, meant I’d intended all along to use a McLeod Racing item on the Mustang T5 behind the Zetec four-banger, but now needed a complete clutch and flywheel assembly too.
The guys at McLeod Racing supplied one of their 10 1/2-inch Super Street Pro clutch kits, ideal for my application, along with an aluminum flywheel, and even took measurements from my unknown brand scattershield in order to set up the release bearing so it’d work perfectly from the outset. Some other brands employ shims to achieve the perfect gap between the face of the bearing and the fingers of the pressure plate, but McLeod Racing offers eight different piston lengths, eliminating the need for shims. Assembly was straightforward, and McLeod Racing supplied detailed instructions. If you’re used to a simple clutch release arm and this all seems complicated (it did to me at first), here’s how it works:
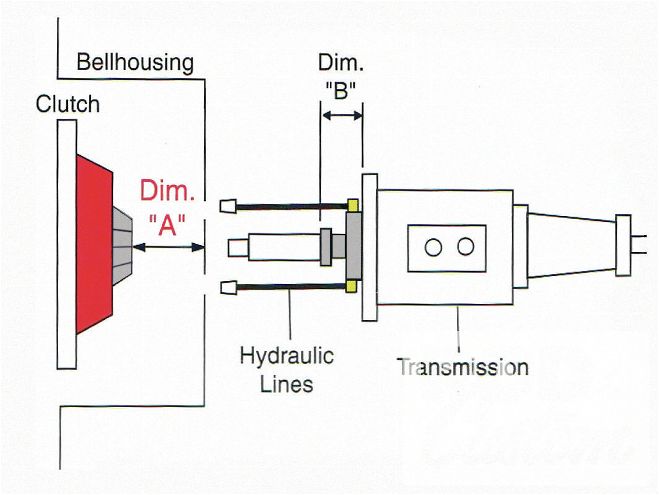
The diagram above is used to determine which McLeod Racing series bearing is required. If the measurement A in your application is less than 3 inches, the 1300 series is for you (this is what I used). If A is greater than 3 inches, you’ll need the 1400 series bearing. The gap between the face of the bearing and the tips of the pressure plate fingers should be between 0.100 and 0.300 inch for correct pressure plate release and to allow the bearing to self-adjust. Proper clearance can be determined by subtracting measurement B from measurement A. If the answer to this sum is outside the 0.100- to 0.300-inch parameters, the 1300 series bearing will require a piston change, while the 1400 series has an adjustment screw. More details are available on McLeod Racing’s website, where you’ll find information on their other products too, such as SFI bellhousings, starters, and shifters.
While this mechanical maelstrom had been occurring, Nick Fioto had been wiring the car. This meant once the brakes and clutch were bled, the fuel lines fabricated and installed and all the fluids filled, it should be ready to go. At this point our departure was a little over 48 hours overdue and it was 3:30 a.m., so the still unfinished car was pushed into the trailer along with tools and boxes of parts, and my girlfriend and I hit the road for Bonneville, planning to finish it on the salt!
[15] We then fabricated a couple of steel straps to locate in grooves in the upper tank, again insulated with rubber. These straps bolt to the top rail of the framework.
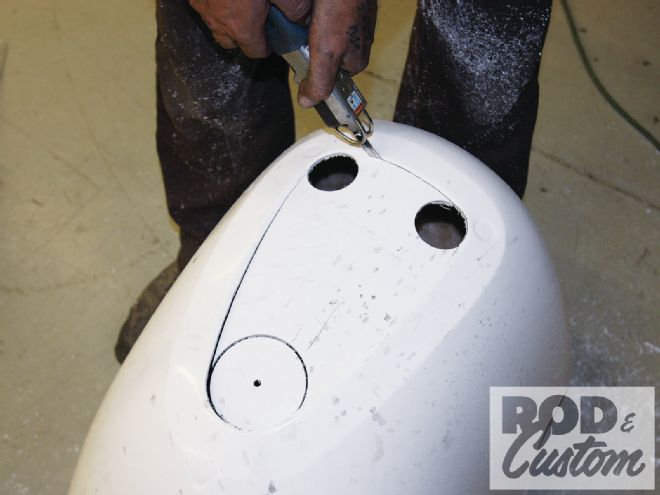
[16] The track nose is supplied by Speedway Motors without the grille hole, in case the dedicated cast aluminum grille isn’t to be used, though its outline is evident. We used hole saws to cut the corners, and an air hacksaw to cut away the remainder.
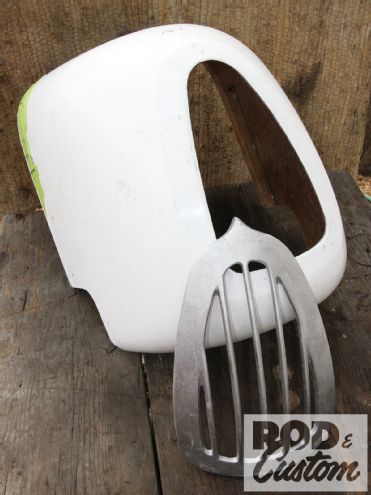
[17] Here’s the track nose and dedicated cast grille.
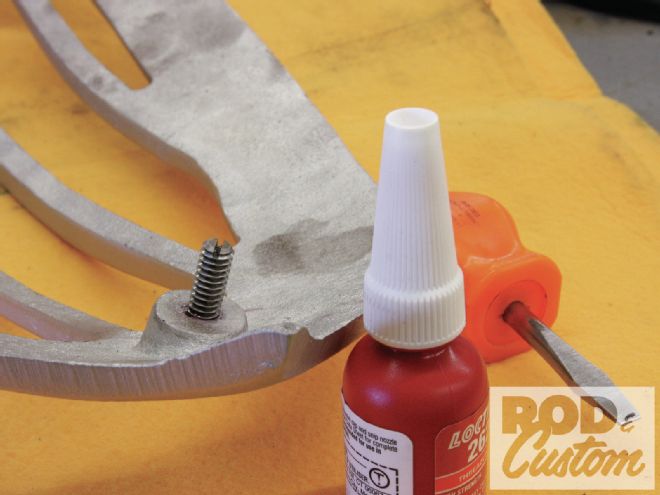
[18] The backside of the grille has three raised bosses for mounting.
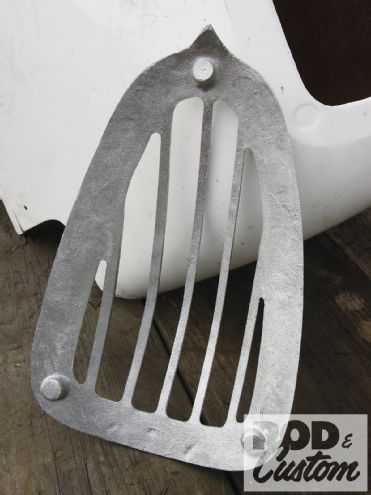
[19] The bosses were drilled and tapped for 1/4-20 studs, obtained from our local industrial supply house. Thread locker will prevent them from working loose.
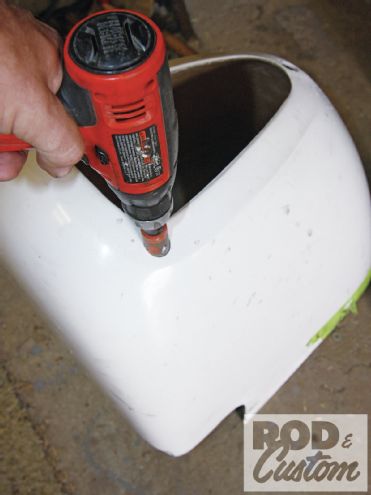
[20] A 1-inch holesaw was used to drill clearance holes for the bosses.
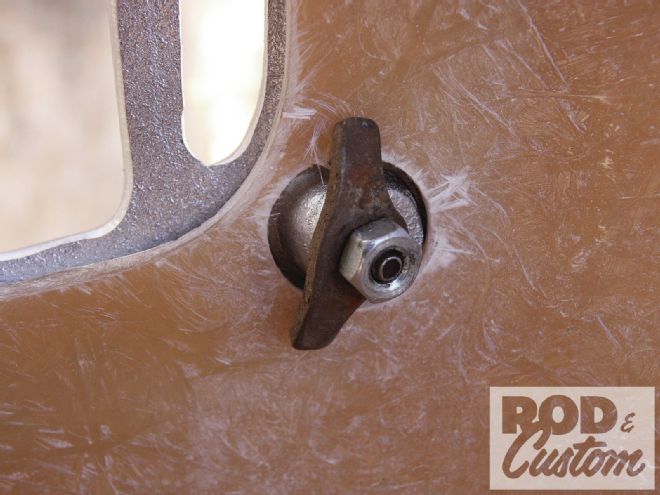
[21] From the rear you can see how the grille is attached. We used three old Chevy V-8 valve cover hold downs, bent to suit. Nyloc nuts were used on final assembly, once the track nose was painted.
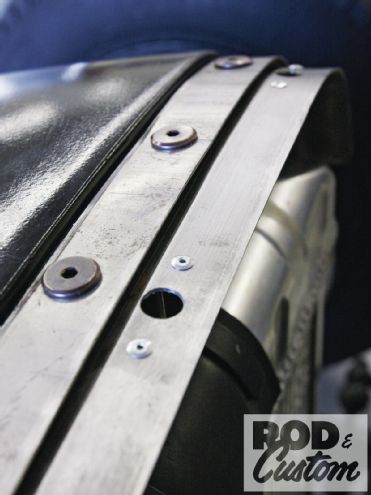
[22] This is the inside top of the track nose, showing the steel panel we fabricated to locate the Dzus fasteners for the front of the hood.
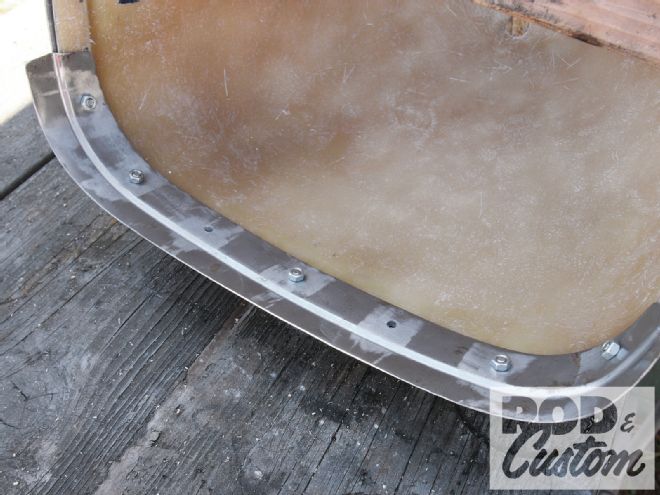
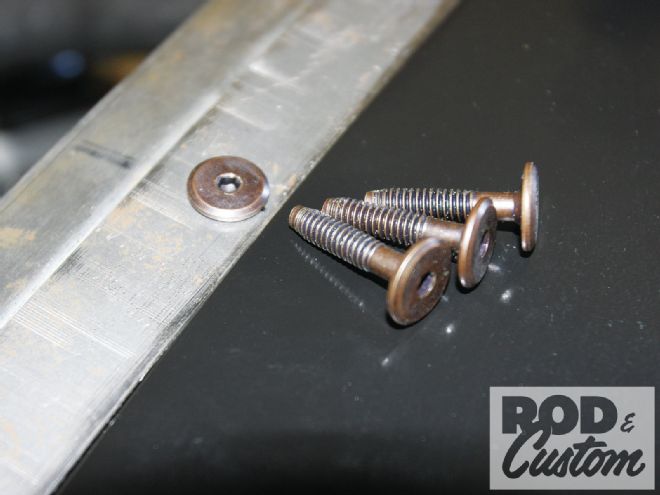
[23] The heads of the stainless domed Allen bolts we’d intended to use to sandwich the ’glass nose between two steel panels were too tall for the hood to sit flush with the nose, so we used these Allen-headed furniture bolts for clearance, the threads shortened to suit.
[24] Here’s the final assembly, with the Dzus retainers in place. The temporary paint is ready-to-spray black lacquer from NAPA, available in quart cans. The car will get a proper paintjob sometime in the future!
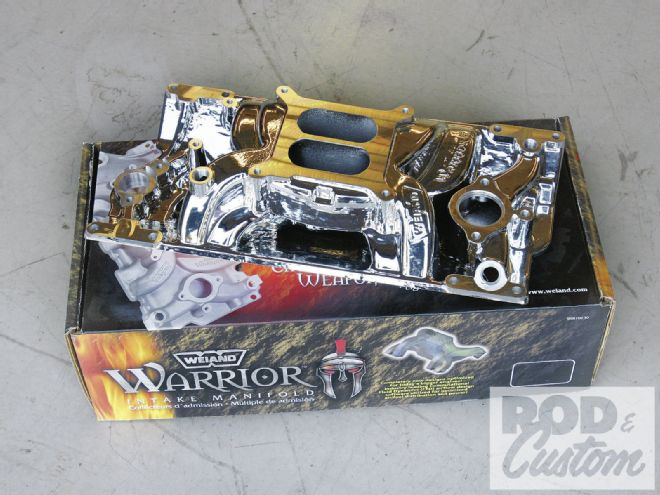
[25] Weiand supplied one of its Warrior intake manifolds for the new engine, as the Vortec-style heads have different mounting holes to the first generation Chevy engines. We’d intended to rob the intake from the Purple Pig ’49 in order to make Bonneville until we found it wouldn’t fit. It did give up its water pump and alternator though!
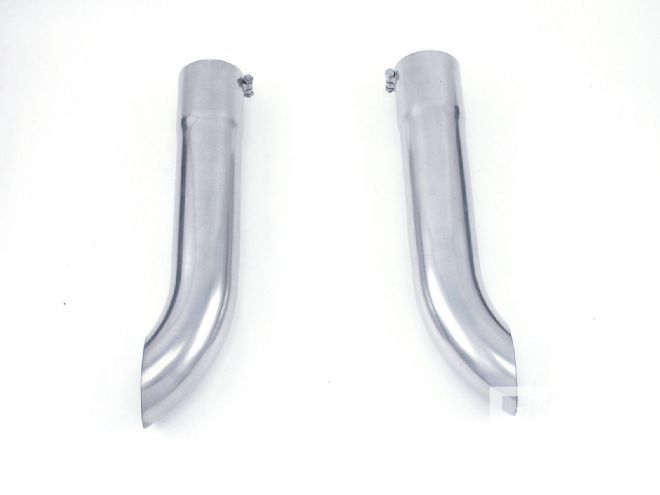
[26] These extensions are available from Patriot to fit the Sprint Car headers when used in a T bucket. Don Lindfors cut them down to remove the turnouts for our application, figuring the headers alone may be too short to run wide open for a few miles.
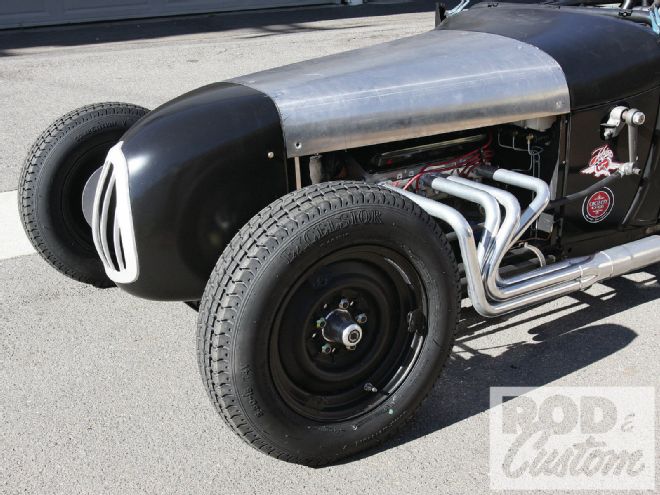
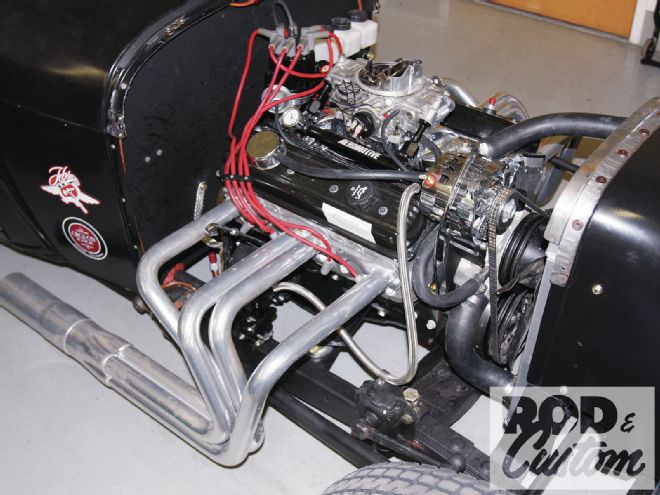
[27] After an insane thrash this is how the engine bay looked prior to our departure for the salt. Actually this is after we returned, as we had no hood, and the track nose wasn’t painted before we left. We reused the Aeromotive fuel rail, pressure gauge, and regulator we’d removed from the Purple Pig when we switched from carb to injection, and will bring you the complete fuel system installation once the injected Zetec is installed.
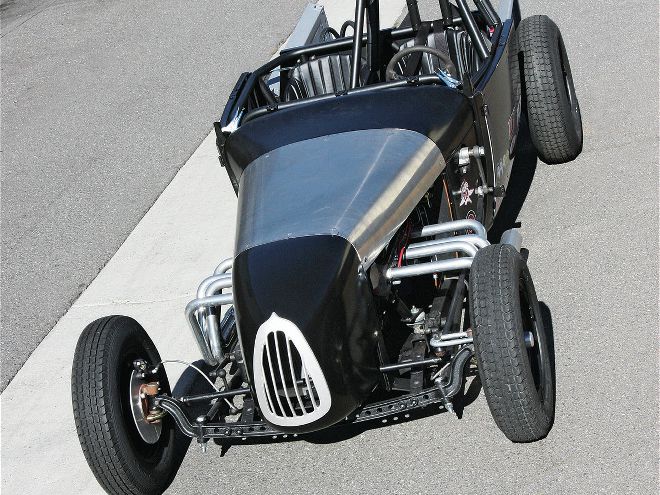
[28] Après Bonneville, this shows the header extensions in place, along with the hood and completed nose and grille.