How many times have you thought about your car’s driveshaft? It usually falls under the “if it ain’t broke, don’t fix it” category, but there may be performance potential hiding in that heavy steel piece. If you have made mods to your engine to squeeze out more power—lighter pistons, maybe a balanced and lightened reciprocating assembly—your car may benefit from a lighter aluminum driveshaft. Or, if you’ve done an engine or transmission swap and the car’s original driveshaft doesn’t fit anymore, this is a good time to look into a driveshaft upgrade.
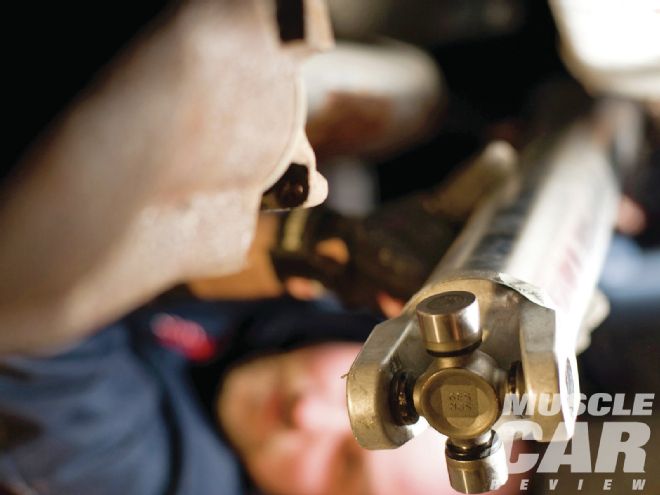
 1 To begin the installation, Rob Morrison inserted the Dynotech shaft’s slip yoke into the transmission to make sure it fit properly. It did, so he pulled the driveshaft out and moved to the back of the car.
To find out more about this oft-overlooked powertrain component, we contacted Dynotech Engineering Services in Troy, Michigan. Dynotech and its parent company, Balance Engineering, were started by GM back in 1923. Dynotech balanced anything attached to a vehicle: rotors, pulleys, crankshafts, and driveshafts. Eventually Dynotech became a third-party tester for Ford, GM, and Chrysler, and those OE contracts opened doors to NASCAR teams looking to solve their noise and vibration problems. Today, Dynotech makes products for professional racers and performance enthusiasts alike, so you can put on your muscle car literally the same driveshaft technology used by your favorite NASCAR team.
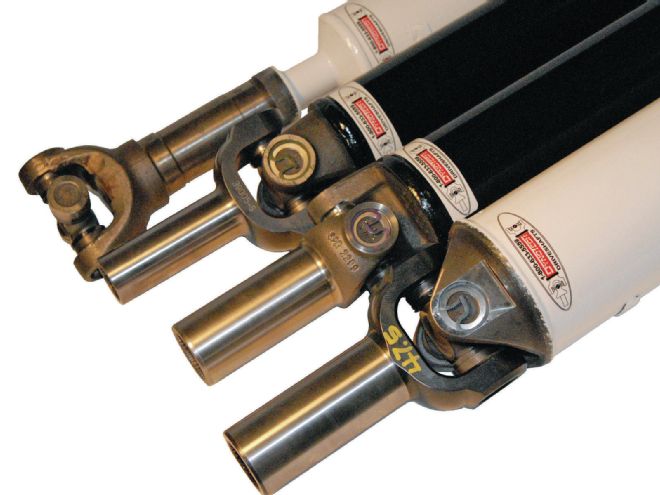
Before we dive into the technology behind Dynotech’s driveshafts, restorers should note that these shafts do not retain the exact look of the driveshafts made decades ago. Weld yokes have changed shape over the years, and many cars had swedge-tube driveshafts with diameters that changed from 3½ down to 3 inches at the ends. Dynotech has yet to find a swedging source for small batches of shafts, so its driveshafts have a more contemporary look to them. However, if you’re building a driver and an exact factory appearance is not an issue, there are definite performance benefits to the driveshaft swap.
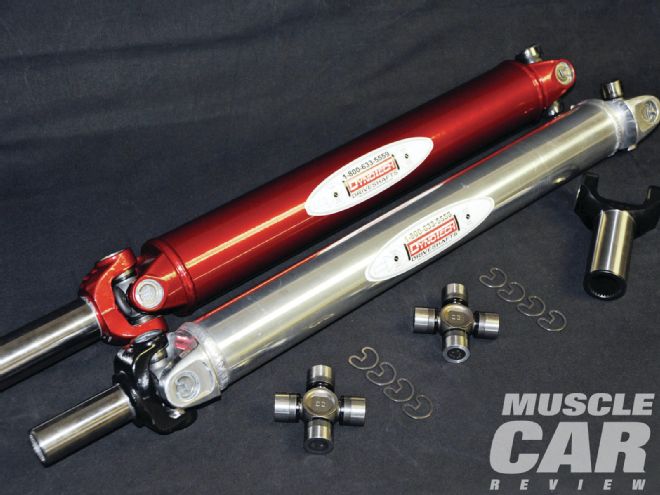
It doesn’t take a degree in engineering to understand that it takes more energy to turn a heavier object than a lighter one. So it stands to reason that less torque is required to turn a lighter driveshaft and, subsequently, the wheels. Dynotech makes replacement driveshafts from a number of materials, such as OE steel, 6061 T6 aluminum, DOM steel, chromoly, and carbon fiber. Those last three would be overkill for a street-bound vintage muscle car, so the choice usually boils down to OE steel and aluminum. Since there’s less than $100 difference between Dynotech’s aluminum shaft and a 3½-inch steel shaft, it makes sense to go with the lighter option.
Each driveshaft is checked for straightness at three points in the build process. Once this has been completed and prior to final assembly, the driveshaft’s components are balanced, a service exclusive to Dynotech.
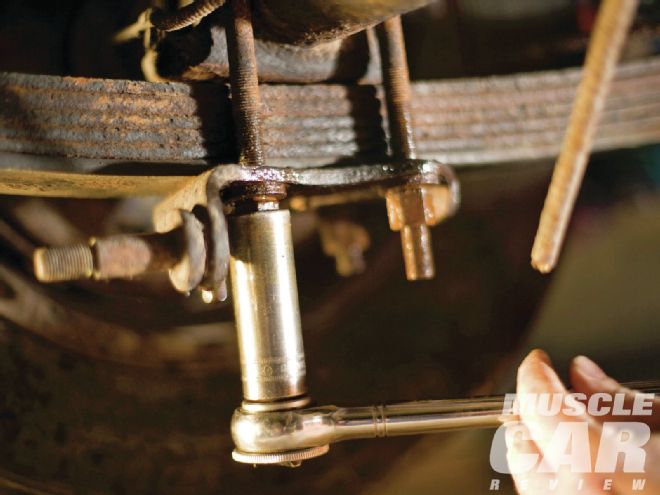 2 Normally in a driveshaft swap you don’t have to move the axlehousing. But because Rob had set the Javelin back on the ground after removing the original driveshaft, the housing shifted a bit. That meant it would need to be repositioned for the new shaft, so he loosened the shackles that hold the axlehousing to the leaf springs.
After the driveshaft is assembled, it is balanced on equipment that is capable of speeds of 9,000 rpm. These machines are so accurate that they can measure the imbalance of removing and reinstalling the same U-joint. According to Dynotech, the main advantage of balancing the driveshaft at high speed is that you get a much more precise and cleaner imbalance measurement than if the driveshaft were spun slower. Why is so much attention paid to the balancing? Any vibration in the driveline costs power that could be going to the wheels and converted into acceleration.
Ordering a driveshaft from Dynotech is pretty straightforward: fill out a spec sheet, send it in, and you’ll have your new shaft in two or three business days. To show you how to install the driveshaft, we watched as Rob Morrison put an aluminum shaft into his ’74 Javelin. Rob has been bringing the AMC back to life for about five years after rescuing it from the family farm.
Before we could install the new driveshaft, we had to remove the stock unit. Ideally this would be done on a lift, but since Rob is a hobbyist and not a professional, he worked on the car while it was supported on jackstands. He had removed the Javelin’s gas tank to have it refurbished, and that made access to the driveshaft easier.
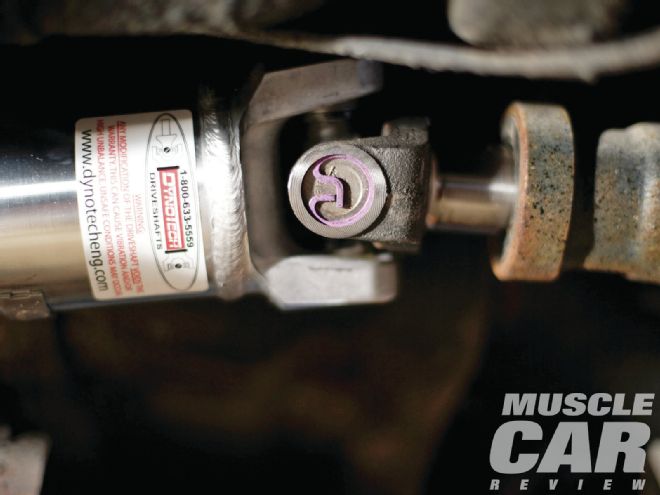
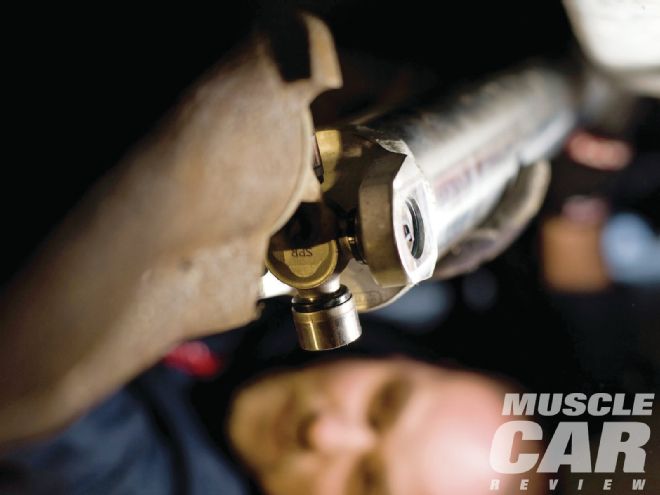 3 Rob slid the shaft’s slip yoke back into the transmission, then he aligned the driveshaft’s flange to the flange on the differential.
Since the car had been sitting in a barn for several years, every bolt on the chassis was either rusted solid or close to it. Rob saturated the hardware that secures the driveshaft to the differential with penetrating spray, and after letting it work for a few hours he was able to coax the nuts off the driveshaft yoke so he could drop the end of the stock driveshaft down. The next step was to simply slide the yoke out of the transmission, and the driveshaft was out. Follow the photos and captions to see how Rob installed the new driveshaft.