How do you know when your late-model Mustang needs a driveshaft safety loop? It seems like an easy question, and frankly it really is. Driveshaft safety loops are required by most sanctioning bodies for cars running quicker than a 13.99 in the quarter-mile while using slicks (in some cases sticky drag radials) as well as any car running quicker than an 11.49 on street tires. So now that we have the facts out of the way, what exactly does a driveshaft safety loop do?
How it works
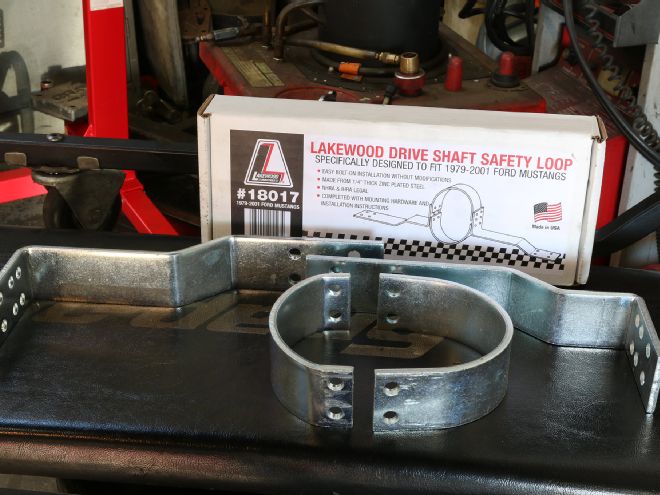
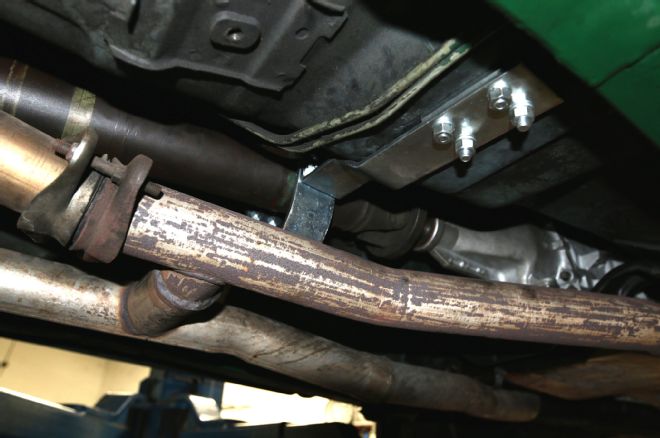
A driveshaft safety loop is typically a steel strap 2 inches wide and 1/4 inch thick formed into a loop. The loop is used to keep the driveshaft contained in the transmission tunnel in the event of a catastrophic U-joint failure. If the front U-joint were to break while the car is running down the track, the driveshaft could cause the car to pole vault or, worse yet, puncture the floorboard, potentially injuring the driver. The thick steel strap might not keep the driveshaft from smacking around badly if the driveshaft were to break, but it will isolate most of your undercarriage from potential damage.
Is it hard to install?
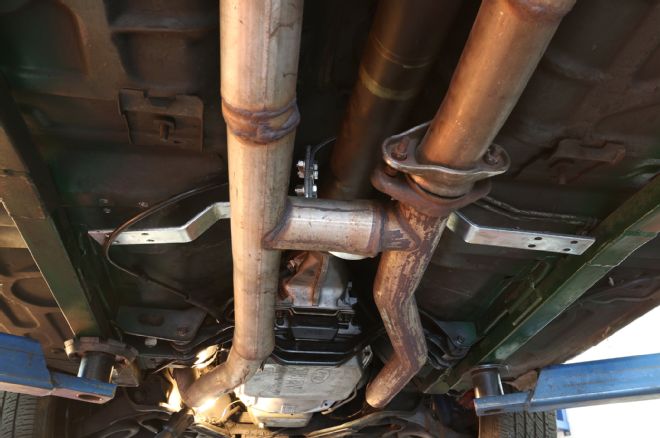
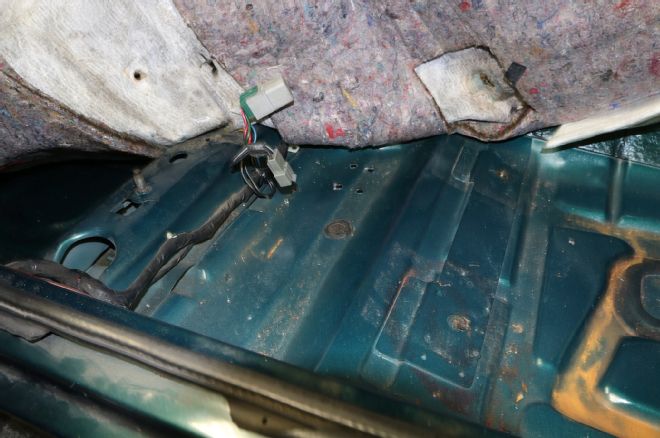
In general, no. Installing a driveshaft safety loop into any late-model Ford Mustang is fairly straightforward. Some systems are easier to install than others, but the typical system will usually bolt to the floorboards of the car just behind the yoke of the driveshaft. However, this does mean that you have to remove the seats and carpeting. Don’t be that guy who drills through the carpet—besides, you wouldn’t have enough room to access the bolts anyway. Do yourself a favor and carefully remove your front seats and carpeting. Once you have that out of the way, it’s simply a matter of bolting the two halves of the loop together and mocking it up into position so you can mark the spots you’ll need to drill on the floor of the car.
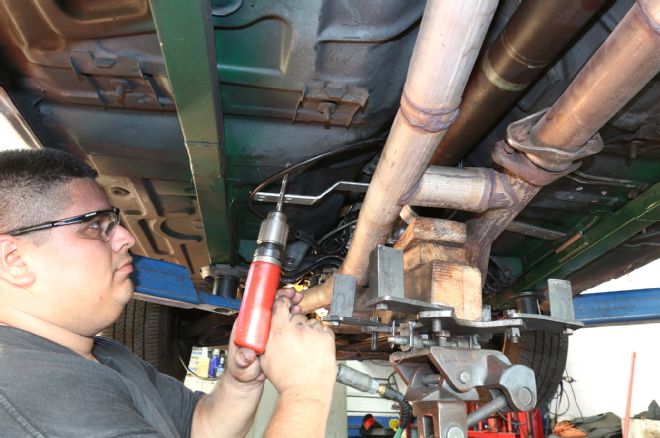
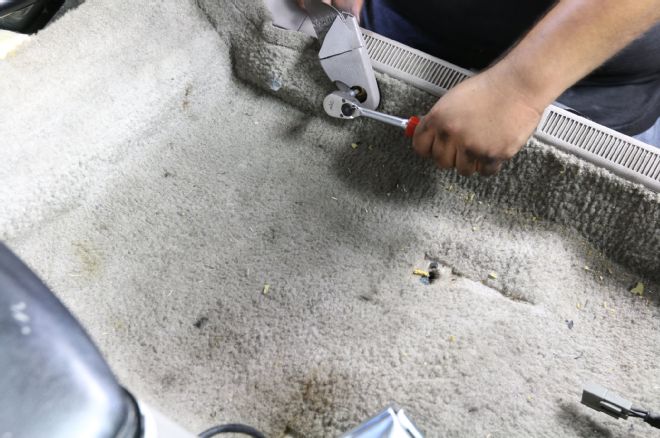
Use a center punch to mark the position of the holes. This will help keep the drill bit straight while you are drilling through the floorboard. Once you have the holes drilled, you can drop in the retaining bolts from the inside of the car. At this point it will be a good idea to get a second pair of hands to help you hold the bolts in place with a wrench from inside of the car while you slide the edges of the driveshaft safety loop into place against the floorboard and bolt it in.
Keep in mind that you might have to use a spacer to keep the safety loop parallel to the driveshaft because of an uneven surface on the floor pan. With everything bolted down nice and tight, you can check and make sure the driveshaft wont rub on the loop throughout its motion of travel. Once that checks out, you can finally reinstall any pieces that were removed from the interior of the car. Overall, we’d say this is a fairly easy install that any weekend garage builder can accomplish with a power drill and a few simple handtools.
Our experience
We recently picked up a new (to us) Fox-body project car. Since we’ll be using a set of sticky tires in the rear and probably a little laughing gas too, we knew we would eventually have to install a driveshaft safety loop to keep our Fox legal at the track. We ordered a Lakewood Industries loop online for about $40, and it showed up at our door in no time at all. While we don’t want to put our setup to the test, we will be glad the safety loop is there to catch the driveshaft and keep it from tearing up our car.