Shop: Corner 3 Garage | Lake Forest, CA
When you're working on a 15+ year old car, you should expect full well that some jobs aren't going to go without a hitch. Ranging from just dealing with old parts, rust or work done by the not-so-skilled-mechanic, items like bolts and studs may be damaged and need replacing. In this case, Elliott's 1995 Nissan 240SX was the prime subject of bolt/stud catastrophe. Normal for 240sx's due to their age, this scenario is played out by an exhaust manifold stud that broke upon replacing the manifold with an aftermarket DC Sports header. We headed over to Corner 3 Garage, a Southern California Nissan specialist shop, in Lake Forest, CA to guide us on how to remove the stud in a quick and painless method.
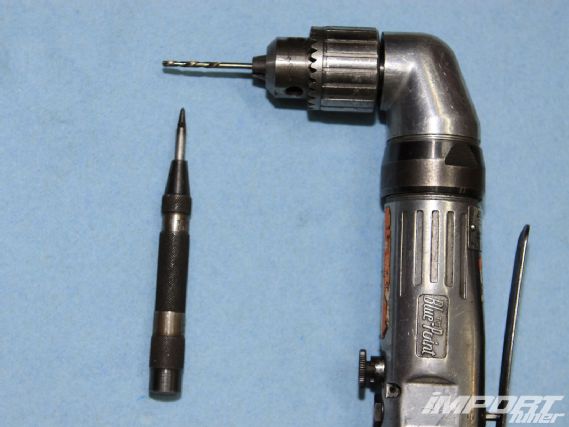
1.) Initial tools needed-center punch and drill
 |
Broken Stud Extraction - Web Exclusive
|
Broken Stud Extraction - Web Exclusive
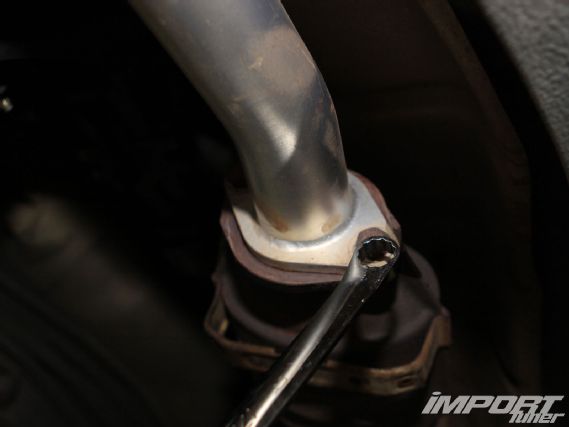
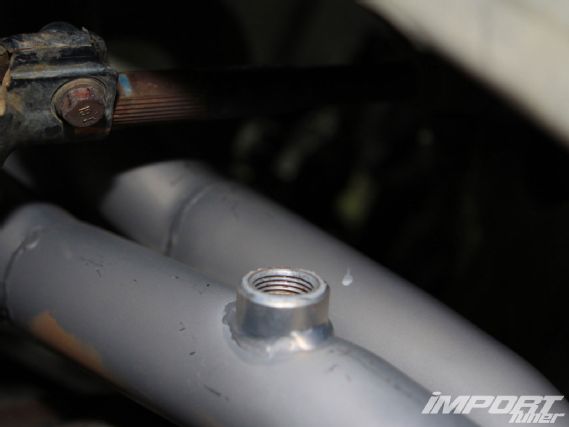
2.) Remove the header. We start off by unbolting the flange by the cat.
 |
Broken Stud Extraction - Web Exclusive
|
Broken Stud Extraction - Web Exclusive
3.) Remove bolts and gaskets.
 |
Broken Stud Extraction - Web Exclusive
|
Broken Stud Extraction - Web Exclusive
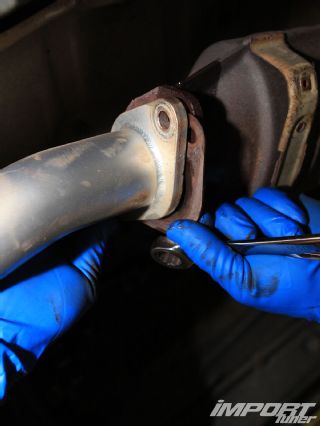
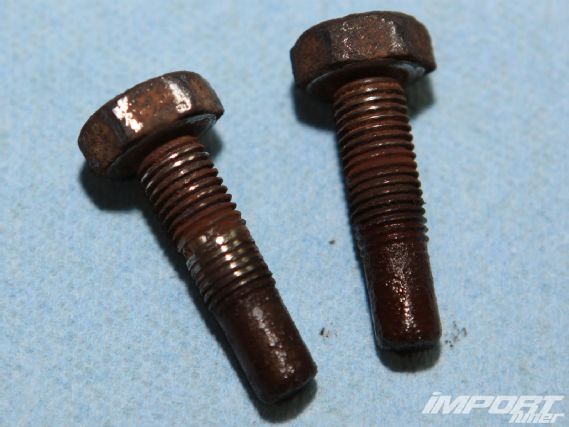
4.) While trying to remove the exhaust bolts, we came across a bolt with thread damage. Here's a comparison between a damaged bolt and a bolt that's still good. This can happen if a bolt has rusted badly and become seized or from being over tightened.
 |
Broken Stud Extraction - Web Exclusive
|
Broken Stud Extraction - Web Exclusive
5.) Remove O2 sensors from the header.
 |
Broken Stud Extraction - Web Exclusive
|
Broken Stud Extraction - Web Exclusive
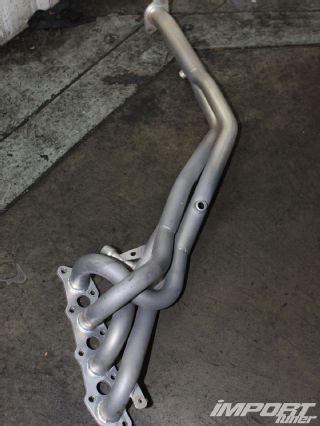
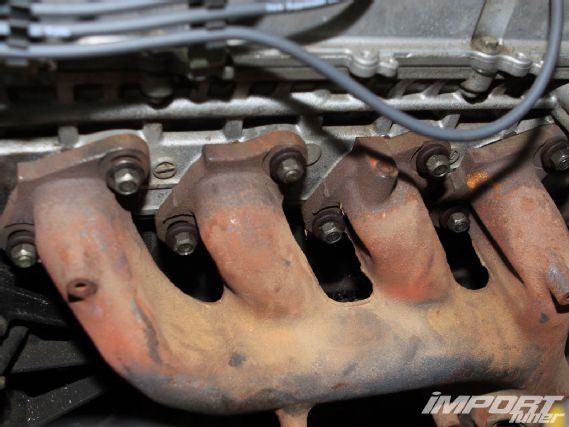
6.) The header is removed from the car.
 |
Broken Stud Extraction - Web Exclusive
|
Broken Stud Extraction - Web Exclusive
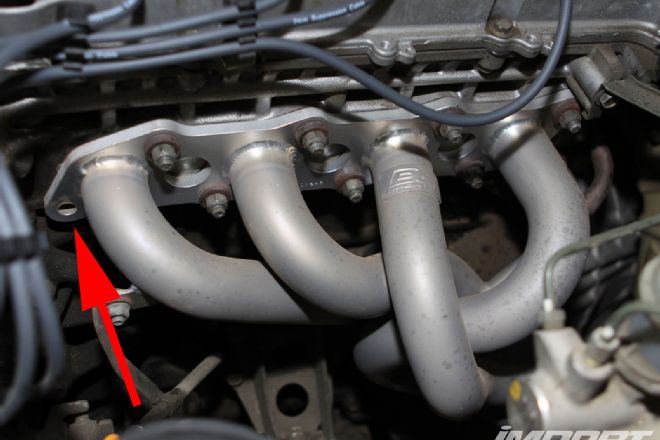
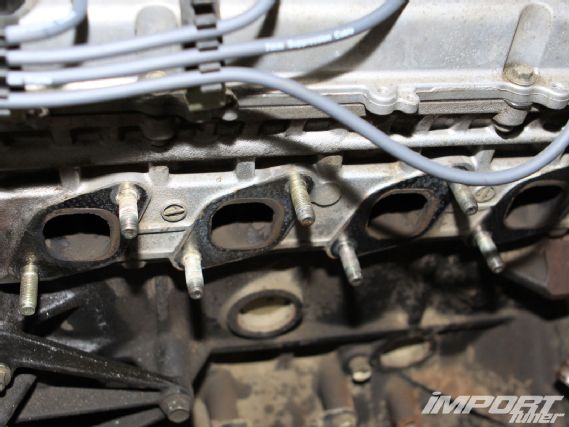
7.) The broken stud is on the far left of the picture on cylinder one.
 |
Broken Stud Extraction - Web Exclusive
|
Broken Stud Extraction - Web Exclusive
8.) Here's the closeup of the carnage-the broken stud. Spray penetrating solvent such as PB Blaster to try and lube the broken stud threads.
 |
Broken Stud Extraction - Web Exclusive
|
Broken Stud Extraction - Web Exclusive
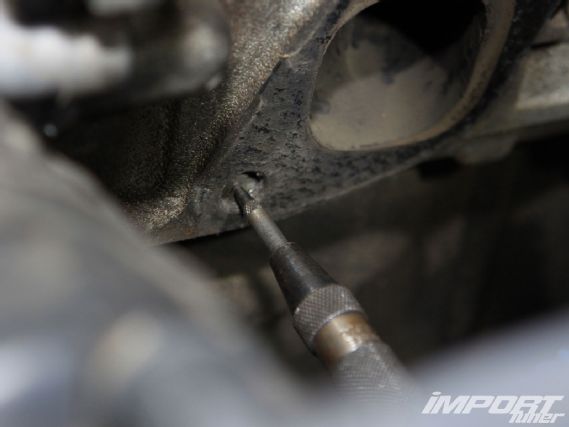
9.) Use a center punch to make an indentation on the broken stud to start drilling.
 |
Broken Stud Extraction - Web Exclusive
|
Broken Stud Extraction - Web Exclusive
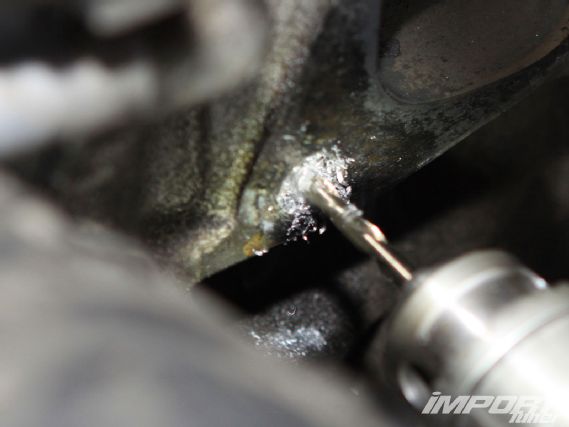
10.) Use the indentation to align your drill and keep it from wandering. Here we drill through the broken stud. Be careful not to drill through the stud and into the cylinder head. Use plenty of cutting oil or a substitute such as WD-40 or automatic transmission fluid to lubricate the drill to keep the drill bit from overheating.
 |
Broken Stud Extraction - Web Exclusive
|
Broken Stud Extraction - Web Exclusive
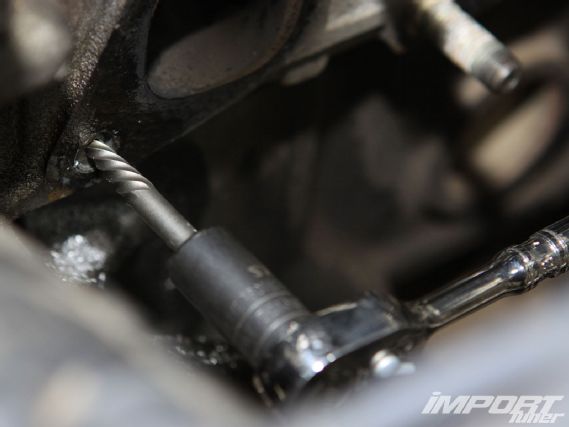
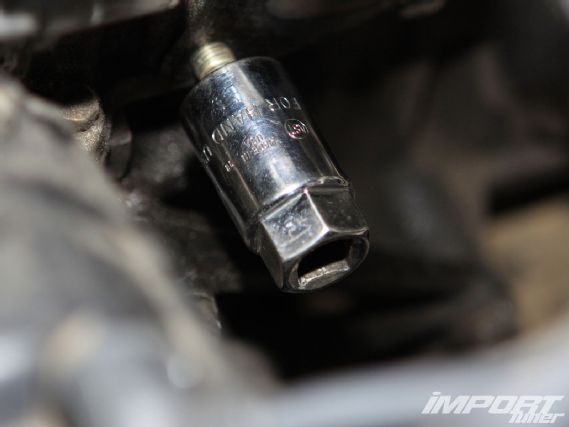
11.) After the broken stud is drilled through, spray more penetrating solvent and use a stud extractor in newly formed hole.
 |
Broken Stud Extraction - Web Exclusive
|
Broken Stud Extraction - Web Exclusive
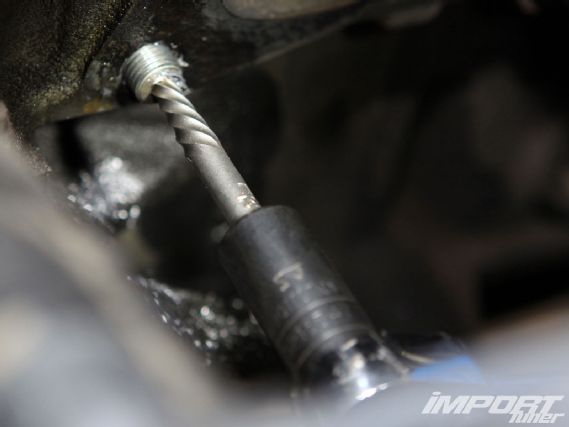
12.) Using the stud extractor, loosen out the broken stud.
 |
Broken Stud Extraction - Web Exclusive
|
Broken Stud Extraction - Web Exclusive
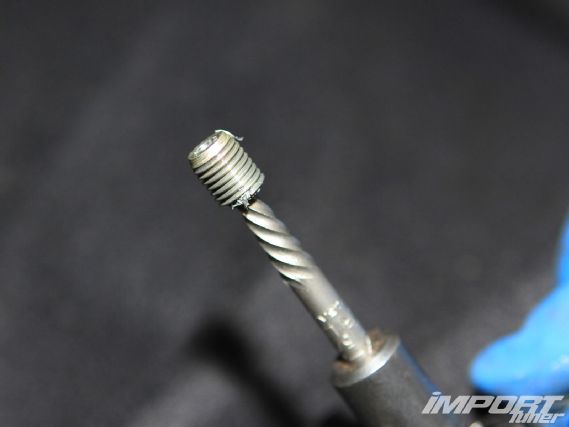
13.) Broken piece is extracted!
 |
Broken Stud Extraction - Web Exclusive
|
Broken Stud Extraction - Web Exclusive
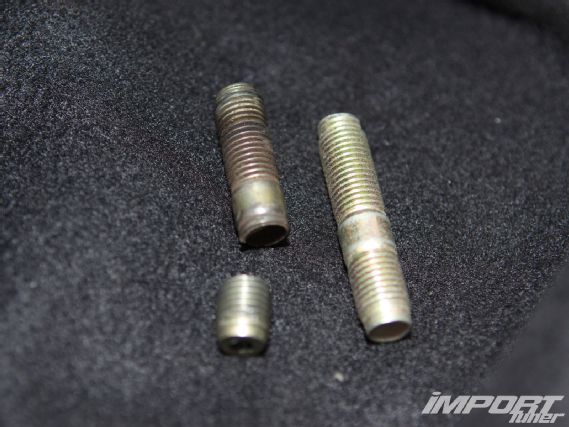
14.) Here's a comparison between the broken stud and a new stud that will be installed.
 |
Broken Stud Extraction - Web Exclusive
|
Broken Stud Extraction - Web Exclusive
15.) A stud installer tool is needed to insert the new stud.
 |
Broken Stud Extraction - Web Exclusive
|
Broken Stud Extraction - Web Exclusive
 Broken Stud Extraction - Web Exclusive
 Broken Stud Extraction - Web Exclusive
16.) You can either use a wrench or a ratchet to install the new stud. A wrench would be more suitable for use in confined spaces. In this case a ratchet can be used since we have plenty of room for it. If you do not have a stud installing tool, you can also use two nuts threaded onto the stud and jammed together to install the stud.
17.) New stud is installed.
 |
Broken Stud Extraction - Web Exclusive
|
Broken Stud Extraction - Web Exclusive
18.) We reinstall the factory manifold. (Refer to our Tricks Of The Trade in the September 2011 issue on how to restore a rusty manifold)
 |
Broken Stud Extraction - Web Exclusive
|
Broken Stud Extraction - Web Exclusive
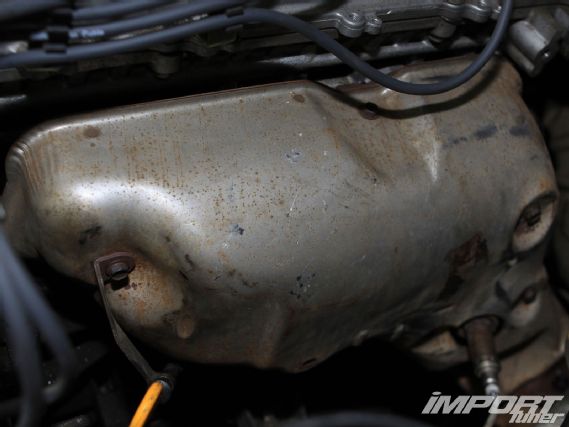
19.) Install the heat shield.
 |
Broken Stud Extraction - Web Exclusive
|
Broken Stud Extraction - Web Exclusive
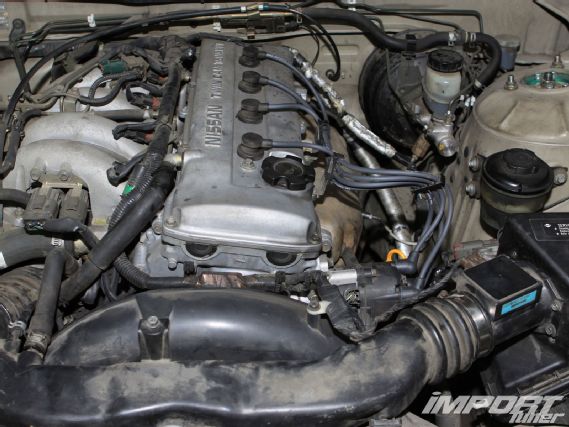
20.) There we have it folks. Back to stock with no broken studs!
 |
Broken Stud Extraction - Web Exclusive
|
Broken Stud Extraction - Web Exclusive