When you buy a used truck, it’s hard to tell what you’re actually getting. Sure, you can tell a total beater from a well-maintained vehicle, and there are services that can dig up records on a truck to tell you if it’s ever been wrecked or stolen, all helping to stack the odds in the direction of an informed decision, but the truth is it’s all really just a crap shoot. Recently, we picked up a ’02 GMC Sierra that had seen better days, but ended up being a decent purchase overall, despite the high mileage (175K). After examining the engine compartment for clues, we discovered that the battery and the oil were about the only things ever replaced on the 5.3-liter, save for the K&N intake kit and Gibson catback exhaust.
We had to get a smog check before we headed to the DMV, so some tune-up work was required right away. The once-over would serve other purposes as well. For one, it’s nice to get under the hood and “make it yours.” We can’t speak for you, but handling the basics gives us peace of mind when daily driving. And if issues do arise, it’s easier to rule things out based on the work you already performed. Second, this truck, as well as the 5.3-liter in it, will undoubtedly become a guinea pig for future installs, so it’s nice to cover these bases ahead of time so we can dive right in later. Finally, we were looking for some quick power for our new find to go along with the previously installed items.
| Cooks Tire Tune
We began by ordering up a bunch of parts from Diablo Sport, K&N, Pulstar, and a few items from the local mom-and-pop auto parts store. Then we pressure-washed the filthy engine compartment to make our lives a little easier down the road. Finally, we dropped in on Cook’s Tire and Tune to take advantage of their lift and expertise and within a couple hours we were back on the road. This time, much more confidently, as the truck ran and drove unbelievably smooth compared to before. Throttle response was greatly improved, along with idle and acceleration. It really got us excited to figure out what we want to do with this truck next!
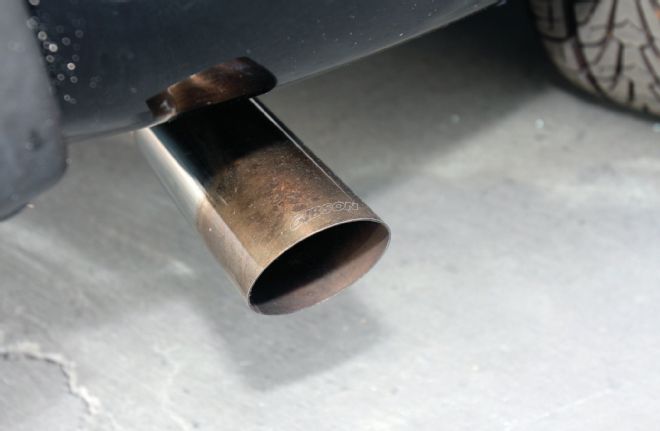
| Gibson Catback Exhaust
1. In addition to the air intake kit, our Sierra 5.3 was outfitted early on with a Gibson catback exhaust. The stainless was a little stained after 10 or so years, but the truck still sounds great. This is one area we won’t have to mess with for now.
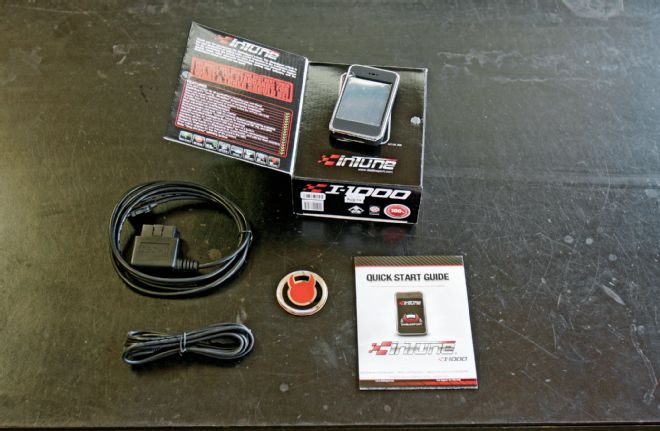
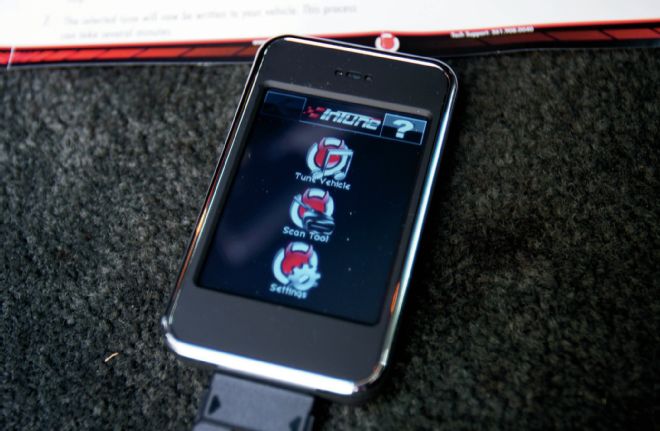
| In Tune Quick Start Guide
2. In addition to hitting the basics and passing the smog test, we really wanted to put a performance tune into the truck and see if the 5.3-liter still had anything left. We asked around and several of our peers told us that the DiabloSport inTune I-1000 was one of the best tuners available for this era of GM trucks. It looks like a baby iPhone but has everything you need to add a canned tune or custom programming to your truck. A lot of the supercharger companies even include the DiabloSport as part of their package.
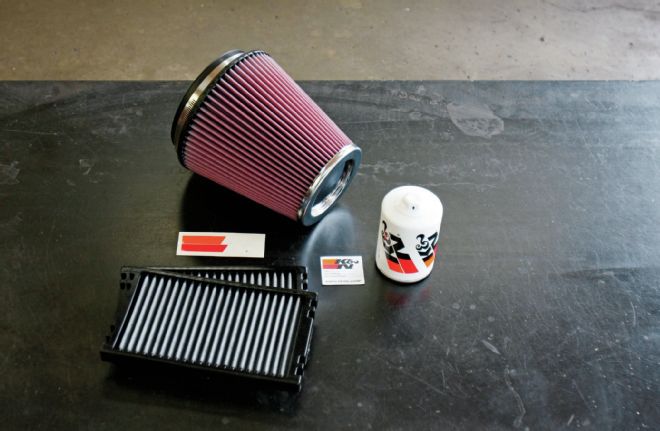
| K N Air Intake
3. Since a K&N FIPK air intake was already installed on the truck, we opted to make things easy and simply order up a replacement filter (PN RF-1041). In addition to being filthy, our original was pretty bent up, too. K&N recently started offering cabin filters (PN VF1000) for tons of truck applications, and since ours were probably never replaced before it seemed like a good time to do it. We threw in a K&N oil filter (HP-2006) while we were there, too!
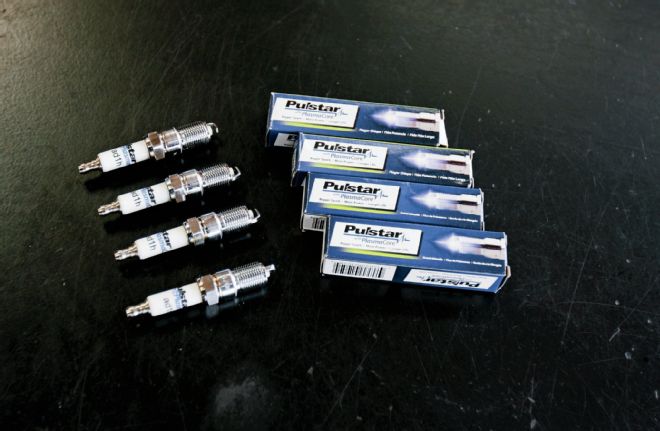
| Pulstar Plasmacore
4. Since we were in tune-up mode, we wanted to try out Pulstar’s PlasmaCore “pulse” plugs. They create a much larger spark thanks to a capacitor in the plug that creates a giant plasma field in the combustion chamber, rather than a typical 50-watt spark. Better spark means better cylinder pressure and more completely burned fuel. Pulstar has consistent reports of 3 percent power gains and 6 percent mileage increases just by swapping in their plugs.
| Oil Filter Change
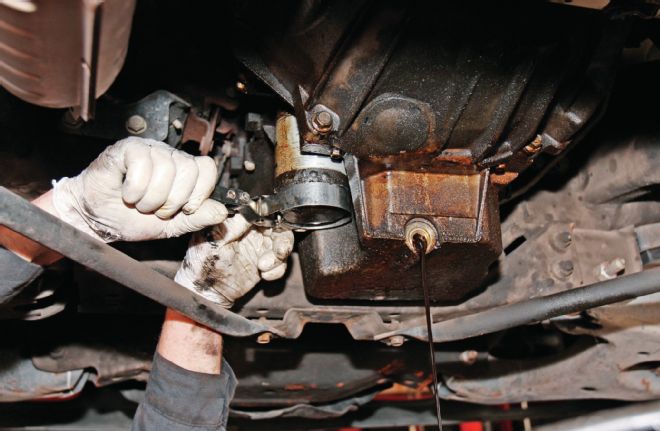
5. We started under the truck with the oil and filter change. We noticed that the oil pan is starting to seep so that will be something we need to keep an eye on.
| K N Filter Installed
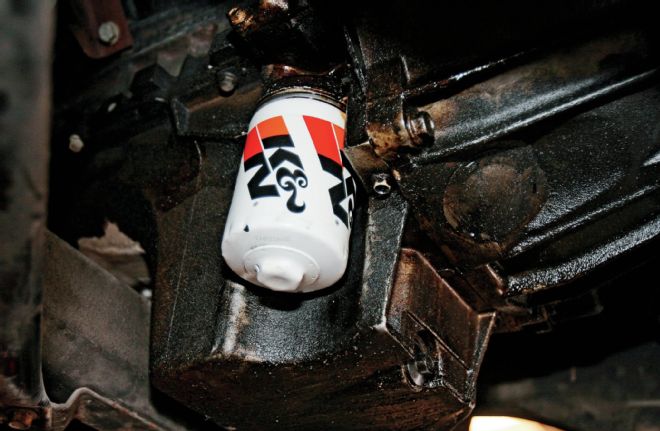
6. The K&N filter was primed and installed, and we did some cleanup before dropping the truck down.
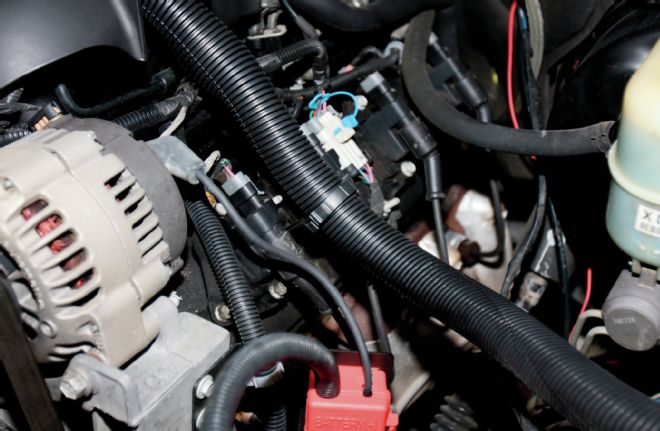
| Fuel Filter
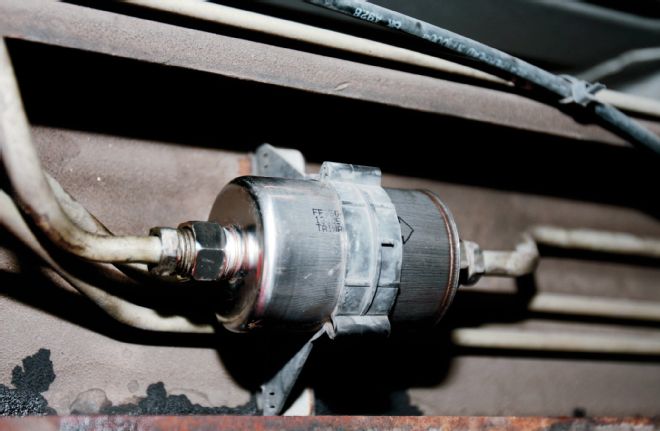
7. Since we were looking to start with a clean slate, we changed out the fuel filter while we were under the truck, too.
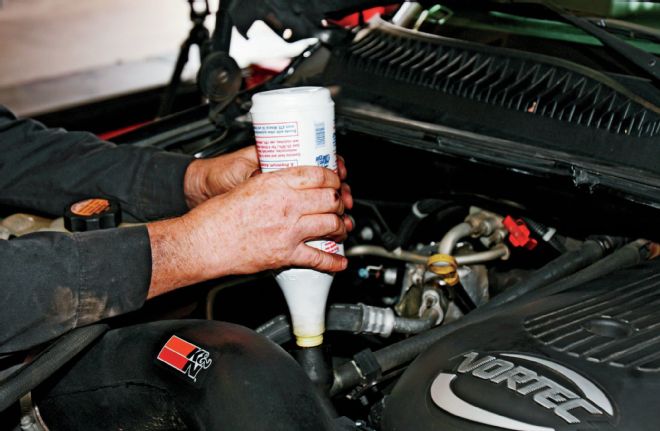
| Synthetic Lucas Oil
8. Back up top, we used Synthetic Lucas Oil along with a bottle of their stabilizer to fill the crankcase.
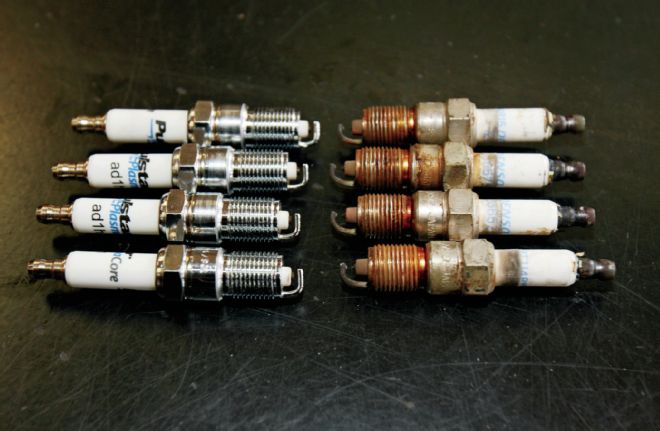
| Original Plugs
9. Next, we pulled what turned out to be the original plugs and plug wires and tossed them. There were a few with very little electrode left, but overall they didn’t look too terrible.
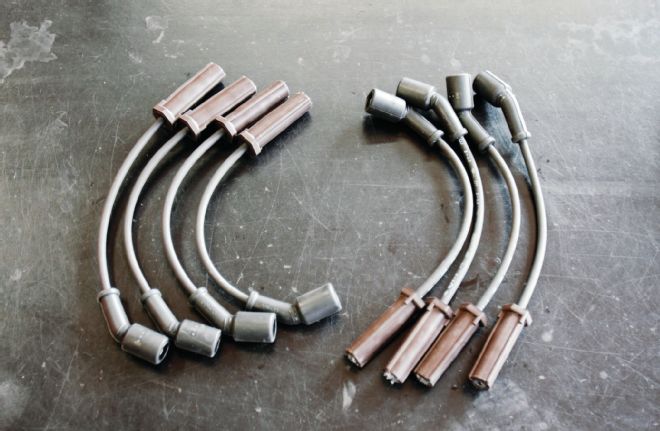
| Plug Wires Stock Replacement
10. Since plug wires of a certain age rarely come off without a fight, we planned ahead and picked up some stock replacements from the local mom-and-pop. We could have gone with something more high performance, but we decided to wait and see what we end up doing with this truck.
| Plugs Wires
11. Plugs and wires are a pretty simple affair on ’99-up GM trucks. There are not nearly as many obstacles as some of the other trucks we work with.
| K N Filter
12. Next, we did the simple replacement of the K&N filter. We also cleaned up the area around it to help it last as long as possible.
| Cabin Filters Replace
13. Replacing the cabin filters was interesting, since most people don’t even know such a thing exists. Clearly, these had never been replaced.
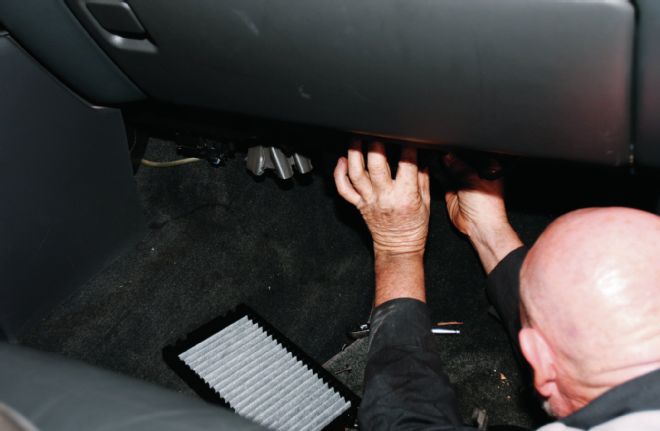
| Cabin Filters
14. The cabin filters are located behind the glovebox, and it’s a simple matter of dropping the cover to replace them.

| In Tune Diablo Sport
15. Finally, after passing our smog test with flying colors (for all we know) it was time for the fun stuff. First,we plugged the supplied cord into the DiabloSport inTune programmer.
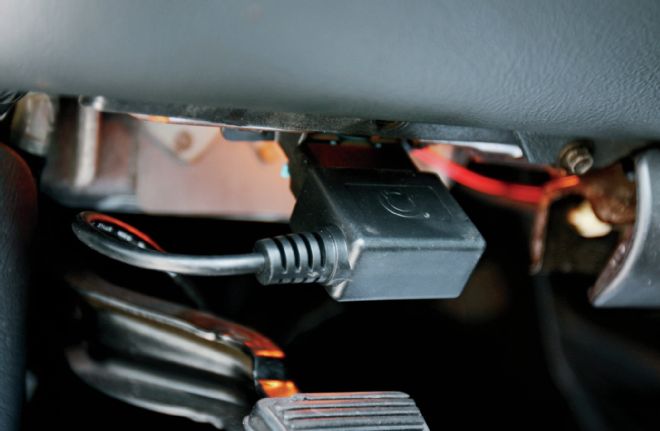
| Obd Connector
16. Then we plugged the cord into the OBD-II connector located under the dash.
| In Tune Program
17. Like most tuners/programmers, the I-1000 offers diagnostics and can clear engine codes if you have them. Since we remedied that problem already we went straight to the “tune vehicle” option.
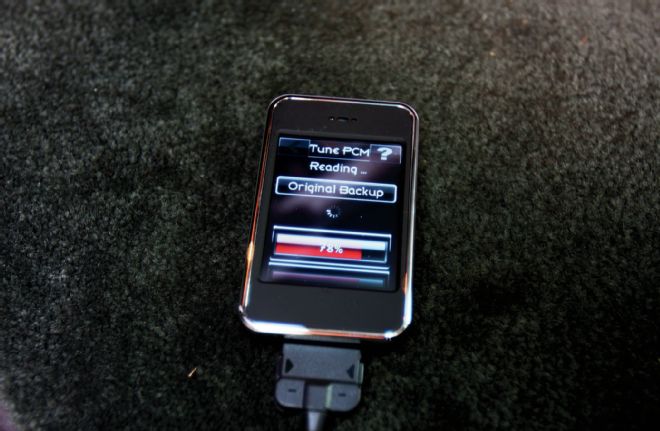
| Pcm Diablo Original Backup
18. The first thing the DiabloSport does is back up the stock program so you can return the tune to stock if need be.

|
19. We chose the Diablo Tune, which requires premium fuel, but hey, the whole point of the story was to pass smog and see if this high-mileage 5.3-liter had anything left in it. We also scrolled through the options and made adjustments to the tire size and transmission shifts.

|
20. After a few minutes of uploading, we were done! One of the big things we noticed immediately when driving the truck is the increased throttle response. As in, it took us by surprise at first! In addition, we smoothed out the idle a lot with the tune-up parts, and the low-end torque seems to be greatly improved.
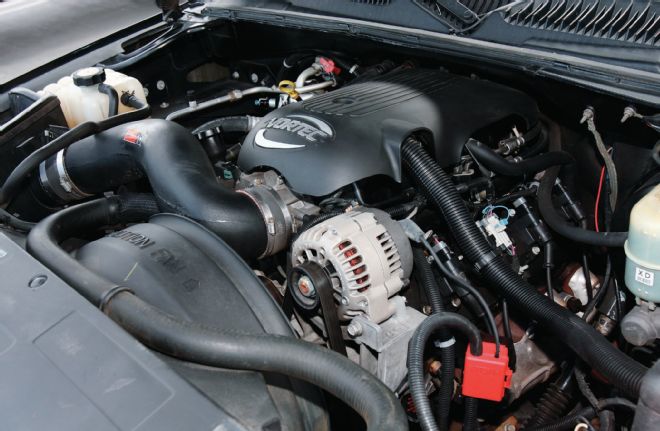
| 5.3l Engine High Mileage
21. So in just a few hours we turned a new-to-us, slightly sketchy, high-mileage truck into what is turning out to be a reliable driver with plenty of power. Stay tuned for more on this 5.3-liter. We’re just getting warmed up.