SPAL Shaved Door Handle Kit - Shave And A Pop
| spal Shaved Door Kit solenoid Kit
Since the conception of the automobile, consumers have yearned for individuality. The quest to diverge from the norm has created a sub-culture of people who stretch their imagination to create works of art. The members of this sub-culture, or classification, are generally referred to as hot rodders or customizers, and by definition, if you're reading this, you fall into this category.
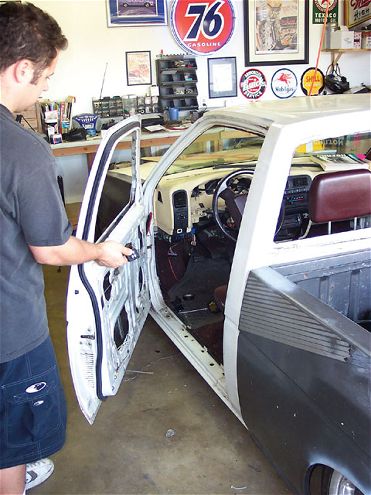
One of the slight, yet distinctive, ways of creating a unique vehicle is to remove, or shave, the door handles. That will make your rig custom, but how do you get in once the handles are gone? Well, the good folks at SPAL recognized this and have created a solenoid kit that is simple and easy to install. In fact, the company designed the kit with the beginner in mind. It comes with all the necessary hardware and easy-to-read instructions, and once installed, you'll be able to get in your truck without having to be telekinetic.
Shave ItTo make shaving the hole left by the stock door handle easier, we picked up an old door from our local wrecking yard. We then removed the section of the door that holds the door handle and door lock by using a cut-off wheel. Using the removed section of the good door, we transferred a pattern onto the used door using the body line; this will make filling in the cut-out section much simpler and does not require the use of any metalworking skills. Fit the used section onto the door. We used magnets to help line up the piece to the good door. You'll want to make sure that the body line fits properly, so test-fit it first. Carefully weld the used piece on the door. Keep in mind that the sheetmetal is very thin and susceptible to warpage from the heat of the welder. Use water or air to cool the weld down each time you stitch the piece on. Remember to have patience and take your time. If you weld the piece on too fast or at a higher setting on the welder, you'll warp the sheetmetal and create more work for yourself. After the patch is installed, grind the welds, spread your mud, and get to sanding.


