Over the years, Chevy has used two different types of wheel bearings on the Silverado light truck. Early models used a standard set of tapered roller bearings that was serviceable, and individual inner or outer bearings were replaceable. Later models use a sealed hub bearing assembly that is not serviceable and is replaced as a unit. Replacement of either type of bearing is straightforward and requires only basic hand tools to complete.
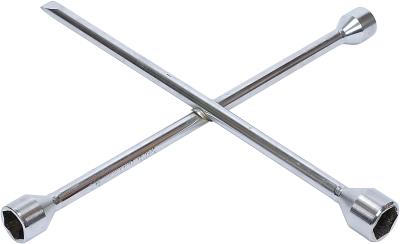
Lift the wheel off the ground using the floor jack, and support the weight of the vehicle with a jack stand to prevent slippage and injury. Remove the wheel with the lug wrench, and store the wheel and lug nuts in a safe place out of the work area to prevent loss of the lug nuts.
Remove the caliper slide pins with the 3/8-inch drive socket set and lift the caliper off the rotor. Slide the rotor off the hub assembly.
Disconnect the A.B.S. electrical connector if equipped and turn the hub so that you have access to the backside of the steering knuckle that the hub is bolted to. Remove the four bolts that retain the hub assembly to the steering knuckle and slip the hub assembly out of the steering knuckle.
Insert the new hub assembly into the steering knuckle and start the retaining bolts. Tighten the bolts in a criss-cross direction to the torque specifications listed in your service manual. Plug the A.B.S. connector back in if equipped.
Install the rotor on the new hub and slip the caliper back into place on the rotor. Tighten the slide pin bolts to the specifications listed in your service manual.
Remove the caliper slide pin bolts and slip the caliper off the rotor. Remove the bearing dust cap and the cotter pin that retains the spindle nut.
Remove the spindle nut and the outer wheel bearing from the rotor. Screw the spindle nut back onto the spindle and, with a sharp pulling motion, pull the rotor off the spindle. The spindle nut should catch the inner bearing and pull it along with the seal from the back of the rotor.
Drive the old bearing races from the rotor with a punch and hammer. Drive the new races into the rotor with a race installer and hammer. Pack the wheel bearings with grease and coat the new bearing races with a thick coat of grease. Push the new inner bearing into the race and tap the new seal into place with a hammer.
Slip the rotor onto the spindle and push it all the way on. Spinning the rotor slightly, while pushing, helps the rotor seat completely onto the spindle. Slip the new outer bearing over the spindle and into the outer race. Install the spacer and spindle nut, then tighten snugly and back off 1/8 turn. Install the castellated retainer and cotter pin. Bend the arms of the cotter pin and install the dust cover.
Slip the caliper back into place and secure it with the slide pin bolts. Install the wheel, lower the vehicle and test-drive.