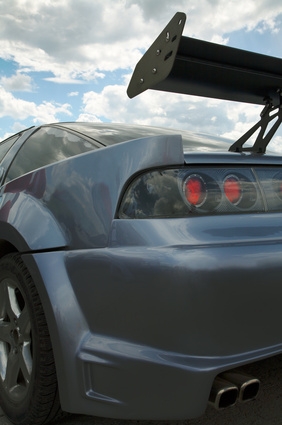
Underbody neon or LED lights will give your vehicle a personalized and distinctive look. Several underbody lighting kits are available on the market, in a variety of colors. Installation of these kits can be completed with minimal mechanical ability and a few basic tools. However, you should check with local law enforcement before installing underbody lights on your vehicle. Local laws may prohibit the use of some colors, or ban the use of underbody vehicle lights altogether.
Disconnect the negative battery cable from your vehicle's battery. Open your underbody lighting kit and separate the pieces. Be careful not to damage any of the lighting tubes. Inspect the underside of your vehicle for possible mounting points for the lights.
Install the light retaining clips on each of the lights. Take one of the lights with the clips installed and hold it up against the underbody--away from any moving parts, wires or fuel lines--to determine the final mounting point for the light. Use a pencil to mark the retaining clip screw hole locations on the underside of the vehicle.
Use a metal punch to slightly dent in the screw hole markings for easier drilling. Select a drill bit that is slightly smaller than the retaining clips being used, then drill the screw holes. Do not drill too deep, as you may cause damage to other vehicle components.
Apply a small dab of silicone sealant to the mounting holes and then mount the light to the underside of the vehicle with the mounting screws. Apply another layer of silicone over the screw heads to ensure a watertight seal. Repeat the mounting process for the remaining lights.
Mount the power transformer supplied with your kit under the hood, near the battery. Make sure you do not attach the transformer in an area where it can get wet or be damaged by moving components or heat sources such as the vehicle's exhaust.
Route the underbody light wires to the power transformer, again avoiding any moving parts, heat sources and fuel lines. Use existing wiring looms that travel from the underside of your vehicle to the engine compartment, if they are available. Connect the lighting wires to the transformer according to the kit's instructions.
Run a power wire from your vehicle's positive battery cable through the vehicle's firewall and to the underside of your interior dash. Use an existing firewall wiring loom to avoid drilling a new hole. Insert a piece of heat shrink tubing over the power wire end located near the battery.
Solder the inline fuse wire connection to the power wire located near the battery. Apply a dab of silicone sealant over the soldered area and cover it with the heat shrink tubing. Use a cigarette lighter flame or heat gun to shrink the tubing securely and evenly over the connection. Do not overheat the heat shrink tubing, as it will break apart.
Route and connect another power wire from the positive transformer terminal through the vehicle's firewall and to the same location as the other power wire. Solder the wires to toggle switch terminals. This will allow you to control the underbody lights from the driver's seat.
Connect the negative wire connection to a suitable metal portion of the vehicle for a ground. You can also connect it to an existing ground wire, if available. Reconnect your vehicle's negative battery cable and test the underbody lights for proper operation. You can also mount the toggle switch to an appropriate area beneath the dashboard.