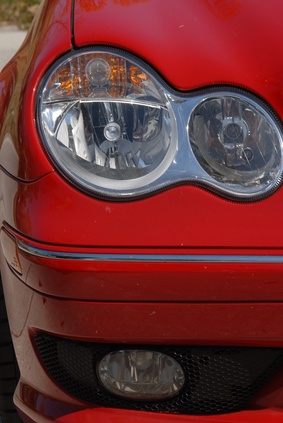
Driving at night can be difficult if your headlights aren't aligned properly. You may notice that one beam appears to be shining further down the road than the other, or that the center of the road is a bit darker than the roadside. If this happens, your headlights should be aligned for optimum nighttime visibility. Headlights should be checked for proper alignment every 3,000 miles or so, typically when you change your oil.
Park your car on a flat level driveway or parking lot facing a wall 2 to 3 feet away. Place a cross with masking tape at the center of each beam on the wall.
Move the car back between 10 and 25 feet away from the wall, then check the beam position in reference to the tape marks. The beams should be in line with the tape marks. If not you will have to adjust them to meet the centerline between the marks.
Measure the distance between the bright beam spots on the wall with a tape measure. Ensure that they are over the tape marks. Proper headlight alignment will appear to illuminate the wall in a straight line, slightly below your lower windshield, resting on the wall just above the floor. If the light beams are too far apart, you will see two spots of light on the wall, and little illumination between the spots. If the beams are too close together, you will see a large bright spot at the wall center. The beams should illuminate the tape marks, and appear in line. Bright spots should not rest above, or below the centerline of the tape marks.
Consult your owner's manual to properly align your headlights if needed. Typically you can alter the alignment by turning two screws placed on either side of the headlamp. Certain vehicles may require different methods of headlight alignment.