Ford equipped an in-line fuel filter on their 1992 model-year F-150 trucks. Particles in the fuel clog and damage the closely machined components in the fuel injectors, leading to loss of performance or a non-running condition. Fine mesh in the filter removes silt and sediment from the gas tank before the fuel gets to the carburetor. Due to the small size of the openings in the mesh, the filter easily clogs to the point where it will no longer pass sufficient fuel volume, especially if dirty fuel is frequently added to the tank. Replace the filter before clogs affect engine performance.
Locate the inertia switch either to the left of the brake pedal, mounted on the firewall under the dash or behind the right kick-panel.
Start the engine. Pry the red button on top pf the inertia switch up with a small screwdriver to open the switch. Remove the electrical connector from the switch if no button is provided. Allow the engine to run until it stalls out.
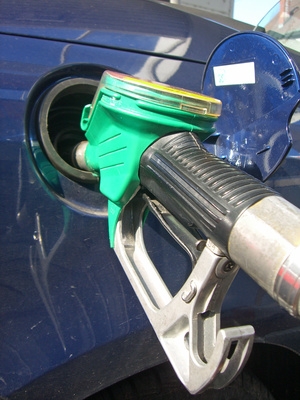
Remove the fuel filler cap by hand. Crank the engine for three seconds to relieve the last of the pressure on the system.
Loosen the terminal clamp bolt on the negative battery post with a wrench. Remove the terminal from the post.
Set the parking brake. Lift the front of the vehicle with a jack, if needed. Support the vehicle with a pair of jack stands.
Locate the fuel filter. The filter mounts inside of the driver side frame rail, about halfway between the fuel tank and the engine.
Remove the fuel line retainer clips from the filter by hand. Push and pull lightly on the fuel lines where they enter the filter to break any adhesion to the seals.
Remove the hairpin clips from the filter fittings. Bend the tab down until it clears the body and spread the clip legs apart about 1/8 inch. Pull the clip off by hand. Pull the fuel lines straight off of the filter nipples.
Remove the lock-nuts from the filter mounting studs with a wrench. Remove the filter from the frame.
Insert the new filter mounting studs through the frame. Install and tighten the lock nuts firmly with a wrench.
Push the fuel lines onto the fuel filter nipples. Slide new hairpin clips onto the hose where it laps over the nipple. Push the clips by hand until they snap into position. Bend the shipping tab down and over the tops of the clips by hand.
Reset the inertia switch by pressing the red button down or reconnecting the electrical connector. Reconnect the battery negative terminal and tighten the pinch bolt firmly with a wrench.
Prime the fuel system by turning the ignition switch to the run position for five seconds, then back off. Repeat the priming three times before attempting to start the vehicle. Start the vehicle and check for leaks.