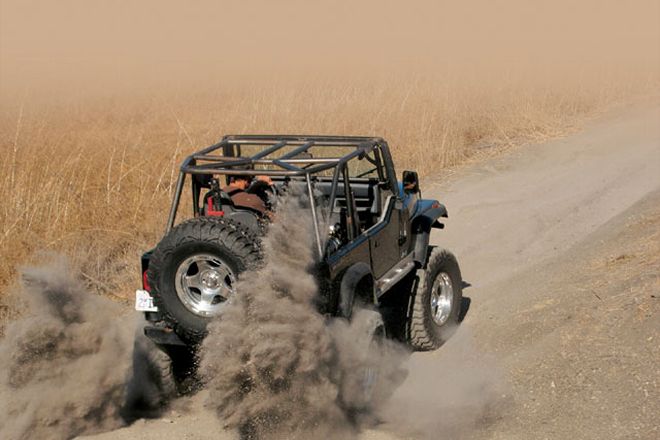
Luckily, many trail-run rollovers happen in slow motion. Less inertia at lower speeds minimizes the impact on vehicle components. Still, factory "sport bars" often can't support the vehicle's weight, and their tubes deform on impact.
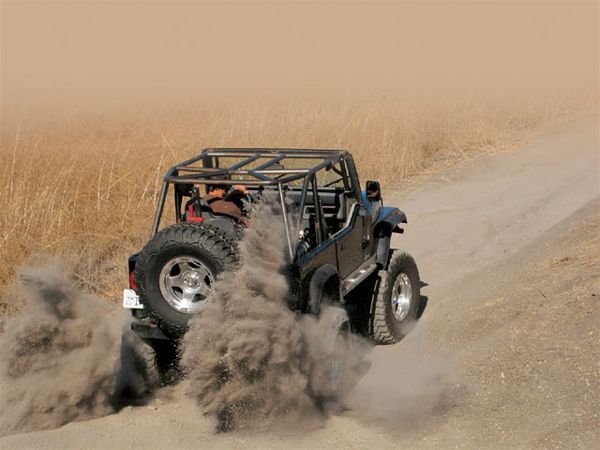
Serious wheelers know the value of rollover protection. Like a comprehensive insurance policy, a quality rollcage can be expensive-but is worth whatever it costs if it serves its purpose just once. For Jeeps, a custom racing-style rollcage can cost more than the vehicle is worth. This discourages the average weekend warrior from commissioning a shop to fabricate a custom tubular skeleton.
At the other end of the better-than-factory spectrum are kits that bolster the factory bars. Additional tubes either bolt or weld to the existing bars to increase structural integrity. These are the most cost-effective ways to improve rollover protection.
Replacement weld-in cage kits are a middle-ground solution. They provide better protection than systems that rely on the stock cage, and are generally more affordable than a custom endoskeleton. One example is the Full Cage Kit from Poison Spyder Customs (PSC). It consists of mounting plates, gussets, and pieces of tubing that are bent and cut in lengths that are UPS-shippable. For strength, plates are made from laser-cut 3/16-inch-thick steel. DOM tubing-1.75-inch od x 0.125-inch thick-is strong yet maintains clearances for factory tops, the dash, doors, stereo, and window cranks.
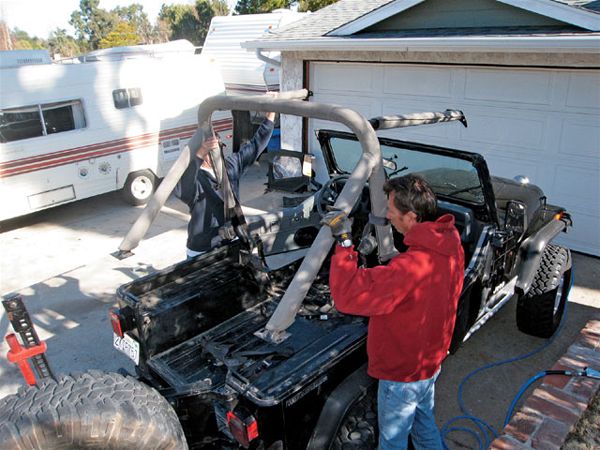 The factory cage bolts to the windshield frame and to the tub behind the front seats and on the rear wheelwells. PSC recommends removing the carpet, seats, and belts so that welding spatter won't damage or ignite them, and the visors also need to be yanked. Rent a friend if necessary and lift out the factory cage to avoid having to disassemble it.
PSC recommends setting aside up to 16 hours to install one of its Full Cage Kits, which are available for Jeep CJ-7s, YJs, TJs, and LJs. The kit can conceivably be tacked together by any Jeep owner who's capable of MIG-welding a high-school-shop-worthy bead. Then the mocked-up cage can get its finish beads from a bona fide welder. (Cage strength will only be as good as its weakest weld.)
For Jeep owners who tend to go fast and potentially roll hard, the PSC cage can always be further fortified. Customizing possibilities include tying the cage to the frame (without compromising its integrity) with additional tubes and sandwiching the tub between mounting plates. Alternately, Jeep owners who also have PSC rock sliders can drill through the tub and use 3/4-inch-diameter steel sleeves to bolt the cage feet to the sliders, which in turn bolt to the OE frame/body mounts. Also, corner bends can be triangulated with additional pieces of tubing if rear-seat passenger comfort and convenient cargo-area access aren't priorities. (PSC opts for affordability by minimizing the number of parts in the kit.)
One important note: According to Chrysler insiders, the windshield and cowl are structurally vital for rollover protection. Lowering the windshield cuts rollover resistance approximately in half.
Highlights of a PSC YJ Full Cage Kit installation are documented here. Stripping the interior and tacking the kit together took the better part of a day. Then the cage went to a qualified welder, after which it was painted before being bolted back into the YJ.
* Torx-bit set (up to T-50)
* Welder, helmet, gloves
* Ratchet straps
* Able-bodied assistant(s)


