
When camping miles from civilization a dead battery is inevitable. Perhaps you were singing along to classic rock without running the engine and ran the stereo too long? Or you had to winch out of a river after a wet distributor stalled your rig’s engine, using every bit of battery juice to reach shore. Both of those scenarios have happened to us (we’re a little embarrassed about the sing-along), and neither was very fun. To avoid being repeatedly marooned with no jumpstart in sight, we decided to put our dream electrical system in our project Bronco: The Juice.
We’ve been putting the final touches on our Bronco. You may have followed along in Off-Road Magazine as we built it from a bone-stock basket case to a supremely capable four-wheel-drive prerunner. We’re happy with the Camburg suspension and the other mods we’ve made to the Bronco. However, The Juice’s stock electrical system was overtaxed—with four electric fans, an air compressor, a behemoth stereo, and auxiliary lights. It seemed the old alternator and battery were likely to commit hara-kiri anyway at any moment.
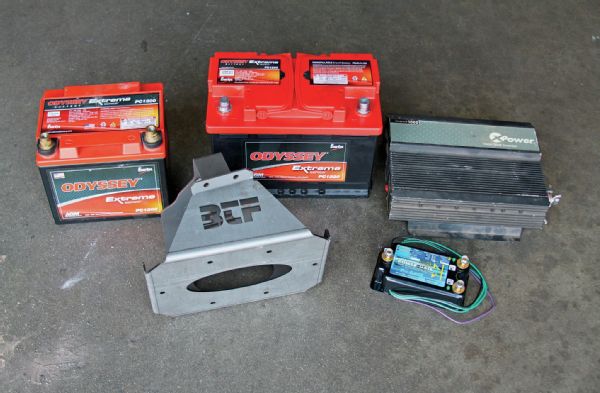 The new components of our Bronco’s electrical system (left to right): the Odyssey PC1200 battery, used only for starting the vehicle; the Blue Torch Fab battery box houses the larger Odyssey PC1220 battery, which power all of the Bronco’s accessories; our flea-market power inverter; and the Powergate dual-rectifier isolator.
There are several ways to create a functional dual-battery system. One is a simple setup with a boat-style switch, a nautical battery selector that lets you choose either battery—or both—for use. One drawback of that system is the attention required. Ensuring a proper charge in the batteries is tricky, and if the switch is in the wrong position, it’s possible to drain both batteries. Our Bronco may not be the fanciest desert truck in the Southwest, but we wanted a setup that was a little more sophisticated.
Our stock alternator unit had been floundering. It was unable to fully charge the Bronco’s old battery and running myriad electronic doodads we’ve installed over the years. Through word of mouth, we’d heard hot-rodders had good luck with Powermaster high-output alternators, so we ordered one up. Our stock alternator provided 75 amps—pretty wimpy—but the Powermaster unit almost doubled that offering a meaty rating of 140 amps.
Now that we can more efficiently convert our engine’s energy to useable electricity for charging purposes, it was time to choose new batteries. No question, we’d be using sealed batteries. This Bronco hits the bumps hard, and we imagined a liquid-acid battery simply shattering like a Coke bottle. That most likely won’t happen, but better safe than sorry. Sealed batteries will never leak, no gas will escape, and most importantly, they can be mounted in any position—even upside down.
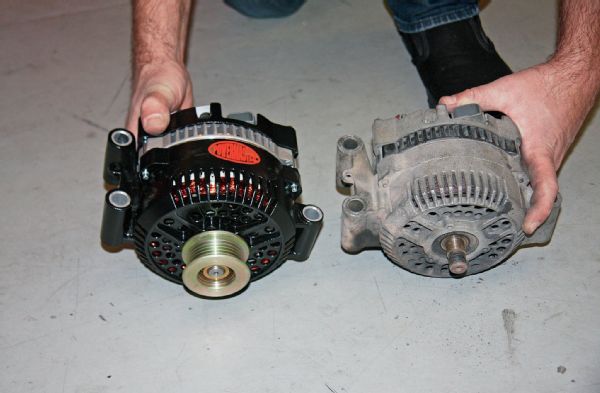 Our stock Bronco alternator provided a measly 75 amps. Powermaster provided this trick-looking black alternator that provides almost twice as much charging juice to the batteries—140 amps. Powermaster produces alternators even more powerful than this one, but they require a V-belt, rather than the vehicle’s stock serpentine belt.
When deciding which battery to use, you must also consider where they will be located within the vehicle. Always seeking ways to shave weight from the front end, we decided to install a smaller battery in the stock location to be used exclusively for starting the vehicle. The larger and heavier deep-cycle battery would be mounted elsewhere and used to power the Bronco’s accessories. We spoke to the folks at Odyssey Batteries about the large number of accessories we needed to power. They recommended two batteries, a smaller one and a larger companion, which surprised us with stout power ratings and long reserve times.
Instead of a boat switch, we sought out a dual-rectifier isolator. This technical-sounding product is a one-way electrical valve commonly deployed in multi-battery applications in which independent battery separation or discharge is desired. Not all dual-isolators are equal. Cheaper ones can be inefficient, rob the system of power, and require a lot of airflow to maintain a cooler temperature. The folks at Odyssey Batteries had only one recommendation: the Power-Gate dual-rectifier isolator manufactured by Perfect Switch. It’s a high-efficiency unit that needs no airflow to stay cool, and racers and boat owners have exposed them to the elements without damage. The small plastic box housing the isolator electronics weighs little and can be mounted almost anywhere on a vehicle.
Between the Powermaster high-output alternator, the Odyssey batteries, and the Power-Gate unit, we figured we were in pretty good shape with no need to spend more (other than for wiring and battery cables). At a sunny Saturday morning flea market, though, we spotted a 1,000-watt power inverter for sale for 25 dollars. Feeling saucy, we spent the cash and left the market with an inverter that might not even be operational. Imagining all the cool things we could do with AC outlets in the Bronco, the purchase was worth the gamble.
We made one last purchase and acquired a fabricated battery box from Blue Torch Fab, which would secure the larger rear battery. At Off-Road Evolution in Fullerton, California, we tackled the installation. Much of The Juice’s work has been completed at this shop, and it’s all been top-notch. Want to find out if we got the dual-battery system to work? Did the old flea market power inverter operate? Follow the photos and captions to find out.
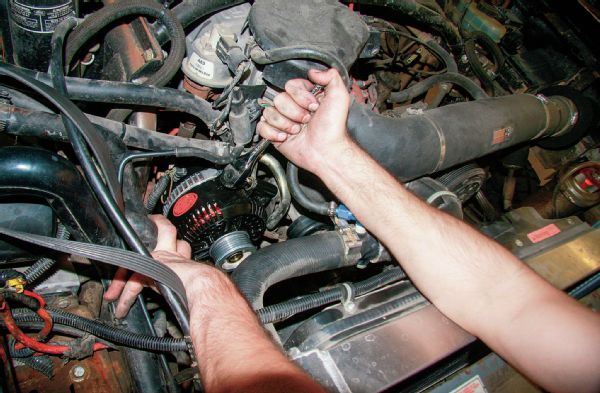
Installing the alternator was a snap. A few bolts, a few wire connections, and it went right into the stock location. The black finish looks especially cool.
The Blue Torch Fab battery box was designed for Optima batteries, which are smaller than the Odyssey PC1220. Mike from Off-Road Evolution got creative, pounding out the edges, and eventually, welding reinforcement and mounting plates to the box. He then spray painted the box black.
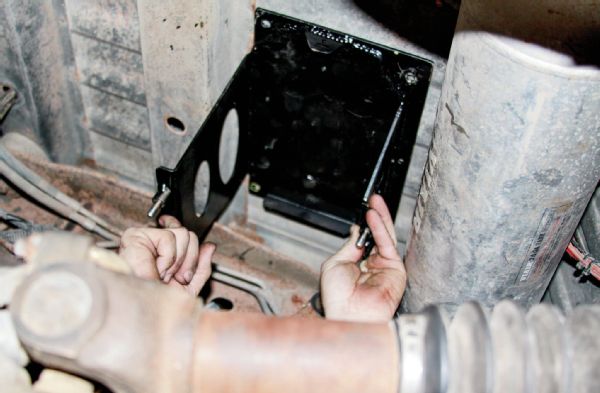
We hung the auxiliary battery from the floorboards just in front of the rear axle, a bit closer to the driver’s side of the Bronco (to keep it out of the way of the driveshaft during moments of articulation).
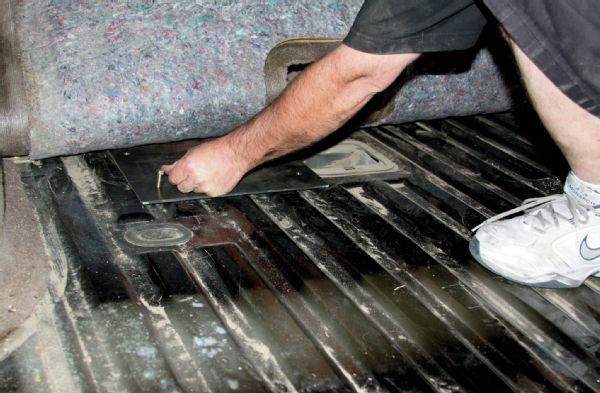
We decided to fabricate a plate to sit on top of the cargo area’s sheet metal to further reinforce the hanging battery’s mounting area. The Odyssey Batteries PC1220 weighs almost 46 pounds, and we don’t want it breaking away from the vehicle—ever. We used grade-8 hardware to connect this plate to the battery box mounted below.
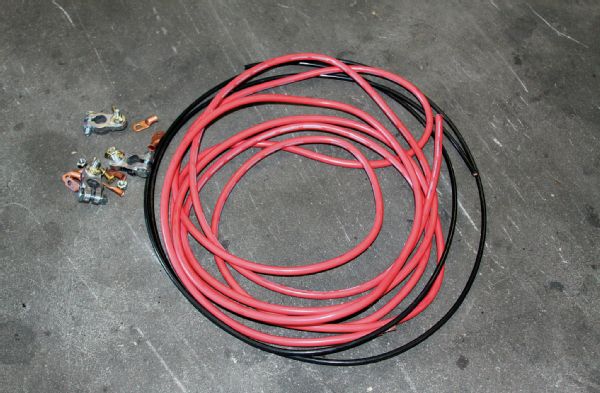
Unexpected costs are common when we modify vehicles, but we were entirely unprepared for the price of the extra battery cables, terminals, and the fuse box. We coughed up almost $150 for this stuff.
Speaking of terminals, we made sure to acquire battery terminals with extended studs protruding from them. We’re going to be hooking a number of accessories to the auxiliary battery, and these studs will make attaching cable eyelets to the terminals easier.

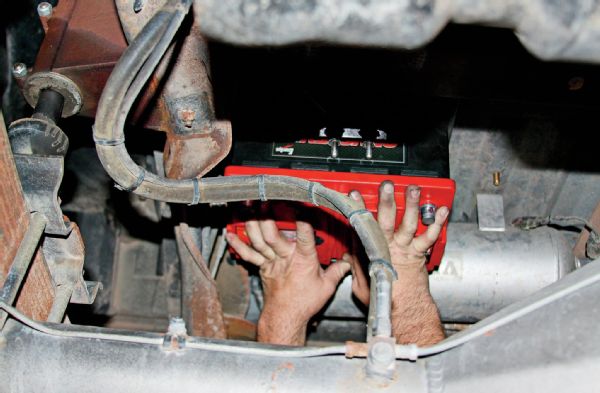
Here, the battery box is mounted upside down from the floorboards. The metal plates on both sides of the floorboards give us plenty of confidence this configuration will hold up. Only sealed batteries (like the Odysseys) can be mounted upside down.
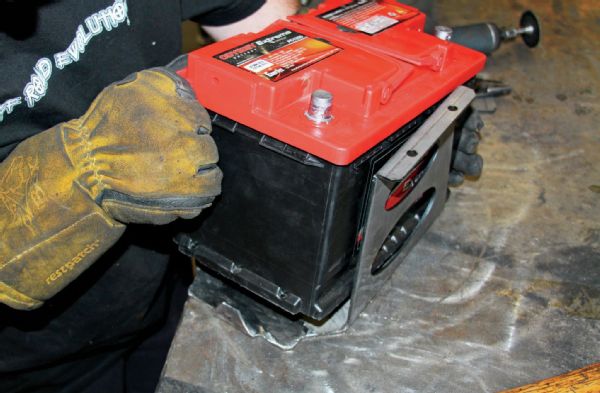
It took a bit of muscle, but Mike held the heavy battery in place while it was secured to the battery box. With this battery installed, we will use it to power the two electric fans mounted on the radiator, the two electric fans mounted to the transmission coolers, a dual-compressor onboard air system, the stereo, and the auxiliary lights. The PC1220 battery has a reserve capacity of 135 minutes, so it will be a valuable resource for power even when the Bronco is not running.
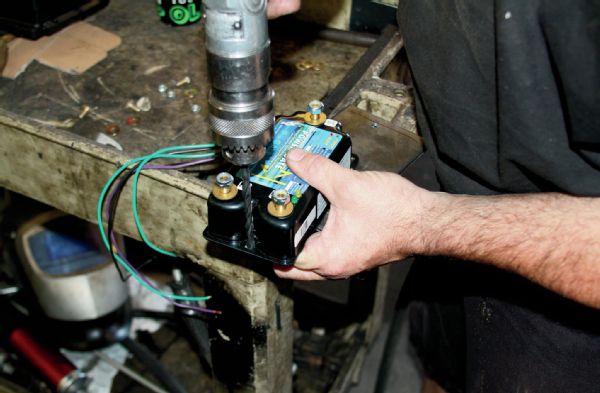
The Power-Gate isolator is a cool little gadget. It will keep both of the Bronco’s batteries charged without letting them draw from each other. There are lots of isolators on the market, but this one came highly recommended due to its efficiency, ruggedness, and ability to stay cool. Here, Mike fabricates a small mounting plate for the isolator.
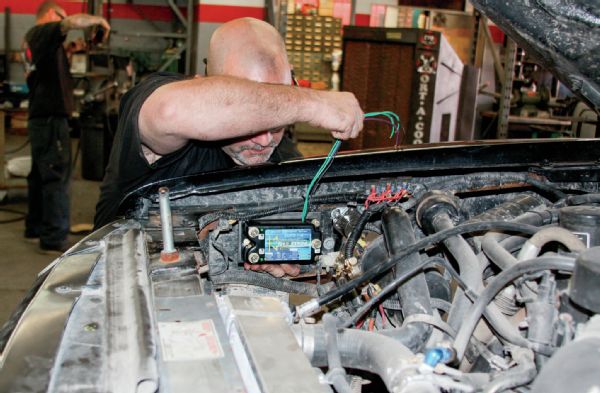
We mounted the Power-Gate isolator next to the stock battery area. It was mounted to a metal plate welded in to the fiberglass fender support frame. The Bronco will soon have inner fender wells built to further protect the isolator and other equipment in the area.
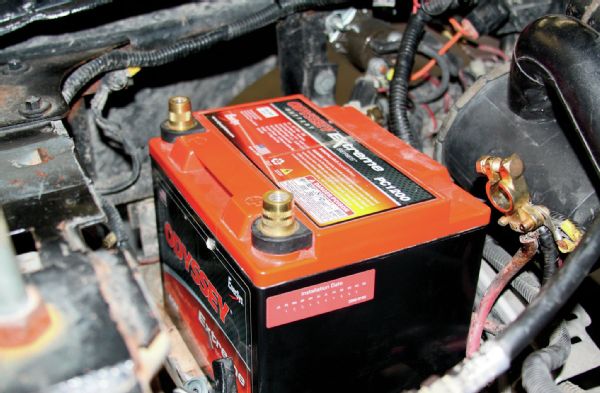
The Odyssey Batteries PC1200 will stay in the stock battery location and be used for vehicle starting purposes only. It’s small, relatively light (38 pounds), and should handle starting duty just fine.
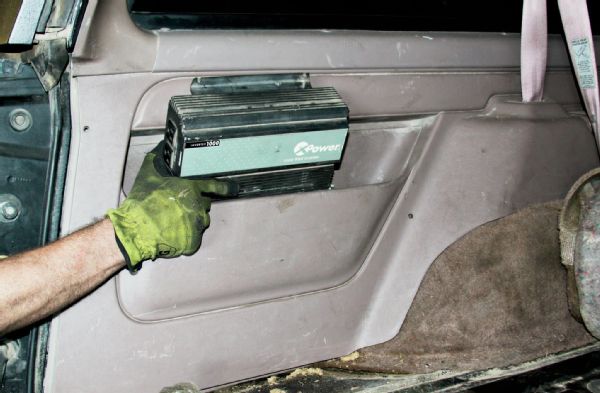
We mounted the flea-market-sourced power inverter in the Bronco’s driver-side cargo box. After wiring it up, we were delighted to discover it worked perfectly. We now have two AC outlets near the rear of the vehicle that will be useful for running power tools or anything else that might be fun.
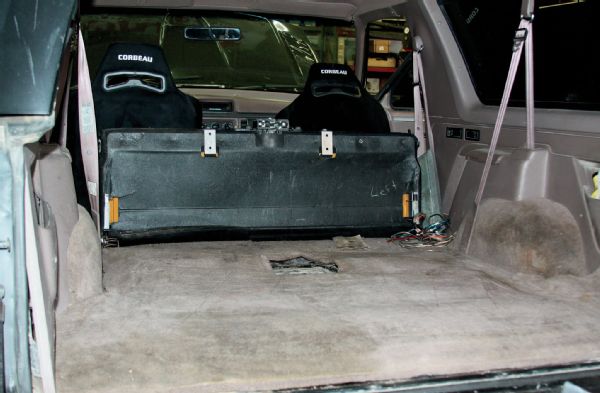
Looking into the Bronco’s cargo area, it’s impossible to tell a monster auxiliary battery is mounted in the rear of the vehicle. We’re itching to go camping soon, where we plan to find just how long we can run power tools without starting the Bronco.