Atlas 4sp Transfer Case - Four Wheeler Magazine

Atlas 4sp Transfer Case atlas 4sp Transfer Case transfer Case Photo 8949632

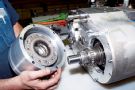
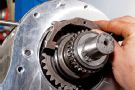
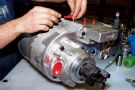
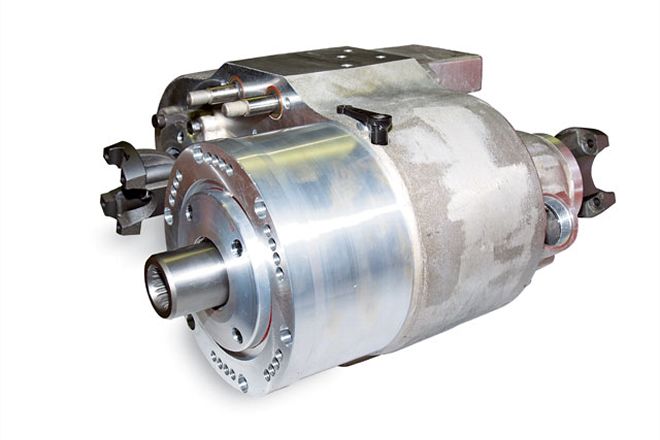
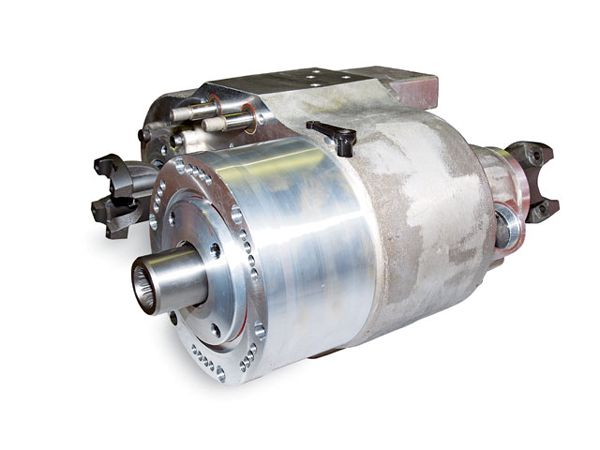
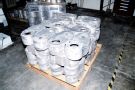
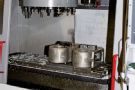
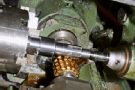
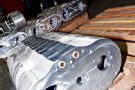
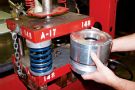
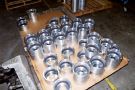
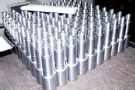
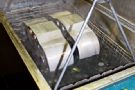
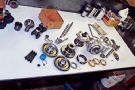
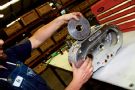
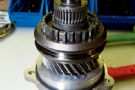
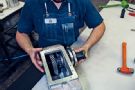
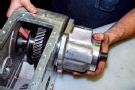
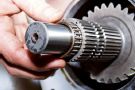
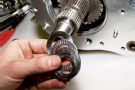
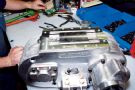
When Advance Adapters released its newest creation, the four-speed Atlas 4SP transfer case, we just had to get a look behind the scenes at what went into it. Our curiosity took us to Advance Adapters' home base in Paso Robles, California. The facility was awesome, full of eye candy that any hard-core wheeler could appreciate, with everything from custom company-owned project rigs to a machine shop containing $100,000 CNC machines, gear cutting equipment, and enough raw aluminum material to make a soda can for Paul Bunyan. Needless to say, we were impressed by our tour. Coincidentally, while we were there, a few of the 40 Advance Adapters staff were assembling the new Atlas transfer cases. So we asked if we could tag along and document the process. Check out what we learned.

PhotosView Slideshow Advance Adapters receives approximately 100 castings with each shipment. The process begins with castings. These come from Advance Adapters' Southern California foundry in approximately 100-piece lots. These castings are first inspected and then prepped for finish machining. Here, a $72,000 Hass three-axis CNC machine prepares one Atlas case for assembly. Each case spends about one hour on this machine. All Atlas castings are made from high-quality 356-T6 aluminum. Meanwhile, on the other side of the building, a gear-cutting machine is removing material from an output shaft for one of nearly 2,000 different Atlas configurations. Finished cases are inspected again for issues, palletized, and transferred to the assembly area. Here, the billet planetary housings are having gears pressed into them. With gears pressed in place, these planetary housings are ready for assembly. These are front output shafts prior to gear cutting and heat treatment. A batch like this will typically take around six weeks to manufacture. Prior to assembly, each case receives a 140-degree solvent bath to remove any loose shavings and/or foreign materials. The heat also aids with the assembly process because the aluminum actually expands slightly. Our assembly technician Jordan Lester also told us the heat makes the cases nice to work with during the colder winter months. Each assembly technician has a personalized work station with plenty of space to lay out, organize, and put together each of the three subassemblies that are required for each case. Here you can see one of Lester's assembly tables with most of the internal parts ready to go. PhotosView Slideshow After a quality-control inspection, the case is loaded with one of the larger gears for the front drive assembly. This is the front drive subassembly before Lester installs it. Notice the square O-ring installed on the end of the casing. This seal prevents oil from seeping out of the front output housing. Here, Lester installs the front subassembly in the Atlas 4SP case. This process requires careful attention to detail. Lester used his middle finger to align the large gear and bearing while he slid the front subassembly into position. Lester doesn't use latex gloves while performing his job because the process requires a sensitive touch to ensure each component fits where it's supposed to. Next, the main subassembly is installed in the transfer case. This assembly serves as both the input shaft and rear output shaft of the Atlas 4SP. Here you can see Lester sliding in one of the 23 different bearings required on each Atlas 4SP. This is a photo of the thrust bearing that retains the mainshaft drive gear. Note the two small shims on either side of the drive-gear thrust bearing. These shims are ground to specific thicknesses to provide proper bearing clearance. Lester then installs the shift control assembly. Notice the bronze bushings used to isolate the guides from the aluminum case. With the shift rails penetrating halfway into the housing, each shift fork can then be installed into the transfer case. The center cluster gear is next. Lester explained this gear as the one that often causes injury to those who try to reassemble an Atlas II at home. Evidently, the proper technique for lowering this gear in place (shown) is not easy to figure out. Lester uses a depth mic tool to measure the center-cluster pin endplay. This measurement determines how much shim is required to ensure proper internal bearing clearance. A special sealant is used between the front output shaft end cap and the aluminum case. Designed to keep oil in and impurities out, this sealant is a very important part of the assembly process. Next, the access cover or pan is installed on the case. This pan is specially designed to aid with lubrication inside the case by keeping the oil level closer to the rotating gear, so the Atlas will "sling" the oil better, creating better circulation and lubrication. PhotosView Slideshow This little shift selector fork enables shifting between the reduction housing gearsets in the planetary housing. Notice how the two round recessed reliefs are separated by a groove where a hardened pin will sit. This pin becomes the wear surface for the shift selector detent. This little detail helps ensure the 4SP will always shift easily and properly. Here is the planetary housing fully loaded with all the gearing that makes a standard Atlas II an Atlas 4SP. Notice the little lubrication galley that provides oil to the planetary housing (arrow). As oil is slung up by the internal gears in the main part of the case, this little gutter directs oil to the planetary housing. Here you can see how the planetary shift fork fits on the selector cog before the planetary housing was installed. Once the planetary housing is bolted to the case, all that's left to do is bench-test the unit and seal it up for shipping. Little plastic removable caps are used to ensure nothing can contaminate the case during shipment.