When we turned our attention to our street-legal Silver Crown car’s fuel system we thought it was going to be a simple fix. The bladder for the fuel cell of this car was long gone, so just order a new one right? Not so fast. With this car being 15 years old, bladder designs have changed a fair amount, all for the better, but that means our job just got harder. Try as we might, finding one to fit both the tail tank and our budget was not happening. Plus, we really didn’t need to carry 60-plus gallons of gas in what is being designed as a promotional vehicle and not one made for long haul transportation, let alone racing.
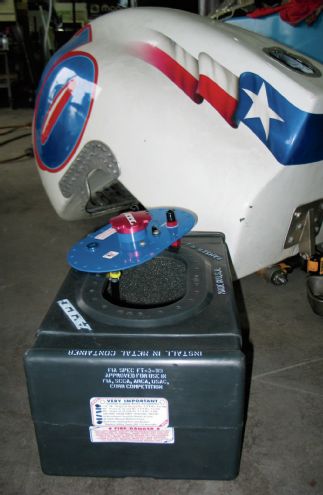 In the foreground is our new MB 108 ATL Fuel Cell that we are getting set to hide inside that 15-year-old Silver Crown car tail tank.
So the idea was hatched to take a small modern self-contained fuel cell and hide it inside the existing tail tank. After a good 30 minutes of measuring and comparing options on ATL Fuel Cells’ website we settled on their Saver Cell, PN MB 108. This cell features a molded, seamless hard rubber bladder with excellent resistance to race gas, ethanol, and methanol, which means it will easily handle the ethanol-laced pump gas the Silver Crown car’s new engine will eventually see. The cell is FIA FT3 certified, has a composite nut-ring along with SF-103 foam baffling for slosh and explosion suppression. It holds 8 gallons of gas, which should give us a range of just over 180 miles (assuming the stated 23 mph of the E-Rod).
We were hoping to be able to slide the new cell through the existing bottom plate and up into a position that would place it right above the rear end. But we would not be so lucky. It just simply didn’t fit, so when all else failed out comes the Sawzall … and the cutting begins. What we are going to do is build a hidden frame that will house the new fuel cell while the old tail tank drops over the top of it. This will involve welding one round bar and two L-shaped bars to various parts of the car’s existing rollbars, ultimately forming a rectangular frame. When the whole thing is bolted together you’ll never be able to see more than 1 percent of the actual frame. The idea is that you’ll never know that it isn’t a traditional Silver Crown car; that is, unless you look underneath. So, follow along as we play hide-a-cell. But first the obligatory disclaimer, please note this design is done for a promotional vehicle that will see limited street use only … we would not and do not recommend using a setup like this for actual competition.
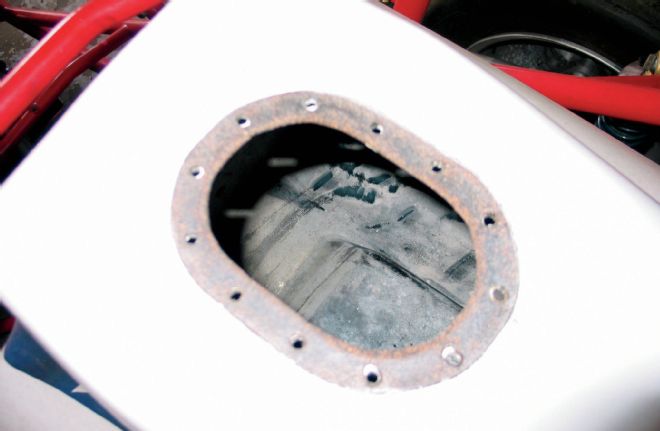 Looking through the spot where the fill plate attaches on the tail tank you can see just how worn out the interior of this tank actually is. In retrospect it is probably better that we couldn’t source an adequate bladder for the tank.
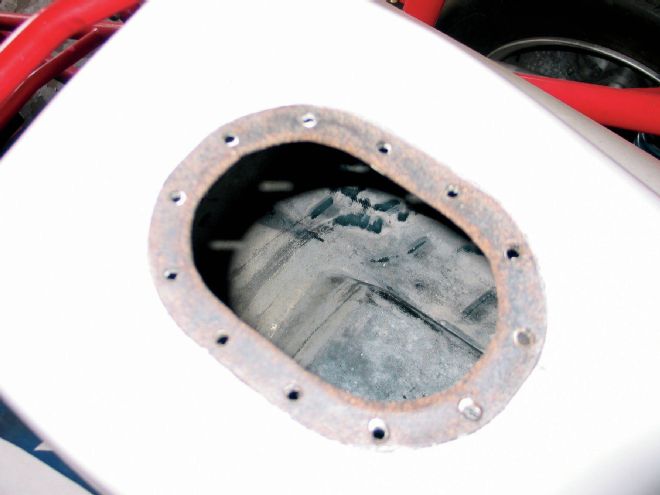
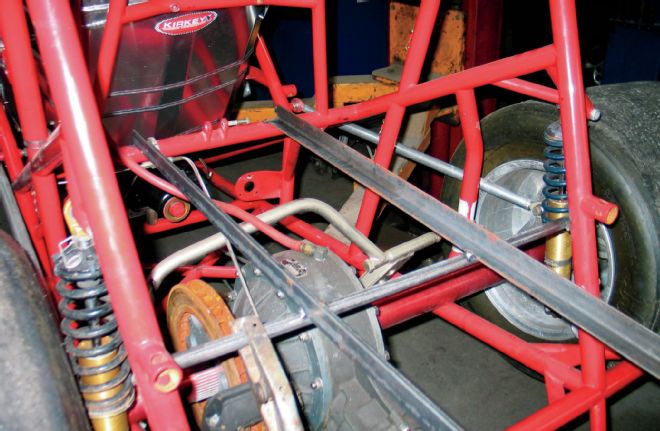
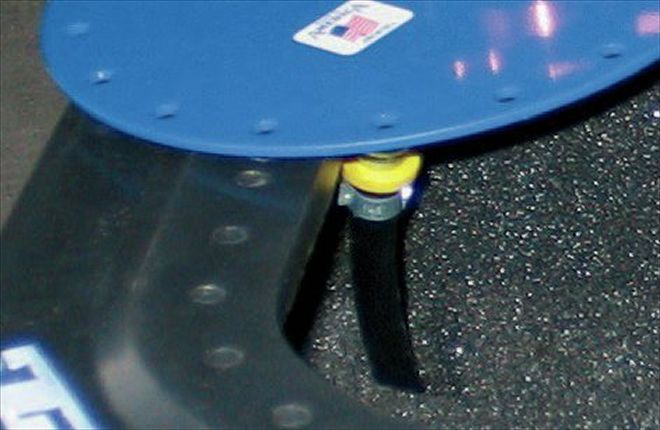
 We were really hoping to be able to slide the new tank through this opening on the underside of the tail tank, but luck was not on our side.
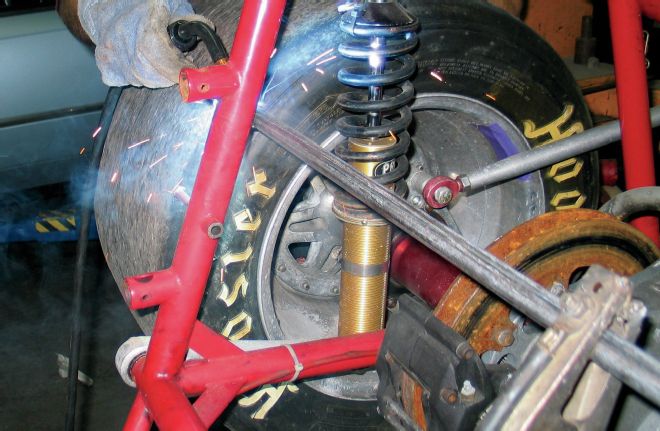
 Those are the hands of world-famous Darrell “The Torch” Kunda as he gets to work buzzing off the old powdercoating to provide a spot to weld the support frame to. What we are going to do is build a hidden frame that will house the new fuel cell while the old tail tank drops over the top of it. When the whole thing is bolted together you’ll never be able to tell that it isn’t a traditional Silver Crown car.
 This crossbar that Torch is welding into place provides one half of the support structure for two L-shaped bars that the new cell will rest in.
 Here you can see the bar welded into place.
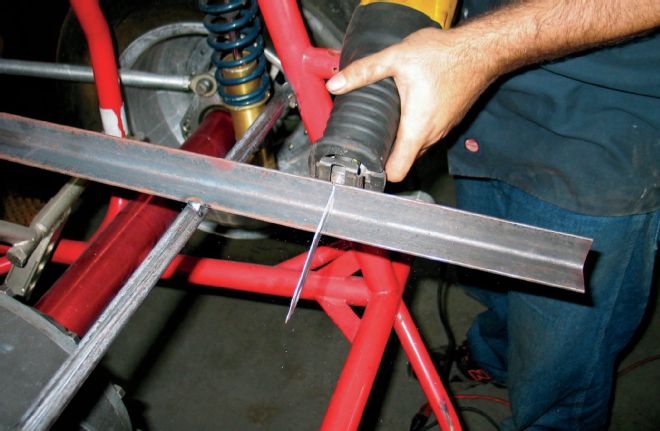
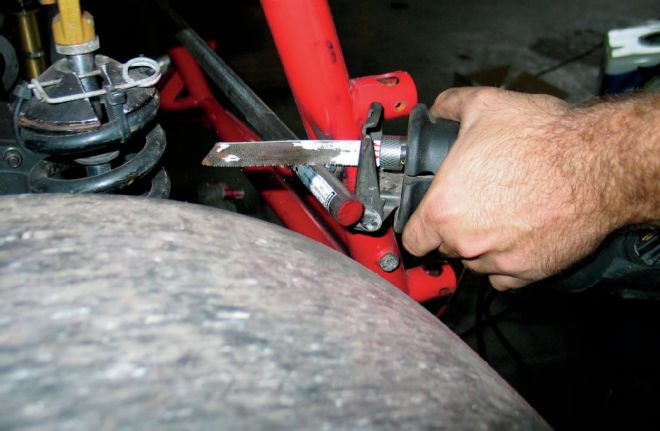 Excess overhang of the bar gets trimmed to size.
 In this shot you can see that the two L-bars have also been welded into place and are ready to have their excess trimmed.
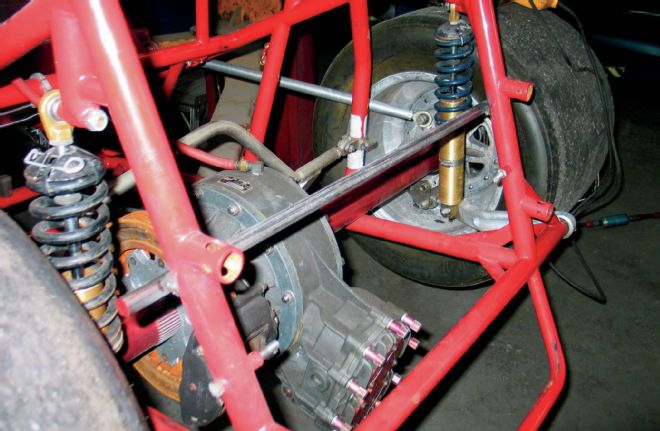
 With the new cell placed in between the bars, we begin the process of test-fitting its placement front to back. You can just make out the tail of the B&M 4L60E transmission in the bottom righthand corner of the photo.
 With the placement of the cell agreed upon, Torch can trim the bars to size.
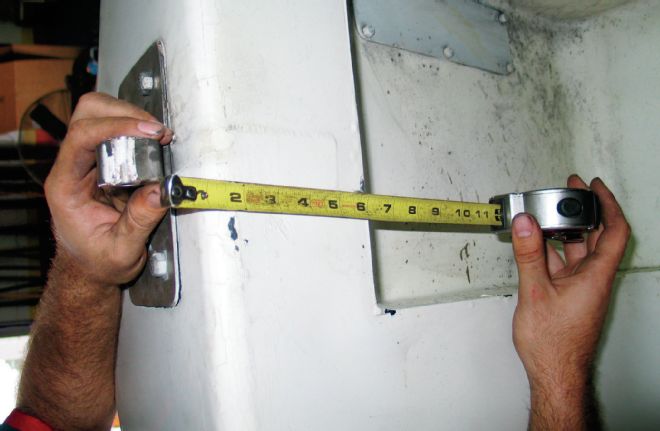 Now the tape measure comes out to determine exactly how much of the old tail tank is about to fall victim to the Sawzall. We not only have to account for the length and width of the new cell but the shape of the L-bars and the fact that the tail tank has to pivot up to enable access to the cell.
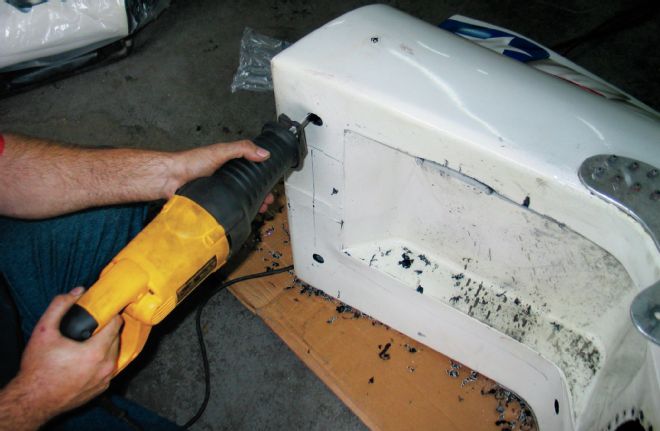 If you’re offended by us taking a reciprocating saw to the bottom of a piece of racing history we apologize, but on the bright side this car was just gathering dust in an Ohio barn and now tens of thousands of people will get to enjoy it up close once it’s done.
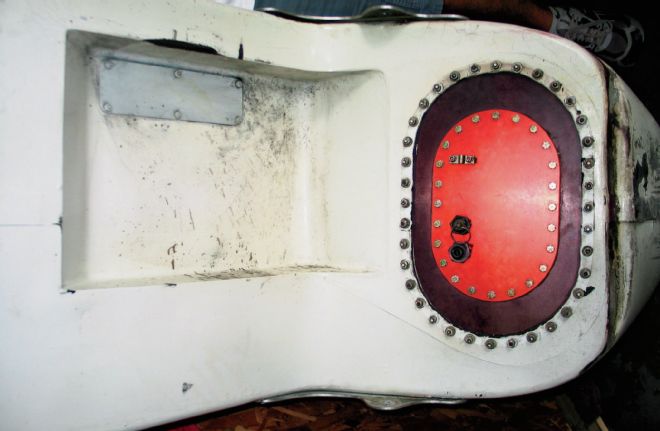
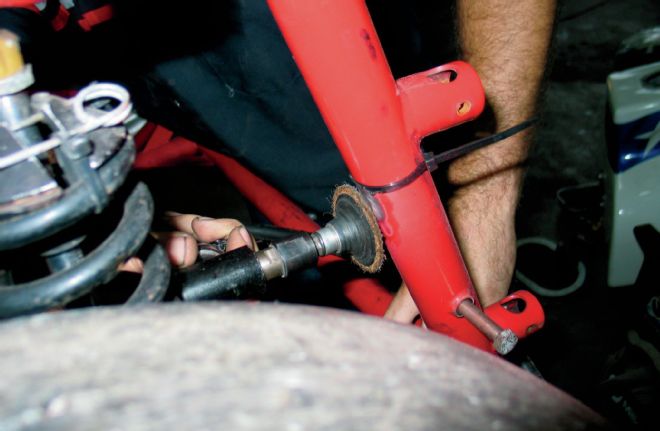
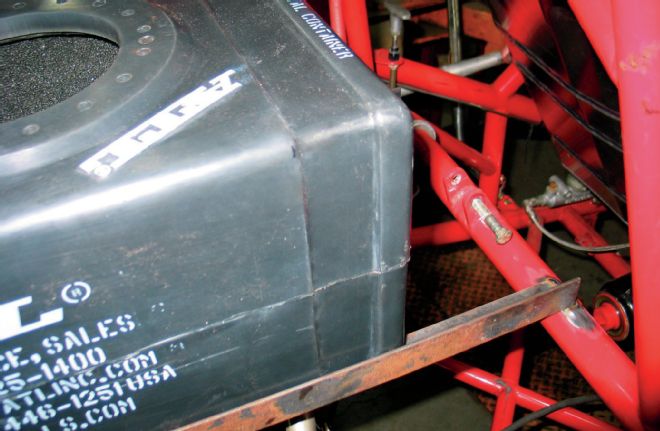
 A close-up view of the new fuel cell reveals the pick-up tube. ATL fuel cells come complete and ready to install. Our MB 108 needed only to have the pick-up tube attached and the fill plate installed.
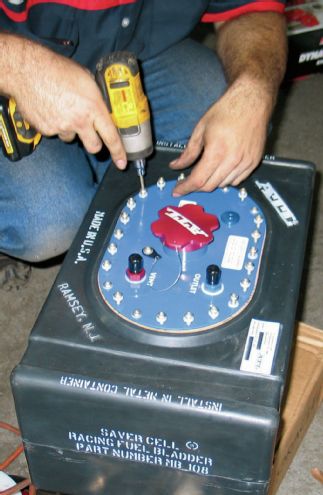 Torch uses a crisscross pattern of tightening the fill plate bolts so as not to bind the gaskets or plate itself.
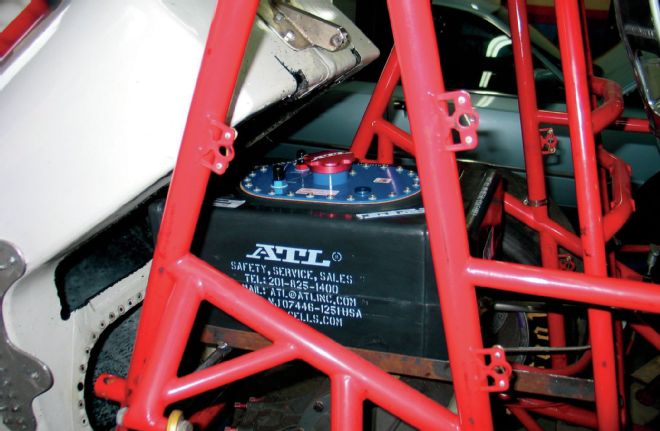 We still have to install the metal straps that will hold the new cell in place but this shot gives you a good idea of how the hidden system will function. With the forward bolt removed the tail tank can rotate backward on the two lower bolts that fasten it to the frame, giving plenty of access to the new fuel cell.