You've already read about the 1960 Ford Thunderbird custom in progress at Hollywood Hot Rods (HHR). In the Oct. '13 issue of STREET RODDER we watched Eric Black's design start to come to life as HHR fabricator Mychal Fierro modified the rear quarters to stretch the side spears all the way back to the bumper.
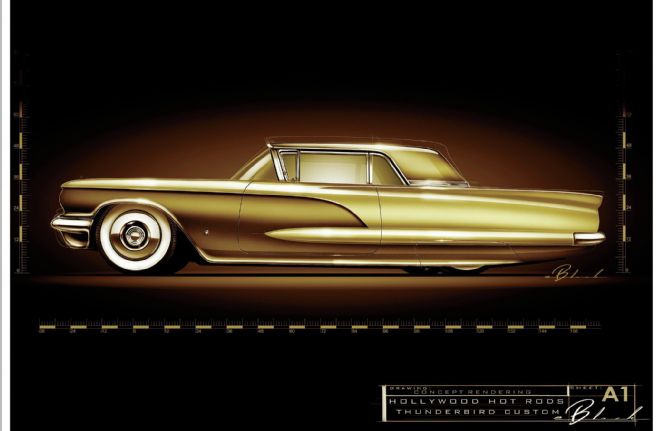 Eric Black’s concept illustrations for the ’60 Thunderbird called for a mild top chop. It turned out to be a 2-1/4-inch chop. Just right.
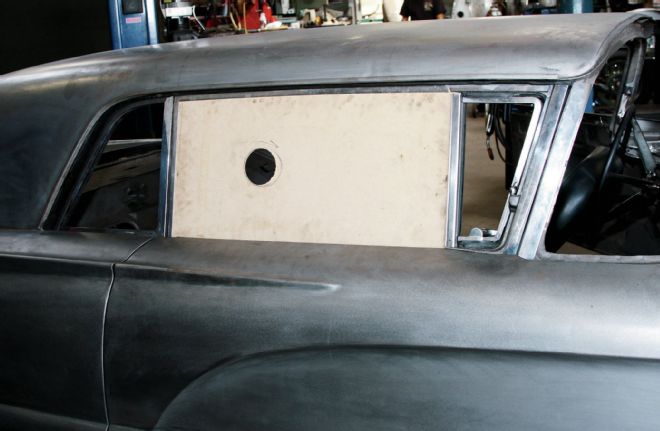
As you'd expect, a top chop was also on the list of modifications for the cool square 'Bird. We talk about top chops all the time, but sometimes overlook the necessary job of chopping the side window frames to fit the chop. It's a tricky job, due to the various body contours, as well as the need to maintain (i.e. not botch up) the proper window functions and ability to seal properly. On top of all that, the end result should look like it was done at the factory—showing no evidence of the modifications that were made, other than improved looks.
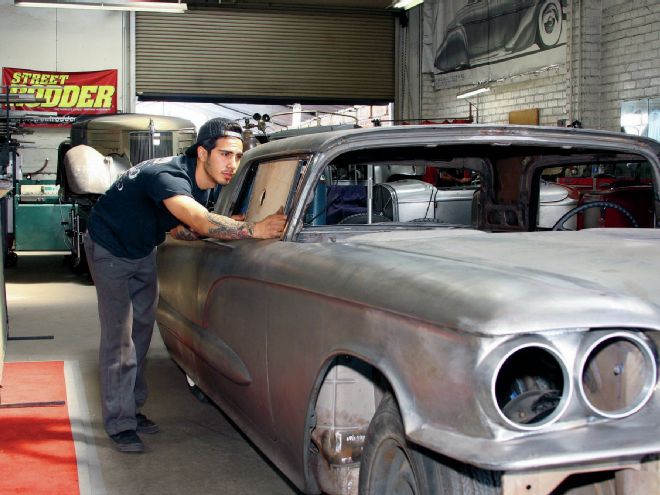
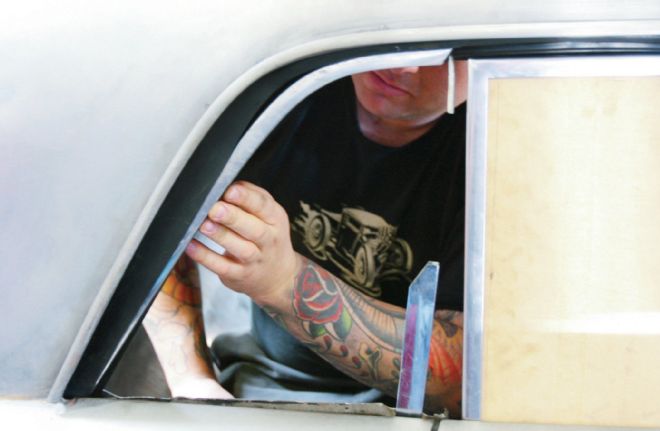
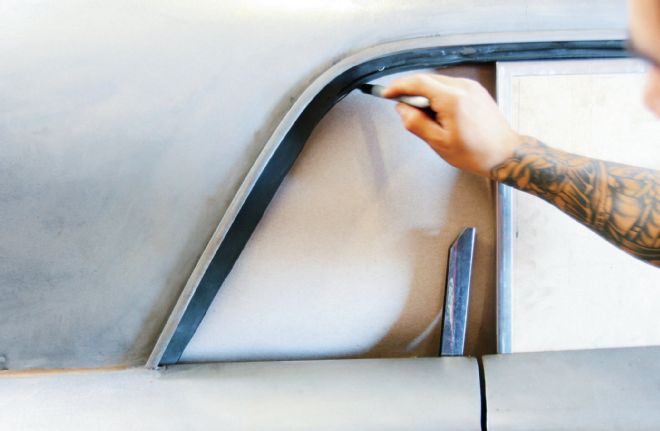
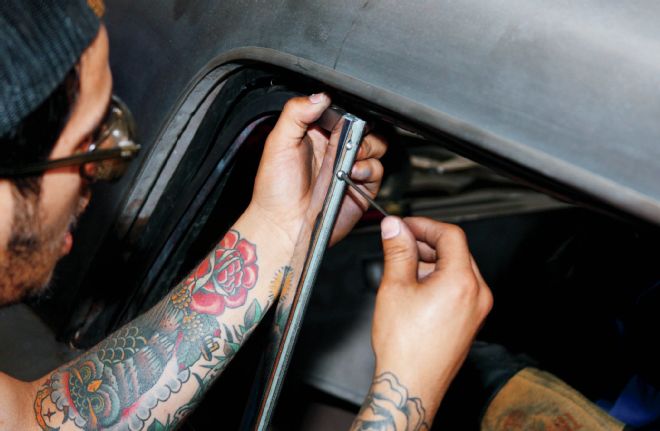
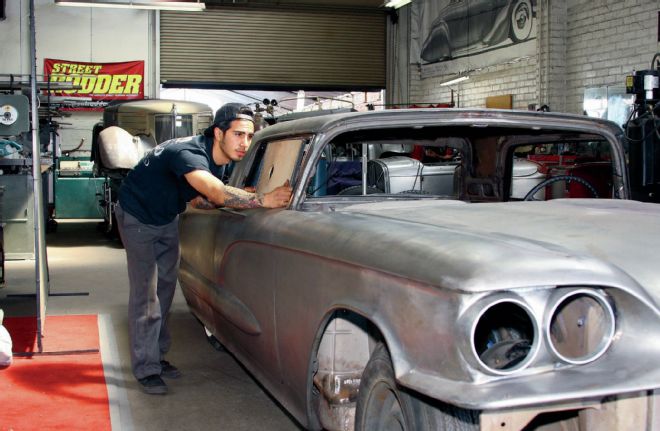 Mychal Fierro at Hollywood Hot Rods makes a visual inspection of his work on the ’60 Thunderbird windows.
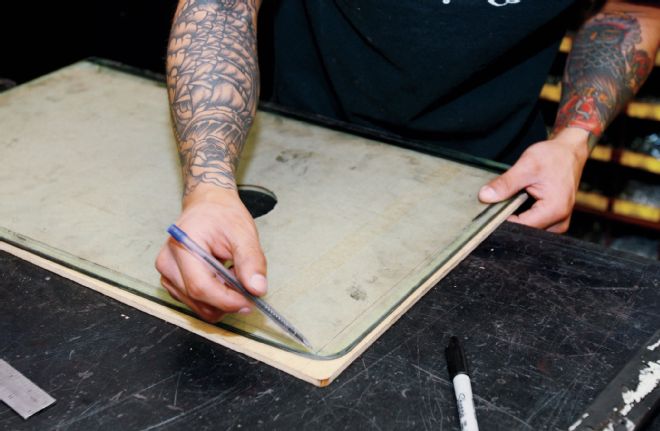
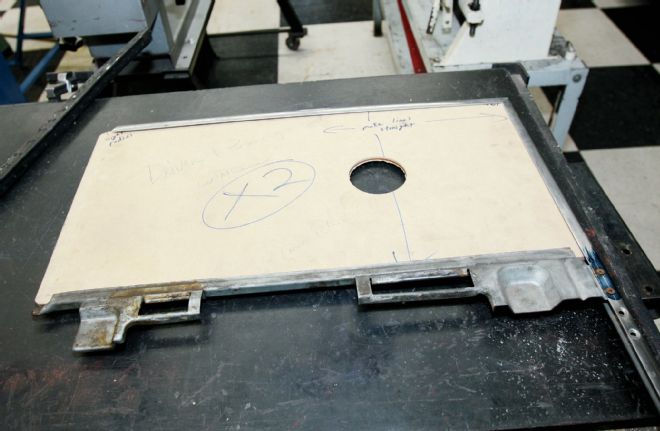
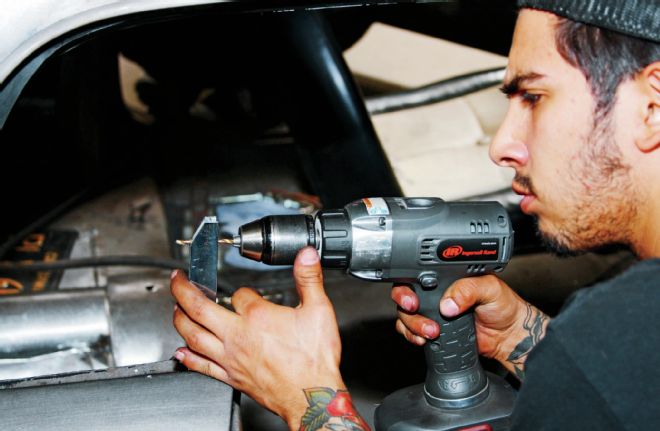
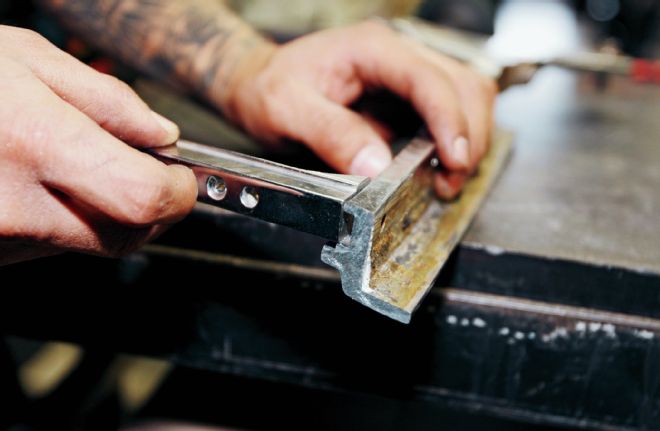
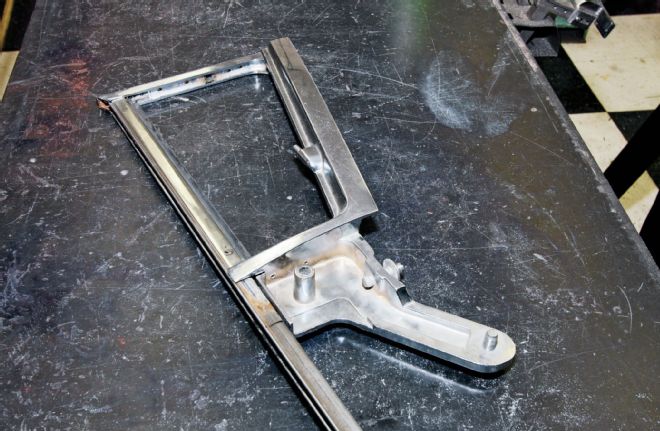
1. It was necessary to create a wooden template for the door windows, not only to ensure accurate alterations to the frame, but also to provide structural support to the frame, which only has three sides (bottom channel, vertical rear channel, and horizontal top channel). The windwing and rear side windows have sturdy frames, but templates were eventually made for the glass shop.
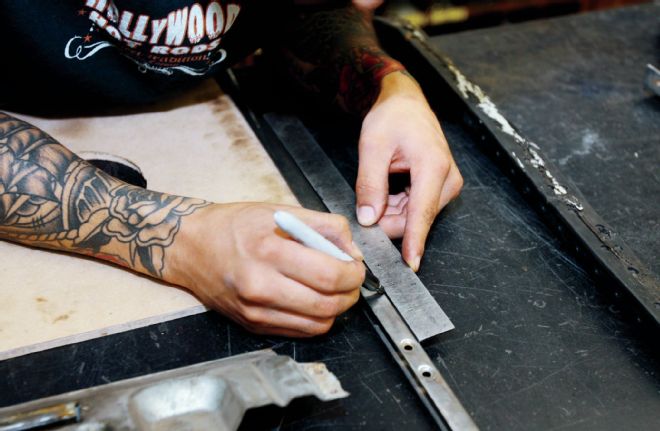
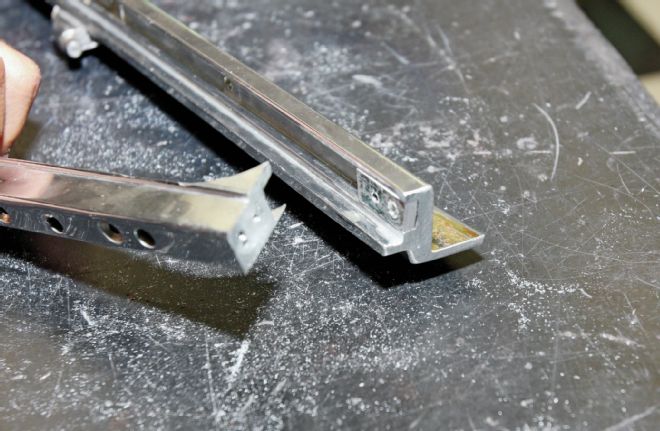
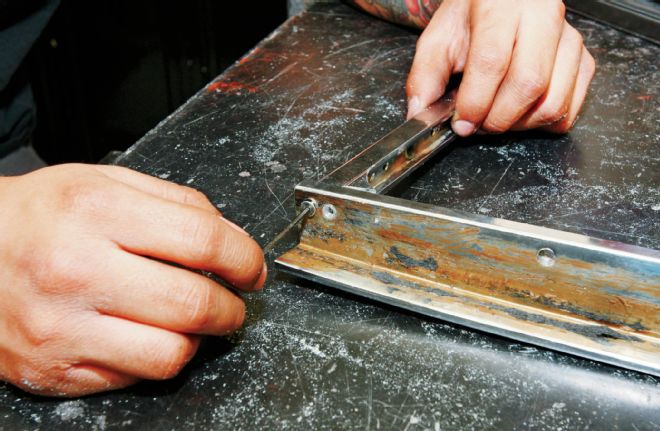
2. After the top was chopped, the vertical channel had to be shortened to match, and the holes used for mounting that piece to the lower channel had to be repositioned 2-1/4 inches up.
3. The lower and vertical channels were re-attached at the repositioned mounting point. When measuring the window template, add enough material so that in the fully closed position, the glass extends below the opening in the door and the lower channel isn't seen.
4. Since the door windows are rectangular and not tapered, Fierro will be careful when remounting the rollers in order to make sure they raise perfectly vertically—otherwise they will bind, the lower channel won't be parallel to the window opening, and the window top won't be flush with the roof.
5. The frame for the rear window consists of a lower channel (like the door window frame), a vertical front channel, and this rear channel that curves around the rear and top of the window opening. The chop lengthened the roof and, as you can see, the curve no longer matches the window opening.
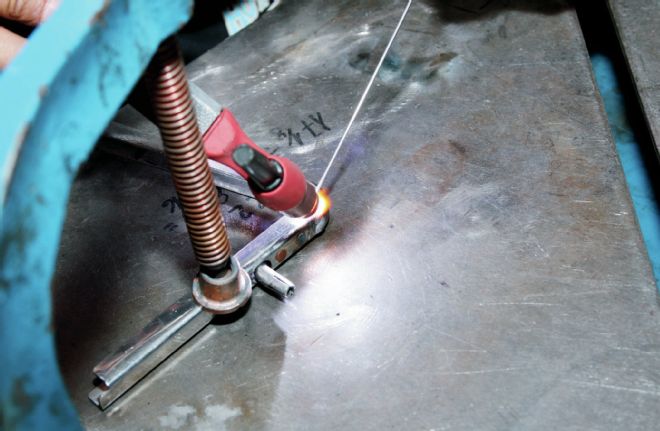
6. Fierro traced the shape of the modified rear window opening onto a piece of cardboard, which was cut out. The curved line was applied to a scrap piece of 3/8-inch steel. The metal will be used like a buck to reshape the curved channel.
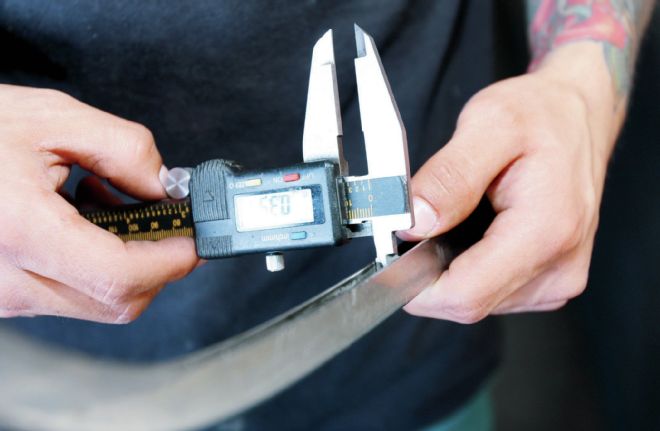
7. The inside channel measurement is 0.367 inch, slightly less than the 3/8-inch thickness of the steel.
8. The edge of the steel piece was milled so that the curved channel fit around it.
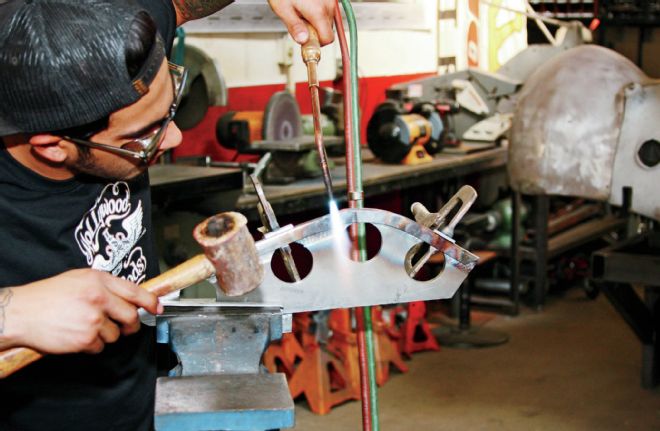
9. With the streel secured in a vise and the channel clamped in place, the channel was heated and hammered to an accurate fit. When it was later ground, filed, and sanded, it looked great. When it's chromed, it will look perfect.
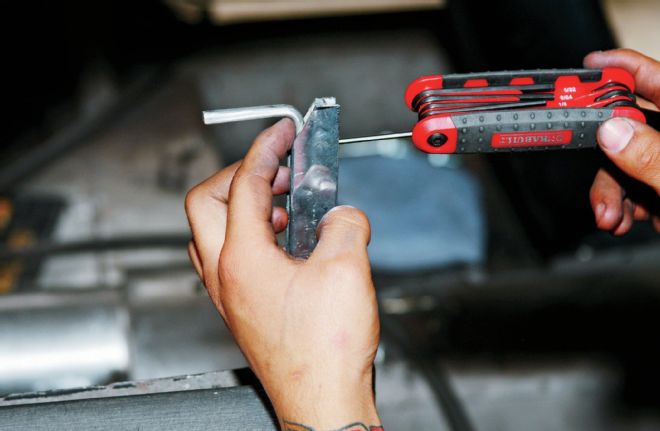
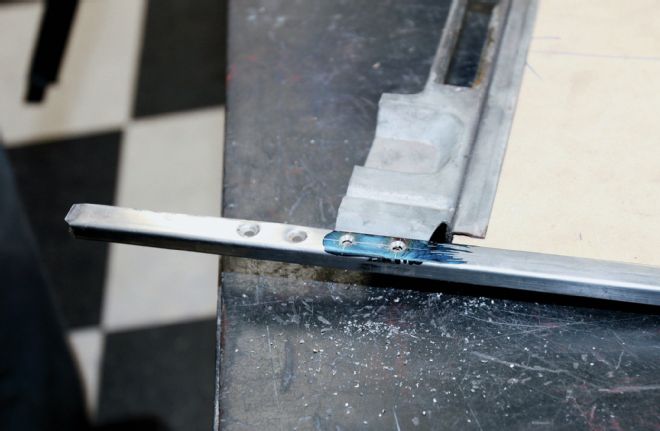
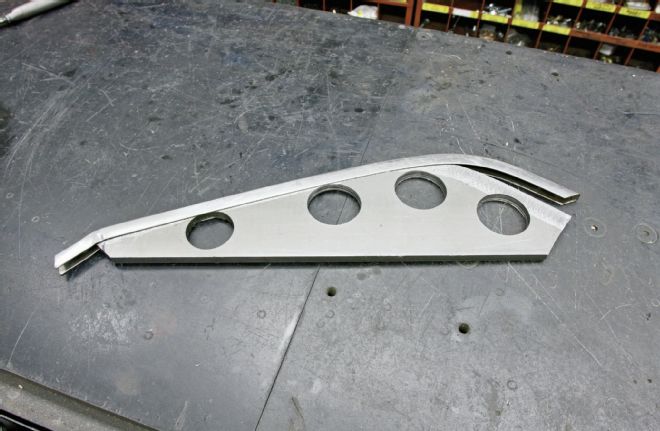
10. A fraction of an inch was cut from the top of the vertical channel. It was then drilled to install the L-shaped bar (arrow) that will be used to fasten the two channels together.
Fierro at HHR showed us some of the steps involved as he reworked the door windows, windwings, and rear side windows on the Thunderbird. It was an impressive amount of work (no wonder roadsters are so popular), and the procedures will vary from car to car—but the principles apply to any project vehicle with windows.
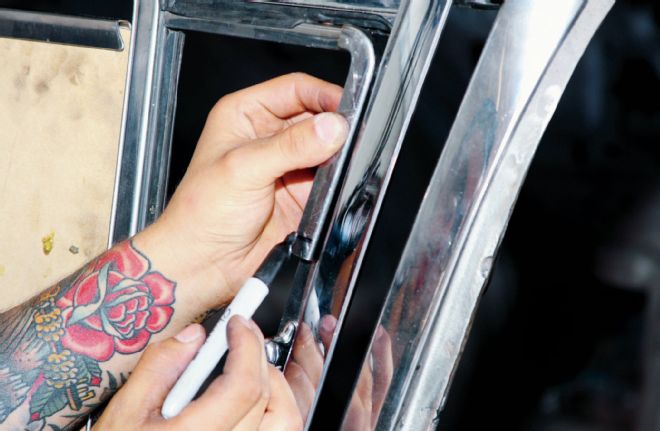
11. The L-shaped bar was fastened with two screws from the vertical channel and two from the top of the curved channel.
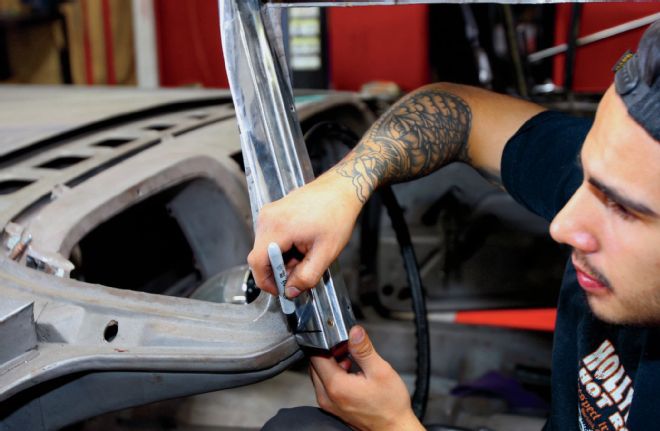
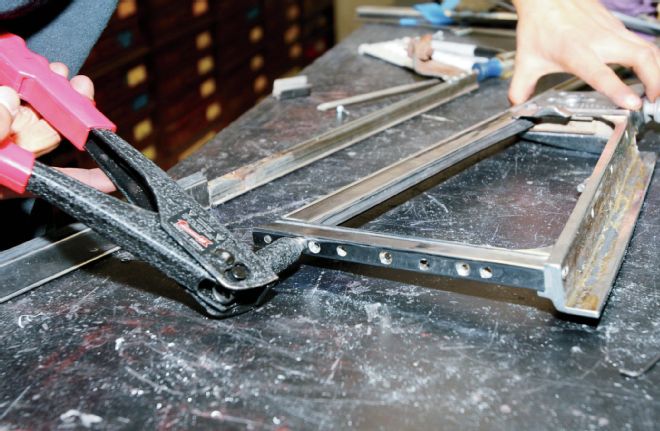
12. The A-pillars were cut approximately 1 inch at the bottom to make them fit. The windwings are smaller than the other side windows, but structurally more complicated and required more work.
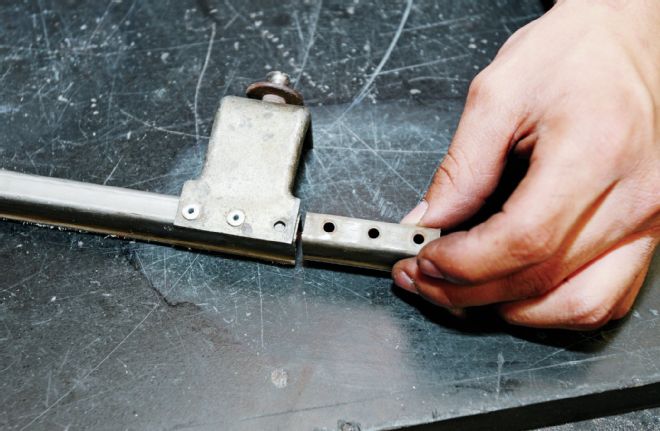
13. The top chop lowered the vertical arm of the windwing structure (which serves as a channel for the door window glass) 2-1/4 inches, so the mounting bracket at the bottom was removed and 2-1/4 inches were cut from the bottom. Fierro drilled new mounting holes and riveted the bracket at the bottom of the shortened arm.
14. The vertical arm has a chrome outer sleeve covering the channel. Once the arm was modified, the sleeve extended below where the lower windwing frame connects to this arm (compare photos). The extra length of sleeve (arrow) was cut off.
15. The windwing frame's horizontal top and the (slightly diagonal) vertical section were originally one piece. They were cut at the top forward corner so that 2-1/4 inches (the amount of the top chop) could be removed from the vertical portion. The horizontal top piece would then be re-attached.
16. A channel in the vertical section (for the rubber seal) left a gap (arrow) at the new top of the piece, where the horizontal top section needed to attach. The pot metal pieces can't be welded so Fierro had to find an alternative way to reconnect them.
17. He machined a small tab to allow the two pieces to bolt together and drilled two mounting holes.
18. The top piece and the rear vertical arm were riveted together. Since the arm was cut from the bottom, these two pieces could be riveted in the original spot.
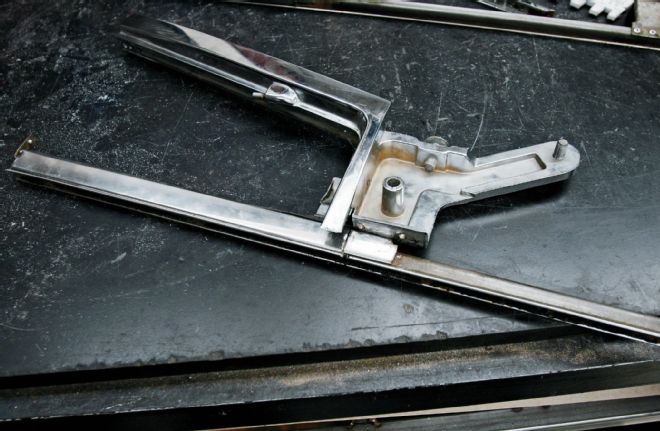
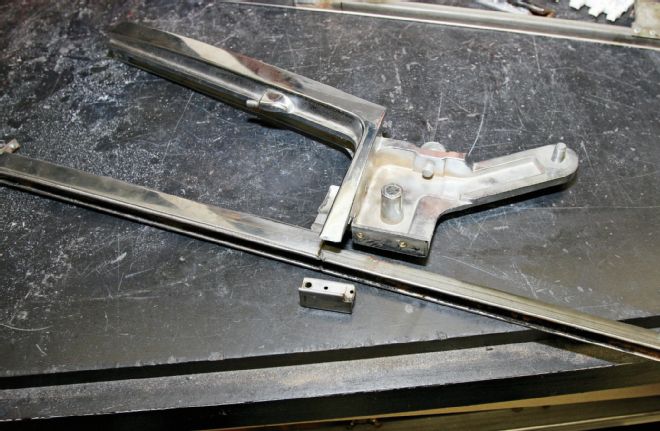
19. This is what the passenger-side chopped windwing frame (minus the C-shaped inner channel) looks like reassembled.
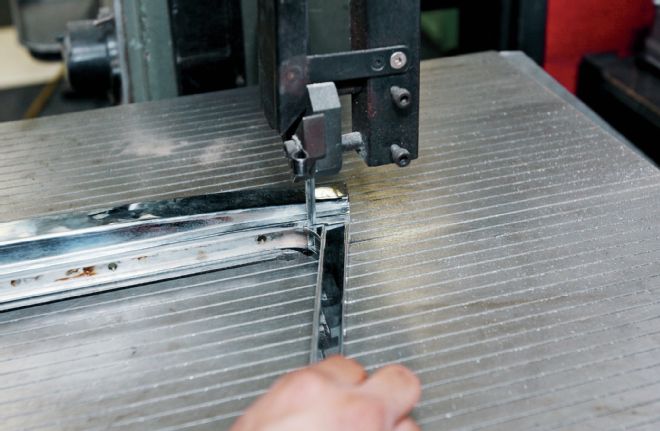
20. Of course, the one-piece C-shaped windwing channels also had to be cut down, as well as the rubber seals. The rubber was re-installed using super-strength glue.
21. Since this piece is steel, Fierro was able to weld it once it was cut and shaped to the right fit.
22. When the cool square 'Bird is finished, you'll see how it looks with fresh glass and chrome. Even without those things, we're impressed by the looks of the chopped top and windows.