Whether in the previous S197 generation or the current sixth-generation S550 models, the Coyote 5.0 engine has breathed new life into the world of Mustang performance. The Coyote 5.0 has unquestionably proven its merits on the street and strip, and its rotating assembly stands up admirably to moderate levels of boost without the need for reinforcement.
As with any production-based engine, however, pushing the Coyote drastically beyond the intent of its original design has definite limits. Cracks show up figuratively and literally. For Ford’s 21st century 5.0, cracks can materialize in the factory cast-in-place iron cylinder liners, or sleeves.
“For most enthusiasts, it’s not really a problem until you start pushing toward 1,000 hp, although we’ve seen a lot of variance in factory blocks,” says Mike Schropp, a Coyote engine builder at Livernois Motorsports. “It’s true that we’ve seen cracked sleeves on cars with only about 500 hp and a bad tune, but generally the factory sleeves are good enough for most bolt-on performance enhancements.”
The high combustion temperatures and cylinder pressures of a boosted engine can distort and crack the comparatively brittle, pressed-in, thin-walled cast iron factory sleeves. That represents a host of potentially catastrophic engine problems— all of them expensive and potentially lethal for the entire engine if left unattended.
A relative lack of uniformity in the factory sleeves’ wall thickness contributes to cracking, but again, we should be clear that we’re talking about an issue that really isn’t one for enthusiasts running mildly modified cars and even those with bolt-on blower kits. The condition is the result of the factory’s machining process, which leaves the sleeve not entirely concentric with the cylinder bore in the aluminum block, producing a sleeve with thick and thin areas. The thin areas, of course, are the problem when the boost level pushes into double digits.
Installing new, stronger, and more precisely machined sleeves is the solution. It’s a time-honored machine shop process and one Livernois Motorsports and other builders are using to squeeze 1,500 hp or more from Coyote-based engines.
Schropp says, “If you’re building an engine for 1,000 hp or more, you’re going to be upgrading the rotating assembly, so it’s a smart and cost-effective procedure when you’re already going to tear down the engine. You just don’t want to risk the stock sleeves being the weak link in an otherwise strong combination.”
Livernois uses custom, centrifugally cast ductile iron sleeves, which offer a tensile strength of 120 ksi compared to gray cast iron’s approximately 30 ksi. Ductile iron is also relatively plastic, meaning it flexes much more than conventional, brittle cast iron. Flexibility helps prevent cracking. For combinations up to about 1,100 hp, Livernois can install 3.700-diameter sleeves in the Coyote block, which are still stronger and more flexible than the stock sleeves but provide an extra 12 ci or so in displacement. Beyond that power threshold, thicker-walled sleeves increase strength for very high power, with bore sizes ranging from 3.630 to 3.680 inches.
We recently followed the process of extracting the factory sleeves and installing Livernois’ proprietary ductile iron versions at the Livernois facility near Detroit. Depending on the power level and complexity involved, the job ranges from about $1,000 to $1,400. As Schropp noted, it is money well spent for peace of mind and durability.
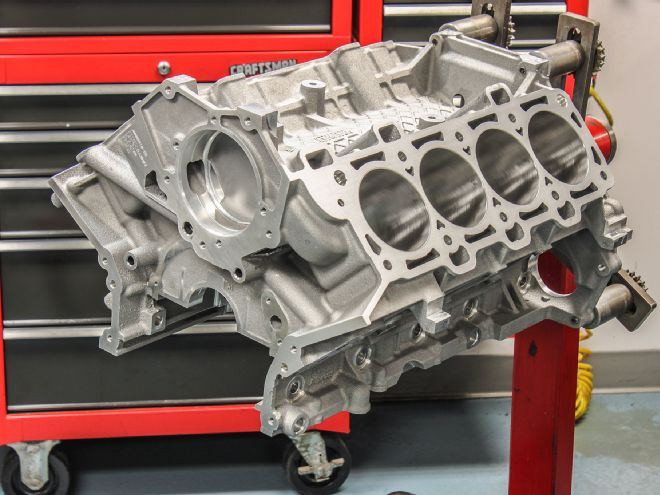
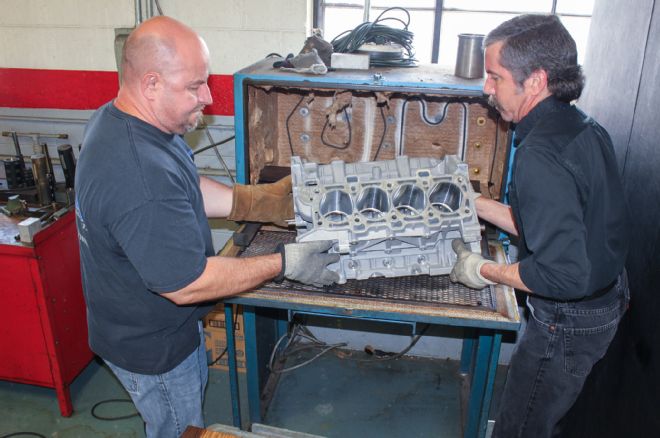
1. The cast aluminum Coyote engine block is admirably strong in stock form, but when it comes to building an engine for high boost and horsepower numbers pushing the 1,000hp level, it could use some help in the cylinder sleeve department.
2. At high power, the relatively brittle, factory pressed-in, 0.060-inch-thick cast iron cylinder sleeves can crack. And they’re not always concentric to the bore, which exacerbates the problem.
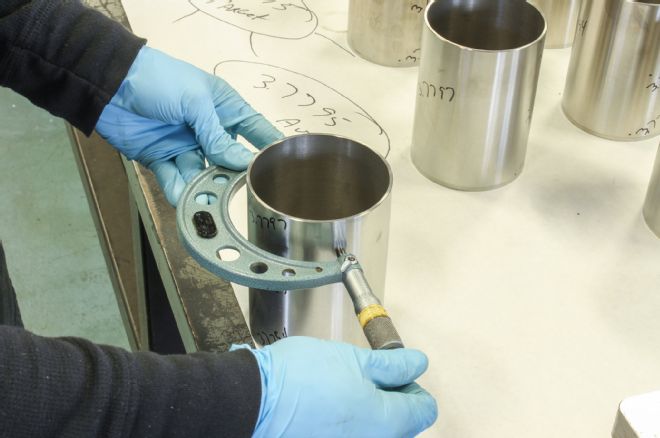
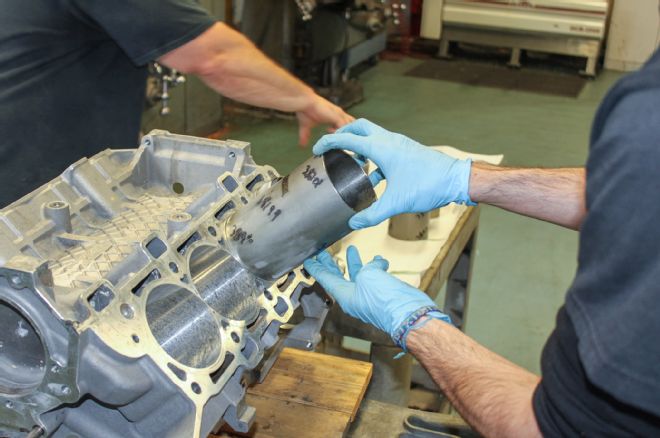
3. Livernois Motorsports uses tougher, proprietary ductile iron race sleeves, which have significantly greater tensile strength over the factory sleeves. The outside diameter is measured prior to installation so the machinist will know the proper bore dimensions to machine the block for a perfect fit.
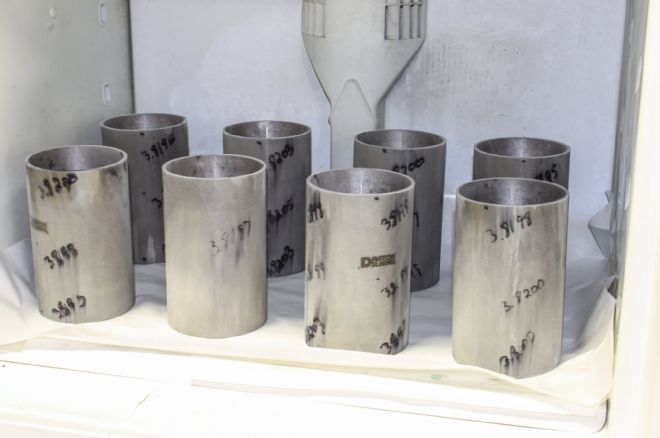
4. The sleeves then go into a freezer for a few hours, which causes them to shrink enough to drop right into the cylinder bores.
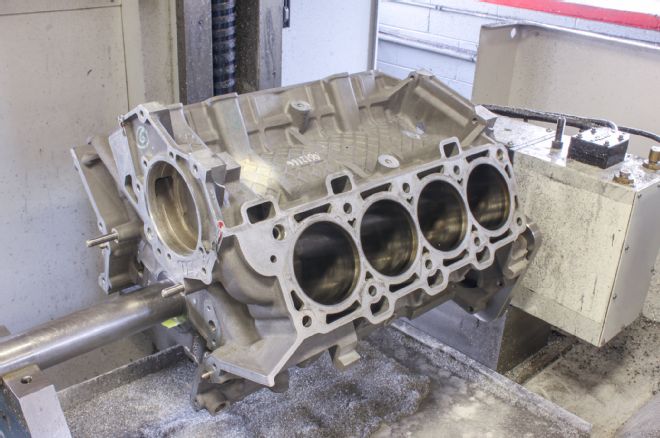
5. The block is affixed to an RMC V30 four-axis CNC machine, which will handle all aspects of the cylinder surgery, from the cutting out of the stock sleeves to the final boring of the replacements after they’re installed.
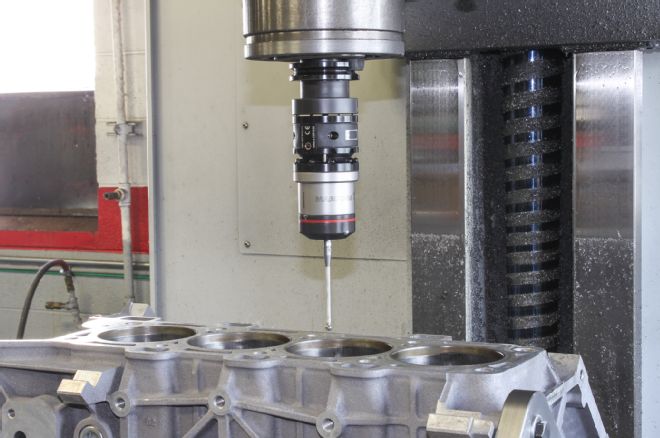
6. A probe tool on the CNC machine measures a multitude of coordinates before the cutting begins. It measures the deck height on both sides, confirms the bore centers, and so on, giving the CNC reference points crucial to accurate machining.

7. The CNC machine is programmed with the factory specs for all of the coordinates measured, allowing the machinist to compare them and note major anomalies. In their experience the machinists at Livernois Motorsports have noted variances of 0.002-0.007 inch in the positions of the machined factory sleeves. It’s typically a progressive issue, with the first bore on a cylinder bank pretty close to spot-on and the succeeding bores off just a little more than the last. For stock engines with minor mods, this is nothing to worry about; it’s simply the variances of mass production.
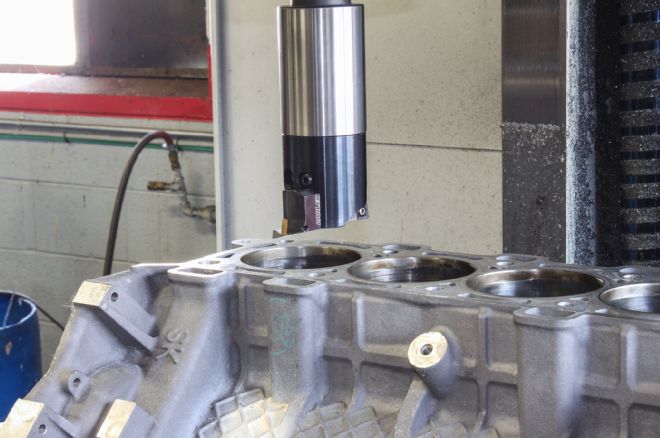
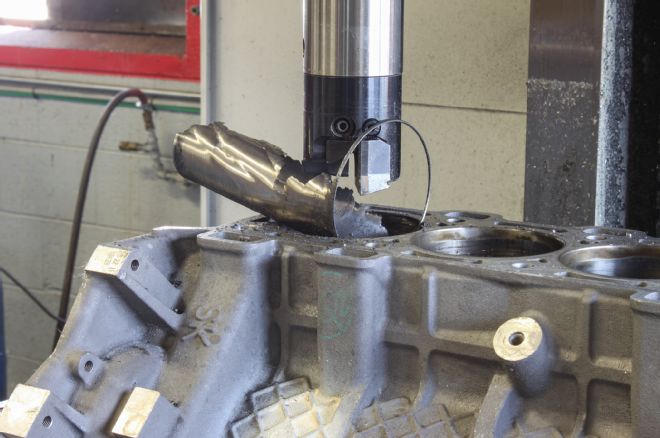
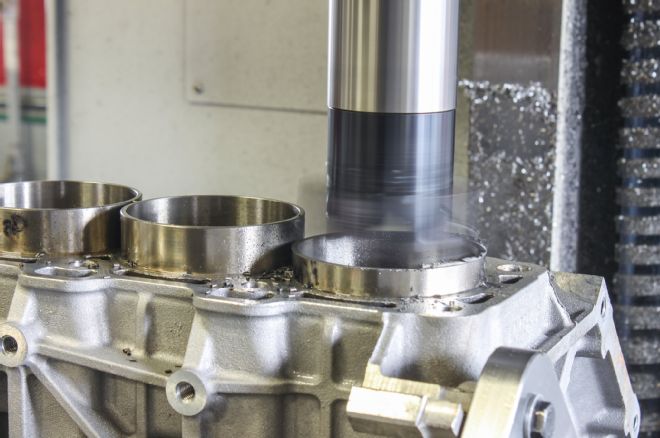
8. A carbide-tipped tool is positioned at the top of the bore to begin the rough-cutting part of the procedure that will dislodge the factory cast iron sleeve.
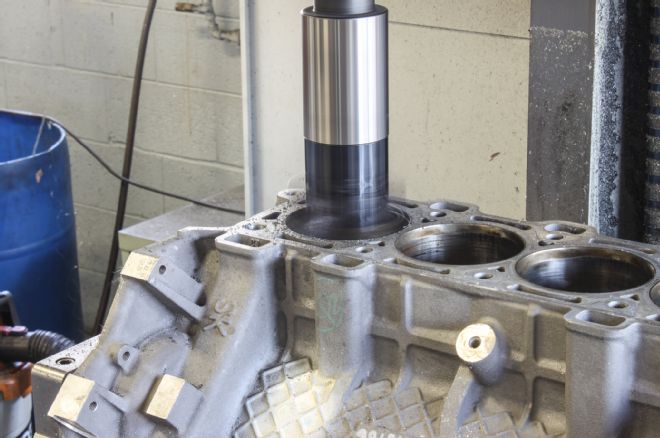
9. The cutting is necessarily slow and tedious to prevent damage to the aluminum block. It may take 10-15 minutes per sleeve, whereas boring out an iron block’s eight cylinders could be done in half the time or less.
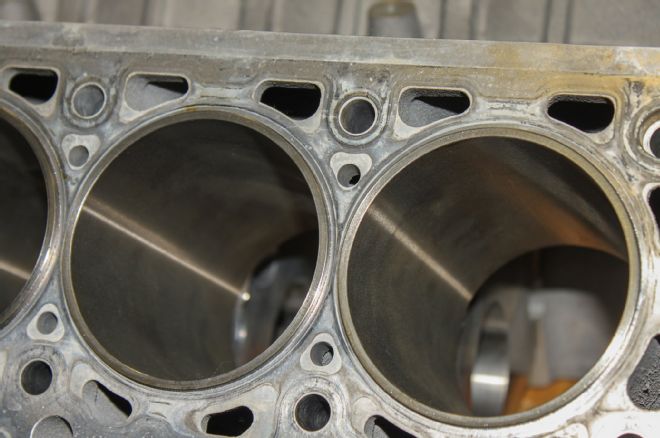
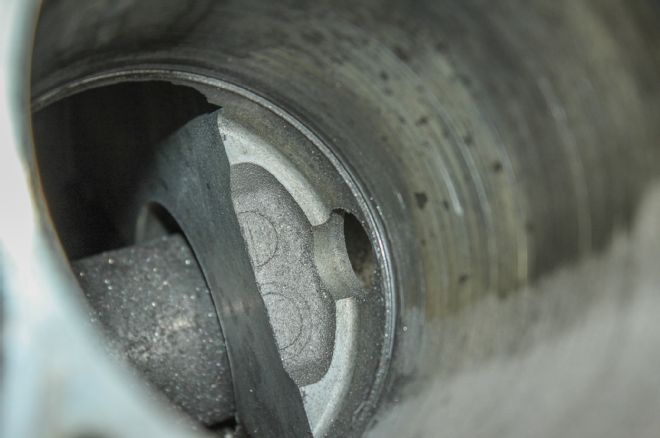
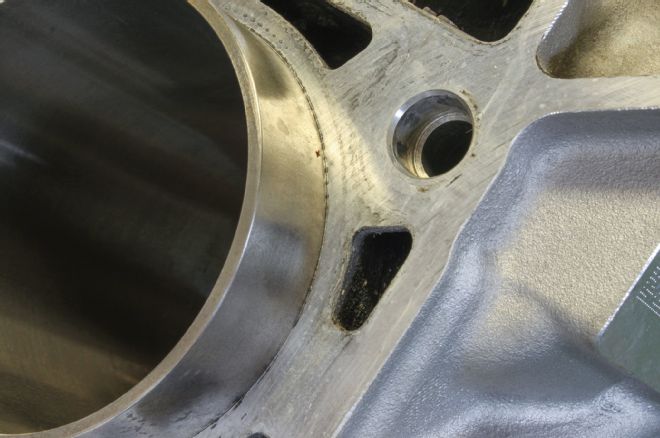
10. The telling aspect of this extracted sleeve is how the material is clearly cut away more on one side. It’s an indicator of the variance in the original machining, meaning that the sleeve wasn’t concentric with the block’s bore.
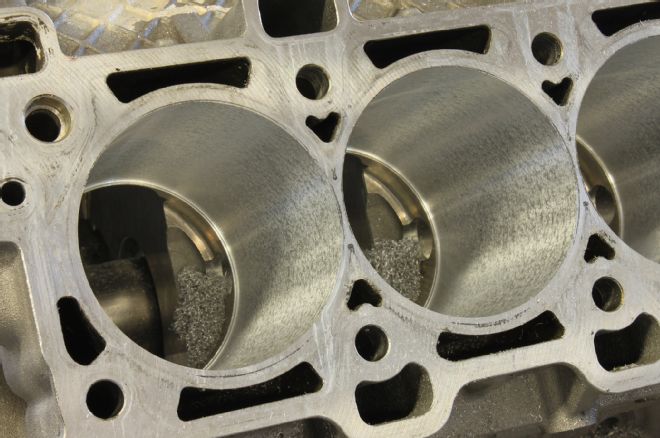
11. Another indicator of the lack of uniformity in the factory sleeve’s machining is the lack of uniformity in the finish on the cylinder walls after the sleeve was removed, indicating the cutter was digging into the wall in some areas. The lip at the bottom of the bore is where the sleeve anchors during installation.
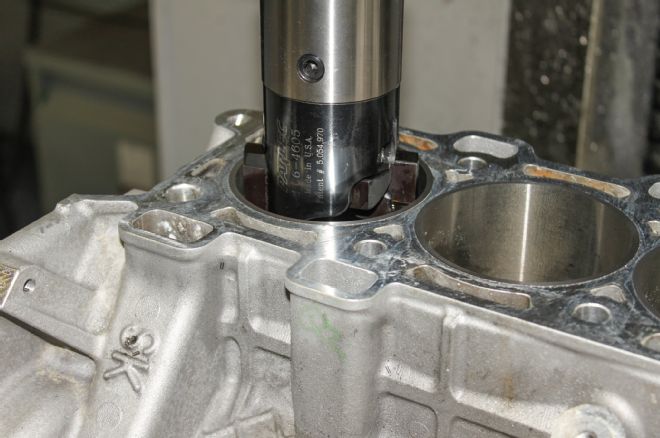
12. With the factory sleeves removed, the cylinder bores are machined to match the outside diameter specs of the new, ductile iron sleeves.
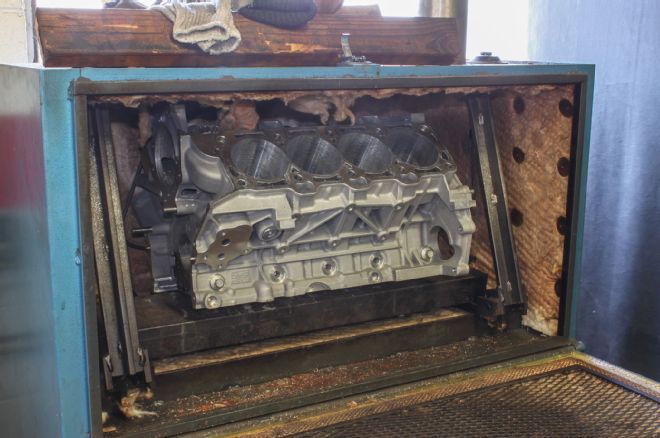
13. After the machined block is washed, it is put in an oven heated between 200 and 350 degrees F. The optimal temperature depends on a number of factors that vary between applications. The aluminum grows under the heat, expanding the bores enough to allow the chilled new sleeves to slide in easily.
14. The block “cooks” for about one to three hours, or until the edges turn a golden brown. No, wait—that’s cherry pie. The timeframe is correct though. Another advantage of the procedure is that it relieves in the block some of the tension generated during machining, ensuring a more accurate finished product.
15. Installing the new sleeves is a coordinated step that must be performed methodically and ideally with two installers, one per cylinder bank. There are only a few minutes to act before the sleeves warm up too much and the block cools down too much. If the window of opportunity is missed, a sleeve could get stuck halfway in the bore, requiring that it be cut out and the project started all over again.
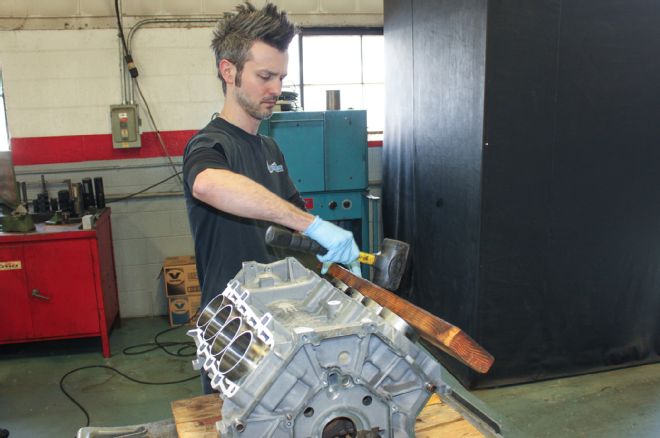
16. A 2x4 and a mallet help seat the new sleeves quickly and evenly against the lips at the bottom of the bores. Yes, the sleeves protrude from the bores at this point and must be trimmed to the proper height.
17. A close-up of the new sleeve in the bore shows the perfect seal created after the temperature of it and the block equalize. It’s not going to budge.
18. Back on the CNC machine, the sleeves are cut down to just a hair above the deck surface.
19. Next, the sleeves are finish-bored. The sleeves in this project engine were taken to 3.700 inches, which adds about 12 ci to the displacement.
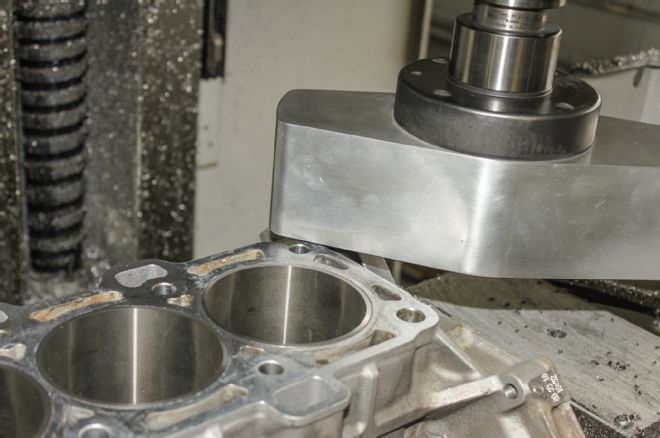
20. The final machining step with the CNC machine is decking the block. It’s done to square up the decks, which typically vary a couple of thou or more from the factory, as much as it is done to equalize the sleeves and deck surface.
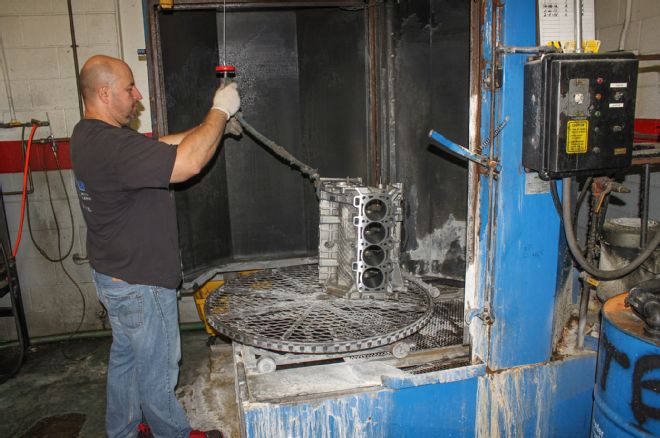
21. The sleeving procedure wraps up with one final cleansing to wash and blow away any metal chips remaining from the machining.
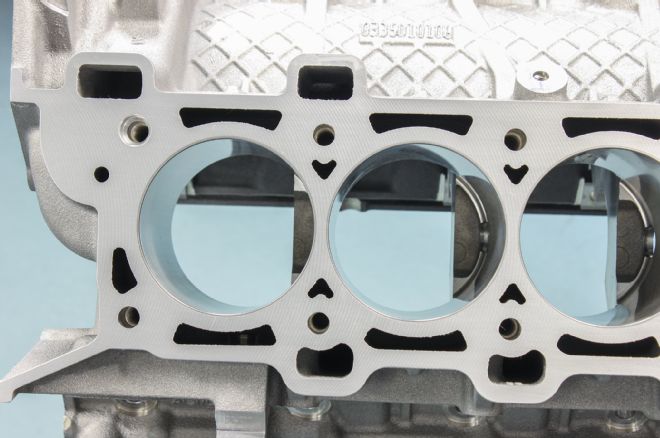
22. The sleeves in the modified block look absolutely factory installed—and they’re better than that. The concentricity of the sleeves’ bores and the strength they offer make the block a superior product. Bring on the boost!