When I think of power steering I cant help but think about the hours I spent crawling under giant U-Haul trucks replacing broken power steering boxes and hoses. The dreaded power steering fluid that leaked all over made replacing parts a dirty mess. It seemed no matter how much brake cleaner or fresh shop rags I used I still got the slimy power steering fluid everywhere.
So why am I talking about some dirty, old U-Haul truck that does not apply to classic trucks? I think it does in a way and I'll explain. Working on those big trucks showed me that power steering parts can and will wear out. In almost every case that I've seen, the power steering pressure side was the one causing the mess. Either the hoses were not run properly, hit moving suspension parts, or they cracked from age and heat.
In most circumstances the rubber just after the high-pressure crimp was to blame. Now when the power steering system develops a leak this can introduce air into the system causing more problems. With air now entering the system the pump, rack-and-pinion, or gearbox is working extra hard to assist you in turning the wheel. Because of air, the next weak link ends up being the power steering pump. Guess what? That little whine that you hear on startup or pulling out of a parking lot can be a subtle sign to take a closer look at the power steering system.
To avoid possible power steering issues, I took a look at my power steering and decided that plain old rubber hoses were not going to work for me. Looking at my options, I decided on the Flaming River stainless steel power steering hoses not only for performance, but also for looks.
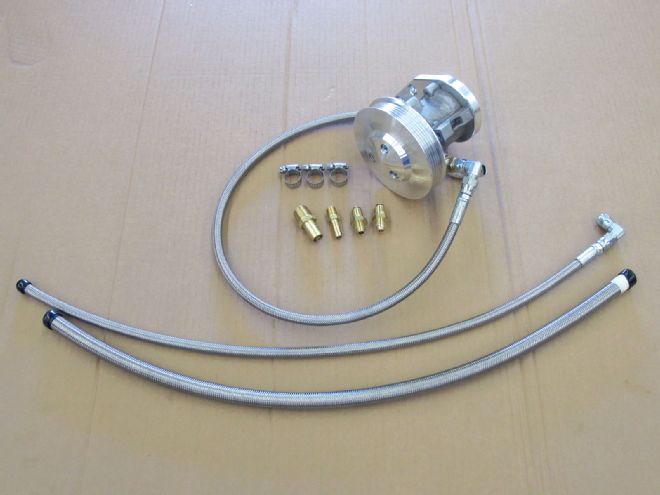
01. This is the smaller GM type II pump fitted with a March Performance serpentine pulley kit. The pump has a much smaller appearance than that of other pumps, plus it works great with rack-and-pinion.

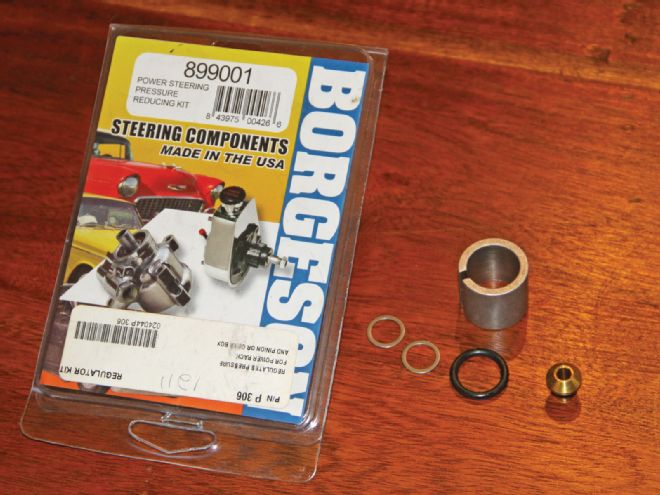
02. The Gen II pump can produce pressure that can exceed some rack-and-pinion's pressure ratings. The March Performance pulley kit comes with a Borgeson power steering pressure reducer kit (part number 899001). This kit will reduce the pressure of the Gen II power steering pump.
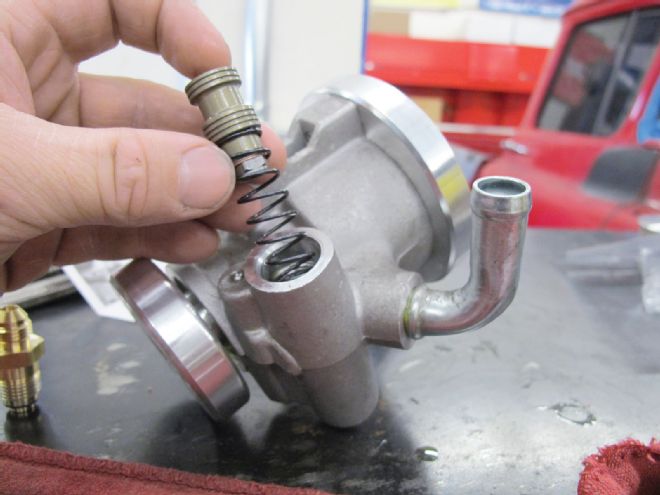
03. With a 7/8-inch wrench I unscrewed the power steering pressure side. In this photo I am carefully sliding out the flow valve and spring. The flow valve needs to float inside the pump with no binding, so be very careful with it.
04. The Borgeson kit uses a machined sleeve that slides around the flow valve.

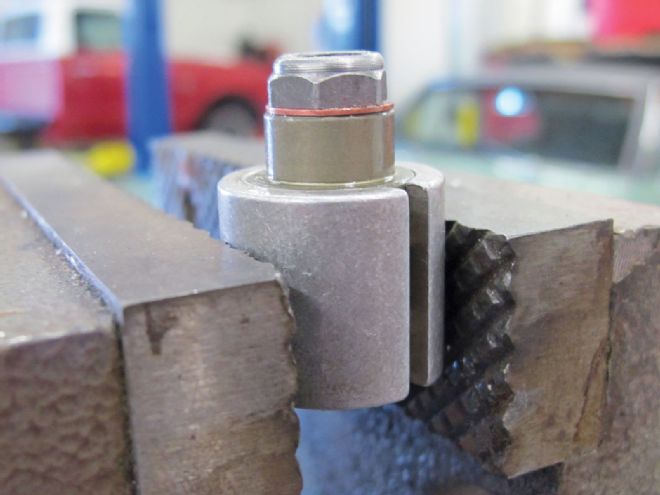
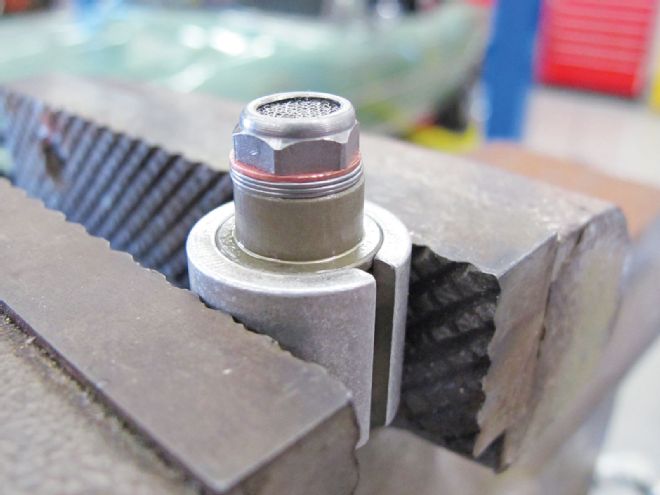
05.The sleeve is then clamped in a vise to hold the flow valve in place.
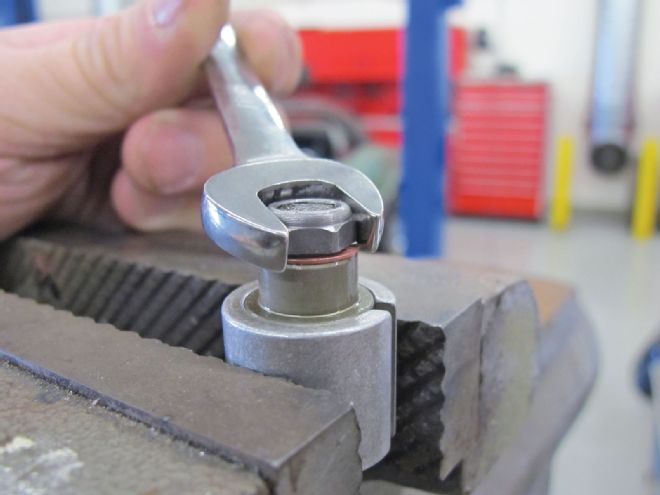
06. The flow valve is then unscrewed to gain access...
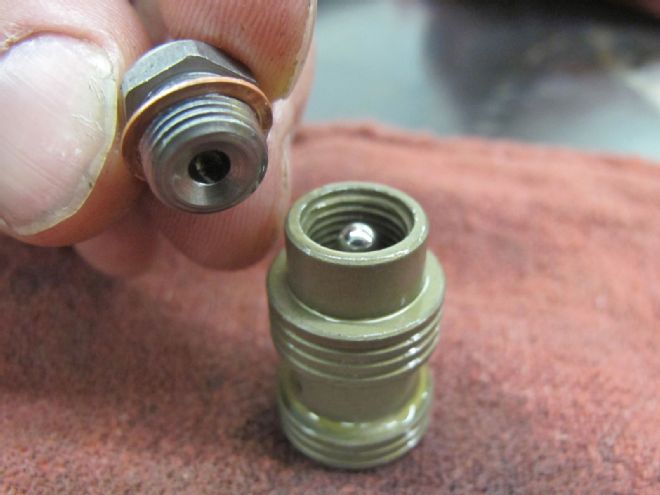
07....to the internal part of the valve.
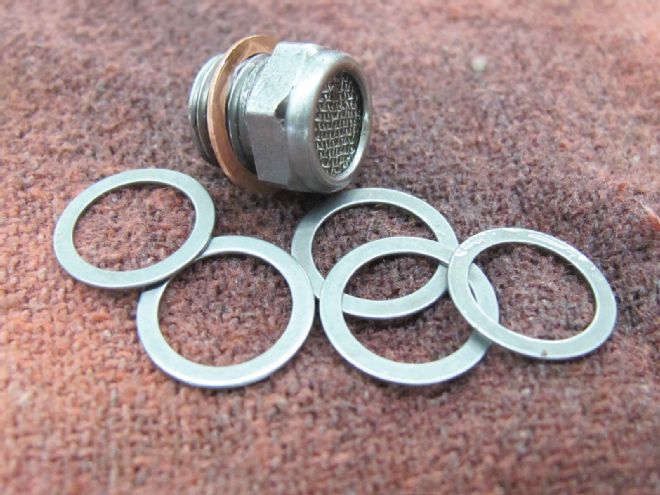
08. Shims are then used on the bolt that was removed. This will space the internals of the valve to regulate pressure. The more shims that are used, the more the pressure is reduced. No shims = 1,350 psi, one shim = 1,200 psi, two shims = 1,100 psi, three shims = 1,000 psi, four shims = 850 psi, and five shims = 700 psi.
09. Since I will be using a Flaming River rack-and-pinion I will start with three shims reducing the pressure to 1,000 psi. If the system requires more pressure then I will remove a shim to increase it.
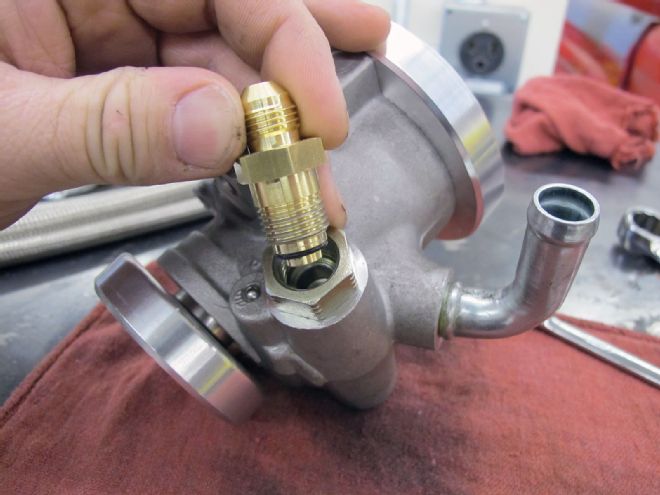
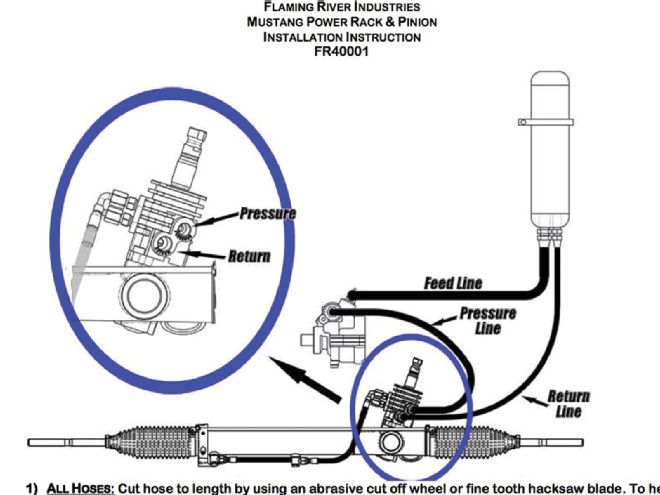
10. I used a Flaming River hose kit (part number FR1610) to adapt the Flaming River rack-and-pinion, Gen II power steering pump, and remote reservoir. The pressure side uses an -06 AN fitting that will make a tight seal to the new high-pressure hose.
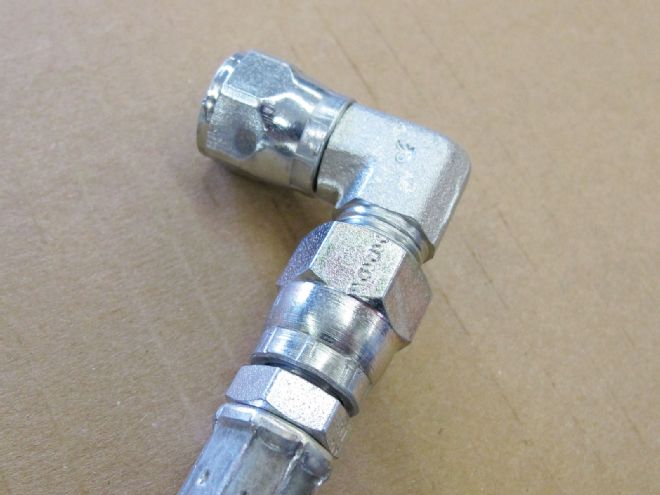
11. Don't make the mistake and try to use a regular AN hose and fittings. Power steering pressures are much greater than that of fuel or oil pressures. Flaming River's pressure lines are crimped from the factory and can't be cut to fit.
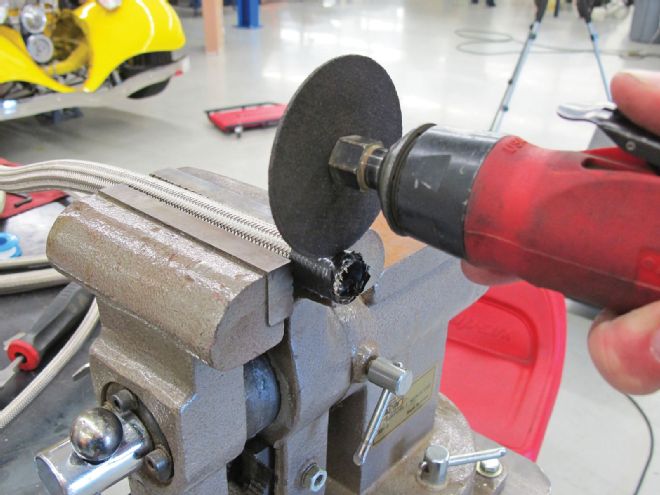
12. On the other hand the return side can be cut to fit because it doesn't have nearly as much pressure on the hose. I like to use tape around where I'm going to cut and use a cutoff wheel to make a clean cut.
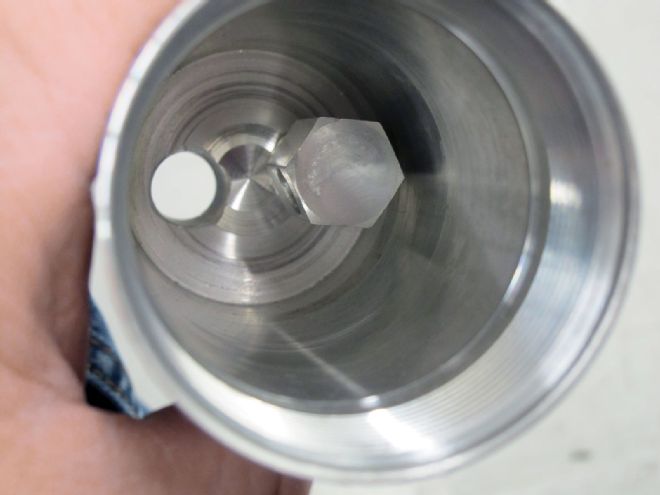
13. This is the inside of the remote reservoir. Notice the extended nut on one side and not the other? This is used to reduce the chance of air entering the system. Coming from the rack-and-pinion the return line should enter the right side of the reservoir, putting power steering fluid back into the reservoir, while the left side hole with no extension will drain back into the pump.
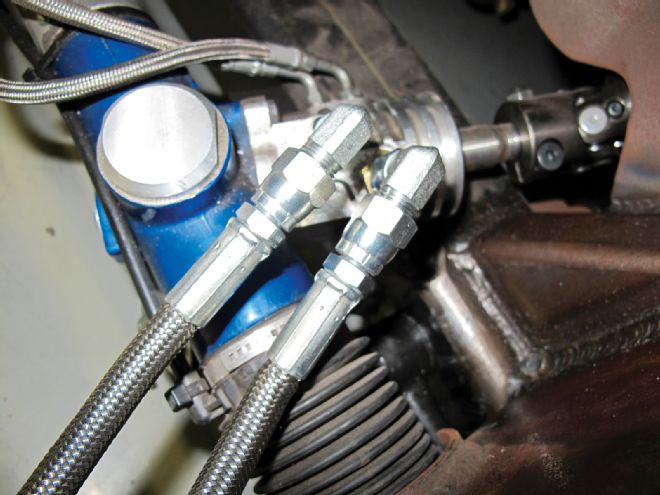
14. AN fittings are also used on the pressure and return side of the Flaming River rack. Make sure to apply a small amount of power steering fluid on the rubber O-ring before screwing the fittings in.
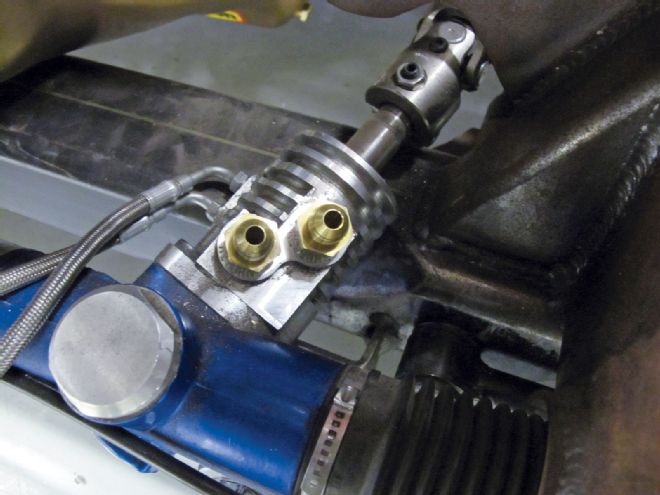
15. Flaming River marks the pressure and return side of the rack on the rack. Right is the pressure side and left is the return.
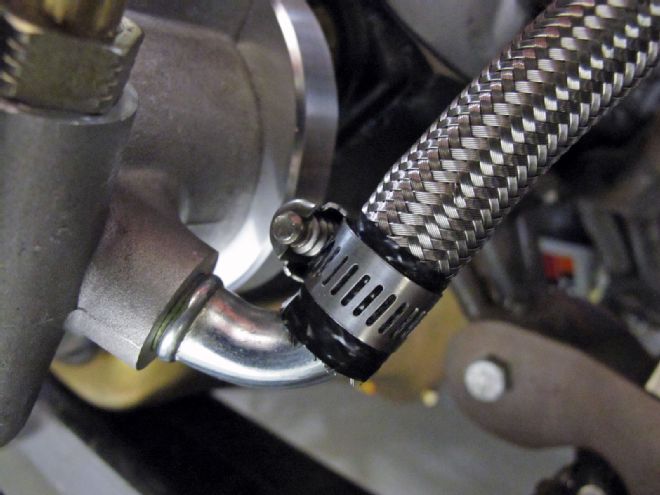
16. The return side uses a simple hose clamp to secure the hose to the pump. Notice I used electrical tape to help hold the stainless together.
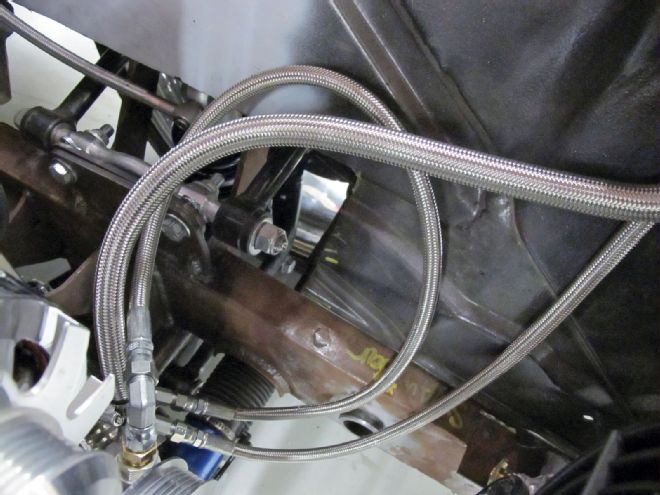
17. This is an overview on how the power steering lines should be run.
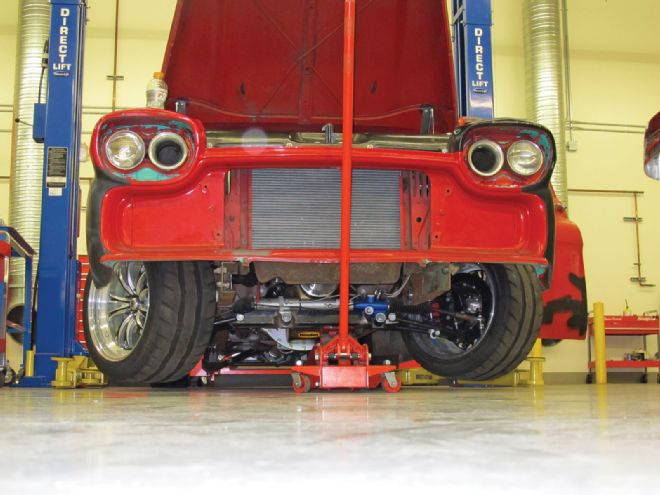
18. After hooking up the hoses I filled the system with high-quality power steering fluid. DO NOT use trans fluid or any Dexron type fluid. With the vehicle's front end raised off the ground I could start the engine, fill the remote reservoir, and check for leaks. Raising the vehicle puts less stress on the power steering pump when cycling the wheel back and forth.
19. After the power steering is bled I can secure the lines to the inner fenderwell. Make sure the lines are free of bind and not rubbing each other when securing them.
