Weekend projects are always a lot of fun. The interior of our '65 Ford was pretty well worn when we purchased the truck after years of sitting in a field had taken its toll. We recently grabbed an LMC Truck catalog and made a list all the parts we needed. After compiling our list, we rang them up, and with one phone call we had everything thing we needed to bring our project truck up to speed and headed our way.
Upon arrival, we took our big box of parts over to Krusty's Kustoms in Azle, Texas, and had him hook us up. Before owner Rusty Stallings reinstalled the parts, he needed to the clean up the cab. Grabbing a grinder, he loaded up an 80-grit flap disc and proceeded to grind away all the rough spots as well as any rust. Now down to bare metal, he used some etch primer we purchased from a local automobile paint store to coat the floor and protect it from any further rust damage.
While we were at the paint store we had them color match our interior color and put it into a spray can for us (some paint suppliers are able to do this). This was extremely helpful and saved us a huge amount of time because the paint is ready to go. No mixing, no spray gun, and no dragging out the compressor, simply spray and go. Once the paint was dry, Rusty then grabbed the box of parts and began installing them.
Over the course of a weekend, our cab took on a whole new appearance. Now we are ready to ride in style.
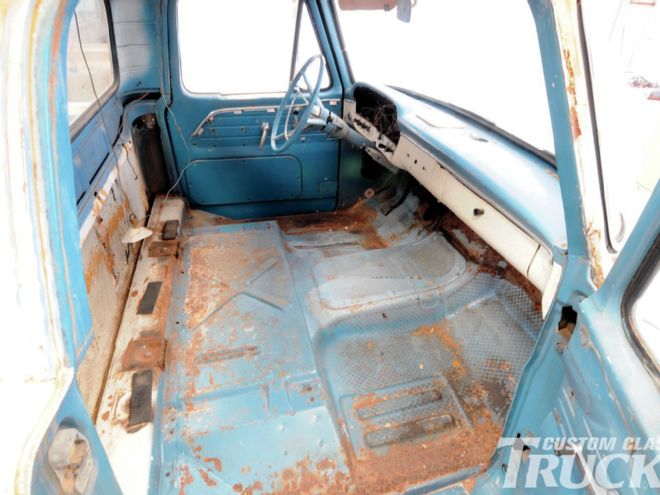
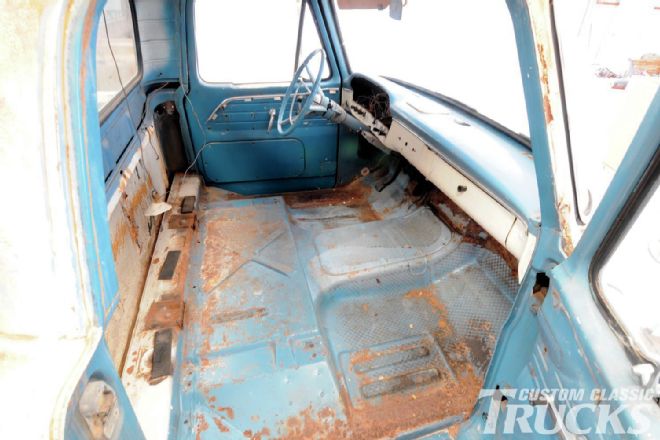 1. Our interior was a little rough when we first started.
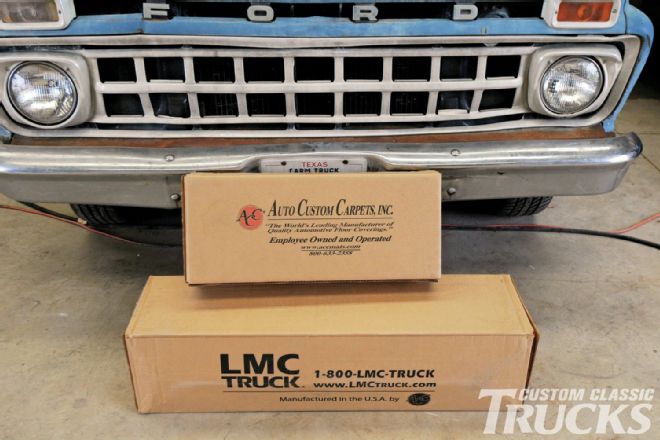
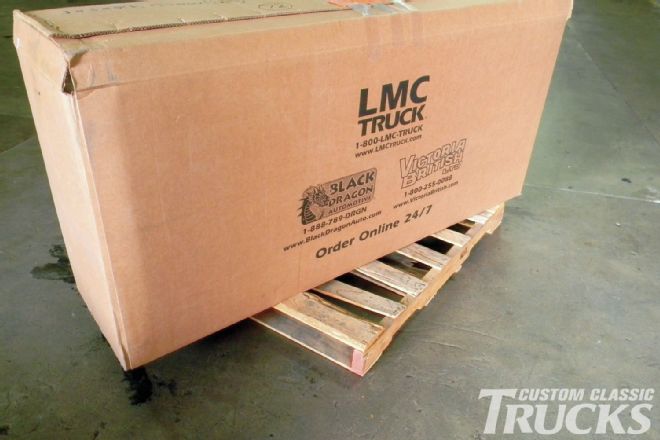 2. Our parts arrived from LMC Truck, well packaged and damage free.
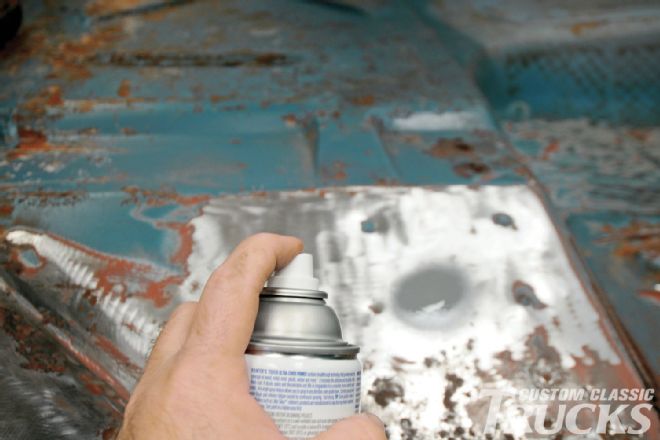
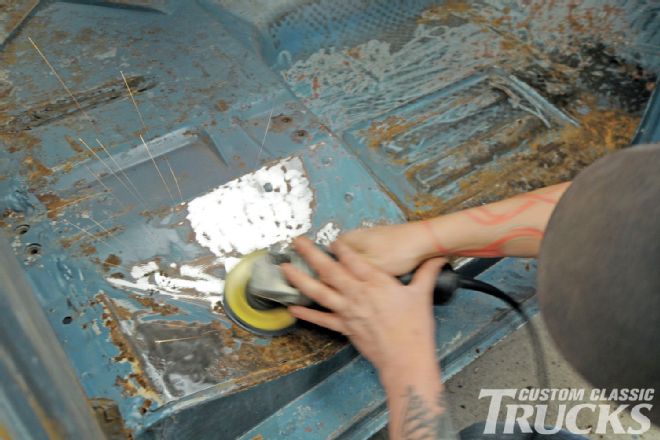 3. Rusty uses an 80-grit flap disc to grind off the paint and rust that was hiding under the old interior.
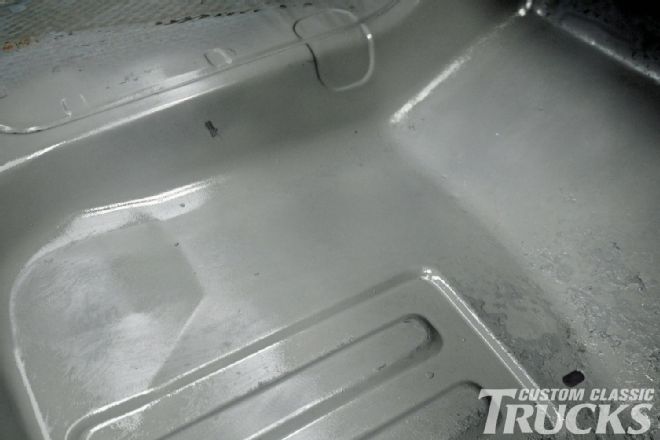 4. We still have a ways to go, but here is the floorboard with most of the paint and rust gone.
 5. When all the paint and rust is removed Rusty applied an etch primer to seal the bare floor.
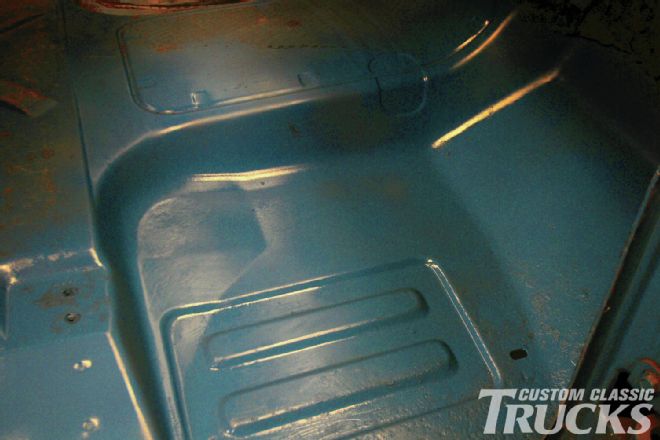
6. Here is the floorboard with two good coats sprayed on.
5. When all the paint and rust is removed Rusty applied an etch primer to seal the bare floor.
6. Here is the floorboard with two good coats sprayed on.
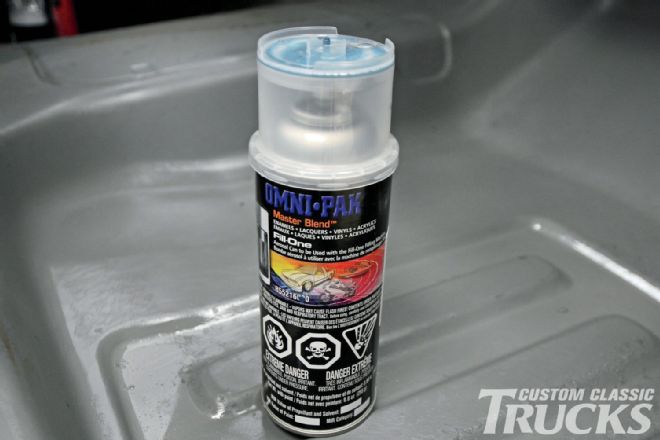 7. We had a local paint store match the factory interior paint color and they were able to provide it to us in a spray can, a convenient alternative to the usual mix-and-squirt method.
 8. Here is a picture of the first layer of paint sprayed on.
 9. Next, it’s time to unpack the carpet and insulation kit we ordered from LMC Truck.
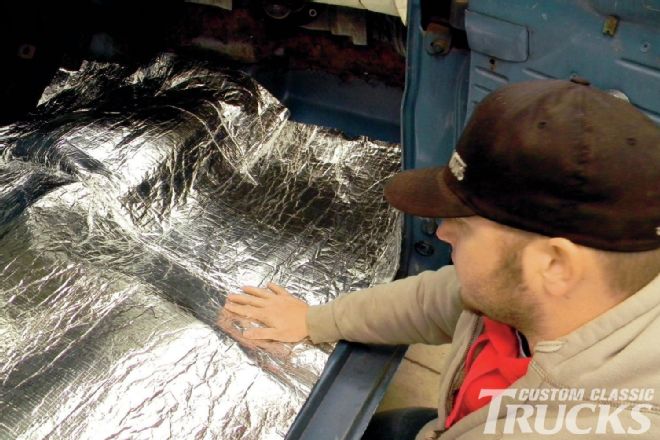 10. Rusty lays out the heat shield making sure it’s centered.
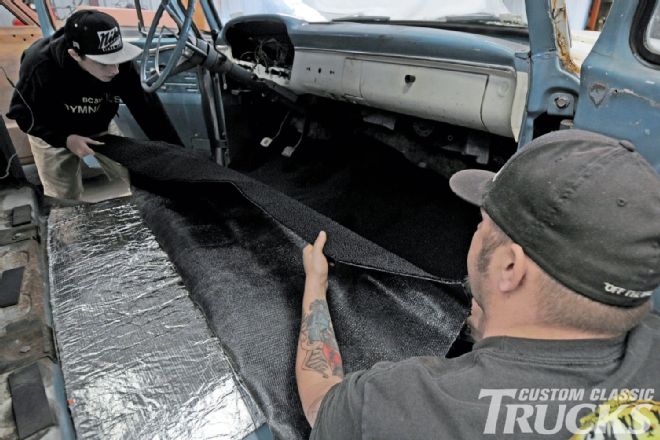 11. Next, the carpet is laid out over the heat shield.
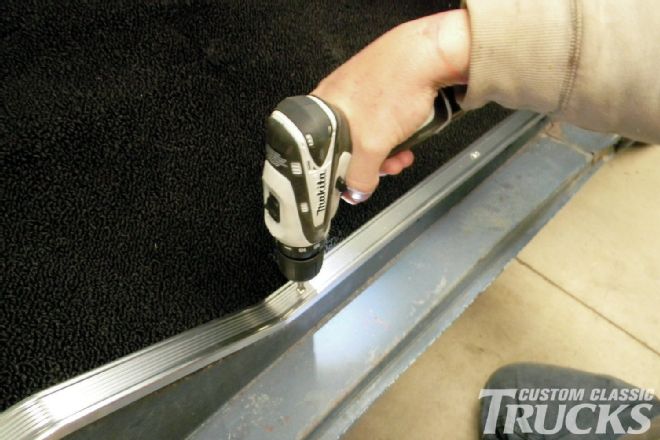 12. Our original sills were well worn so we replaced them with new ones from LMC Truck. These hold the carpet down at the doorsill and serve to protect the edge as well. A beat-up pair of sills just doesn’t do justice to a new carpet kit.
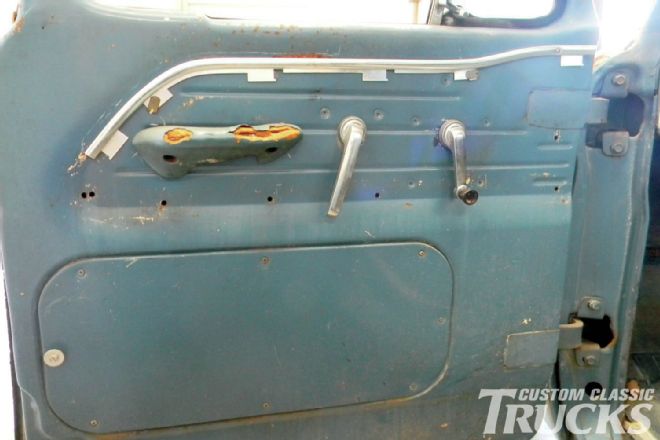 13. Moving on to our doors, it’s pretty apparent that they’re in need of some work.
 14. Our Ford truck was still pretty utilitarian at the time, so there isn’t much going on as far as upholstery is concerned regarding the doors. A new set of armrests, window cranks, and door handles cover the gist of what’s needed to refresh them.
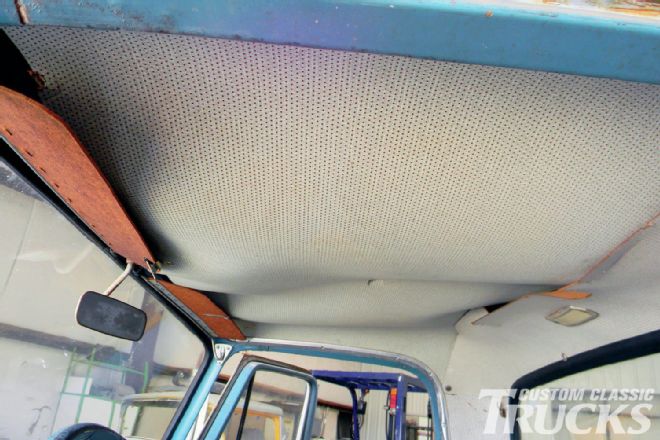 15. Turning our attention to the top of the cab, it was pretty obvious that what constituted a headliner had definitely seen better days as it was sagging and the vinyl had completely wore off the sunvisors. Thankfully, LMC Truck offers all the parts to take care of it.
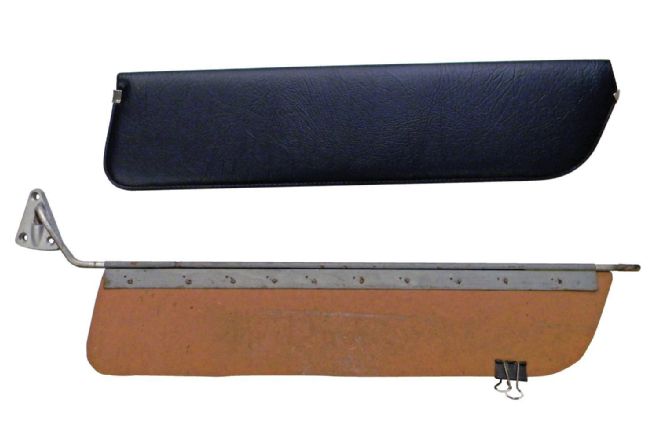 16. Here is the old and new sunvisor for comparison. You will need a pair of Vise-Grips to pull the metal rod out from the visor as it is two separate pieces and needs to be reused on the new visor.
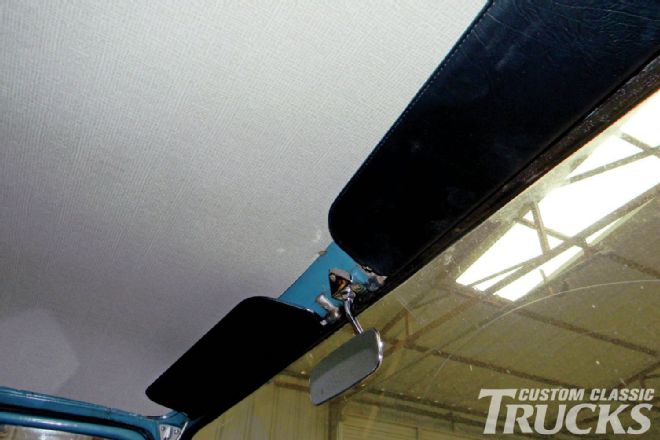
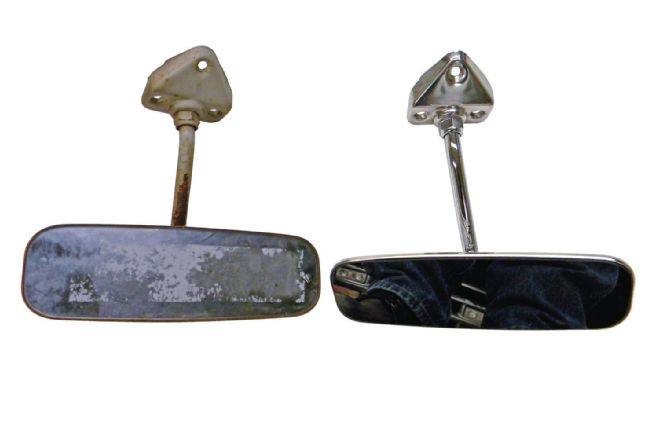 17. With two new visors flanking the old rearview mirror, it only made sense to replace it with a new chrome piece as well.
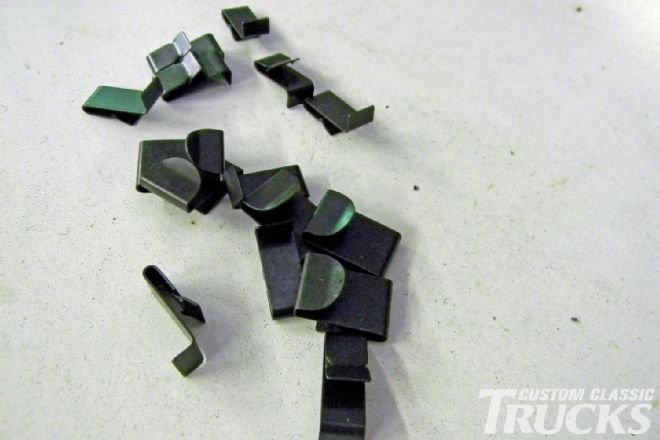 18. When you order the headliner, check to make sure that you have all the clips and they are in good shape as LMC Truck offers a replacement set.
 19. With the clips in place, the front part of the headliner can be slid into place.
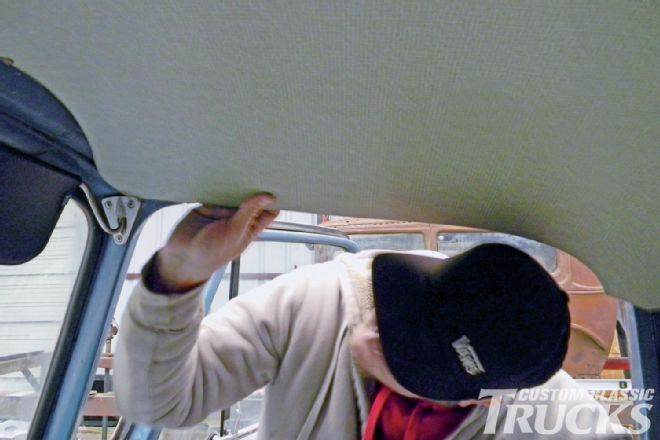 20. Next, the side of the headliner is carefully worked up toward the roof before the door trim is installed.
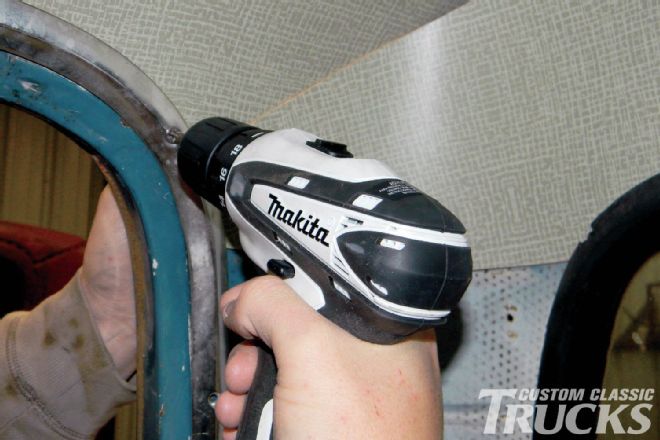 21. Rusty then reinstalls the door trim, which secures the headliner in place.
 22. LMC Truck sells the replacement headliner panels in gray only, but they offer color-matching paint if you want to paint them to match your interior.
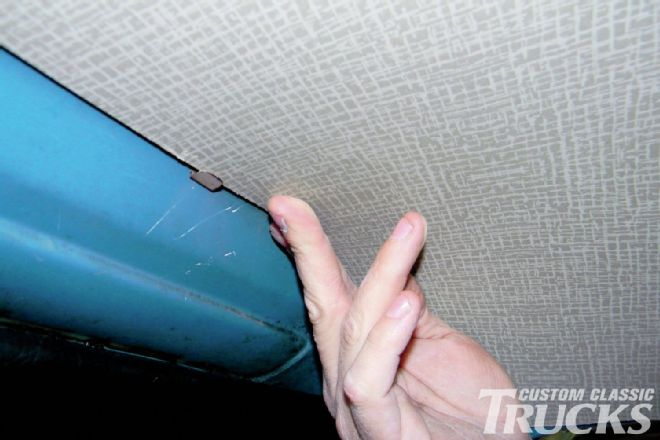
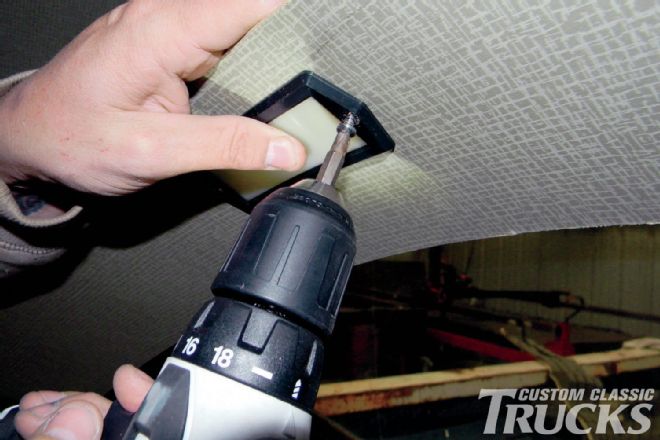
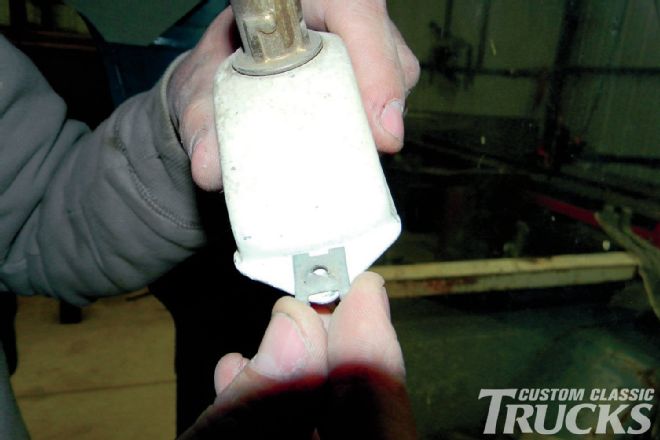 23. The original dome light socket was in good shape, but the lens was cracked so we lined up the original clip and popped it into the headliner.
 24. The original dome light socket was in good shape, but the lens was cracked so we lined up the original clip and popped it into the headliner.
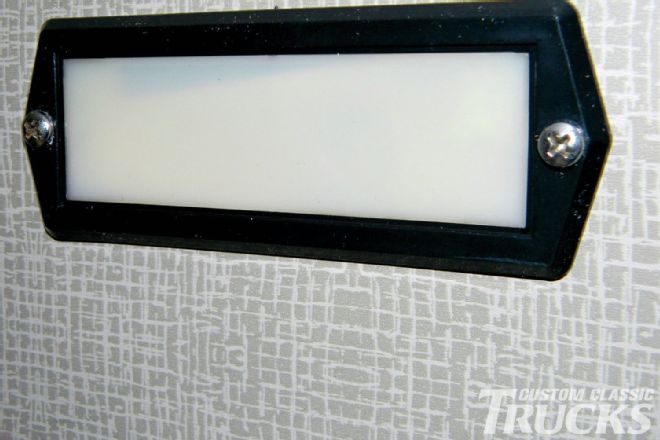 25. Here is our dome light in place.
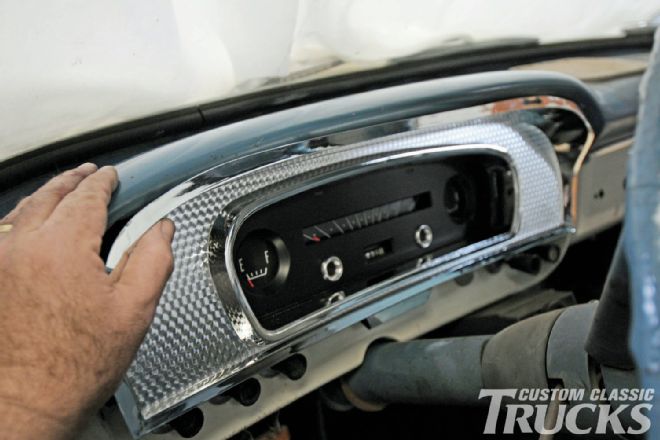 26. The final step was to install the gauge cluster back into the dash. We purchased a new gauge cluster seal from LMC Truck, which prevents the cluster and dash from vibrating against one another.
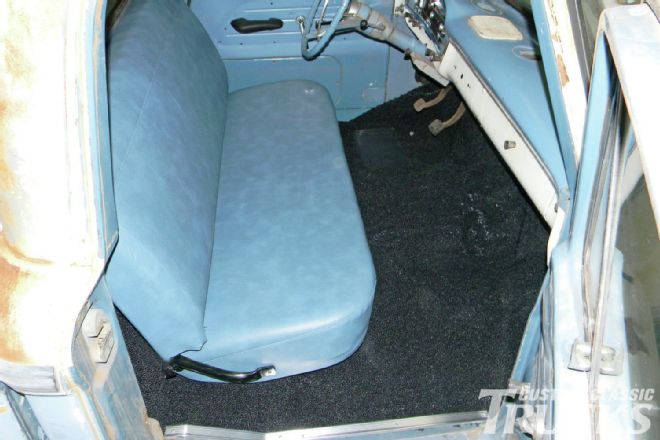 27. Here is a shot of our interior with all the new parts installed. All we have to do is trim the carpet on the driver side, install the doorsill. and we are ready to go driving.