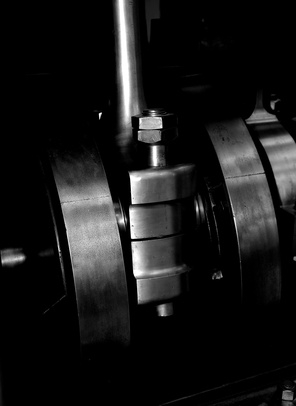
The crankshaft is the most critical component in an internal combustion engine. It endures extreme loads and shocks in repetitive cycles, making proper installation critical to its longevity. Bearing clearances are the single most important factor in a crankshaft's durability. Clearances that are too tight can cause premature wear and catastrophic failure, while clearances that are too loose can result in low oil pressure and sharp decreases in overall engine life. Each manufacturer has precise clearance specifications that must be followed when servicing or rebuilding.
Clean the back sides of the bearings with lint-free rags. Lay each bearing half with oil groove in each main saddle of the engine block. Lay the other bearing half from each bearing pair into the corresponding bearing main cap. Tabs on bearings must line up with recesses in the engine block or caps, and oil holes must also be in line. Do not hammer or use excessive force seating bearing halves into the engine block or caps, and do not lubricate bearing halves.
Clean the surfaces of the bearings in the engine block and the crankshaft journals with lint-free rags. Inspect oiling holes for dirt and clean accordingly.
Place the crankshaft into position on the main bearings.
Trim several pieces of plastic gauge material so they are slightly shorter than the width of the main bearings. Place one piece on each crank journal in line with the crankshaft's axis.
Clean the surfaces of the bearings in the main caps with lint-free rags. Carefully place each cap in its respective position on the crankshaft assembly, with the arrows on the caps pointing toward the front of the engine, using caution not to disturb the plastic gauge material.
Apply a light coat of oil to the main cap bolt threads and install them in their holes.
Refer to manufacturer's torque specifications and tightening sequences, then tighten the main cap bolts using a torque wrench. Do not rotate the crankshaft at any time during the procedure.
Remove the main cap bolts and lift off the main caps, using caution to avoid disturbing the plastic gauge material. Keep them in order with their respective main journal. If any caps are difficult to remove, use a soft hammer to lightly tap them from side to side to loosen them.
Compare the width of the crushed plastic gauge material on each crankshaft journal to the measuring scale included with the gauge material to determine the bearing clearance.
Refer to the manufacturer's specifications to determine whether clearances are within proper tolerances.