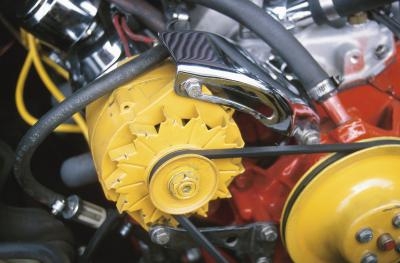
You can find a DC, or direct current, armature inside the starter motor and the alternator of your vehicle. They form part of an electro-mechanical component that helps transform electrical energy into mechanical energy. Over time, the windings, core, shaft and commutator components may wear out, producing electrical shorts, or opens. Once you have disassembled your starter motor or alternator, you can test the armature as part of your troubleshooting procedure for the starting or charging system, and replace it if necessary.
Place the starter armature on a workbench to check the commutator on the armature for continuity using your digital multimeter. The commutator is the segmented cylinder between the armature core -- the widest cylinder body on the armature -- and the bearing mounted on the upper armature shaft.
Set your multimeter selector to the lowest range or continuity setting on the ohms scale.
Turn on your multimeter and touch the probes of the meter on any two segments of the commutator. You should hear a beep from your meter or the readout should register a small resistance value. If your meter registers infinite resistance, which indicates an open, replace the armature.
Test each segment of the commutator against the rest of the segments, following step 3. If any two segments register infinite resistance, replace the armature.
Repeat Step 3 to check each commutator segment against each segment of the armature core. Your multimeter should register infinite resistance, indicating lack of continuity. If your meter beeps or registers a small resistance value, replace the armature.
Repeat Step 3 to check continuity between each commutator segment and the armature shaft. Your multimeter should register infinite resistance, indicating lack of continuity. If your meter beeps or registers a small resistance value, replace the armature.
Set your alternator armature or rotor on the workbench.

Set your multimeter selector to the lowest range or continuity setting on the ohms scale.
Turn on your meter and touch one of the meter probes to the end of the armature shaft. Touch the other probe to one of the two slip rings mounted between the shaft and the armature core -- the widest cylinder body section on the armature. Your meter should register infinite resistance. If the readout registers some resistance value or your meter beeps, indicating continuity, replace the armature.
Repeat Step 3 to test for continuity between the shaft and the other slip ring. Your meter should register infinite resistance. If the readout registers some resistance value or your meter beeps, indicating continuity, replace the armature.
Set your digital meter to read at least 10 ohms.
Test for continuity between the two slip rings on the armature shaft. The readout should display between 2 and 4 ohms, indicating continuity. If your readout registers infinite resistance, replace the armature.
Place your charged car battery next to the alternator armature.
Set your digital multimeter to direct current, DC, so that you can read at least 10 amps.
Touch the negative battery post -- the one with a negative sign next to it -- with the black probe of your meter. Touch one of the slip rings on the armature with the red probe of your meter.
Ask an assistant, if necessary, to touch the other slip ring with one end of a jumper cable and the positive battery post -- the one with the positive sign next to it -- with the other end of the jumper cable.
Turn on your multimeter. The readout should register between 3 and 6 amps, approximately. If your meter registers zero amps, replace the armature.