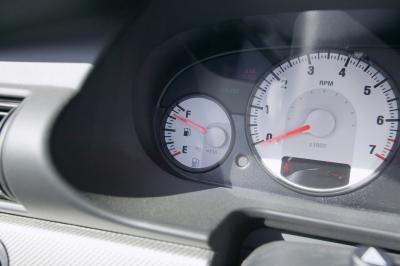
A faulty fuel sending unit is one problem that can leave you stranded by the side of the road, because its job is to tell you how much gas you have left in your tank. A faulty sending unit may cause the fuel gauge to read inaccurately. The process of replacing the sending unit will differ slightly depending on what kind of vehicle you have.
Park the vehicle on a level surface and apply the parking brake. Use a wrench to disconnect the negative battery cable.
Use the siphon kit to remove as much fuel as possible into an approved gasoline container, to reduce the amount of weight in the tank.
Disable fuel pressure in the vehicle. Begin by removing the gas cap. Some vehicles have a fuse for the fuel pump that you can pull out. Once you have done that, turn the engine on until it dies on its own. Then crank it over again to get rid of any remaining pressure. Check the repair manual for your vehicle for more specific instructions that pertain to it.
Raise the vehicle one side at a time with a floor jack and support it from all sides with jack stands.
Remove or move to the side any parts from underneath the vehicle that might get in the way of lowering the fuel tank, such as skid plates or exhaust pipes. If you are able to disconnect the fuel inlet and return hoses at this time, do so. On some vehicles you may have to wait until the tank is partially down for access.
Place the wood block on top of the plate on the jack and raise it to support the fuel tank.
Use a ratchet and socket to loosen the retaining straps that secure the tank to the underside of the vehicle.
Move the straps to the side and begin lowering the jack slowly, while holding the tank steady. It might help to have a partner to assist you in steadying the fuel tank.
Release any remaining connectors to the fuel pump/sending unit assembly and the fuel hoses and lines, if they were not accessible earlier. Slide the tank out from under the vehicle and place it on the ground in a well-ventilated area.
Remove the entire assembly from the fuel tank for inspection, by removing any retaining bolts and set it aside. Some vehicles use a retaining ring that might require different tools to remove.
Examine the entire sending unit for obvious problems before proceeding. Remember that a jammed or damaged float arm will not allow movement of the float and consequently will provide an inaccurate reading. Check the float for signs of leakage or a hole that might keep it from floating to the top. Also check the tank itself for damage from a collision or impact from beneath that might bind the unit's arm, depending on where it sits in the tank.
Connect an ohm meter across the terminals of the sending unit connector and note the resistance reading. Compare it with the specification for your vehicle. One specification will be for an "empty" reading, which is when the float is down. The other will signify a "full" tank, when the float is raised up. Raise and lower the float, while comparing the readings. If there is a corresponding change in resistance that is within specifications, then the unit is good. If not, or if there are "skips" in the readings or no reading at all, replace the fuel sender.