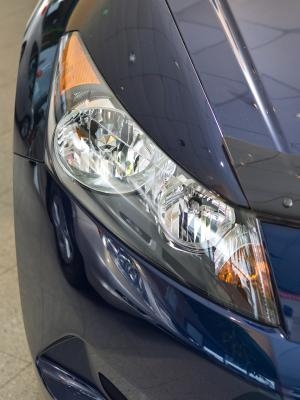
The exterior lights on your Volvo S40 are very important for your safety and the safety of your vehicle. Each light provides an essential contribution to your overall safety. If any light goes out on your S40, it should be replaced immediately. The type of bulb you use depends on the light you are replacing, but the replacement process is very simple.
Park the S40 on a flat surface and open the hood. Put on the gloves.
Loosen the spring retaining the parking lamp assembly to the vehicle. Remove the entire lamp assembly from the vehicle.
Separate the bulb holder from the lamp assembly. Remove the bulb from the bulb holder by pressing in and twisting it counterclockwise. Replace it with a new 21 W bulb.
Reattach the holder to the assembly and place the assembly back into the vehicle. Tighten the retaining spring to the parking lamp assembly and close the hood.
Park the S40 on a flat surface and open the hood. Put on the gloves.
Locate the headlight assembly and remove the plastic cover by rotating it counterclockwise.
Rotate the bulb connector counterclockwise and remove it from the assembly. Disconnect the wiring from the bulb and connect the wiring to a replacement 9003 bulb.
Place the bulb back into the headlight assembly and rotate it clockwise. Reinstall the plastic cover and close the hood.
Park the S40 on a flat surface and put on the gloves.
Rotate the two plastic screws on the tail lamp assembly and remove them. Open the cover over the taillight assembly.
Loosen and remove the desired bulb holder. Remove the bulb from the holder by rotating it counterclockwise.
Install a replacement 5W bulb if replacing the tail lights or a replacement 21W bulb if replacing any other light in the tail lamp assembly.
Place the holder back into the assembly, rotating it clockwise to secure it. Reattach the cover and two screws.