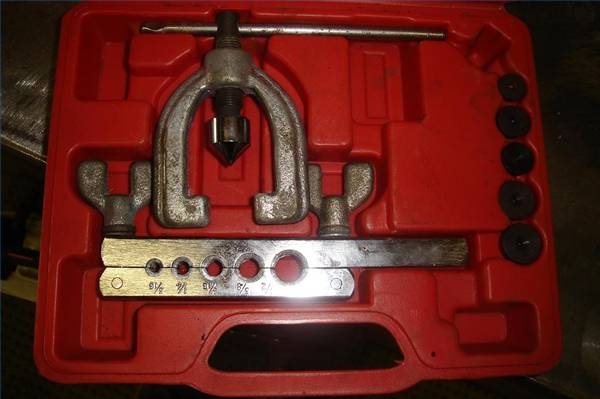
One of the specialty tools that everybody who does his own auto repair should own is a double flaring tool. With this tool it's possible to do a professional looking job with brake line or transmission cooling line replacement. Without this tool this is a very difficult job because it's almost impossible to find the correct length steel line. A double flare is the best sealing and strongest way to flare a tubing end.

Use a tubing cutter and cut the tubing to the desired length. Remove any burrs on the cut end of the tube. Slide the tubing nut on the tube, hex end first.

Loosen the wing nuts and insert the tube in the appropriate opening of the tubing clamp. Place the correct sized adapter upside down beside the protruding end of the tube. Allow the end of the tubing to protrude from the tube to match the thickness of the large part of the adapter. Tighten the wing nuts tightly. Keep the halves of the tool parallel to each other as you tighten.

Turn the adapter over , coat with a small amount of brake fluid and insert into the tube.

Place the flaring tool on the tubing clamp, making sure the screw point is centered on the adapter and the flaring tool is locked on the tubing clamp. Turn the screw clockwise until the adapter bottoms out of the tubing clamp. Final tightening is easier if you clamp the tool in a vise if you have one.

Loosen the screw and remove the adapter. The tubing end should have a bubble look at this point.

Position the flaring tool with the point entering the tubing end and centered. Turn the screw clockwise and tighten until the cone is bottomed out completely.

Remove the flaring tool and inspect the tubing end. The flare should be even all around with no cracks or gaps. Remove the tubing from the clamp.
