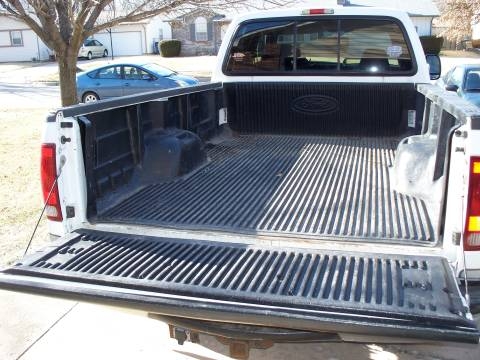
A pickup truck bedliner is an easy, effective way to protect the bed from damage when hauling loads. They can also provide a non-slip surface for awkward objects that like to slide on unprotected beds. Depending on the style of liner, an average backyard mechanic can complete the installation in about thirty minutes.
Clean the truck bed of debris, and wipe the bed down with a cleaning solvent to prepare it. Allow the bed to dry completely.
Position the liner material in the bed. One-piece liners can drop into place, but multiple-part liners require that the front and side panels go in first. The bottom portions can snap into place, interlocking with the front and side panels. The bottom portion should match the grooves of the individual bed, and settle without gaps.
Secure the one-piece liner, or the front and side panels of a multipart liner with the liner kit's provided fasteners. These fasteners can be attached with pliers or a vice grip onto the top rails of the pickup bed, and to the joints of the liner panels. The tailgate panel, a separate piece in both liner types, is secured with bolts into the OEM holes provided. Some one-part liner kits will require additional bolts, usually driven into the manufacturer's predrilled holes.
Check the edges for plastic burrs and a proper fit.